• Win a Free Custom Engraved Brass Coin!!!
    As a way to introduce our brass coins to the community, we will raffle off a free coin during the month of August. Follow link ABOVE for instructions for entering.

D805 Piet Hein, ex HMS Serapis, WW2 S class destroyer

So, I finally got back to D805 Piet Hein. I had losts of other fun things on my mind, but now that the temperature has gone down a bit, I can survive in my work shed.

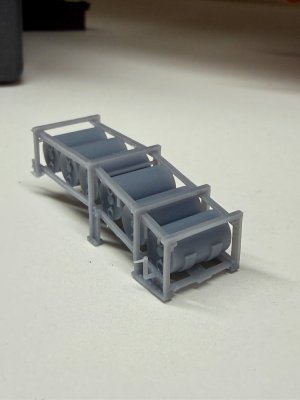
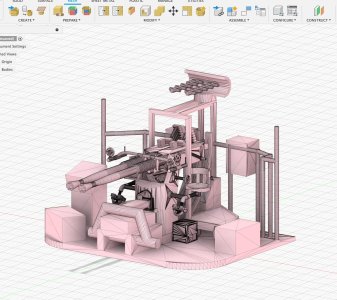
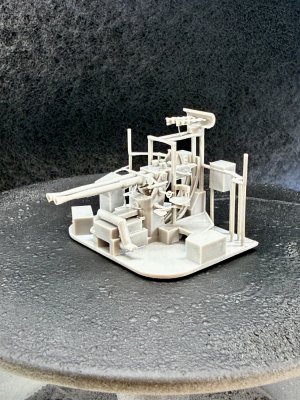
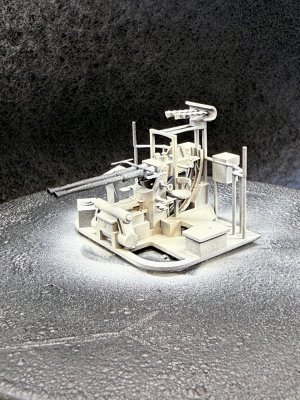
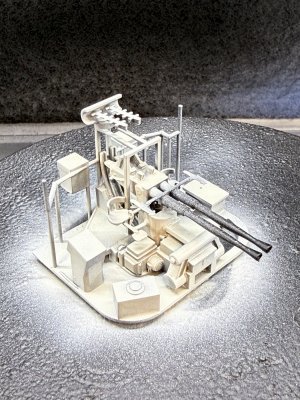
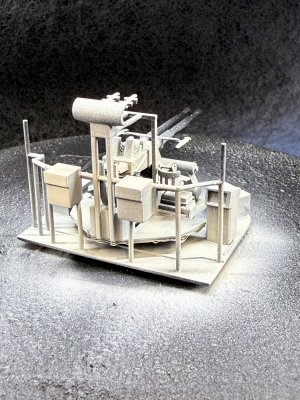
Where I'm at, just to recap: most of the upper structure has been printed and primed, but not glued in place. This means that also some of the more detailed parts are also well underway, e.g. the torpedo tubes, and now the depth charge towers. I started with creating a depth charge to scale and used that as a measuring "stick" to create the racks. And I did a similar thing with the throwers. I still need to do the rear rack / roll off mechanism.

Most of the design work was done at 100% and then scaled to 72. This meant that I had to exaggerate some details, as they otherwise would simply disappear during the print phase. As an example; an air/hydraulic tube may be 3/4 inch in real life, but would be 0.02mm at scale ... so invisible. The racks are 18mm tall. The torpedo tubes are about 90mm long. From a flat not really understandable drawing to Fusion to print. Not too bad!
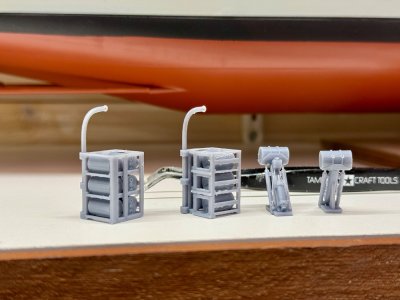
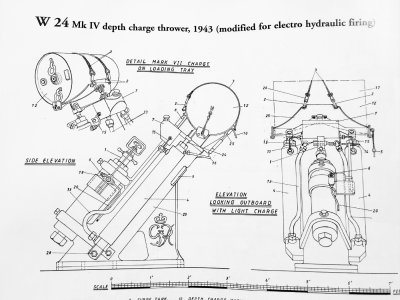
IMG_6647.jpeg

IMG_6638.jpeg

IMG_6643.jpeg
 
I am impressed Marco, those torpedo tubes are the best I have seen. Not sure about your maths though,3/4 inch @ 1/72 scale is about 0.265mm if my head is still working. Glad to see you back in the shipyard.

Cheers JJ..
 
I am impressed Marco, those torpedo tubes are the best I have seen. Not sure about your maths though,3/4 inch @ 1/72 scale is about 0.265mm if my head is still working. Glad to see you back in the shipyard.

Cheers JJ..
The torps were based on an existing model, which I adapted. So I had a baseline to work with. The depth charges et al are scratch.

Maths: of course you’re right. Don’t even understand where I got the extra decimal from.
 
So, I finally got back to D805 Piet Hein. I had losts of other fun things on my mind, but now that the temperature has gone down a bit, I can survive in my work shed.

Where I'm at, just to recap: most of the upper structure has been printed and primed, but not glued in place. This means that also some of the more detailed parts are also well underway, e.g. the torpedo tubes, and now the depth charge towers. I started with creating a depth charge to scale and used that as a measuring "stick" to create the racks. And I did a similar thing with the throwers. I still need to do the rear rack / roll off mechanism.

Most of the design work was done at 100% and then scaled to 72. This meant that I had to exaggerate some details, as they otherwise would simply disappear during the print phase. As an example; an air/hydraulic tube may be 3/4 inch in real life, but would be 0.02mm at scale ... so invisible. The racks are 18mm tall. The torpedo tubes are about 90mm long. From a flat not really understandable drawing to Fusion to print. Not too bad!
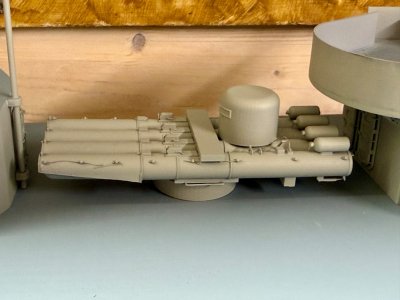
View attachment 541469

View attachment 541470

View attachment 541474
Nicely detailed parts, Marco.
Regards, Peter
 
Thanks for all the support. Most importantly, I’m back at the shipyard.

I have another serious hobby: astrophotography. I’m setting up to go remote, which means I’m basically using the same side of my brains as for design in Fusion. Lots of tinkering and staring at a monitor. I have a few more chores, so D805 will go a little hop scotch. But I’m close to having all I want to glue in place, after which it becomes more like regular model building.
 
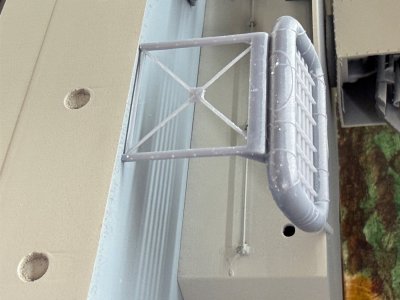
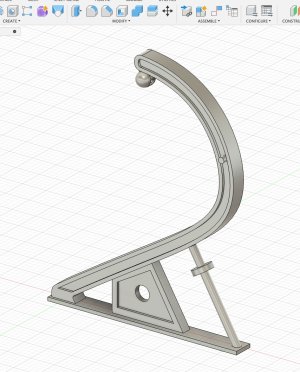
This will need a little additional work to make it look the part, but for a first print I’m happy. I didn’t know there were so many variants of this rack, but after careful examination of images of D805 and drawings, I can say it’s close. For size: that handle is 0.2mm (@JJ, I checked my math ;-0)

IMG_6657.jpeg
 
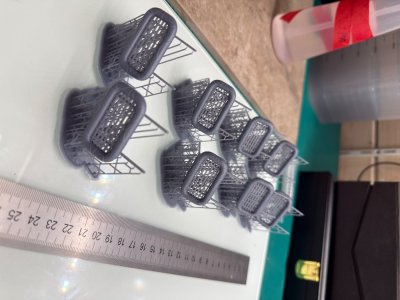
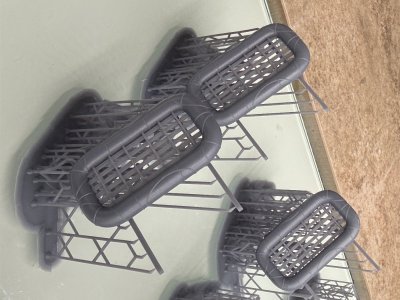
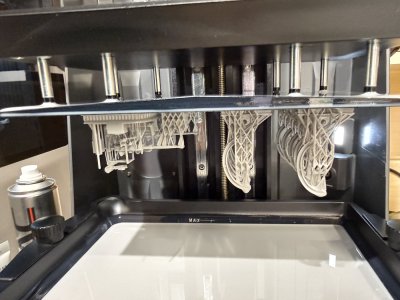
Having learned my lesson with the first D805, with all the carley floats bursting resin over the complete ship, I made sure that I had no enclosed spaces. Sideline: and I’m rather happy I could do the ship again, now in 72 scale. For fun I included the supported prints. Gives you an idea how much trouble it is to get these finicky things off the actual print.

Next: hoists, derricks, walkways between islands, companionways, etc. Lots of interesting stuff to design and print.

IMG_6664.jpeg

IMG_6665.jpeg

IMG_6666.jpeg
 
Having learned my lesson with the first D805, with all the carley floats bursting resin over the complete ship, I made sure that I had no enclosed spaces. Sideline: and I’m rather happy I could do the ship again, now in 72 scale. For fun I included the supported prints. Gives you an idea how much trouble it is to get these finicky things off the actual print.

Next: hoists, derricks, walkways between islands, companionways, etc. Lots of interesting stuff to design and print.

View attachment 543044

View attachment 543045

View attachment 543046
Congratulations with this new attempt, Marco. The parts looks very nice.
Regards, Peter
 
Having learned my lesson with the first D805, with all the carley floats bursting resin over the complete ship, I made sure that I had no enclosed spaces. Sideline: and I’m rather happy I could do the ship again, now in 72 scale. For fun I included the supported prints. Gives you an idea how much trouble it is to get these finicky things off the actual print.

Next: hoists, derricks, walkways between islands, companionways, etc. Lots of interesting stuff to design and print.

View attachment 543044

View attachment 543045

View attachment 543046
Developing your own plastic kit: the blessings of 3D-printing.
Marvelous job with all the details.
 
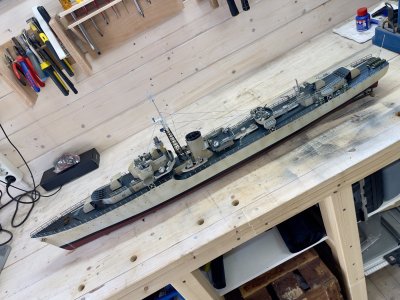
This was as far as I got with the first D805. That was a 96 scaled model. A week later disaster struck and she was scrapped. Funny thing though: I haven’t reused and upscaled parts. I had learned so much, thatbi wanted to do better.

And I’m sure that at short notice I’ll be able to show similar progress with the new model. Almost there!

1757364004525.jpeg
 
Back
Top