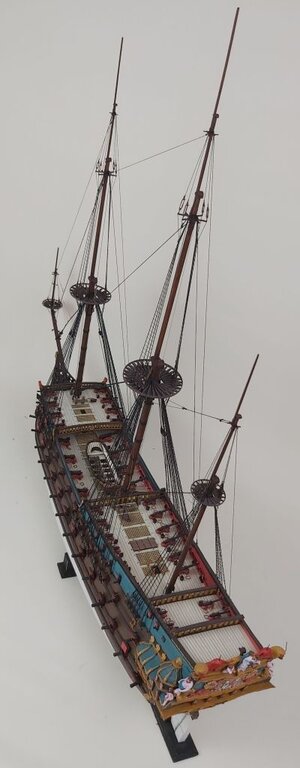
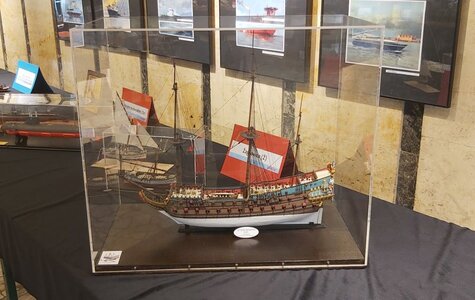
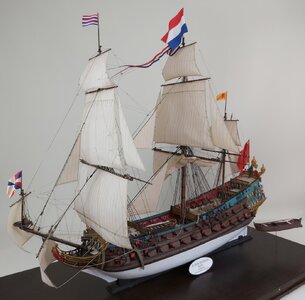
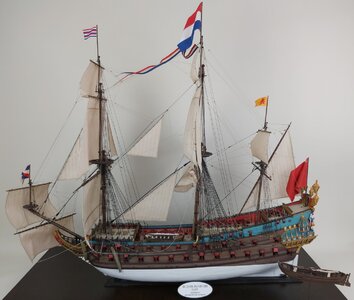
"De Zeven Provincien" 1:100 (scratch) - Seahorse New Design [COMPLETED BUILD]

Hi everyone.

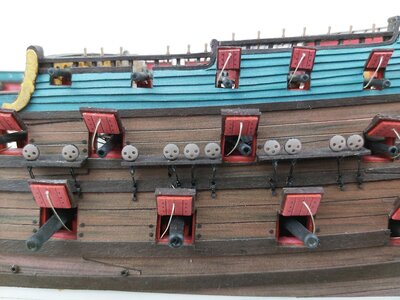
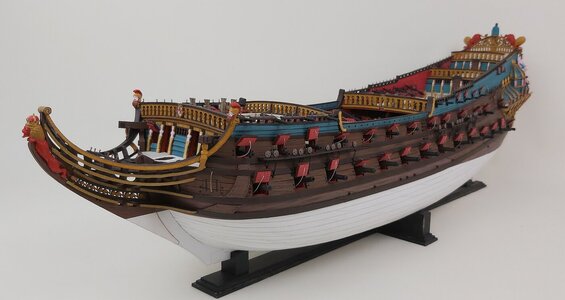
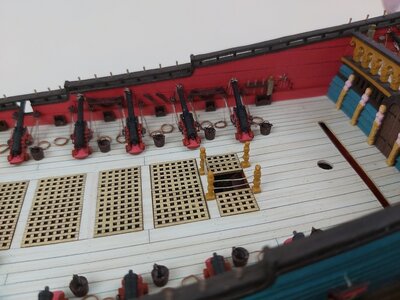
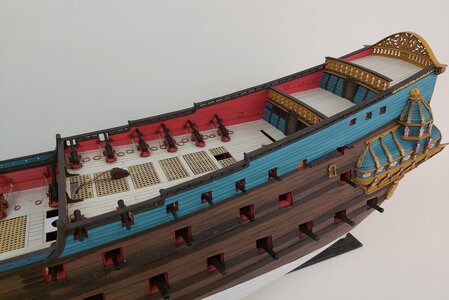
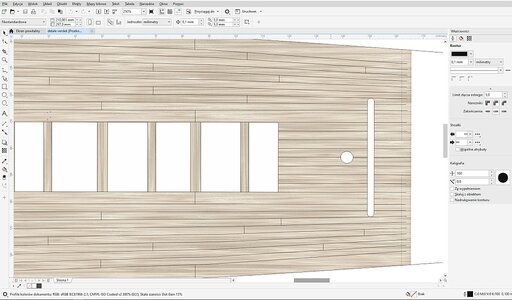
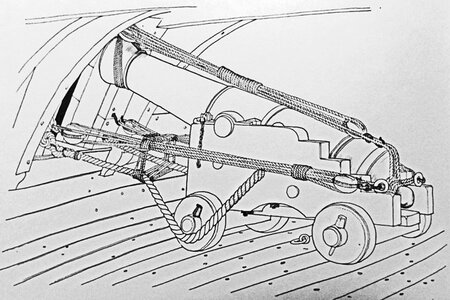
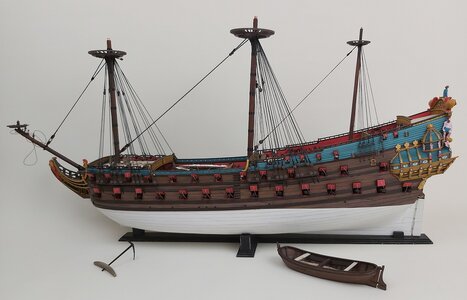
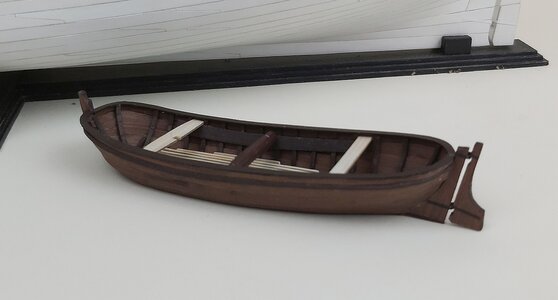
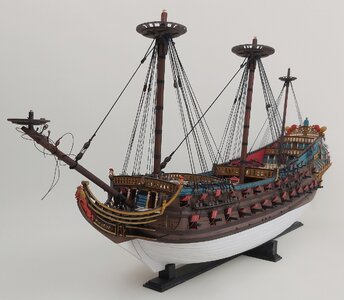
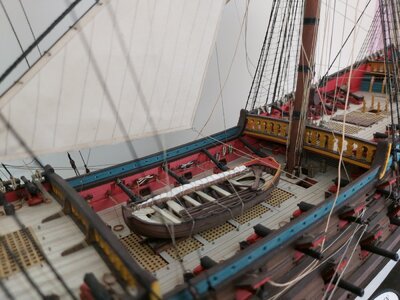
Recently, I haven't had much time to continue building, so progress has been slow as well. Bakdek already has gretings, I set up the artillery amidships and tried on the boat, built similarly to Wodnik / Meerman, but larger (Meerman / Wodnik)
View attachment 268838

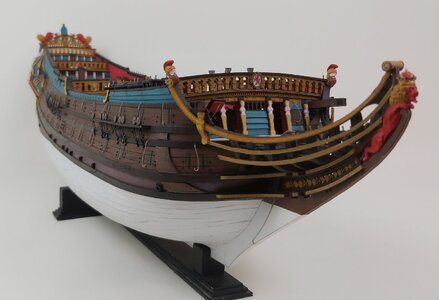
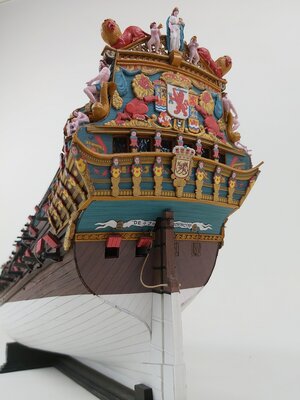
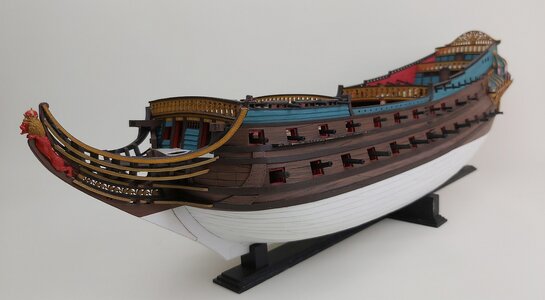
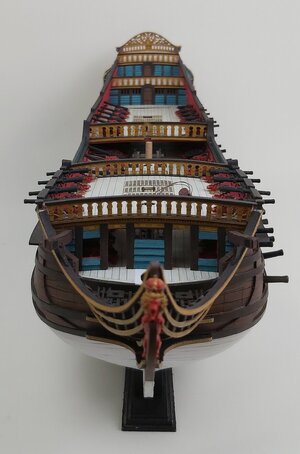
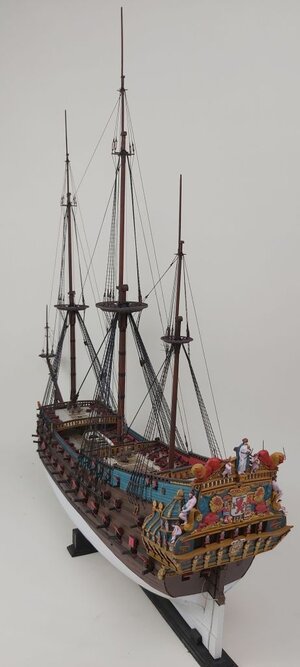
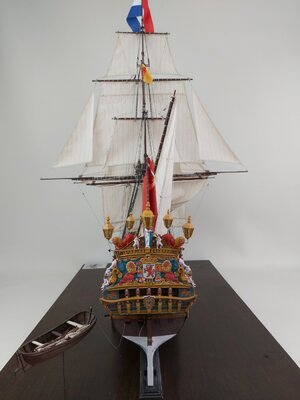
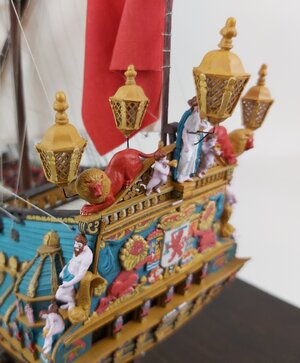
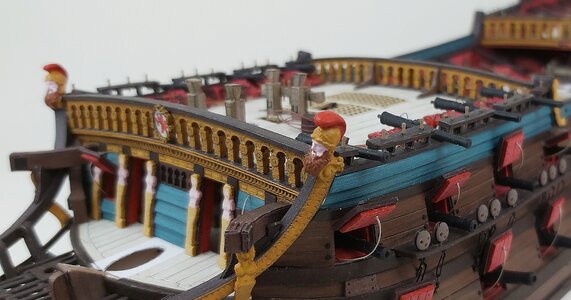
After many attempts, I decided to make bas-reliefs in the simplest form, i.e. scratches glued on a thicker cardboard. Looking at the effect, it seems that all of them had to be stuck to 1.0 mm cardboard, because some of them are too "thin". The largest sculptures will be made of several parts (if I can design it), and as a last resort, I ordered a design prepared for 3D printing. Time will show which solution is the best. Currently, the stern looks like this.
View attachment 268839
View attachment 268840
View attachment 268841

All comments will be appreciated

Greetings
Tomek
Niech teraz ktoś kręci nosem , "eee tam papier". "Czapki z głów panowie" . Zazdroszczę.
Pozdrawiam , Piotr Thumbsup

Now let someone turn their nose up at you, "what a paper". "Hats off, gentlemen." I envy you.
Greetings , Peter Thumbsup
 
Last edited by a moderator:
Hi friends
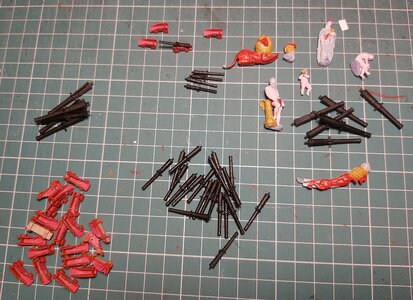
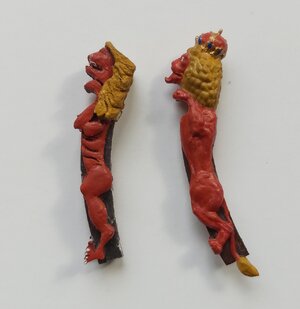
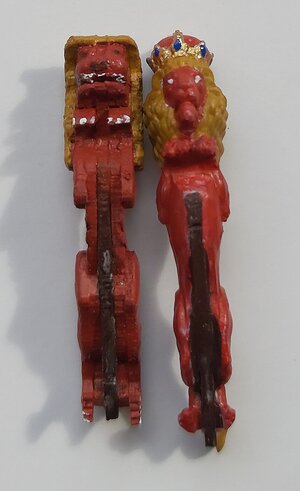
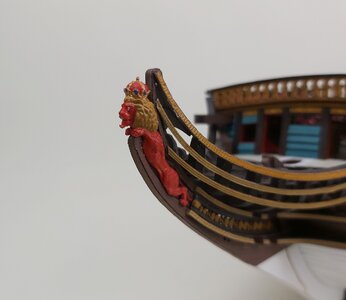
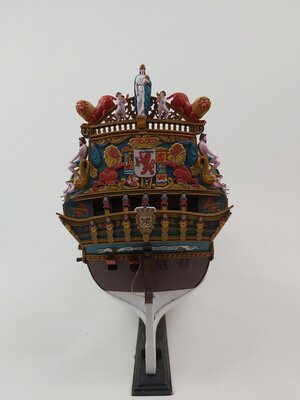
I must admit that I am not building the model at a dizzying pace, mainly because of the limited time and more and more details that need to be prepared and thought over. It took me a long time to make various attempts (mostly unsuccessful) to prepare the sculptures on the stern in the form of paper, which would slightly resemble THE SCULPTURES. The external company fulfilled the orders and I have all the sculptures ready for 3D printing, but those made of paper also had to be developed (because it is to be a cardboard model). This is what the first sample printed in resin looks like:
arma i decor mini.jpg

Therefore, I couldn't resist and replace the figurehead. Below is the old one of cardboard and the new one printed:
artill 14.jpg
artill 15.jpg
artill 08.jpg

In the meantime, I put the rest of the artillery on the decks. There was a lot of it, so I helped myself with ready-made gun barrels and 2mm 3D printed blocks.
double blocks.jpg
The print was gray, but the Vallejo primer sticks very tightly and nothing is peeling.
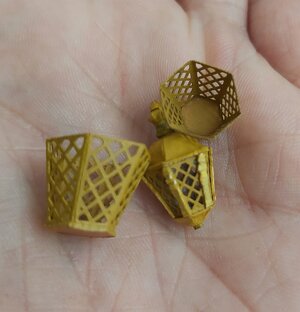
Now it's time to glue gunport lids, sculptures and lanterns, and all rigging "devices". Oh, and two more boats. I believe that in June I will start erecting masts :)
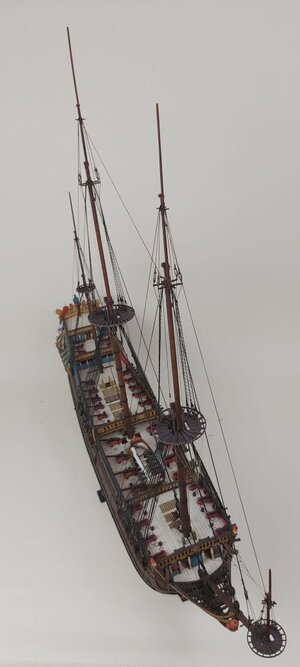
A few photos of an already armed ship:
artill 01.jpg
artill 02.jpg
artill 03.jpg
artill 07.jpg
artill 09.jpg
artill 10.jpg
artill 11.jpg

Best
Tomek
 
Still a beginner builder here. The color scheme and craftsmanship is absolutely stunning and is very pleasing to the eyes. The “white” colored deck is marvelous, as is. What a wonderful build. To me, you have provided inspiration.
 
Great overall appearance - this will be a beautiful cardboard model
Only one small hint:
We can see, that on one side all guns are "ready for action" and on the other side you show them with closed gunports and the muzzles stored or secured against the planking. If you want to show the guns secured in such a way, you should not have the ropes of the tackles laying in this snake on the deck, but under tension and with fixed ends ......
162859726_Continentalcannonstowed.jpg.683cef7c9cee3f32be26da1496a57393.jpg BattleStation_1.JPG
 
Great overall appearance - this will be a beautiful cardboard model
Only one small hint:
We can see, that on one side all guns are "ready for action" and on the other side you show them with closed gunports and the muzzles stored or secured against the planking. If you want to show the guns secured in such a way, you should not have the ropes of the tackles laying in this snake on the deck, but under tension and with fixed ends ......
View attachment 310117 View attachment 310118
I agree with every word you say. They should be tied with ropes, as shown in the pictures you enclose. I made such attempts, but the effect was disgusting, because either the 1: 100 scale has its limitations or my skills have even greater limitations:). I gave up because I want building sailing ships to be a pleasure for me and this time this desire won with historical correctness. Honestly, this solution was beyond my skill and patience. I hope, when the model is published, there will be modelers who are better than me and do it correctly.

Tomek
 
Hi everyone,
thanks for comments. I'm glad you like the model (as a builder, I know all the stumbles and mistakes, but I like the general view as well).
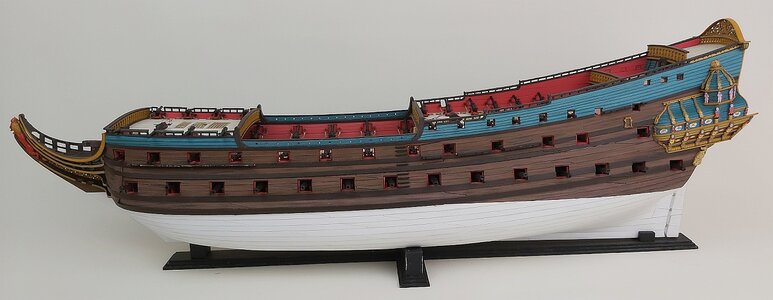
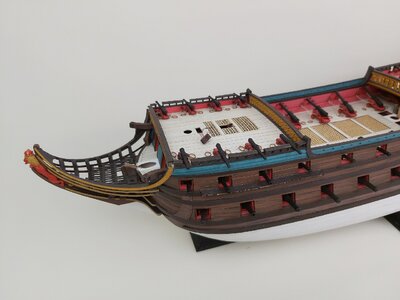
Some time has passed since the last update, but it was not time wasted because I can announce that I have finished working on the hull of "De Zeven Provincien" !!! Hurrah!!!!
I made gunport lids (I have a slightly "bent" eye, because a large part of them is slightly twisted in the same direction; similarly with the holes for the ropes lifting these covers, they are all slightly shifted to the left :))) There was a lot of work on the starboard too, because I did not print the hinges for gunport lids, believing that sticking thin strips would be nicer. I don't know if it's nicer (probably not), but it's definitely more time-consuming.
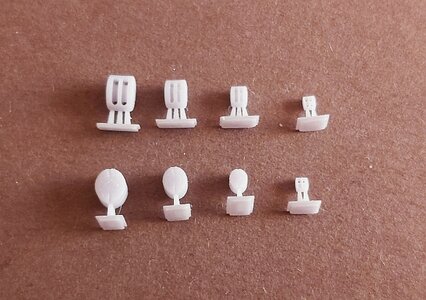
But after dealing with nearly 80 gunport lids, it looked better and better. At the same time, I had to make deadeye attachments because it was getting tight in some places. In fact, I didn't simplify them, I just changed the shape of two lower parts (1 and 2), which I covered with small circles (3). Details in the drawing.
odciągi how.jpg
25 06 22 14.jpg
Equipping the bulwarks and decks with various types of riggin equipment is a normal job and nothing interesting to write about.

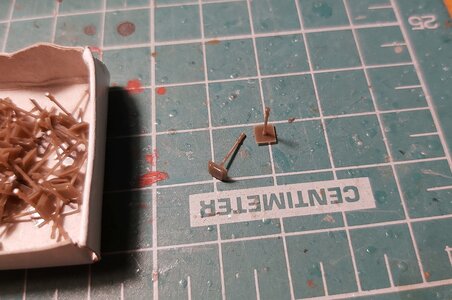
I helped myself with a 3d printer again and it was a move almost brilliant :))) I printed 180 belaying pins: delicate, small, nicely contoured shapes. The end result and the time needed for them is incomparable to those made of wire and thickened on top with a drop of thick glue. I am delighted with this solution, especially since I printed in brown resin right away (pigments are not cheap, but the time savings justify the expense)
19 06 22 01.jpg
It remains to finish the work on the decorations: the designs of the sculptures were prepared by an external company (I do not have such skills myself) and after minor corrections they were printed and painted. Even though the design on the computer matched everything together, there were in fact slight variations in dimensions, as the number of parts must have resulted in a multiplication of minor errors. For example, the central figure of the goddess, supported on her back on the upper decorative handrail, did not reach the pedestal with her legs (the handrail is too high). So I had to thicken the pedestal. Similarly, I had to thicken the pedestal for the side figures of Neptune / Poseidon.
In the meantime, I glued the sloop for the second time, because the previous one was over 1 meter too long, and now I have the second time to glue the boat, which I made 2 meters too long (I still do not know how I rescaled and why I did not check the dimensions after rescaling. And I spent a few hours gluing the boat together before realizing that something was wrong: - (((()
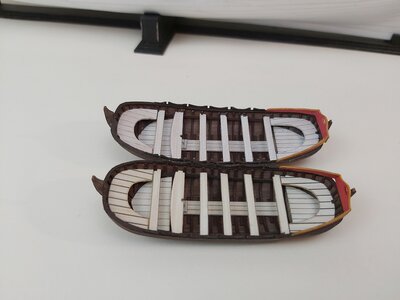
19 06 22 28.jpg
All that's left to do is put a few dozen eyebolts in the decks and set the sloop amidships.
Some pictures below:
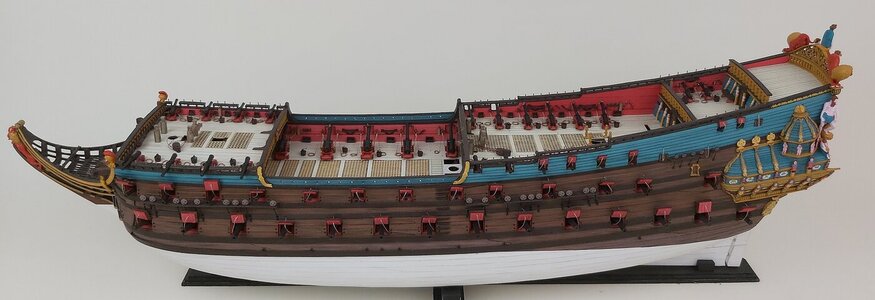
25 06 22 02.jpg
25 06 22 03.jpg
25 06 22 07.jpg
25 06 22 05.jpg
25 06 22 08.jpg
25 06 22 11.jpg
25 06 22 13.jpg

Greetings
Tomek
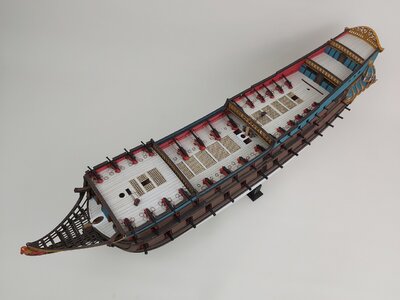
 
What a great model - marvelous! I do like the artwork very much and the colourfull paintings very close to the bright VASA findings. Thank you very much for the impetus to be historically right and not staying with the mainstream idea coming frommthe 60/70th book printings...

The half of the Van der Velde inkl and the adjustested picture of the model becoming the coloured Part of the ship would make a great front cover picture, wouldn't it?

B.t.w. are you dealing with a Publishers scale? So the D7P ist printed in 1:100 - but the Leudo in 1:72.
Will it be possible to change the D7P up to 1:72,too? The 46m of the gundeck would become 638,89mm instead of 460mm now - so it would give a bigger model better to build and enriched in detail.

Thanks a lot for this view over your shoulder in your workroom, Thomek!
 
Last edited:
Thank you colleagues for the warm feedback.

@Chris@ On the one hand, rescaling the cardboard model is not a problem. Many modelers do this: one of a few women (I know) at a master's level transforms all models into 1: 300 - 1: 400 and makes small masterpieces. Others zoom in from A4 to A3 and build larger models of cardboard or wood. On the other hand, especially when enlarging the cardboard model, you need to take into account the specificity of the material (paper), and this sometimes means the need to add additional reinforcements (frames), additional thickening of the cardboard. In the case of the D7P, it seems to me that this model is so difficult that only experienced modelers will build it, i.e. they will know perfectly well what to modify when changing the scale.

Coming back to the yard...
It seemed to me that everything was ready and only creme de la creme remained, i.e. masts, rigging and sails. But it is a huge project and I had to bend over the anchors, lanterns and a second boat, towed behind the ship. Here again I'd like to thank Ab for the design of such a boat that he once gave me. So I made one anchor, tested one lantern ...
01.08.22 10.jpg

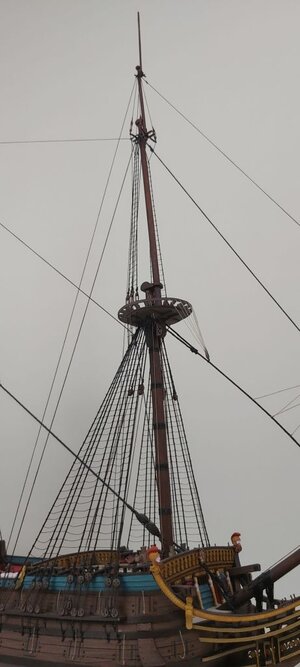
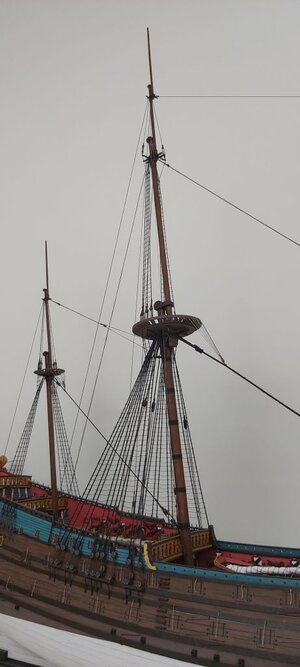
I put up the first masts with shrouds, loading tackles and stays. The bowsprit has found its place too, and now at least I know how big a stand and a display case I need to prepare. Unfortunately, building such details at the end of the entire project takes a long time, because suddenly I find that I am missing one or two parts the size of a coin. You have to draw them, print them, protect them with varnish and the next two hours "leaked between your fingers" (I do not know if there is such a saying in English, but it clearly illustrates the time that is running out, which cannot be slowed down or stopped in any way). In order not to waste your time, I invite you to take a look at the last photos:


01.08.22 01.jpg
01.08.22 02.jpg
01.08.22 04.jpg
01.08.22 06.jpg
01.08.22 08.jpg

... and height fitting together with flagpoles...
23 07 22 06 maly.jpg


Greetings
Tomek
 
Hello,
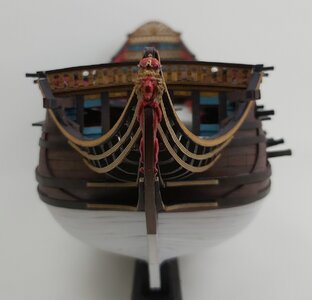
I can't believe it's been so long since the last update. Publication of the model, health, a lot of work and many other reasons could excuse me, but that's not why we are here on the forum.
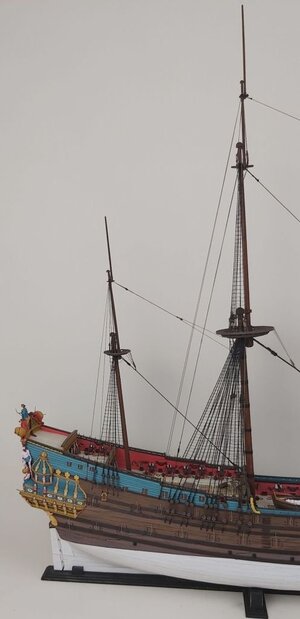
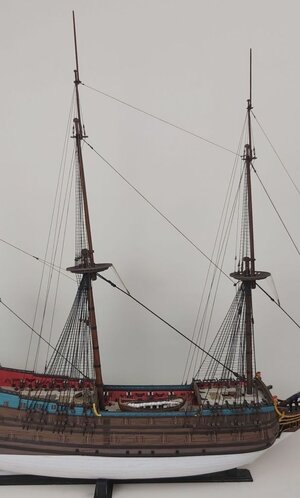
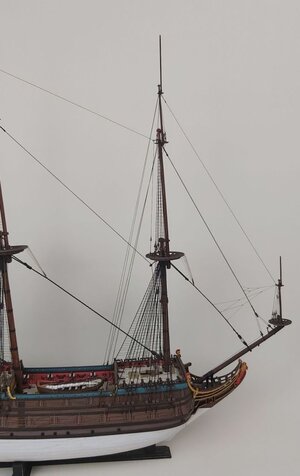
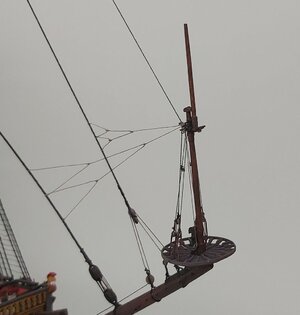
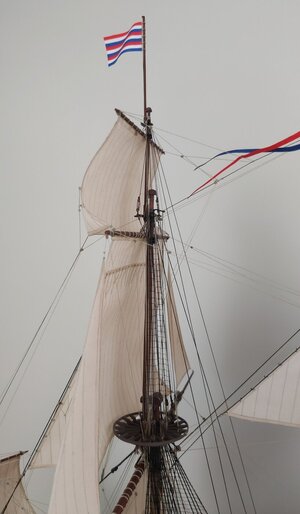
I have put up all the masts and I think you can say that the standing rigging is ready. Most components built/rigged as planned. A slight problem arose with the bowsprit mast and the foremast: both leaned back slightly when tensioning the stays, which was not matched by the stiffness of the bowsprit (it rose a little). I am satisfied with the symmetry: with such a large sailing ship, I managed it almost perfectly. Two days ago, the model, unfinished but secured in the "aquarium", made its first cruise at the Model Show in Nowy Tomyśl. I invite you to the latest photos of "De Zeven Provincien":
full st rig 01 a.jpg
full st rig 03 a.jpg
full st rig 04 a.jpg
full st rig 05 a.jpg
full st rig 07 a.jpg
full st rig 06 a.jpg
full st rig 08 a.jpg
full st rig 09 a.jpg
full st rig 10 a.jpg
full st rig 11 a.jpg
full st rig 13 a.jpg
full st rig 14 a.jpg
full st rig 15 a.jpg
NT.jpg
Best Wishes
Tomek
 
I am always amazed by the great photos here. And now I'm even more excited because: My sweetheart has given me for my birthday exactly this kit, with all available additional parts. And with this great build report here, I have the best visual lesson I can imagine.
(Now I just have to finish building the Shipyard Columbus fleet, then I'm ready to go :)).
 
Hi everybody,
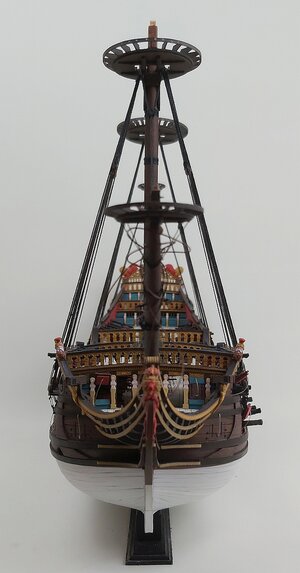
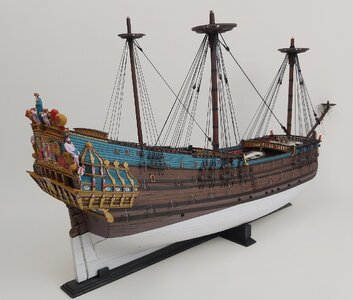
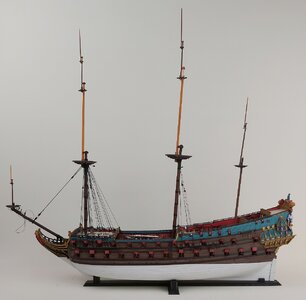
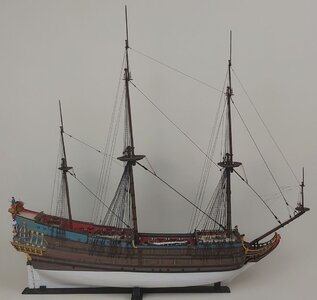
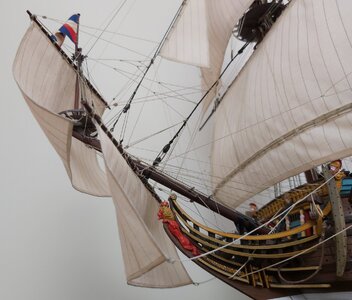
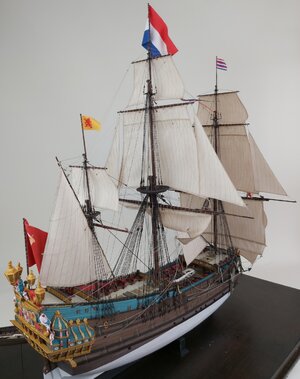
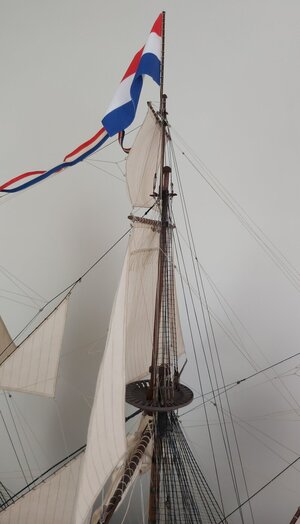
yes, many months have passed since the last update, but I finally have something to be proud of - last night I raised the last flag and today I can show the completed model of the flagship "De Zeven Provincien". Thanks again to Ab Hoving, who constantly supported me, advised me and cheered me on until the last day of working on the model.
Running rigging is so extensive that you can write an essay on what, how, where, what to watch out for, what to ignore, etc. Because I won't hide the fact that I simplified a few elements or simply "fooled" the human eye. I don't know how many ropes and threads are finally attached to the model.
Although it was unlikely that all the sails were set at the same time, I decided as a test (after all, it is a test model) to hang the stay sails to make sure that there were no errors in the instructions or that any of the lines were placed absurdly. I used various sources, but I may have misinterpreted something (especially since some sources were in Dutch). Surprisingly, I found only one error (the designations of ropes 72 and 82 were swapped). I attached the rest according to the instructions and it worked.
I made the first lines in the project in the spring of 2017 (my daughter was 10, now 16).
A handful of photos, comments and questions welcome
view 1.jpg
view 2.jpg
view 18.jpg
view 22.jpg
view 19.jpg

view 20.jpg
view 7.jpg
view 8.jpg
view 23.jpg
view 25.jpg
Best Wishes
Tomek
 
Back
Top