-

Win a Free Custom Engraved Brass Coin!!!
As a way to introduce our brass coins to the community, we will raffle off a free coin during the month of August. Follow link ABOVE for instructions for entering.
-

PRE-ORDER SHIPS IN SCALE TODAY!
The beloved Ships in Scale Magazine is back and charting a new course for 2026!
Discover new skills, new techniques, and new inspirations in every issue.
NOTE THAT OUR FIRST ISSUE WILL BE JAN/FEB 2026
You are using an out of date browser. It may not display this or other websites correctly.
You should upgrade or use an alternative browser.
You should upgrade or use an alternative browser.
Don's Battle Station
- Thread starter DonRobinson
- Start date
- Watchers 14
-
- Tags
- deck battle station
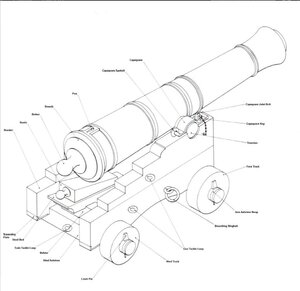
Wow. Everything has a name. I guess it saves time if you’re barking orders to the crew. It probably wouldn’t do to say”Grab the thingy!”
It's worth mentioning that the the little round "thingy" off the breech of the barrel is more commonly called a "cascabel" rather than a "button"
BTW: I like your new avatar, Jim!
Thanks Dave!! It is a month of the 'Wish You Were Here' Every week I will have a new avatar from this album. The next month my avatar will be from one of my favorites albums (but short) Animals.BTW: I like your new avatar, Jim!
But Dave... I am going to stay on the "Dark Side of the Moon" for a while... for obvious reasons.... HA!!!Every week I will have a new avatar from this album.
Hello everyone, one more quick update for the day and I promise that"s it.
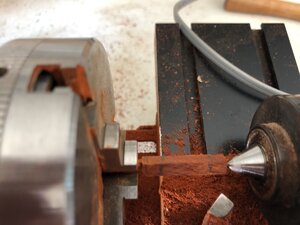
I decided to put a handrail around the one hatch on the upper deck so I needed to make some columns the following is a quick show as to how I do it.
I milled some lumber down to 4.5 x 4.5 mm, marked off where the rounding off would start and end.
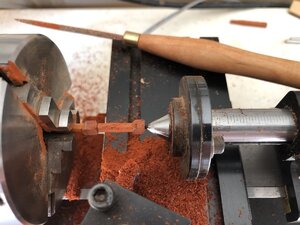
Using the cutting tool on the lathe I rounded off in between the lines. I should mention that the end that is in the chuck has been rounded off using a 1" belt sander as you cannot put square objects into a three jaw chuck.
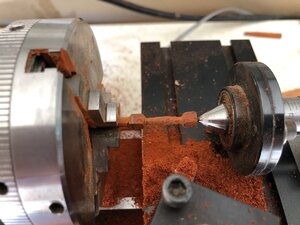
Once rounded off I used my Perma Grit files to do the tapering. These files maybe a little expensive but they are worth it as they do a wonderful job(the handle is hand made and does not come with the files)
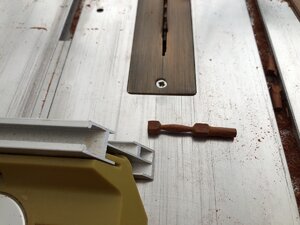
The round end I was talking about is then cut off. From here it goes inside and is sanded to it's final length using the Byrnes disc sander. The table saw is a Proxxon, I bought this before I heard about the Byrnes line of tools . LOL
. LOL
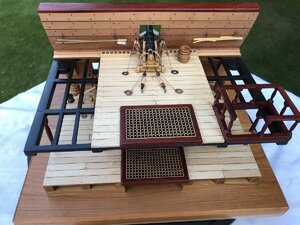
and here is the final product
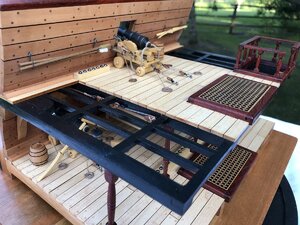
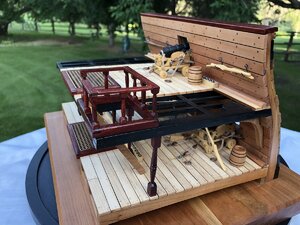
Stairs were installed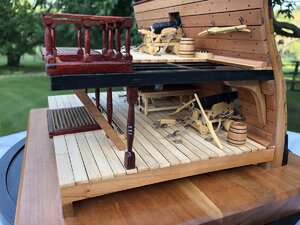
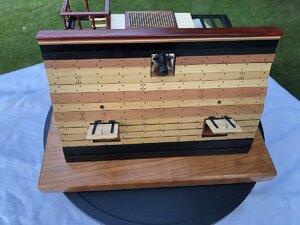
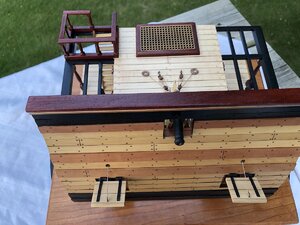
And with that we will call this complete!!
Thanks so much for following along and I hope to see you on my next journey
Take Care

I decided to put a handrail around the one hatch on the upper deck so I needed to make some columns the following is a quick show as to how I do it.
I milled some lumber down to 4.5 x 4.5 mm, marked off where the rounding off would start and end.

Using the cutting tool on the lathe I rounded off in between the lines. I should mention that the end that is in the chuck has been rounded off using a 1" belt sander as you cannot put square objects into a three jaw chuck.

Once rounded off I used my Perma Grit files to do the tapering. These files maybe a little expensive but they are worth it as they do a wonderful job(the handle is hand made and does not come with the files)

The round end I was talking about is then cut off. From here it goes inside and is sanded to it's final length using the Byrnes disc sander. The table saw is a Proxxon, I bought this before I heard about the Byrnes line of tools
 . LOL
. LOL
and here is the final product


Stairs were installed


And with that we will call this complete!!
Thanks so much for following along and I hope to see you on my next journey
Take Care
Outstanding, Don. I love the railing around the stairs. Great job!
That was a helluva kit! Too bad we couldn’t offer it as one!
Thanks Dave and Mike. It was a fun project and would not have been possible without the two of you. Thanks so much for including me in this
No wreath??!!
- Joined
- Dec 3, 2018
- Messages
- 2,451
- Points
- 538

Question, what would it have looked like if the last cannon had been in the rear position, as it looks when it is charged, I have not seen it before, it would have been exciting to see what it looks like, most often the cannons are displayed in attack position, greeting -
Knut, that is a GREAT idea and I may just have to do that to make my model different from the other two!!!!if the last cannon had been in the rear position, as it looks when it is charged,
- Joined
- Aug 16, 2019
- Messages
- 870
- Points
- 343

Master work


