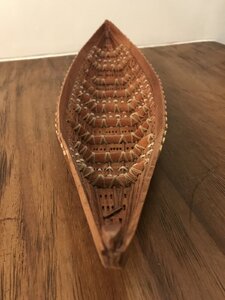
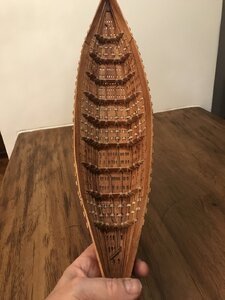
Thanks Eric.
-

Win a Free Custom Engraved Brass Coin!!!
As a way to introduce our brass coins to the community, we will raffle off a free coin during the month of August. Follow link ABOVE for instructions for entering.
-

PRE-ORDER SHIPS IN SCALE TODAY!
The beloved Ships in Scale Magazine is back and charting a new course for 2026!
Discover new skills, new techniques, and new inspirations in every issue.
NOTE THAT OUR FIRST ISSUE WILL BE JAN/FEB 2026
You are using an out of date browser. It may not display this or other websites correctly.
You should upgrade or use an alternative browser.
You should upgrade or use an alternative browser.
Egyptian Seagoing Ship “Byblos” - 1:32 [COMPLETED BUILD]
- Thread starter Schrader
- Start date
- Watchers 29
-
- Tags
- completed build
After working with my “second” attempt I realized that:
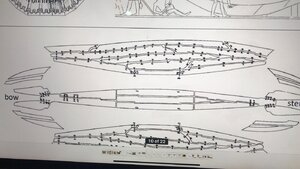
So I decided to go for my third attempt .......
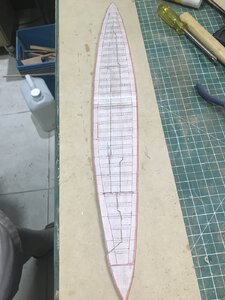
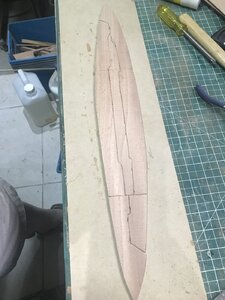
- The choice about using two equal thick planks for the two hulls (interior and exterior) was not the best.....The channels left no wood to work with so the lineal holes drilling was a disaster. In conclusion I‘lol keeP the two hulls but the interior will be in 3.2 mm an the exterior will be in 1.2 mm.
- The “forms” I was using for the planks were not accurate according with the documents I found. Even though we need to create as much “lineal” contact between planks to create “more“ resistance and strength, I was working with “curves” and should be with straight lines....

So I decided to go for my third attempt .......


Last edited:
Remember this picture?...... We will be using it again.....
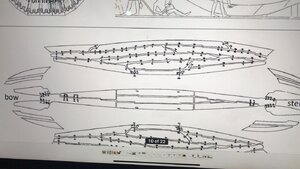
Here I am again.....
After doing mu research and many attempts, I realized the the Egyptians were right . The sides planking with planks 3.2 mm thick was so tough. So I took the image above and went to “copy” more or less the distribution and..........BINGO!!!!! They fitted.... But before I needed to have somehow, the way I could fixed the planks without attaching them to the mold. Let’s remember that the frames were something that were installed after many tasks so the planks needed to “stay” there by themselves.
I built a couple of pieces.....
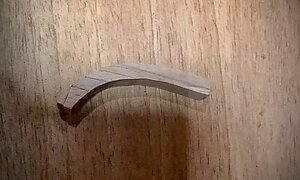
Longer that it was needed and I glued them to the base an to the mold. The idea was to glue the planks to these pieces.... Let’s see.....
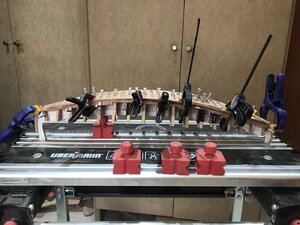
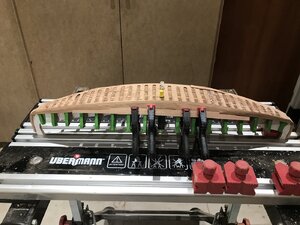
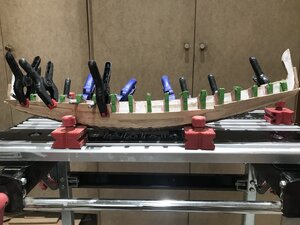
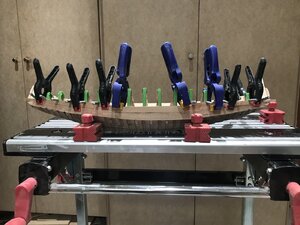
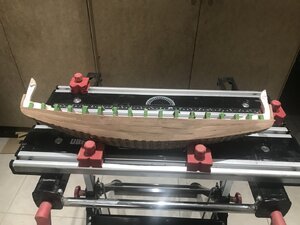
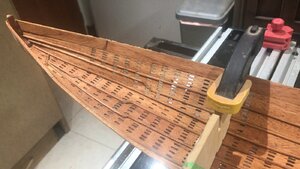
Geometrically the planks fitted right. Just one “line” to go and it will be finished.......Just exterior sanding. Once the other side is finished we will be able to take the mold out and start to work in the holes and channels.
Really was difficult to keep the planks in its place. Wood glue, presses and waits 20-24 hours per plank...

Here I am again.....
After doing mu research and many attempts, I realized the the Egyptians were right . The sides planking with planks 3.2 mm thick was so tough. So I took the image above and went to “copy” more or less the distribution and..........BINGO!!!!! They fitted.... But before I needed to have somehow, the way I could fixed the planks without attaching them to the mold. Let’s remember that the frames were something that were installed after many tasks so the planks needed to “stay” there by themselves.
I built a couple of pieces.....

Longer that it was needed and I glued them to the base an to the mold. The idea was to glue the planks to these pieces.... Let’s see.....


Geometrically the planks fitted right. Just one “line” to go and it will be finished.......Just exterior sanding. Once the other side is finished we will be able to take the mold out and start to work in the holes and channels.
Really was difficult to keep the planks in its place. Wood glue, presses and waits 20-24 hours per plank...
Here I am......
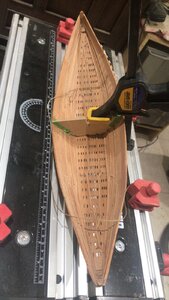
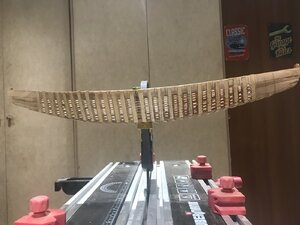
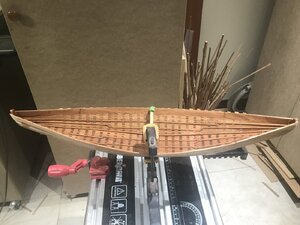
After taking the “mold” out, the result wasn’t the one I expected..... the hull lost its forms and it looked like a “bath tube” . So I took my time to analyze how to solve it.
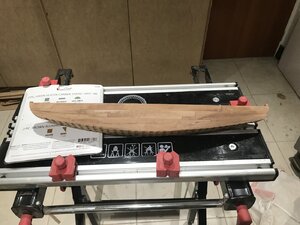
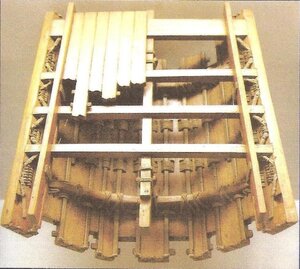
In this picture...
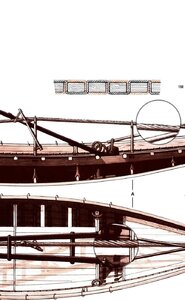
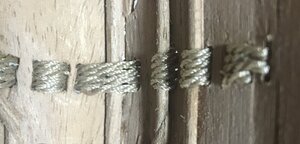
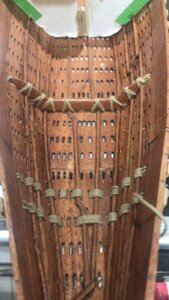
In the magnifiers, there is a rope called “HOGGING-TRUSS” and as its name says..... is for keeping the hull bottom curvature. Once it is installed, I guess, I’ll be able to bring the hull to its real form. Also I learned that the frames had their function too....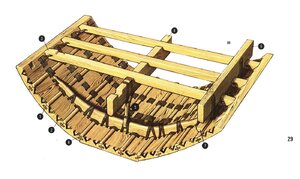
In the way they are tide to the planks, they should work in the other way around......
ONCE THS HOGGING-TRUSS IS STRESSED, THE FRAMES FUNCTION IS TO KEEP THE FORMS IN THE HULL. TOO MUCH STRES IN THE HOGGING-TRUSS COULD DEFORM THE HULL.
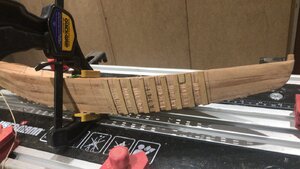
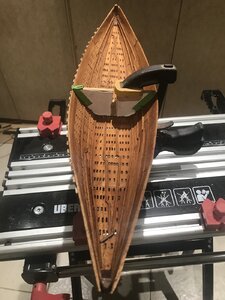
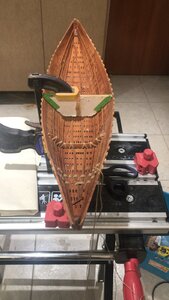
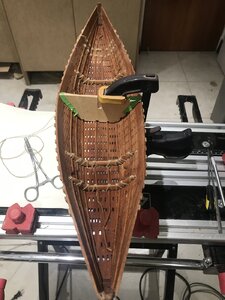
In the mid term I decided to use the false frames to keep the hull forms....
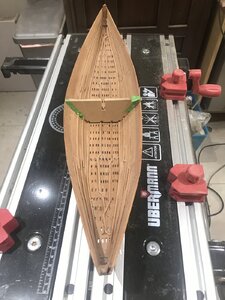
This also taught me that the planking needed to be reinforced since to many Stresses in the process.....
Next chapter we will see how this little issue was solved.........
After taking the “mold” out, the result wasn’t the one I expected..... the hull lost its forms and it looked like a “bath tube”

In this picture...

In the magnifiers, there is a rope called “HOGGING-TRUSS” and as its name says..... is for keeping the hull bottom curvature. Once it is installed, I guess, I’ll be able to bring the hull to its real form. Also I learned that the frames had their function too....

In the way they are tide to the planks, they should work in the other way around......
ONCE THS HOGGING-TRUSS IS STRESSED, THE FRAMES FUNCTION IS TO KEEP THE FORMS IN THE HULL. TOO MUCH STRES IN THE HOGGING-TRUSS COULD DEFORM THE HULL.
In the mid term I decided to use the false frames to keep the hull forms....

This also taught me that the planking needed to be reinforced since to many Stresses in the process.....
Next chapter we will see how this little issue was solved.........
Last edited:
Wow this is phenominal work!! Bravo!!
Thanks a lot
Just starting. A long way to go
- Joined
- Apr 20, 2020
- Messages
- 6,245
- Points
- 738

I read all of your blog and the photos you attached to it, this is one of the most unique and impressive models I have seen. Well doneMy first frame!!!!
View attachment 165397
View attachment 165396
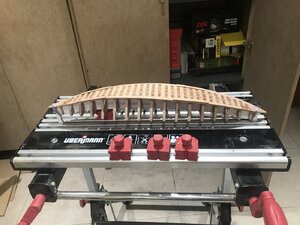
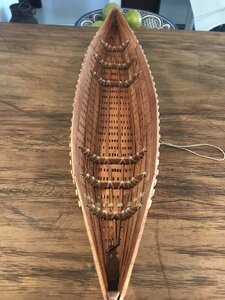
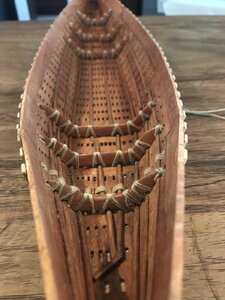
Not glue just sewed!!! ....... and it worked

I read all of your blog and the photos you attached to it, this is one of the most unique and impressive models I have seen. Well done
Thanks a lot. Learning a lot
Taking the false frame out is confirming, that this way of structure was working - looking very good 


