Endeavour 1934 - yacht J-class - 1:80 Amati

Joined
Aug 14, 2018
Messages
490
Points
373

Location
France
It's been a while since I started this boat, but I'm moving much more slowly than usual...
It's summer, I have things to do outside the model.
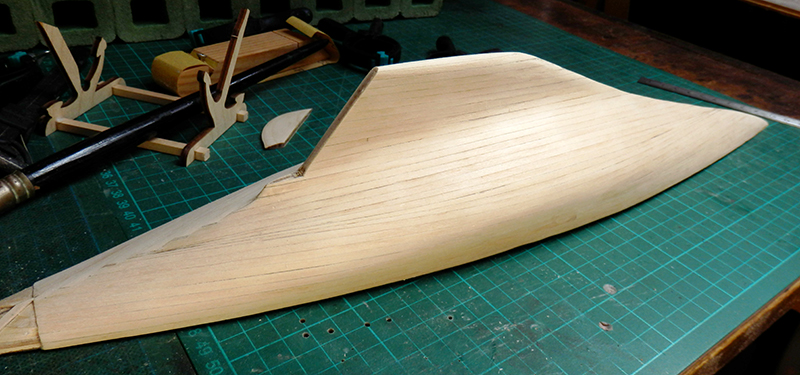
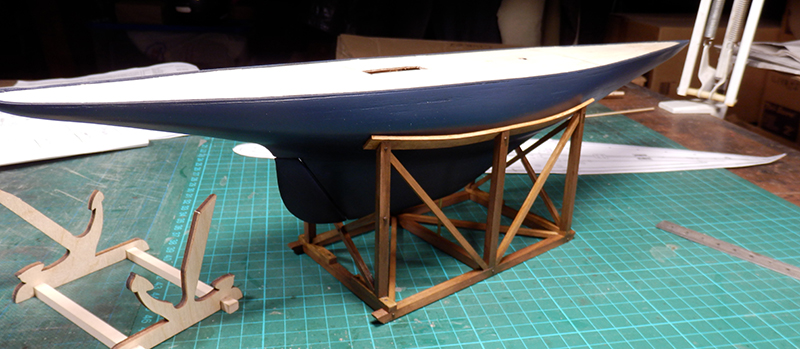
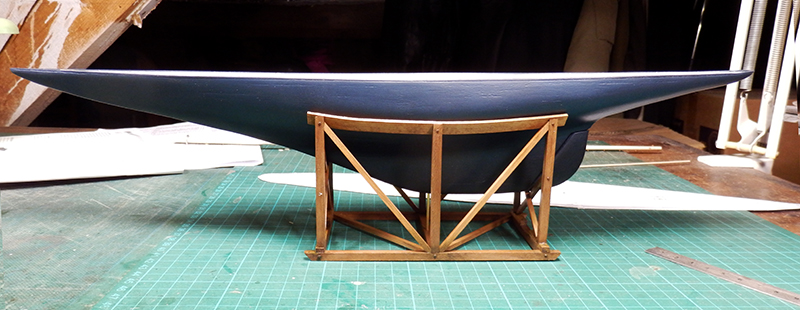
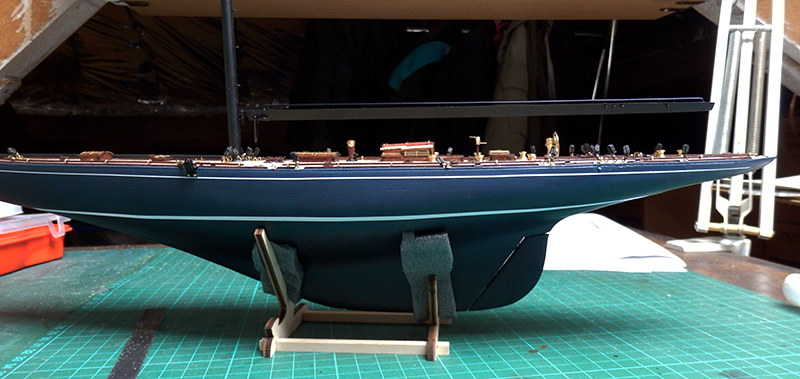
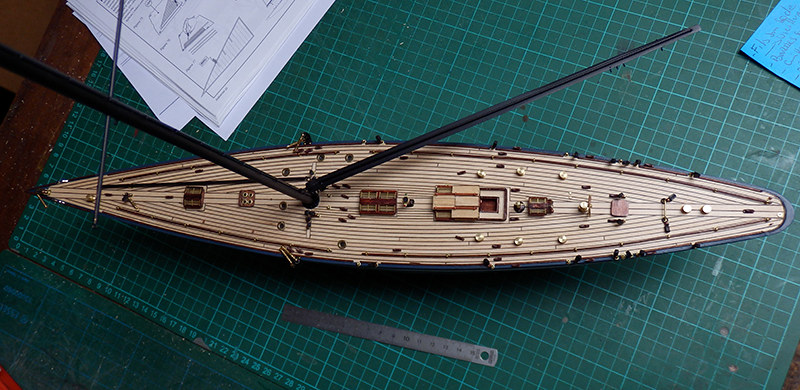
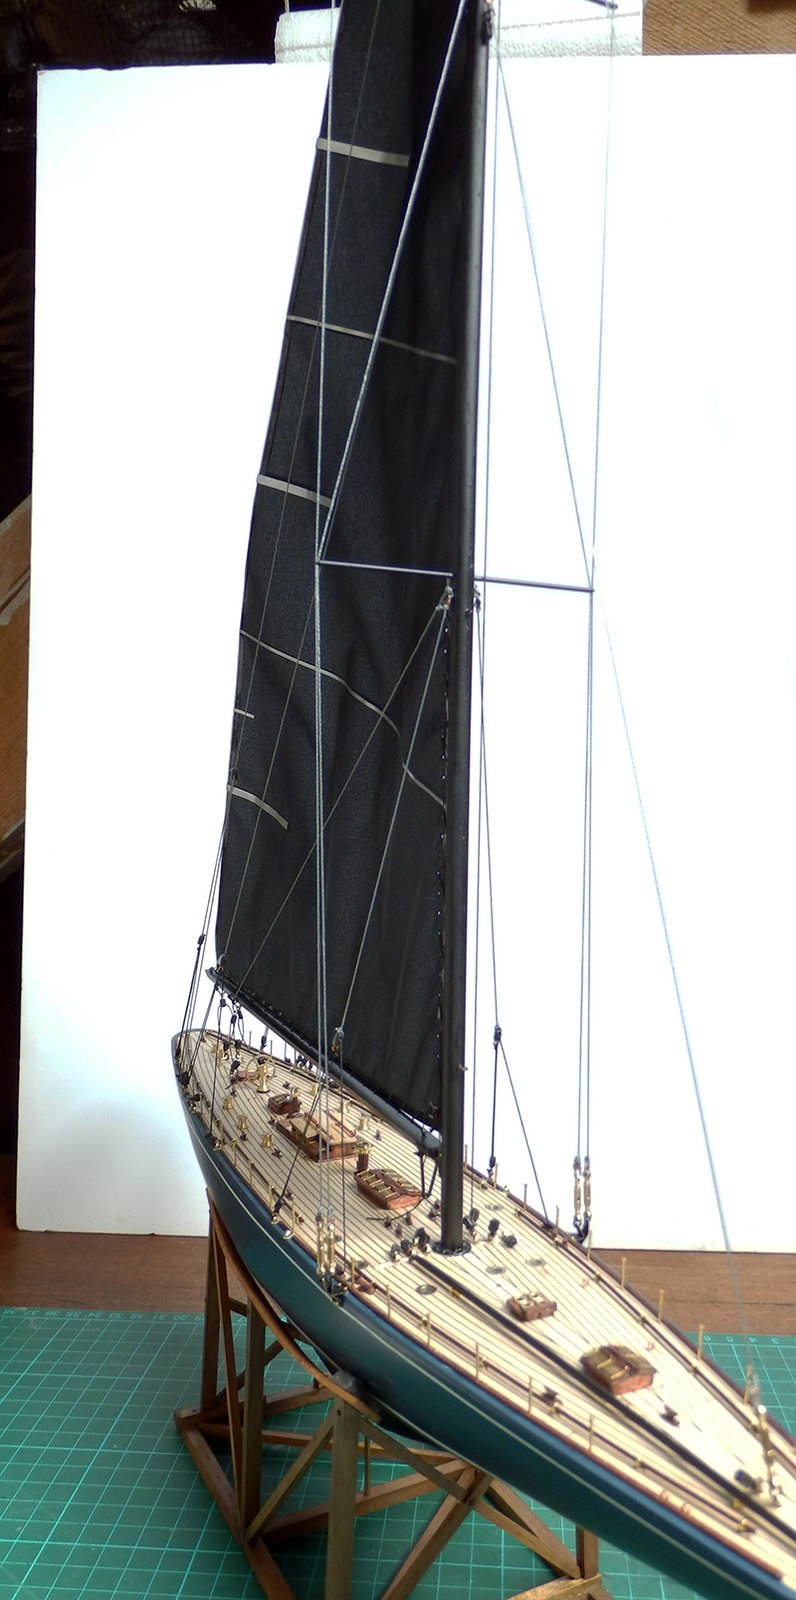
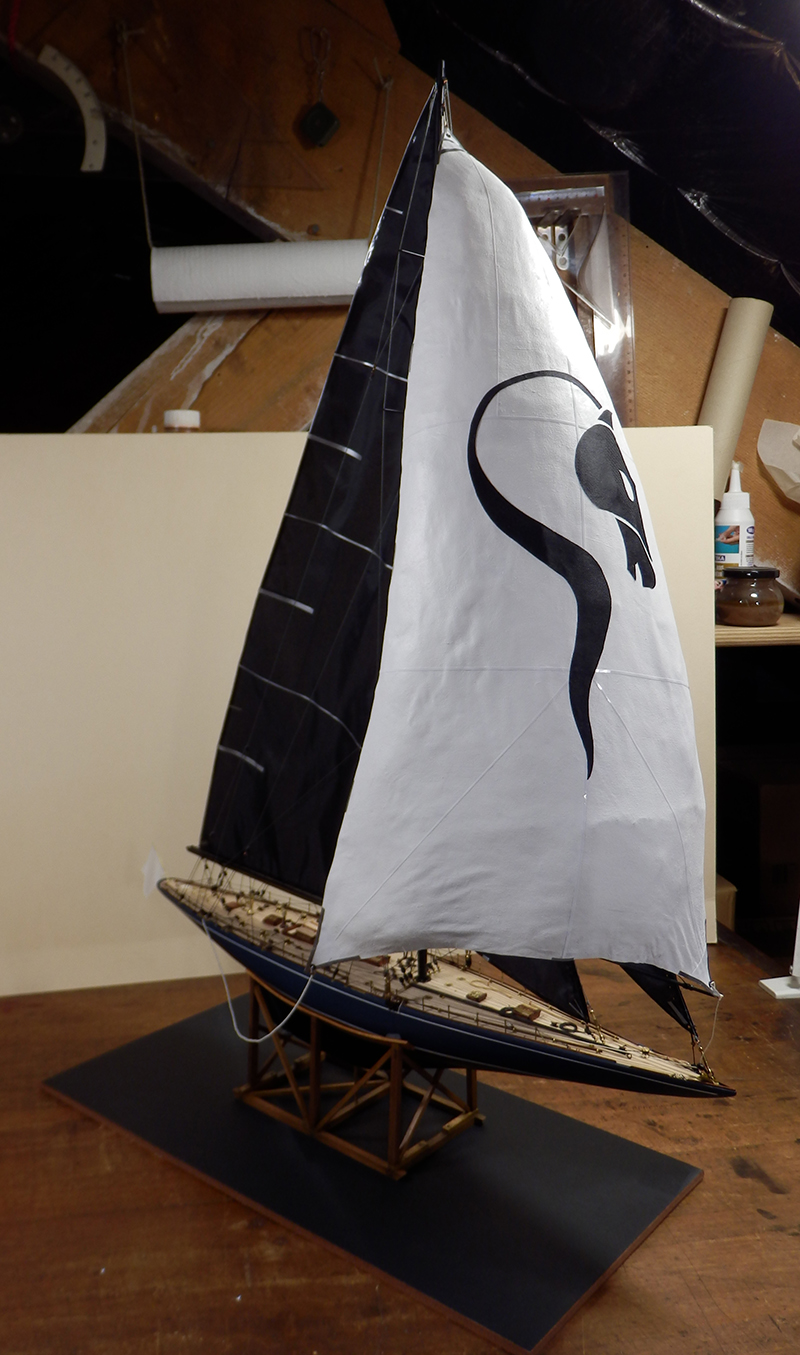
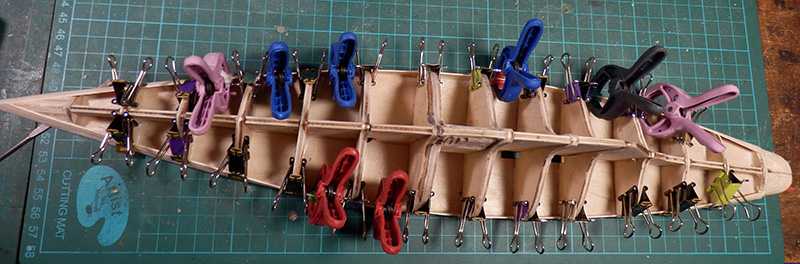
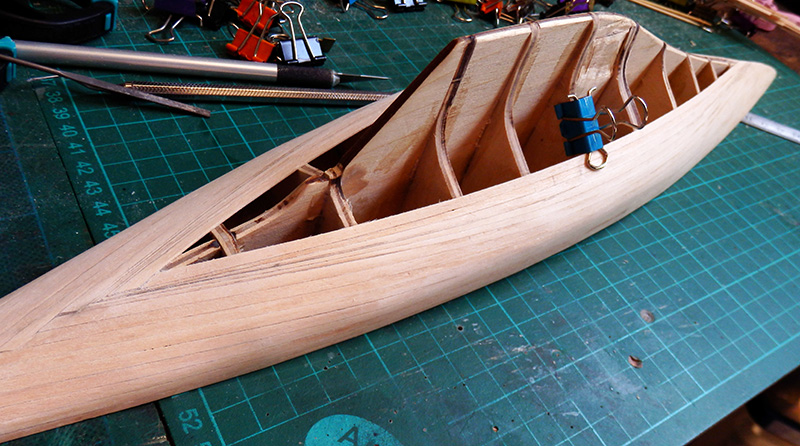
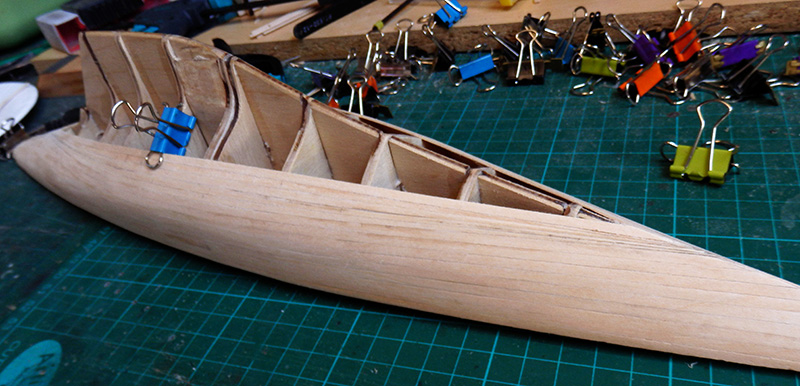
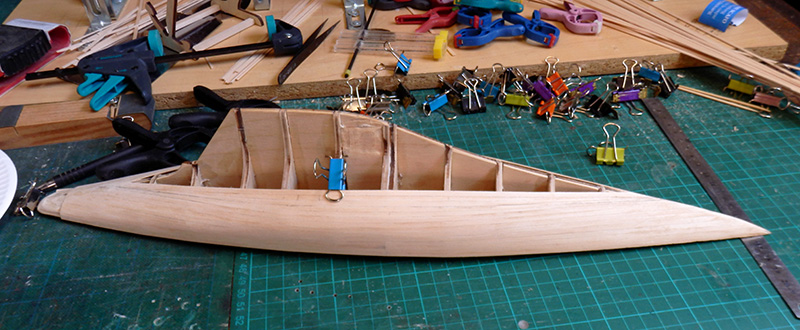
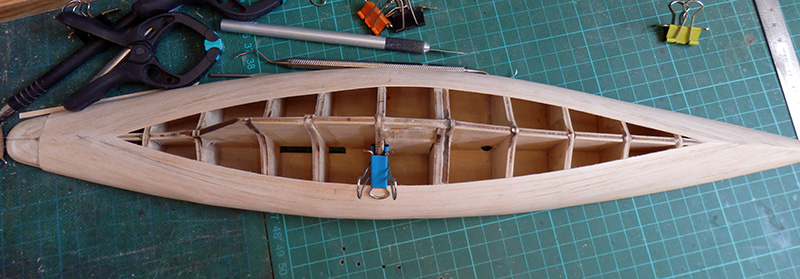
This is the 1934 J-class sailboat Endeavour, America's Cup challenger.


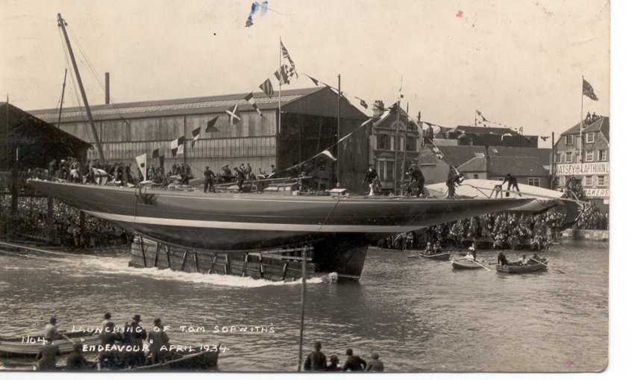
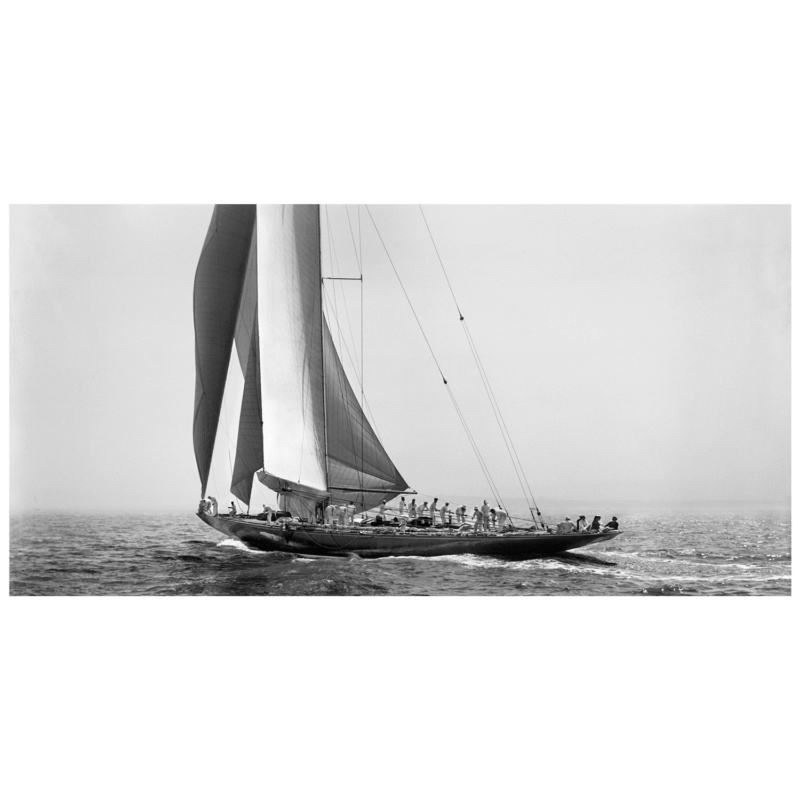
An elegant sailboat with very pure lines, a design made for the race!


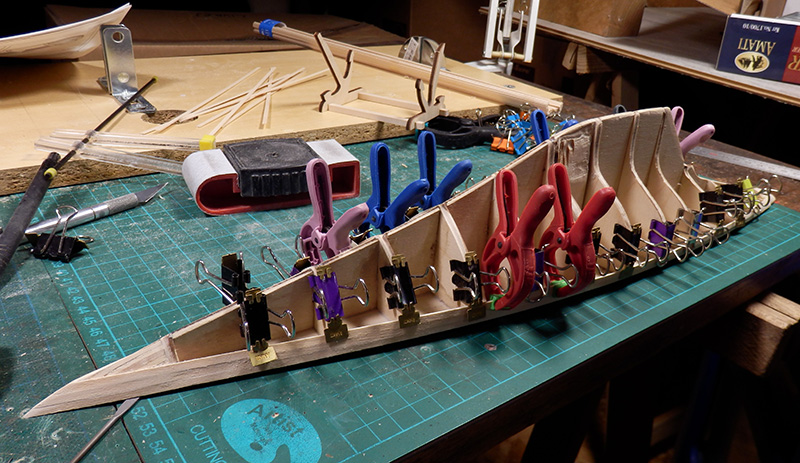
The kit is from Amati 1:80, plank-on-frame construction, classic.
Well, as usual, I will not stick to the stuff recommended in the box in terms of colors or furnishings ...: ds:
I will still do as I feel, and I have some ideas!
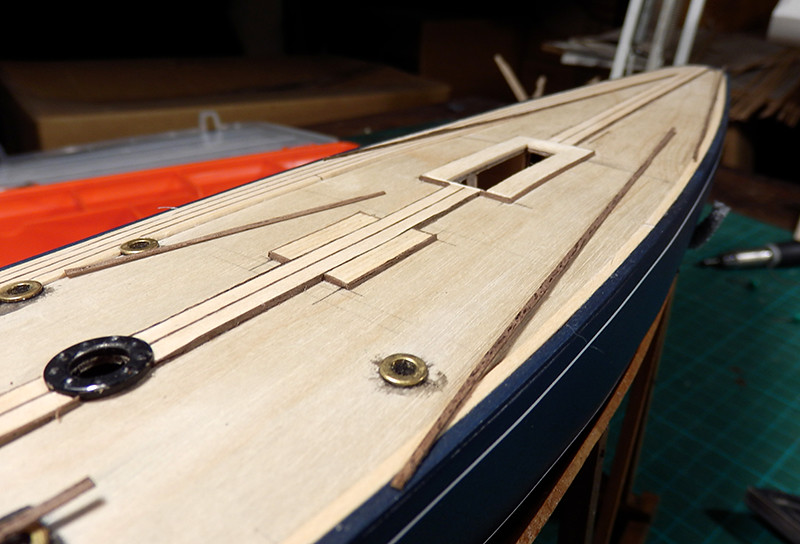
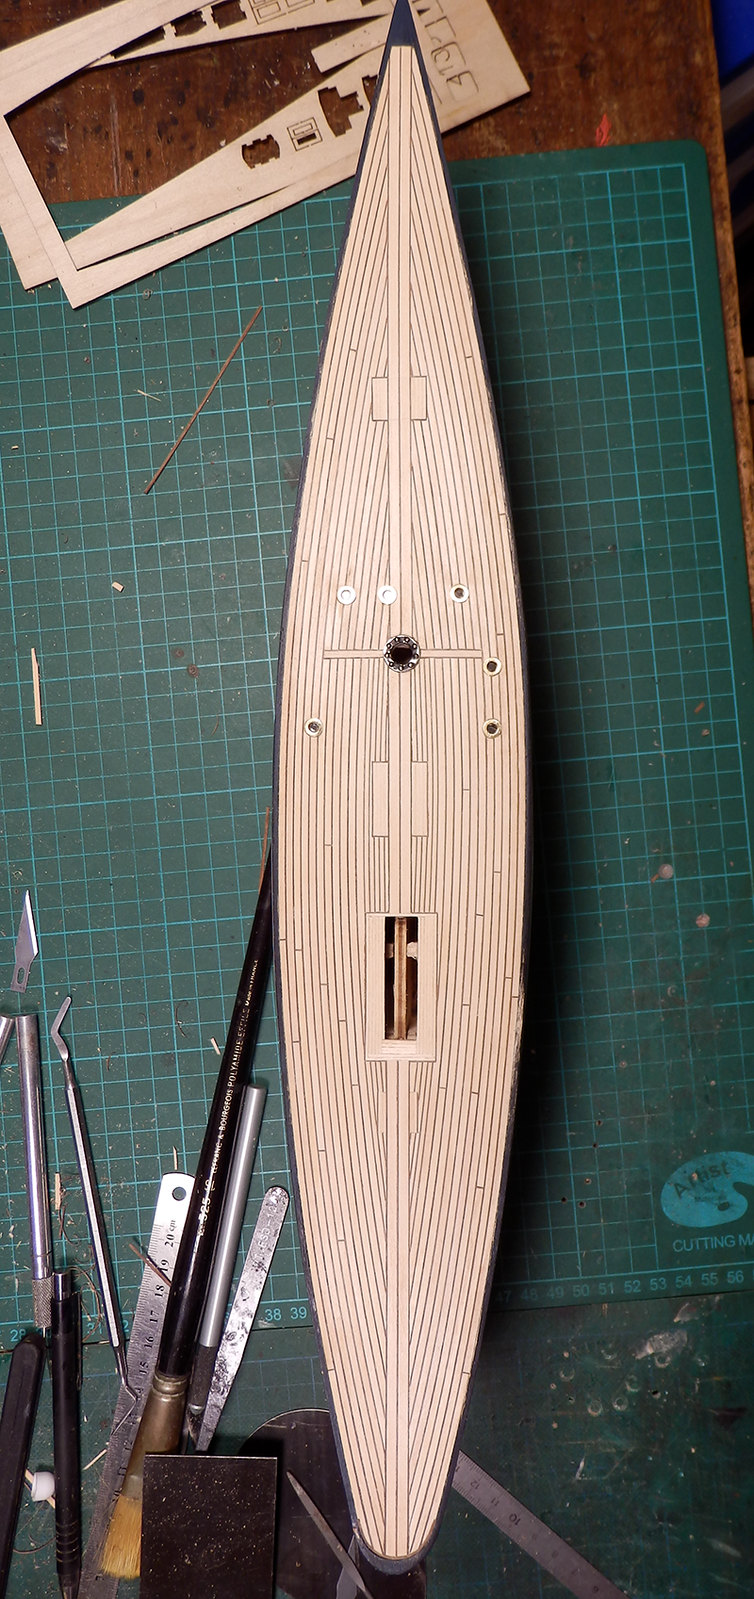
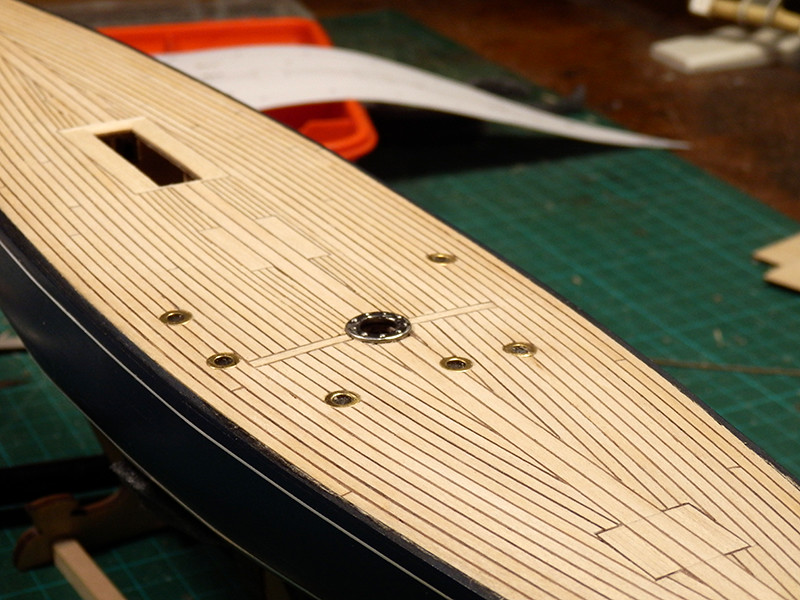
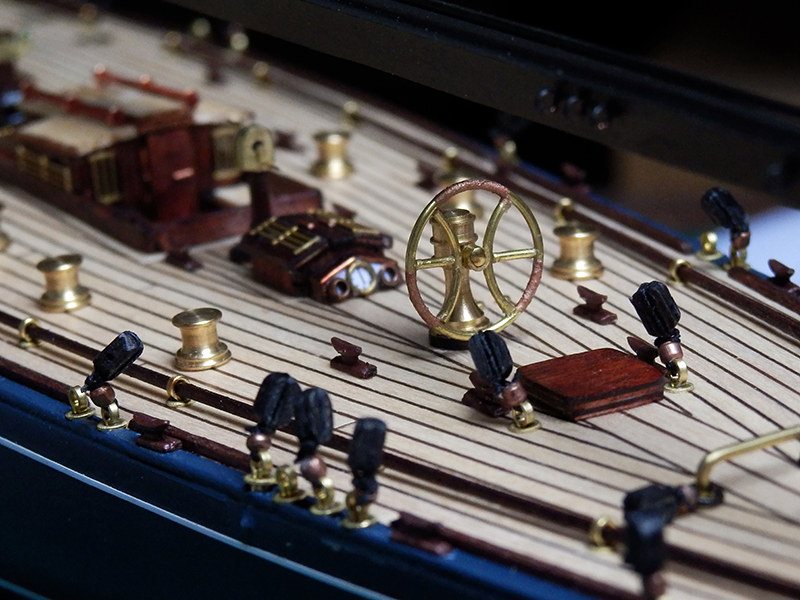
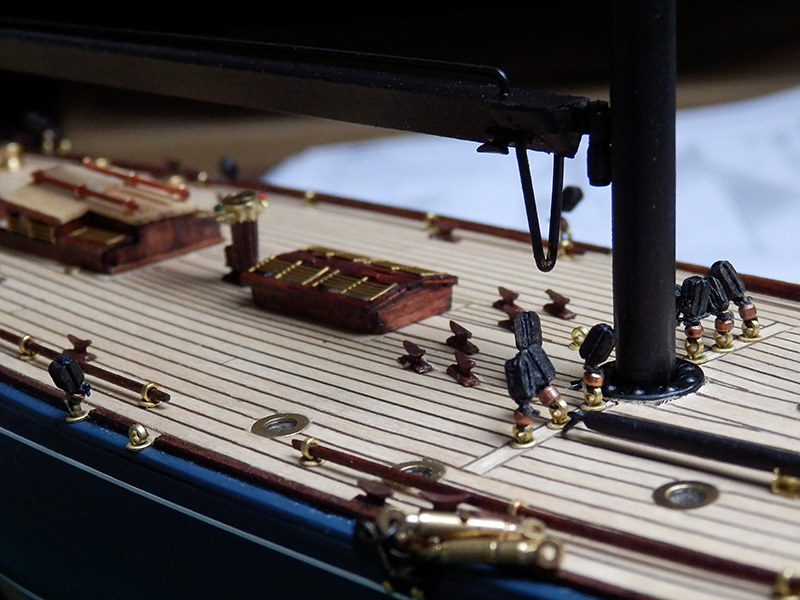
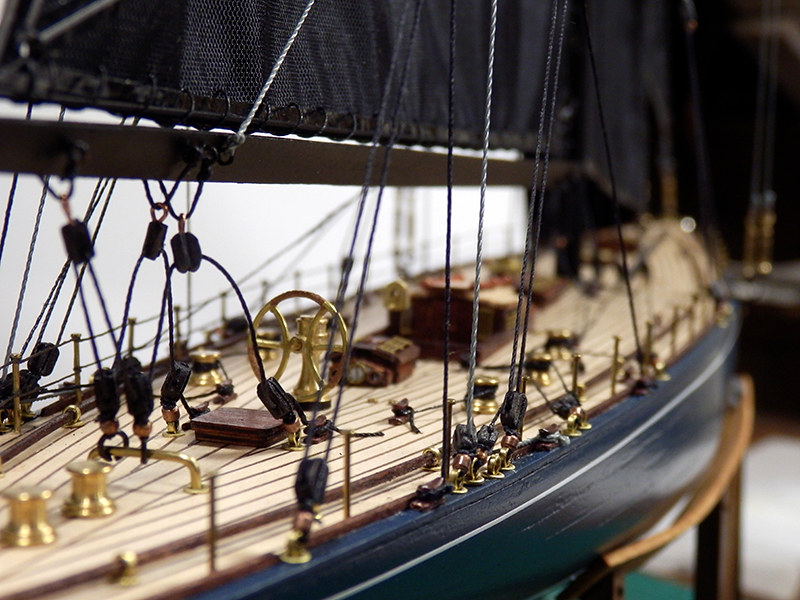
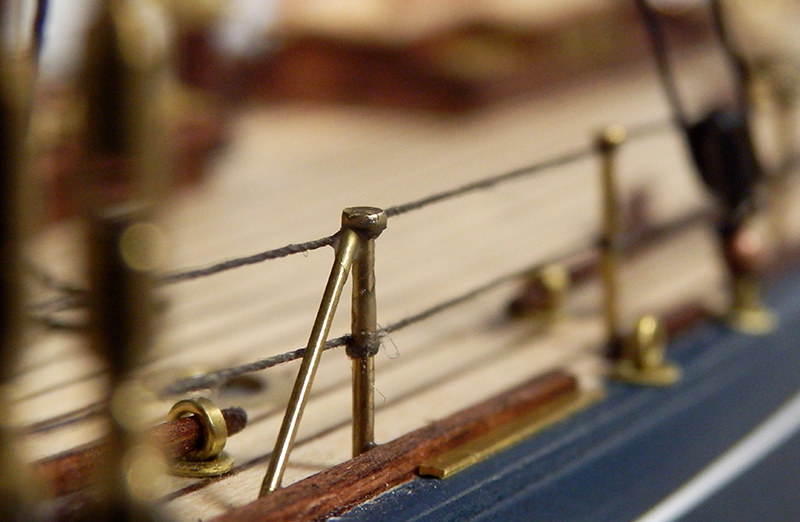
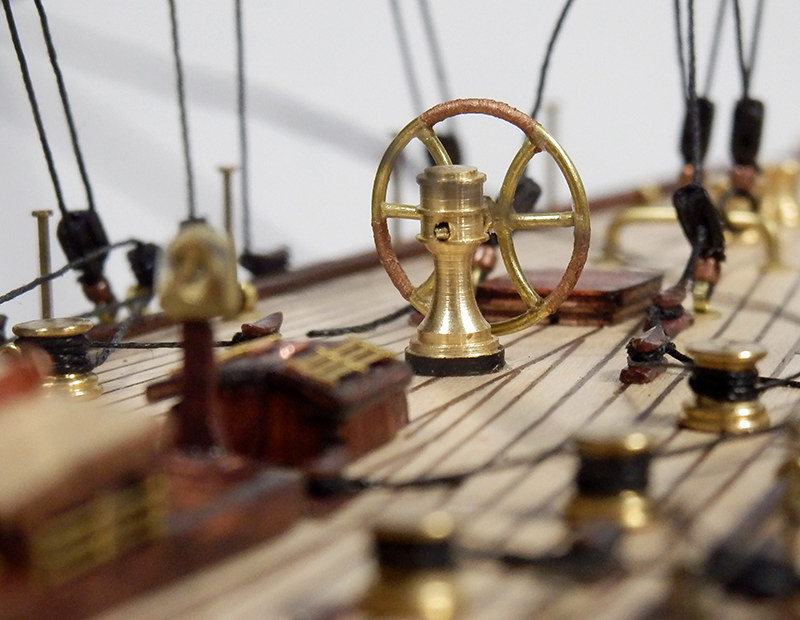
The kit is simple, even simplistic on deck elements in particular: I will have to review all that.

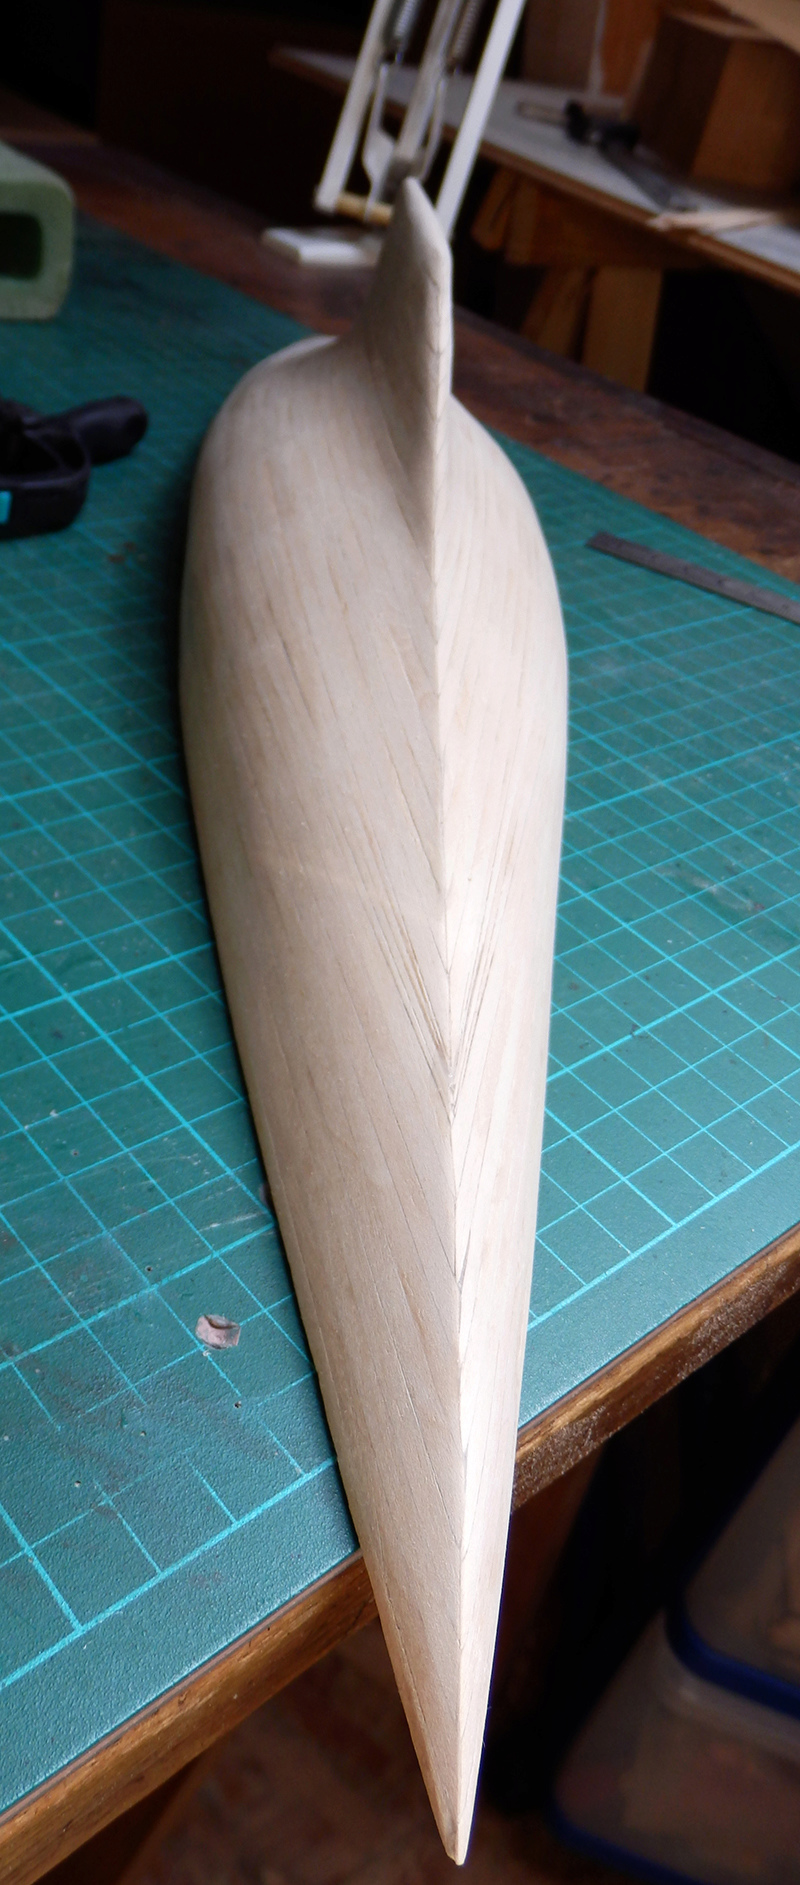
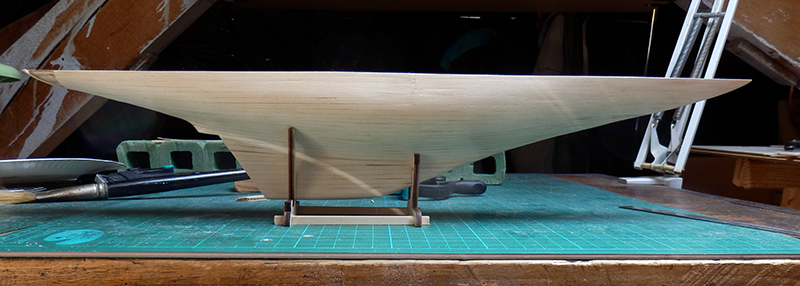
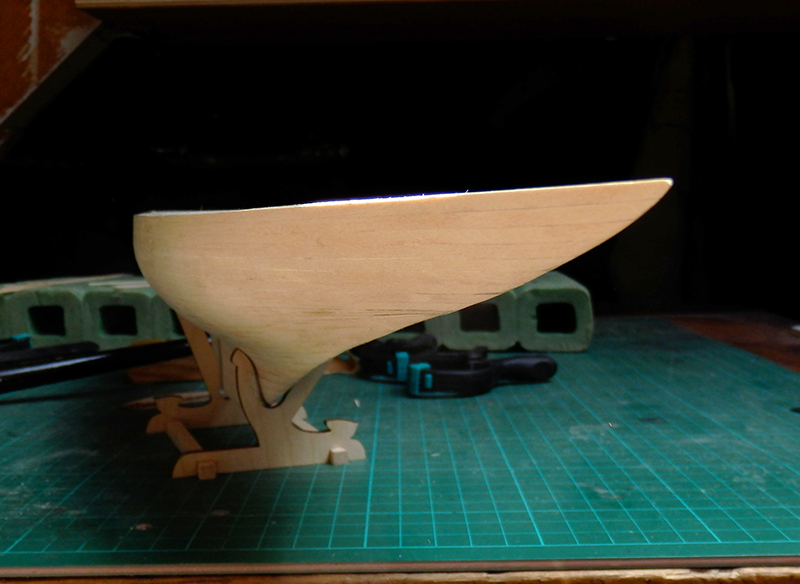
So, for now, it's about making a hull about right. I'm only here:


Last edited:
Yes, of course: it is planned a second planking mahogany 0.5x3mm.

In theory, the kit provides blue colors above the waterline, mahogany varnished below.
I do not want that for this model, so the 2nd edged mahogany becomes useless. So, it's up to me to do the first correctly so that the hull has a beautiful line, and receive the painting!

But if I ever miss, I can always put this second skin... ;)
 
I wanted to close this hull before leaving a few days: it's done!
After, I will finish the stern with a lathing diagonally, and the rudder that will finish the refined line of this hull ...
Then comes the moment of slight touch-ups to the wood-pulp (could not do better ...), then fade, then the deck, and painting the hull. :)


I advanced a little on this J class. :)

First the support after those made on the shipyards (tinted and aged to contrast with the new and very smooth side of the boat).
He replaces that of Amati (left) that I find ugly ...

Then the hull is finished, sanded, passed with a varnish, repointed (2 times). Then painting: at least 4 or 5 layers to have this gradient from blue to black towards the keel.

The mast and the boom are made, but not painted.
Next step, the lathing of the deck ... A long time to pass on! :cool:


The deck of Endeavour is moving slowly!
I'm not very often on it right now. And then, we must recognize that lathing and the method chosen make it a crazy job ...
Linden slats in 1x2mm with walnut joints of 0.5x1mm placed on the edge!
And why be simple when it can be complicated: I added islands in 1x1 under each important piece of equipment to come (roof, crew descents, etc ...). Finally, I did not want kit portholes that look like round head rivets over the deck. So I opted for brass washers, filled with glazing (a rhodoïds below, transparent resin to fill the central thickness). And suddenly, you have to dress with slats around everyone ... :cool:

It must be carefully equalized with an X-Acto blade (no sanding). And when everything is laid, it will be necessary to go to the scraper gently, then a hard coat with a cloth to keep realism ... :p

So, here we are :

48714299482_20171ce414_b.jpg


48713804283_c11d194c94_b.jpg


48714299202_bf474187ca_b.jpg


48714298912_d97253fed9_b.jpg


48714132411_a7f741b325_b.jpg
 
Wow - this is getting a beautiful deck - with the two different kind of timber - we can imagine, that this is really a huge work
Thanks for sharing this working step and progress
 
The following: the deck is equipped!

It was not easy. It was necessary to compromise between the equipment provided and some improvements ... But overall, this deck is busy!

For example, where a single brass wire was provided for the 4 step boards along the edges, I replaced with stained wood; Or the coachroof that was lifted to receive a roof more in agreement with the deck, finally the pulleys that are black with a copper reminder to push a little the luxury of this boat. ;)

48792346266_a9c5e789b1_c.jpg


48792489167_fe8f668abc_c.jpg


48792488297_2f51bf2697_c.jpg


48792343851_674ca34261_c.jpg


48791980743_1b826ca33e_c.jpg


48792341791_b0e24bc2f3_c.jpg


48792485527_a80984f05a_c.jpg


48791978313_3d977ca978_c.jpg


48792484842_a176ac3637_c.jpg


Now, the rigging and its huge sails! :)
 
Well, here I am at rigging rigging and sails!
Everything is matte black or shiny.
The turnbuckles are a personal addition: this Endeavor deserves better than knots ...

To create the sails, I wanted a canvas that reminds me of the current mylar of tall ships ... After looking everywhere, I found a coated canvas that was nothing but a costume travel bag ... :cool:
I completely dislodged it, then cut and edged with a semi-matte cloth sticker to make the headline. Then decor and structure with gray piping with brass wire to replace the battens of the mainsail.
The sails are "sewn" on the mast, the boom and the guy wires. :)

48860242167_c80f7045e8_b.jpg


48860243532_4a4c1407f4_h.jpg


48860049331_56485d5947_b.jpg


48860049866_12fa280d60_c.jpg


48859696968_e04273c5d8_h.jpg


48860051091_660b1d82a7_c.jpg


I have also added amounts for the metal rope hoop to come. ;)
 
That's it: you have to go after an idea ... :p
I'll give it to you as it is.

I'll post the details to do that ... I really needed to be motivated to find the material, do the testing and realize!
The result is not perfect, but I wanted to put a spinnaker on this Endeavour! I have never seen it on a boat of this type in static. :)


Back
Top