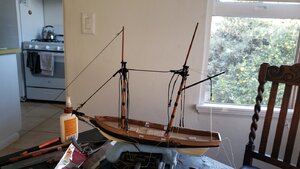
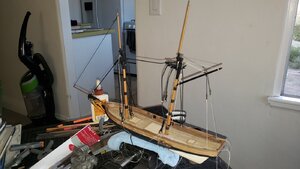
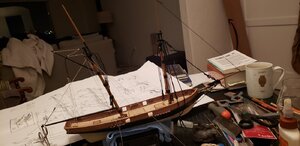
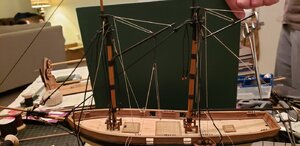
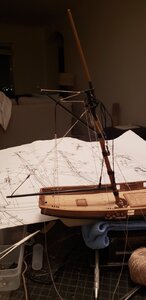
First Build: Black Prince (1775) Colonial Schooner - Mamoli - 1:57 - Double Plank on Bulkhead

Hi Eric, I think Uwe pointed out the oversized mast diameter themselves not the woolding. However, as you pointed, the wooldings do look oversized as well. Never afraid to re-do. The goal is not to do it anyway, the goal is to do it right! Even if it will require redoing multiple times. Repetition - is what makes the experience! If you did a good job the first time, you will do only better any consecutive times. Good luck! Thumbs-Up
 
If you did a good job the first time, you will do only better any consecutive times. Good luck! Thumbs-Up

You were right, Jim. I did go ahead and redo the woolding and I think it looks much better. So, I did do an even better job the next time. Hey, maybe I could actually get good at this.
 
Last edited:
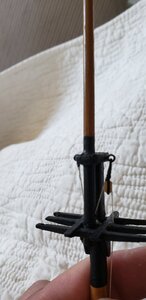
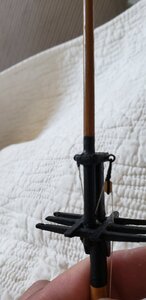
So I am beginning some of the mast rigging on first build, and I've decided I want to add parrels. I'm curious what folks typically use for parrel beads. I've been shopping for beads, but cant seem to find anything that seems appropriate to 1/57 scale. Hoping someone can share their ideas.
 
So I am beginning some of the mast rigging on first build, and I've decided I want to add parrels. I'm curious what folks typically use for parrel beads. I've been shopping for beads, but cant seem to find anything that seems appropriate to 1/57 scale. Hoping someone can share their ideas.
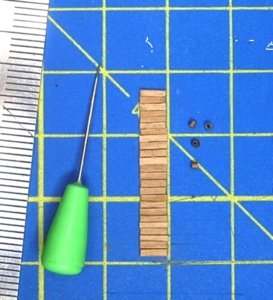
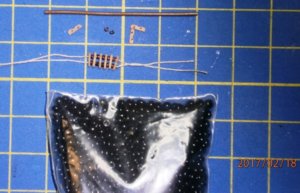
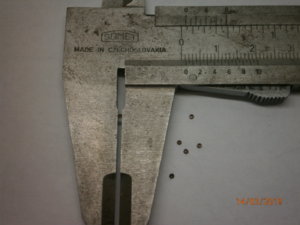
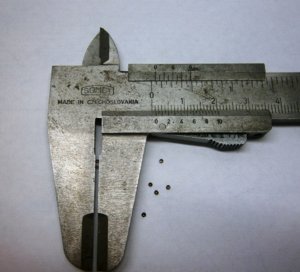
My way of making beads out of telephone cable: I cut the brown insulation into little cylinders, burn them on wire and cool down, making beads around 1 mm in the colour of wood..

příprava lištiček na parral (1).JPG


nejmenší korálky.JPG

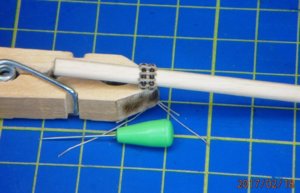
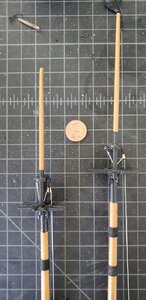
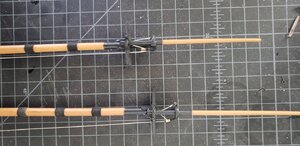
Parral 4 mm...

parral 4 mm.JPG


P3140015.JPG

1:90 scale, parral 4 mm a 3 mm..

1-90 scale.JPG
 

Attachments

  • 1,1 mm.JPG
    1,1 mm.JPG
    379.9 KB · Views: 1
Last edited:
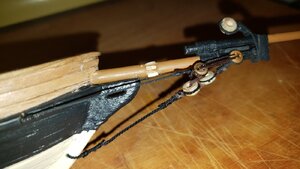
And the bowsprit...

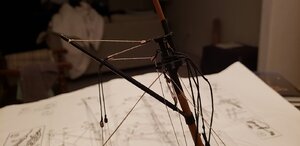
Jibboom in place with beeblocks and dolphin striker
20190830_131153.jpg

Jibboom lashed down and bowsprit guys and bobstay rigged with lanyards. I'm really learning a lot about rigging at this point. I think I prefer hearts and bull-eyes to deadeyes for stays. Made the bull-eyes here from scratch.
Also, all my rope from here on out is home-made.
I definitely could use some practice splicing and seizing these little buggers.

20191107_140242.jpg
 
Experimenting with a few different rigging plans as I learn. I'm choosing to use the rigging plans that I found in Marquardt's American Schooner.
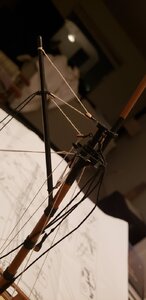
This shows the schooner stay which runs nearly parallel to the deck to leave clearance for the fore gaff. This is an alternative to the stay which runs diagonally from the mainmast top down to the foredeck, which would obstruct the movement of the sail.

20191111_161346.jpg20191111_161406.jpg


These next two show one variations for the peak halliard, one using a single block at the masthead forming a "sigma" shape. The next one loops the rope through a double block. I'll be going with the double block arrangement shown in the bottom image for the peak halliard.
(The hemostats are just there to weigh down the gaff for the photo :).
20191111_222759.jpg20191122_173352.jpg
 
Last edited:
Just catching up on your great build log. Excellent work so far.
Thanks, @Brian077 . I have learned an awful lot on this one. I still need to develop some skills with practice, but I'm quite proud of the rigging knowledge I have acquired so far.
 
Last edited:
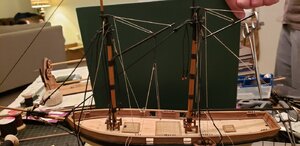
Peak halliards for both masts are all rigged, along with the throat halliards. As I said before I was experimenting with some different rigging methods, especially for the peak halliards. Close ups of both methods are shown here.

20191111_223132-jpg.157908


20191111_223127.jpg20191111-222856.jpg

Peak and throat halliards and the boom topping lift all set. Decided to go with a single topping lift on the main.20191122_173352.jpg
 

Attachments

  • 20191111_223132.jpg
    20191111_223132.jpg
    91.9 KB · Views: 198
In your pics from the 15th I love the chair back too, but that vacuum sucks man... LOL
@Clair G , Wow....LOL. Yes, I love the chairs too, got 'em for a steal.

@Heinrich , Thanks for the compliments. It's been a learning experience for sure, but I'm happy with it. Learning all the rigging has been an absolute joy--and my modeling library has grown enormously. :cool:
 
Super excited about this...I got a simple rope walk and have been practicing rope making for my rigging. I also discovered this Period Ship Rigging Spreadsheet which uses Lees's calculations from Masting and Rigging of English Ships of War, 1625-1860 to calculate the size of each line (real and scaled) of standing and running rigging. Terrific resource! And the Lees book has been incredibly helpful in understanding the web of rigging on my schooner model as I "learn the ropes". I'm sure many of you are already aware of this spreadsheet, but I am sure there are a few out there who will find it new and useful. As always, I am incredibly impressed by the dedication to realism among ship modelers to create these resources. I can only hope to approach that dedication and the skill of those I have admired on this forum.View attachment 109891View attachment 109908
The other challenge is to determine between hawser and cable laid lines and the possible challenge of walking your own left hand cable laid. It seems that most commercially sold line is right hand hawser. Maybe I am wrong which would not be surprising. PT-2
 
Dry fit of deck furniture. I decided to paint the deck under the grates black to simulate darkness below, but I am loving the models I have seen with a built-out gun/tween deck below. Looking forward to my next model for that. Pretty happy with the grates overall, but I realized I butted them at the corners--I'll try a fancier method next time.

You have a good looking build so far. Looking forward to your final with the rigging in place which is my greatest challenge in coordinating what to place on the deck/hull before stepping the masts while good access and working space are available. I can't find mini-riggers here to do it then. PT-2
 
Peak halliards for both masts are all rigged, along with the throat halliards. As I said before I was experimenting with some different rigging methods, especially for the peak halliards. Close ups of both methods are shown here.

20191111_223132-jpg.157908


View attachment 157909View attachment 157910

Peak and throat halliards and the boom topping lift all set. Decided to go with a single topping lift on the main.View attachment 157907
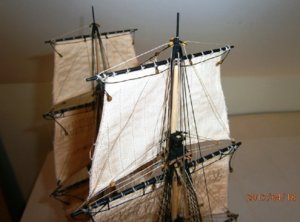
It looks like you may do this without sails which avoids a lot of problems that I have had with my pilot boat build. I threaded the forestay sails through the stays before those were connected, along with downhauls, to the jibboom; had to thread the fore and main sails with their hoops onto the masts before stepping, and to the booms as well as tying on the upper sails to their gaff booms. All of which gets in the way of the following rigging. I will have to think about this before doing it again to not smash my thumb twice. I did serve my stays and shrouds though but have not walked all of the lines as you have for scale accuracy. Great determination and results. PT-2
 
Correct. No sails on this one. This was my first build, so that was a level I was not ready for --- nor would there have been guidance from Mamoli on that.
 
Correct. No sails on this one. This was my first build, so that was a level I was not ready for --- nor would there have been guidance from Mamoli on that.
Going back to look again it looks like your grates on the deck are very well done. Those are something that I can't get straight in my head how to produce. I also noticed your Serve-O behind the backdrop. I tricked my own with pushpins on the right turning arms for easier turning and added a wooden extension with a slot to guide long served stays/shrouds to two wooden spools where the nails are placed on the left. Those made the use for me of stays up to 24 inches long feasible without separating the serving on the line by bending it too sharply around those little nails. Your ship overall will turn out great. Rich (PT-2)
 
Back
Top