"Flying Cloud " by Mamoli - kit bash

Rather than simply "putting lipstick on a pig", there is so much more in a woman's makeup kit. Try everything! Adding different types of makeup may give you something beautiful!

Bill
Thanks, Bill. There has to be an aesthetically sound structure under all that makeup. I'm working on it. Right now, it has a lot more in common with a restoration project, carefully undoing previous less than acceptable work, and slowly bringing it back to a higher standard. The difference here is that I have no customer waiting at the other end and no time constraints. More patience, less unbridled enthusiasm. :rolleyes:
 
I agree. However, I am not advocating for caking it on. You the builder knows what hasn't turned out right. It's simply a matter of making the necessary corrections and no more. Keep it going; we are here for any helpful advice and to help you keep it positive!

Bill
 
I agree. However, I am not advocating for caking it on. You the builder knows what hasn't turned out right. It's simply a matter of making the necessary corrections and no more. Keep it going; we are here for any helpful advice and to help you keep it positive!

Bill
Thanks. That's very encouraging, because it's very slow and tedious and not a little frustrating. Plus, I'm getting a sore wrist from the constant back and forth of a lot of sanding with a fine grit. (Any scratches you put in you have to rub out.)Cautious
I keep reminding myself, there isn't any deadline. :rolleyes:
 
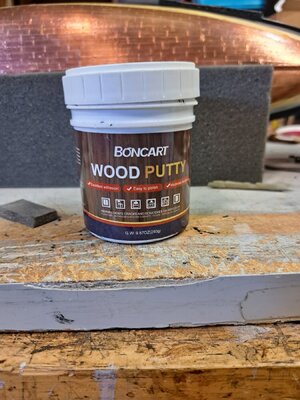
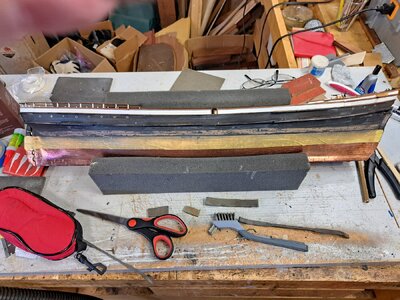
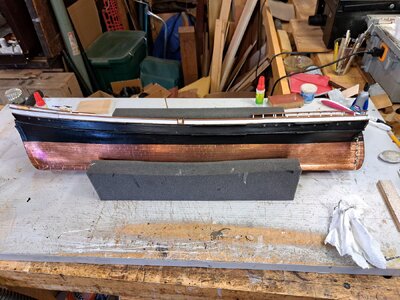
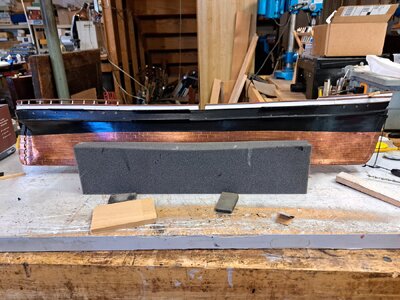
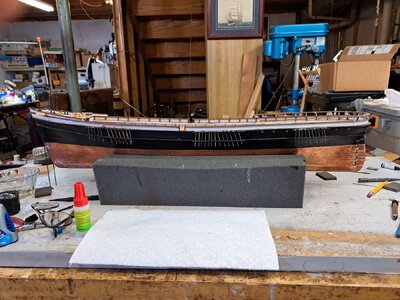
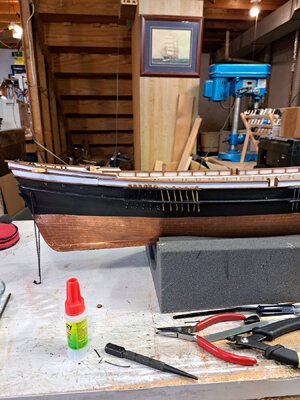
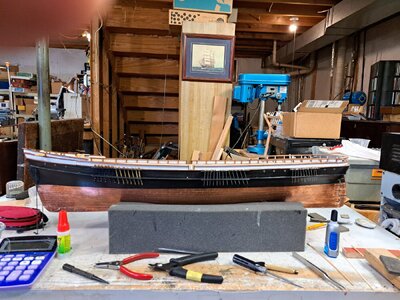
The following is some process pics of (hopefully) improving my hull after much filling and sanding. The filler is a non-toxic water based black glazing compound, easy to apply and sand. It dries fairly quickly. Sometimes repeated applications are required. I used medium and fine sanding sponge cut to sizes most suitable to the areas requiring sanding. The backing of the sanding sponge provides just the right balance of flexibility and rigidity to deal with evening out an uneven surface over compound curves. I mixed some acrylic matte medium to an acrylic satin black to get the degree of satin I wanted just short of flat black. Many hours ensued of sanding, filling and more sanding and not a little cursing along with aggravated arthritis and bursitis. GOD! I hate sanding. Remember any scratches you put in you have to take out. So, start with the least aggressive grit possible to do the job.
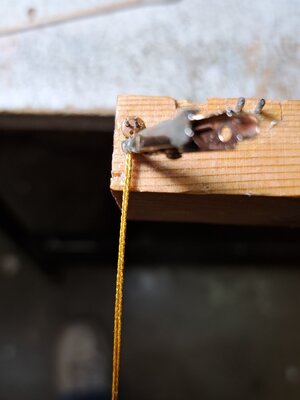
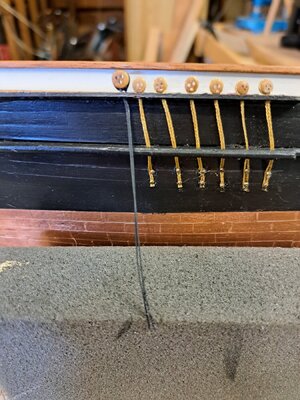
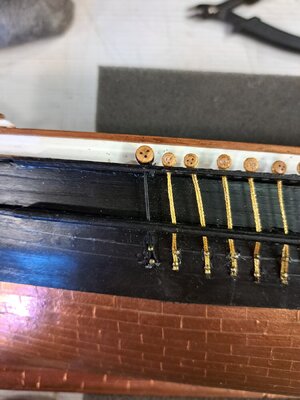
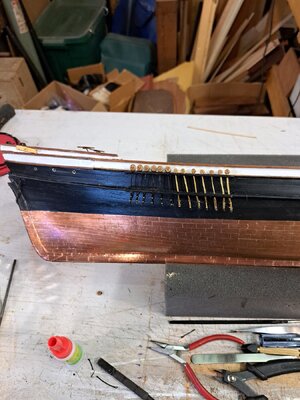
Completing this I started adding the "brass' chain plates. For these I am using a gold twine doubled and the two strands held together with CA, then anchored with brass round head brads. Shown is a mistaken "dogleg" which I removed and corrected. More two steps forward and one back. I will use black line for the black "chains", a process I have used before which gives a satisfactorily effective simplification at these smaller scales. I have no shame. I like simplification. :rolleyes: 20240525_173207.jpg20240526_150654.jpg20240530_145857.jpg20240530_145359.jpg20240530_145509.jpg20240530_130753.jpg20240531_142831.jpg20240531_143444.jpg20240531_144427.jpg20240531_145026.jpg20240531_155303.jpg20240531_165228.jpg
 
I wonder how many of us have pictures of our toes in our build logs?:rolleyes:
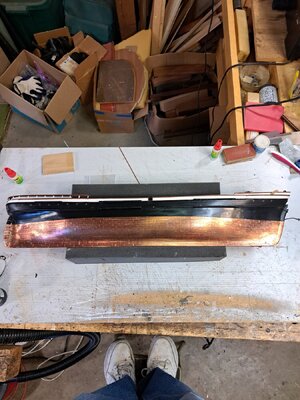
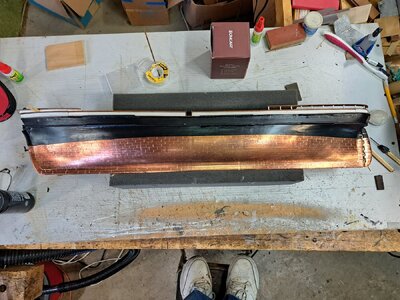
The copper patina seems to be mellowing out nicely. I hope to have a nice antique patina by the end of this process. If the whole thing has a nice antique appearance in the end (like an old "sailor-made" scratch-build), I'll be happy.;)
It looks like there is some "makeup" on that pig! You really appear to be on that road to recovering the Flying Cloud! Well done!

Bill
 
The following is some process pics of (hopefully) improving my hull after much filling and sanding. The filler is a non-toxic water based black glazing compound, easy to apply and sand. It dries fairly quickly. Sometimes repeated applications are required. I used medium and fine sanding sponge cut to sizes most suitable to the areas requiring sanding. The backing of the sanding sponge provides just the right balance of flexibility and rigidity to deal with evening out an uneven surface over compound curves. I mixed some acrylic matte medium to an acrylic satin black to get the degree of satin I wanted just short of flat black. Many hours ensued of sanding, filling and more sanding and not a little cursing along with aggravated arthritis and bursitis. GOD! I hate sanding. Remember any scratches you put in you have to take out. So, start with the least aggressive grit possible to do the job.
Completing this I started adding the "brass' chain plates. For these I am using a gold twine doubled and the two strands held together with CA, then anchored with brass round head brads. Shown is a mistaken "dogleg" which I removed and corrected. More two steps forward and one back. I will use black line for the black "chains", a process I have used before which gives a satisfactorily effective simplification at these smaller scales. I have no shame. I like simplification. :rolleyes: View attachment 450721View attachment 450722View attachment 450724View attachment 450726View attachment 450727View attachment 450728View attachment 450729View attachment 450730View attachment 450732View attachment 450733View attachment 450734View attachment 450735
I have a question for you. Have you considered using a sanding tool as a way to save your wrists and fingers? My favorite for sanding hulls is the Craftsman 3-D sander, with three rotating and pivoting sanding heads. I also use the Proxxon Pen Sander for fine areas. Believe me; they work well! I too have arthritis in my finger joints and had to find alternate ways to sand. Good luck!

Bill
 
Thanks. I'll Give the Proxxon Pen sander a look. I have a sander with small Interchangeable tips which works well where the direction of the scratches is not critical. This tool leaves orbital scratches which is critical under paint. In this case the scratches, however fine, had to be longitudinal in order to disappear under the paint.
 
Bill, thanks for your comments and following along. Very encouraging and helpful!
Thanks to all for following.

Pete
 
Thanks. I'll Give the Proxxon Pen sander a look. I have a sander with small Interchangeable tips which works well where the direction of the scratches is not critical. This tool leaves orbital scratches which is critical under paint. In this case the scratches, however fine, had to be longitudinal in order to disappear under the paint.
I have been using the Proxxon Pen Sander and the Craftsman 3-D Sander for years. Neither leaves scratches.

Bill
 
Having gotten the hull to what I can finally consider an acceptable condition, I have decided to declare victory and move on to adding the deadeyes and chainplates/chains which I am doing in a simplified fashion. I believe the solution satisfies the need to have a believable appearance without belaboring the issue, especially given the exhaustive discourse of late arguing over the pursuit of accuracy and historic perfection. So far, I am pretty happy comparing my model with photos of others in the same scale that I am using as a benchmark. No better, no worse.
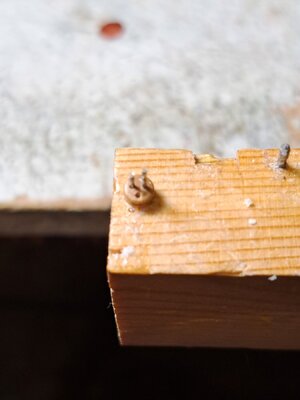
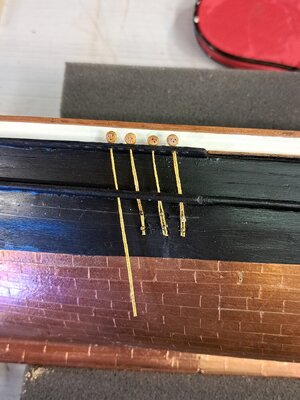
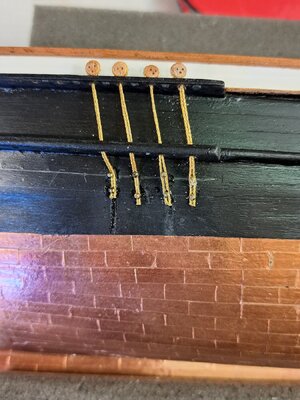
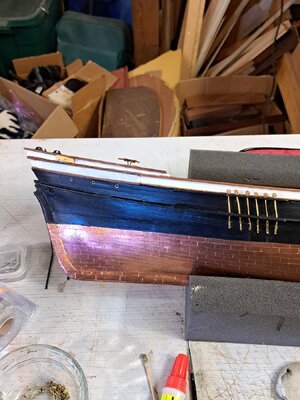
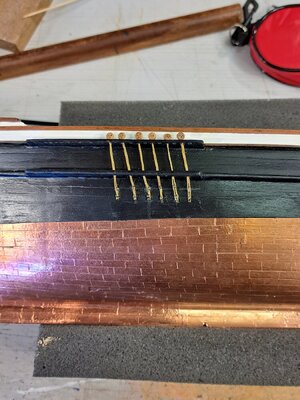
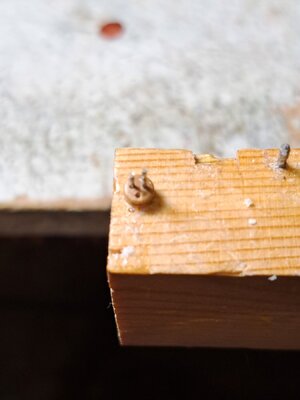
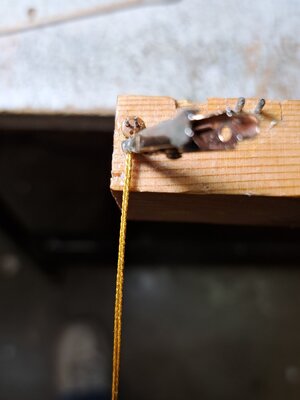
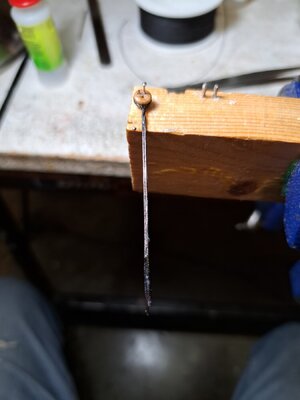
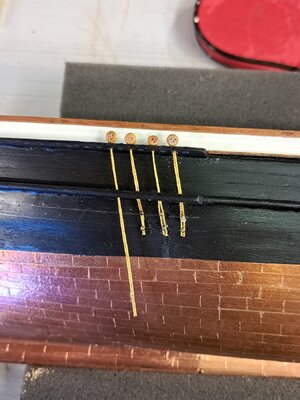
I am using both gold twine for the brass chainplates and black fly-fishing line for the chains. The deadeye is pinned to a wood block. The line wrapped and glued around it, then the two tail ends glued side by side with CA. the ends are fed through the holes in the channels and pinned with brass brads to hold the chains/chainplates in place, having first pre-drilled the pin holes through the chainplate/chain tail ends and into the hull. Works a treat. I first had to fill all the holes in the channels and re-drill them in order to achieve the proper angle to match the angle of the shrouds as they come off the masts. I used "t" straight pins to establish when I had achieved the proper angles, which you can see in the photos. I have completed one channel's worth of deadeyes and chains. Only 59 more to go! :rolleyes: 20240531_142831.jpg20240531_143444.jpg20240603_124012.jpg20240531_144427.jpg20240601_155659.jpg20240601_164406.jpg20240603_114223.jpg20240603_161119.jpg20240603_161216.jpg20240603_163446.jpg
 
Wow! You did great! The pig looks like a lady!

Bill
Thanks. Bill. BTW I ordered a used Craftsman 3D sander with extra discs from E-bay, now that I can't foresee needing it anytime soon :rolleyes: . But who knows? I couldn't resist. It looked like something I ought to have had when I was restoring furniture.:p
I do have a pen sander that I got from Micro Mark. I just didn't know that that's what it's called. The tips were still a little too big to fit in the tight spots I had to sand on the hull. I was able to cut the thin sponge sanding pads to the precise dimensions I required. The pieces had just enough stiffness to cut the high spots and ride over the low, with fine enough grit to leave only minimal scratches to finish over. I didn't want to erase the suggestion of individual planks entirely either. I'm pretty happy with the results.

Thanks again for all the interest and suggestions!Thumbsup Pete
Pete,

It is my pleasure! I use the Craftsman 3-D Sander for shaping the exterior of hull in both solid hull and planked hulls. It works great! I use the pen sander for sanding finer details. I hope they help you!

Bill
 
Back
Top