"Flying Cloud " by Mamoli - kit bash

After hours n' hours of three steps forward, two steps back, I thought I'd catch up on my "Flying Cloud" build log.
A word: If you want to build this ship, start from scratch with BlueJacket plans (or kit from Ebay) or A. J. Fisher plans. The Mamoli bulkheads are too few and far between as well as misshapen. The design is full of booby traps, even for the most ardent of kit bashers. I have spent an inordinate number of hours correcting and compensating for poorly executed product design. It's endless. I have had an old Bluejacket hull in my stash for years. I wish I had started with that. :mad:View attachment 423865View attachment 423866View attachment 423867View attachment 423868View attachment 423869View attachment 423877View attachment 423878View attachment 423879View attachment 423880View attachment 423881View attachment 423882View attachment 423883View attachment 423884View attachment 423885View attachment 423886

View attachment 423888

View attachment 423889

View attachment 423890
Pete! Looks like she'll be huge! What scale? Ultimate dimensions?

Love your workshop! One of these days . . . ;)
 
  • Like
Reactions: BMT
1:96 or 1/8"=1'
28" long hull
I restored a lot of antique furniture down there. Sometimes had a couple other guys working.
Time and tide are getting to us. My wife has (still fairly mild) neurological decline. Caregiving looms large. We'll need to change living accommodations sooner than I'd like and (I fear) workshop along with it, at least to a large degree.
But... we carry on.Ship-1;)
I would have thought she was much longer. And, she will be I suppose with the usual sticks coming out of the front ;)

Sorry to hear your news, Pete. Indeed we do carry on. Lovely Renee and I will have you both in our prayers.
 
Dear Pete. I am sorry to hear about your wife whilst I know the feeling of living with the sword of an impending move over your head, only too well. My thoughts are with you and your wife.
 
Pete,

May we all find and make full use of whatever methods actually remove suffering and bring happiness.

My best to you and your wife during this trying time...

BMT
 
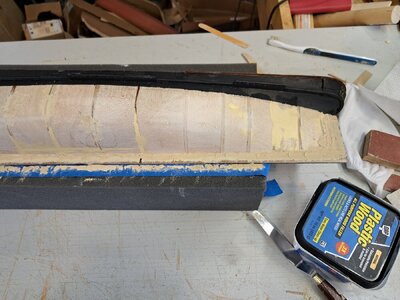
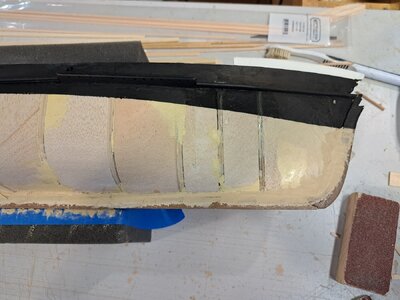
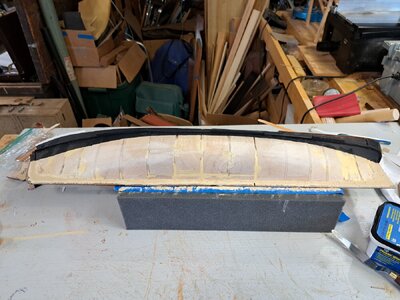
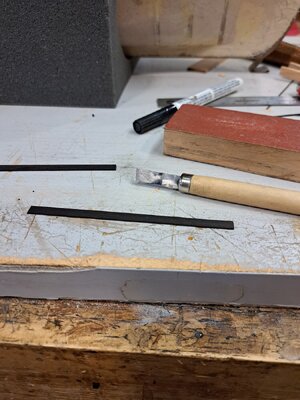
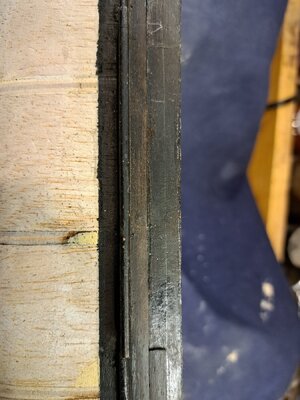
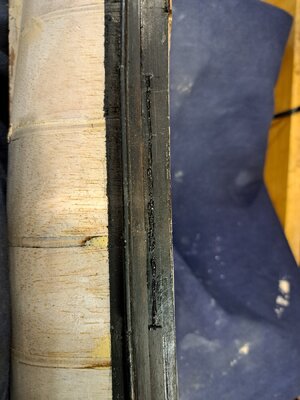
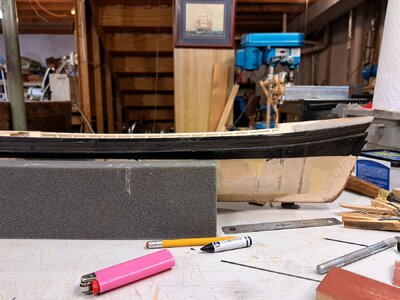
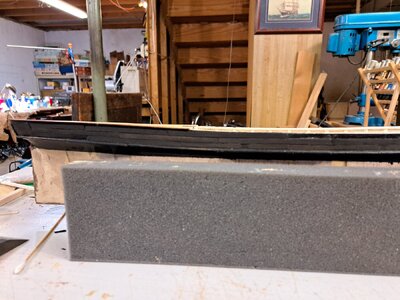
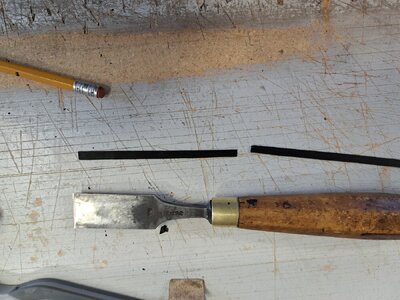
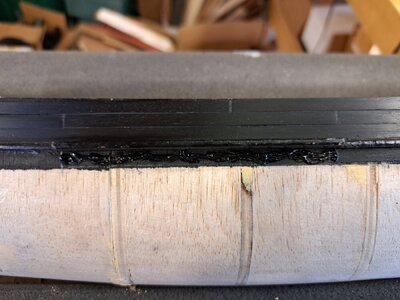
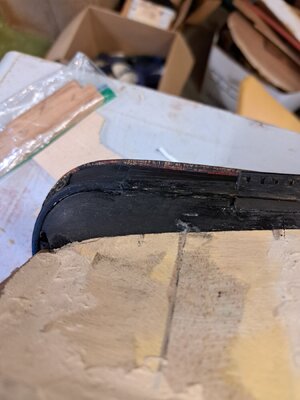
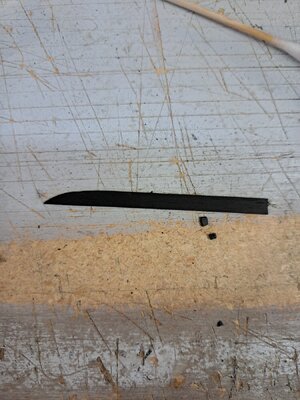
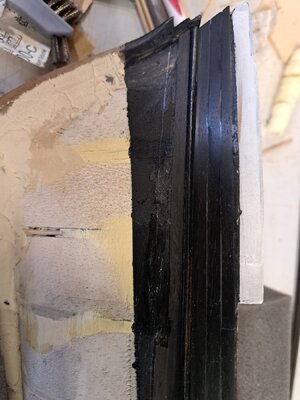
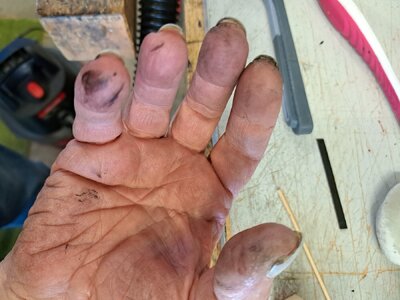
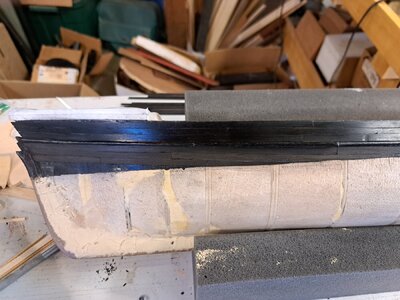
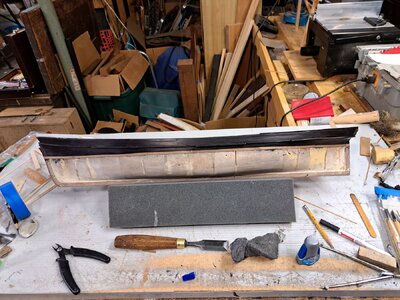
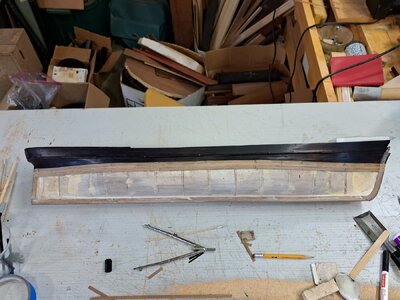
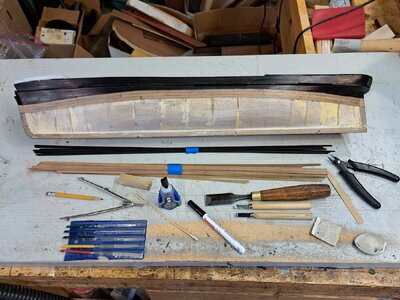
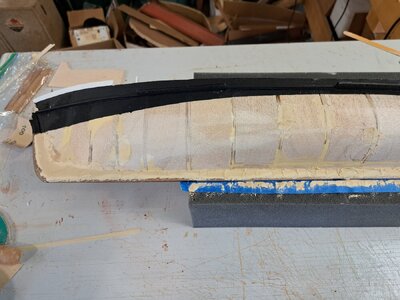
Finally got the hull clad in Gabon Ebony planks. What a chore! Tedious, frustrating and messy. note the condition of my fingers. I milled all the ebony strips myself. My Microlux thickness planer good only so far. Then had to hand thickness sand each strip from there. :eek: Unfortunately the Burns thickness sander not currently available. 20240208_141113.jpg20240207_160858.jpg20240208_141121.jpg20240209_140539.jpg20240212_142304.jpg20240212_142554.jpg20240212_142824.jpg20240212_152518.jpg20240212_152451 (1).jpg20240219_140303.jpg20240219_140627.jpg20240219_145255.jpg20240219_145309.jpg20240220_153646.jpg20240221_125832.jpg20240221_125924.jpg20240228_161159.jpg20240301_144558.jpg20240301_145519.jpgWhat I should have gotten in the first place!
I have begun cladding the hull below the waterline with the walnut strip supplied in the kit as a substrate for coppering.

20240208_141106.jpg

20240220_103452.jpg
 
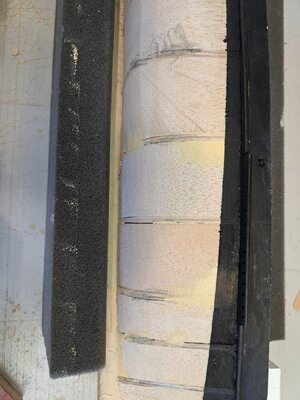
Somehow, as per usual, the tech gremlins have re-arraigned the last couple of pics out of order, but, oh well... There it is thus far. What I can't include are the hours of filling, sanding and fairing. I began with a lot of filling, fairing and sanding of the hull. I marked the high spots in pencil, then sanded them down. The most troublesome being where the balsa filler blocks abut the denser bulkhead edges. Then, after thickness sanding the ebony strips by hand, I began gluing them in place, plank by plank with Locktite super glue gel. The pics don't give a good indication of it, but the dispenser will give you a fair amount of control. My photo was taken when I was still in the heavy-handed gloppy stage. Once I figured out that I was not icing a cake, I got to the WAAAY less is sufficient practice, and far less glue oozes out from the edges, if at all. The picture of my fingers gives testimony to the effects of a heavy hand with the glue and (ick!) sanding ebony. (Wear a mask!)
After more hours of filling, finish sanding and polishing the ebony, I was able to move on to planking the hull bottom.
As mentioned, the Walnut strakes below the waterline are a substrate for the copper tape plates to come. There are at least four, maybe five gore lines of plates running parallel to the water line because of the slab-sided nature of the clipper ship hull before the pattern of plates changes at the turn of the bilge.
Time forBeerand to Ship-1.
 
Last edited:
Glue you too! I hate when that happens, can't use any biometric features on my phone for days.

Love the ebony, Pete! It really glows. On the copper plates, will you show the nails or go let the plates "speak" for themselves?
 
Glue you too! I hate when that happens, can't use any biometric features on my phone for days.

Love the ebony, Pete! It really glows. On the copper plates, will you show the nails or go let the plates "speak" for themselves?
I need to pick your brain on the coppering before I
make a hash of it. Yours came out so nice and symmetrical. I don't know about the nail pattern yet, if at all.
I'm hesitant to go to admin. about the notifications. Guess I should. When I first posted I got a lot of responses as it was featured on that week's digest. But almost zilch on my last update.
 
Pretty well, I'll send pics later. I'm primarily concerned about getting a symmetrical clean run of plates, The "lipstick" as it were for this, hopefully, not to be a pig. :rolleyes:
The plates have to be right from start to finish. No fudge-factor leeway.
 
Looking forward to more pics. Well, pigs love lipstick, so I'm told :p Did the kit come with copper tape? I used 3/16 wide tape from Blue Jacket and cut 1/2 plates on a "jig". Meaning I used my eye and my self healing cutting mat which is marked in inches. I guarantee you that most of the plates are not exactly square. Happily, the copper tape had a kind of wrinkle along one of the long edges and I used that wrinkle to hep me place the plates. The wrinkle was somewhere between 1/32 and 1/64 and that was the amount of overlap I used for the next row of plates. Now, the wrinkle was not always present, but it was so consistent that I could get a wrinkle free plate in place without too much trouble. The tape adhered well, but not too much. When I was working on the starboard side from the gore line to the waterline, I had to pull up something like 12-15 plates because it was going wrong :eek: It took three tries to get things flowing. Most importantly pulling up the plates did not impact the plates I wanted to keep even though I had burnished the plates I pulled.
 
Looking forward to more pics. Well, pigs love lipstick, so I'm told :p Did the kit come with copper tape? I used 3/16 wide tape from Blue Jacket and cut 1/2 plates on a "jig". Meaning I used my eye and my self healing cutting mat which is marked in inches. I guarantee you that most of the plates are not exactly square. Happily, the copper tape had a kind of wrinkle along one of the long edges and I used that wrinkle to hep me place the plates. The wrinkle was somewhere between 1/32 and 1/64 and that was the amount of overlap I used for the next row of plates. Now, the wrinkle was not always present, but it was so consistent that I could get a wrinkle free plate in place without too much trouble. The tape adhered well, but not too much. When I was working on the starboard side from the gore line to the waterline, I had to pull up something like 12-15 plates because it was going wrong :eek: It took three tries to get things flowing. Most importantly pulling up the plates did not impact the plates I wanted to keep even though I had burnished the plates I pulled.
So there's some wiggle room and re-doability? I was thinking of laying the plates from the keel up and stern to bow to get the "fish scale" overlap effect. Also as I laid the sub-planking the pattern didn't neatly fall into place like in the book (nothing goes according to the book in these builds) so I can't use that as a guide for laying the plates. The copper roll of tape they supplied is the same width as the walnut veneer strips supplied that I'm using. Fine if I don't run out of copper tape.
I do have some rolls of masking tape the same width to experiment with. I can waste a lot of that before I commit to the copper.
Thanks for the above description.
 
Thanks! Actually, feels like swimming through mud. :rolleyes: The walnut substrate planking is taking for-EVERCautious
Then the copper, plate by plate I'm afraid. And SOOOOOOOOOOOO many ways to screw it up. I just pick away a little. Walk away. Come back. Pick away some more. OH, to finally get to the fun stuff.:confused:
 
So there's some wiggle room and re-doability? I was thinking of laying the plates from the keel up and stern to bow to get the "fish scale" overlap effect. Also as I laid the sub-planking the pattern didn't neatly fall into place like in the book (nothing goes according to the book in these builds) so I can't use that as a guide for laying the plates. The copper roll of tape they supplied is the same width as the walnut veneer strips supplied that I'm using. Fine if I don't run out of copper tape.
I do have some rolls of masking tape the same width to experiment with. I can waste a lot of that before I commit to the copper.
Thanks for the above description.
Pete! Plenty of room for a mulligan. At least with the tape I was using. If you liked how mine came out, I'll send you a whole roll of the stuff tomorrow as a birthday present! Your thoughts about laying the plates are how I did it. From the side of the keel at the stern I ran a full row to the side of the stem on the starboard side. Then same on the port side. Then next row starboard. Then next row port. I believe I ran at least three, maybe four rows this way to make sure that things were flowing well and I was mirroring port to starboard. I had marked the one gore line already. Once I had the flow I laid the rest of the plates like bricks.
 
Thanks! Actually, feels like swimming through mud. :rolleyes: The walnut substrate planking is taking for-EVERCautious
Then the copper, plate by plate I'm afraid. And SOOOOOOOOOOOO many ways to screw it up. I just pick away a little. Walk away. Come back. Pick away some more. OH, to finally get to the fun stuff.:confused:
Don't underestimate the joy of copper plating a hull, Pete! ;)

Also, I would not use the masking tape as a way to practice. The stickiness is different, as is the thickness. No other way to express that thought. I certainly wouldn't practice with it on the hull. And, as you could see from the plating I did, the plates don't hide the quality of the surface they lie on. I'm sure your meticulous work on the substrate will give you the great foundation for plating that I never achieved.:)
 
Back
Top