"Flying Cloud " by Mamoli - kit bash

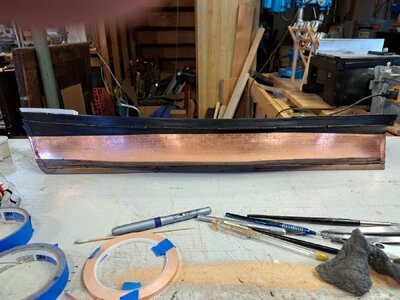
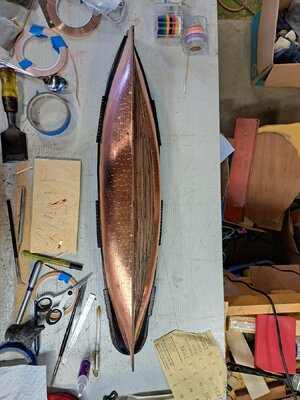
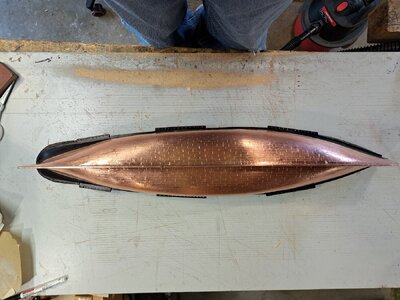
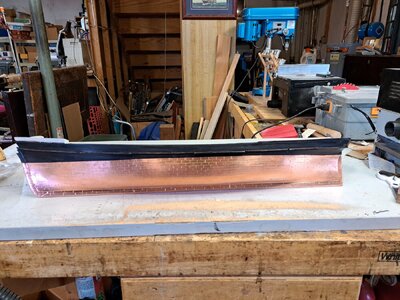
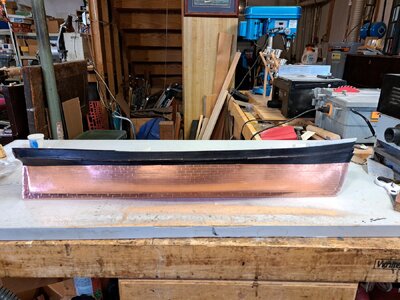
There's still so much of the bottom you can't see in those pics, that it looks like there's more covered than there actually is. Only a little better than half done! I did use3/16" masking tape to do the layout (hence the blue ink lines. But apparently 3/16th of an inch is variable in width by at least 1/64" one way or another, depending on the product mfg. :mad:. So that, plus error creep, gave me only a rough guide at best.:eek:
Still, it helps me from getting too far off track. There are three different plate patterns over the span of the hull bottom, waterline to keel, both sides. and each side varies a little due to the subtle a-symmetry from error creep when building and fairing the hull. Fortunately, you can't see both sides simultaneously!
Error creep: an unavoidable fact of life, like entropy.o_O
Pete
 
Error creep! My favorite kind of creep. I had the same problem, Pete. I tried to manage it by completing a row at a time rather than laying bricks. Your pattern sounds particularly complicated :eek: I'm certain you'll arrive at beautiful and satisfying in due course - not holding your breath are you? Keep up the great work!
 
I lay out a row at a time. I'm able now, after some practice, to use longer strips of copper tape that I divide up into individual "plates" with a 3/16" wide chisel blade pressed lightly into the copper without actually cutting it. Then I turn the hull over and do the corresponding side. First, I lay down a test strip of masking tape (with mild adhesive) to see if I need to adjust the pattern. I use an elbow shaped agate burnisher followed by 000000 steel wool to burnish down the copper tape and erase any fingerprints. So far so good. I don't rush it and walk away for a break after laying down a row of copper "plates" on each corresponding side. Using the masking tape allows me ample experimentation before committing to the next row, or pair of rows.

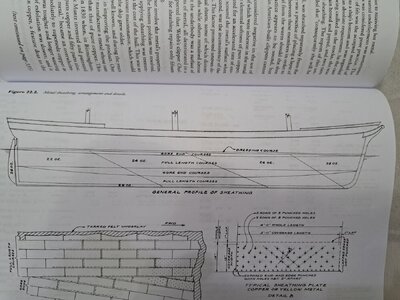
These changes in pattern are described and nicely diagrammed in William L. Crother's "The American Built Clipper Ship". They appear to be defined by the shape and depth of each individual ship's hull. Tailor made, as it were, to each ship.
Since no definitive descriptions of "Flying Cloud's" copper bottom exist I am allowing the shape of the hull itself to dictate the changes in pattern. One of the diagrams in Crother's book demonstrates and supports this principle nicely showing three or more changes in pattern across a single bottom, waterline to keel. With this ship there are no definitive "right" or "wrong" final versions. Only what the shape of the hull you have built dictates according to the principles shown in the diagrams in the book as commonly practiced in sheathing clipper ship hulls. The final look of the bottom may well have changed a bit each time the plates were replaced, which must have been with some regularity, given the hard use and long voyages to which the ships were subjected. The process must have been egregiously tedious and labor intensive by exponential magnitudes compared to the tedium and labor intensity of doing much a simplified version on a model. I have pretty much decided to leave out the "nail head dimples" as they, to my mind, will appear far too busy and focus too much attention away from the rest of the ship above them. I don't think there's any way of keeping the look to in proportion to the scale. Just too damn busy! As for patina. The copper is too damn bright, although I may just wax the surface to protect against fingerprints and let nature do the work of patination.

Pete20240321_152908.jpg
 
Last edited:
Very good work, Peter. I can well imagine just how much of a laborious task this must be - however, you are well underway to creating a beautiful hull.
 
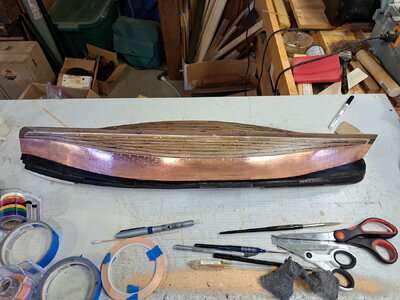
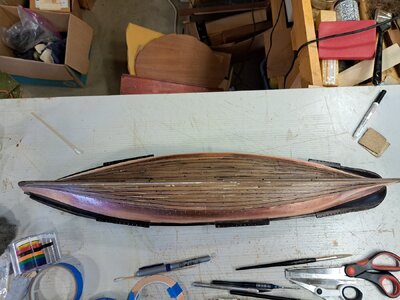
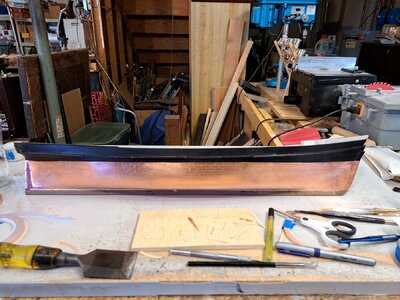
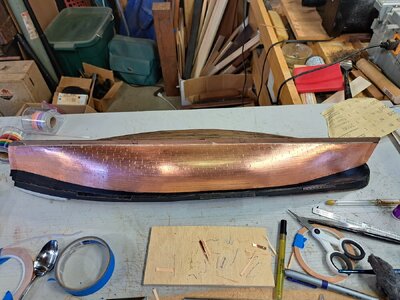
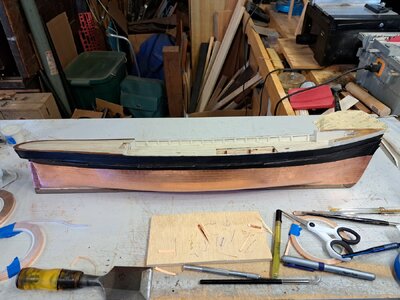
Starboard side hull complete. Port yet to complete. A couple of days work without going cross-eyed. Then keel and stem. Don't think I'll go for the nail dimples. Way too busy, fussy and distracting for my taste. I will clean the copper with some lacquer thinner and wax the copper to seal against fingerprints. I don't like it so shiny,20240324_171115.jpg20240324_171438.jpg20240324_171157.jpg20240324_171414.jpg but I think the natural aging process will give the best patina over time.
 
The very best part of it is: It's almost done! I got the port side hull finished today just the keel, stem and rudder left. Nothing near as challenging,nail biting and tedious as that hull! Maybe now I can move on to some of the more fun stuff. Thumbsup :)
 
I can only imagine how difficult copper sheeting can be...Outstanding work...
Thanks. The layout is tricky, and much patience is in order. Even a "simplified" version, without the nail dimples, is a P.I.T.A. I found I could lay down a strip of no more than 6 or 7 inches at a time. The "gore" or pointy ends of the "gore" courses are especially tricky. I think I'll wax the surface to protect against fingerprints, and let the copper patinate naturally, as much as I dislike the shiny surface. Another couple of hours to go to finish up the keel and the "plates" folded over the stem and keel bottom.
 
Back
Top