- Joined
- Jun 17, 2021
- Messages
- 3,202
- Points
- 588

Thanks!
Dedicated and persistent anyway. Glad you like it!
Dedicated and persistent anyway. Glad you like it!
 |
As a way to introduce our brass coins to the community, we will raffle off a free coin during the month of August. Follow link ABOVE for instructions for entering. |
 |
 |
The beloved Ships in Scale Magazine is back and charting a new course for 2026! Discover new skills, new techniques, and new inspirations in every issue. NOTE THAT OUR FIRST ISSUE WILL BE JAN/FEB 2026 |
 |


...and... on to the next mission!Congratulations Peter. Mission accomplished!

Thanks!Looks fantastic!!

Beautiful, Pete! You also puzzled out a pretty cool hack - it would have never occurred to me to scribe an impression in the copper tape. A much much more efficient method than applying hundreds and hundreds of individual plates! I'm surprised, however, that you didn't love love love copper plating your hull. Perhaps we all have our favorite part of the build. I've read some builders that favor planking the hull while others have a love affair with rigging. Perhaps I'm a bit daft - I really enjoyed coppering Harriet Lane's bottom.Copper bottom finished. Now back to the fun part(s).View attachment 437692View attachment 437693View attachment 437694

Pete! I just noticed how many chains you're in for from the birds-eye view of the hull bottom...and... on to the next mission!

Good afternoon Peter. Very well done indeed. I’ve never attempted coppering, I think I deliberately avoid this. Cheers GrantCopper bottom finished. Now back to the fun part(s).View attachment 437692View attachment 437693View attachment 437694

You mean you applied every single individual copper plate?Beautiful, Pete! You also puzzled out a pretty cool hack - it would have never occurred to me to scribe an impression in the copper tape. A much much more efficient method than applying hundreds and hundreds of individual plates! I'm surprised, however, that you didn't love love love copper plating your hull. Perhaps we all have our favorite part of the build. I've read some builders that favor planking the hull while others have a love affair with rigging. Perhaps I'm a bit daft - I really enjoyed coppering Harriet Lane's bottom.
It looks like you were very, very careful and achieved the "fish scale" look you wanted. You should be very pleased with your result. I hope you are!
Blessings.
Chuck


Yes! Every single one, Pete! I'm a nutterYou mean you applied every single individual copper plate?
As for the rest of it..."Better to be lucky than good."
Thanks for crediting me with far more wisdom, foresight and cleverness than I actually possess. (Laziness and a taste for workarounds is probably more accurate.)
Perhaps God looks out for aging ship model builders along with "fools and drunks".
As for the chains I will, as they say, "jump off that bridge when I get to it."
As for rigging, I've done a lot of it but, like having your appendix out without anesthesia, you don't remember the pain...
I feel blessed in having friends like you, BMT and all the other encouraging folks who give so generously of their insight, experience and encouragement on this forum, for which I shall remain ever grateful!
Pete
 Seriously, I look forward to your next mission.

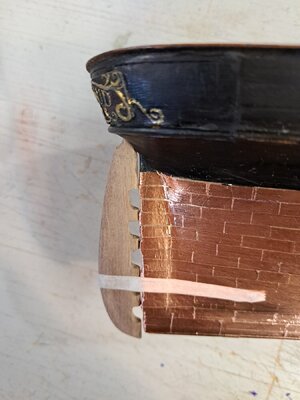
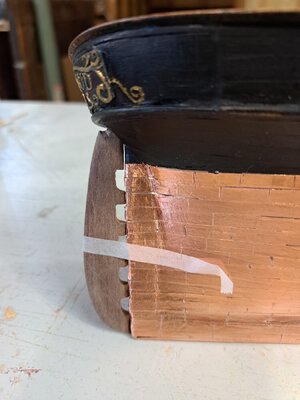
I echo the comments of our shipmates, Pete! Way to go! I know the pain you must have felt, but yours was probably worseBefore and after. I discovered I'd mis-read the plans and had to lower the waterline two scale feet.So I peeled off two courses of copper plating, used the black wood filler pictured with the resulting "after" picture. NOW? on to the fun stuff?
View attachment 439175View attachment 439176View attachment 439177View attachment 439179View attachment 439180View attachment 439181


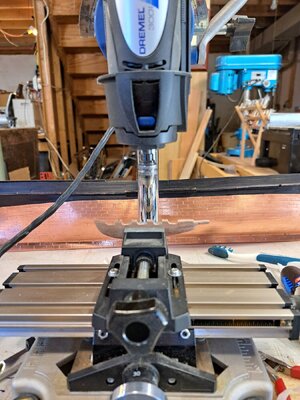
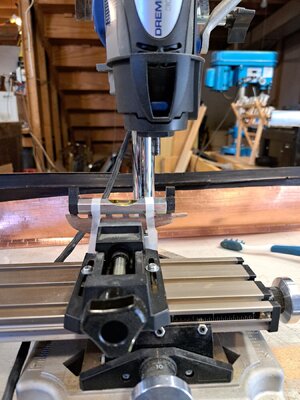
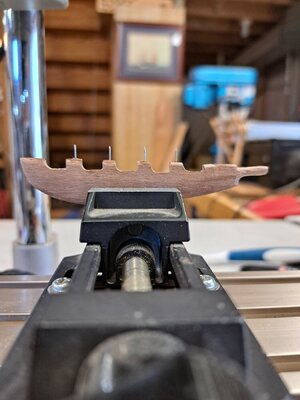
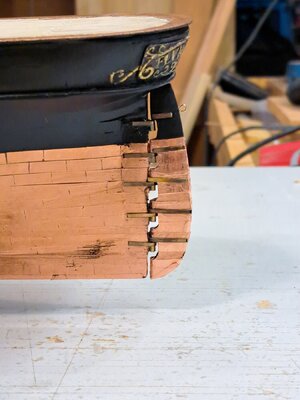
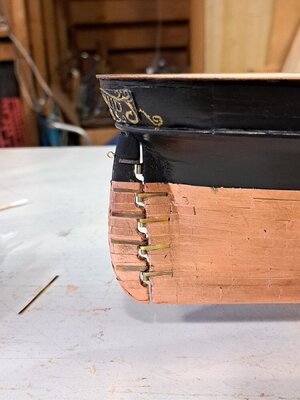 annealed brass strip for the straps.
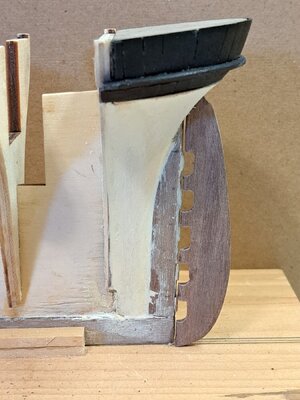
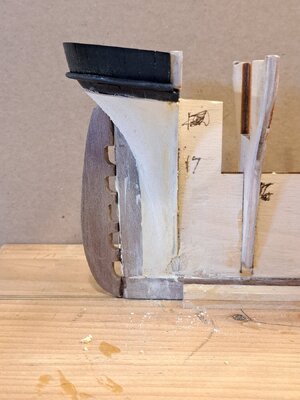
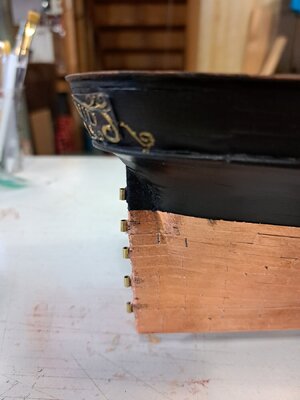
Looking great, Pete! Even the close-ups. That must have been a trying processOn to the rudder. I included earlier pictures of the counter that I made precisely according to the Mamoli instructions, supplied materials and plans. As a result
the counter was at least an eighth of an inch too narrow and tilted at an angle about an eighth of an inch too high at the aft end. (No kidding. I was VERY careful to make and attach it according to the instructions and plan and the laser cut central pattern.) The resulting misalignments required me to carefully cut the counter off the ship, re-shape and veneer it, cut down the upward angle on the frame and reattach it. Now the rudder didn't fit properly, So I reshaped it to do so.
All that said and done I hope the rest is self-explanatory. Note the use of the mini drill press, x-y table and level to mount the pins into the rudder. I used brass tubing for the gudgeon and pintle hinges with View attachment 439652View attachment 439653View attachment 439655View attachment 439656View attachment 439658View attachment 439659View attachment 439660View attachment 439661View attachment 439663View attachment 439665annealed brass strip for the straps.


Exactly like that! Very cool!Like this?View attachment 439892
