- Joined
- May 25, 2020
- Messages
- 1,162
- Points
- 443

Pete! Excellent! You're in the groove! I love hearing that!Thanks. Feeling motivated lately. Everything seems to be working on the first try. All steps forward, no steps back.

 |
As a way to introduce our brass coins to the community, we will raffle off a free coin during the month of August. Follow link ABOVE for instructions for entering. |
 |
 |
The beloved Ships in Scale Magazine is back and charting a new course for 2026! Discover new skills, new techniques, and new inspirations in every issue. NOTE THAT OUR FIRST ISSUE WILL BE JAN/FEB 2026 |
 |

Pete! Excellent! You're in the groove! I love hearing that!Thanks. Feeling motivated lately. Everything seems to be working on the first try. All steps forward, no steps back.

Sounds very good - and your model is also looking very goodThanks. Feeling motivated lately. Everything seems to be working on the first try. All steps forward, no steps back.


 .
.
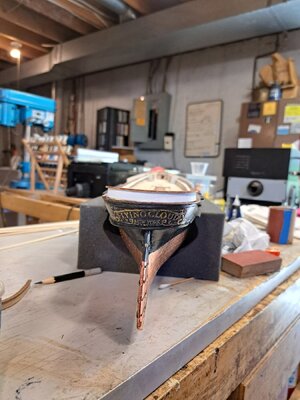
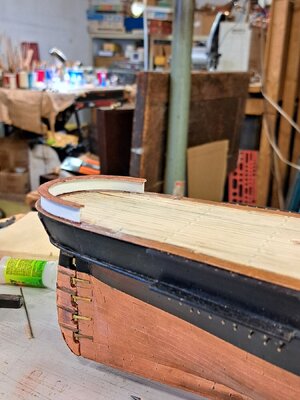
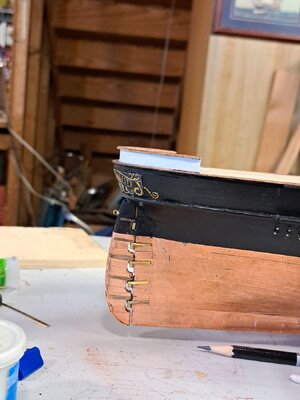
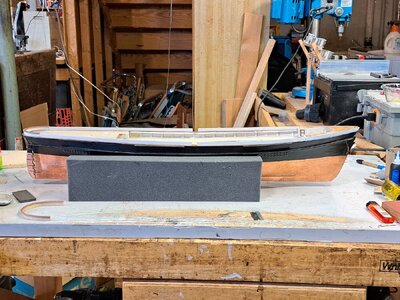
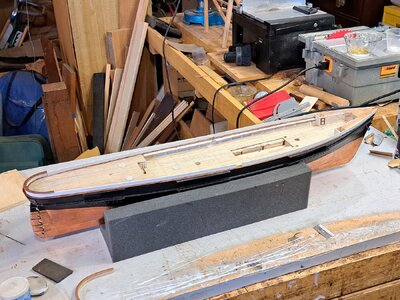
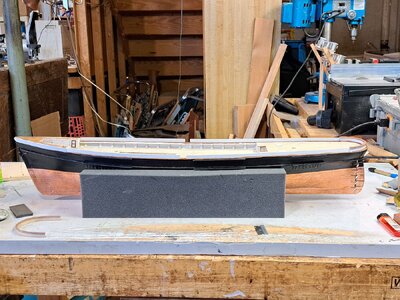
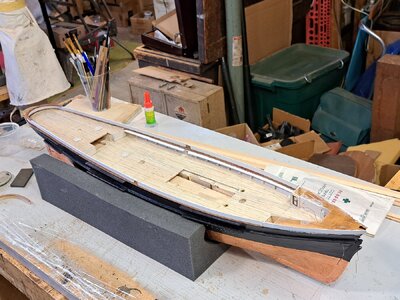
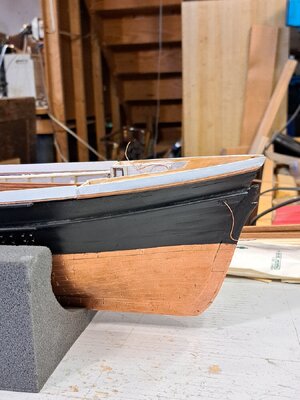
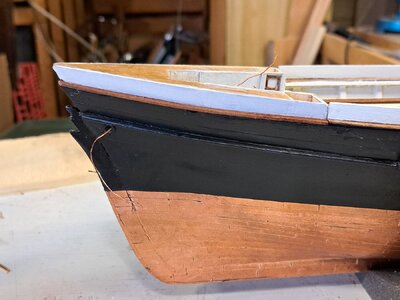


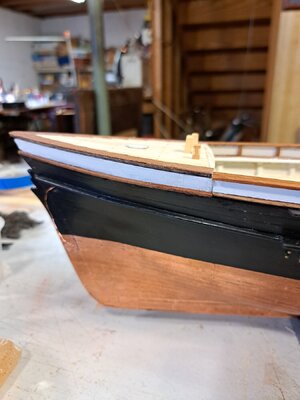
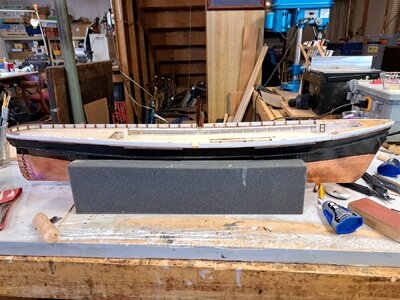
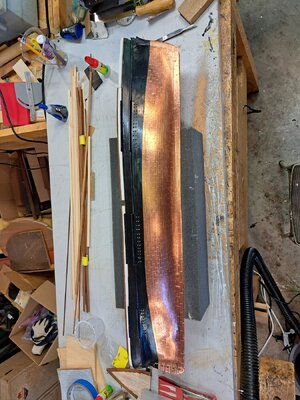
Thanks. More progress to post soon. The copper is starting to patinate just from handling and exposure, fortunately without distinctive palm and fingerprints so far. So, I think I'll just wait and see how the process progresses.She's looking really splendid, Pete! I particularly like how the colors are coming together. The pics show (and I know pics don't always show color as color appears in person) a pleasing contrast between the copper, ebony, white (pearl), and natural wood of light and dark color. I know you were thinking the copper was too shiny, but I think it looks great! Nifty work on the stern! If there was a bureau for renewing artistic licenses you'd have no problem at all. They'd probably offer you a gig

Pete! I was wondering whether a nice patina was forming. Glad to hear that it is! As to the fingerprints you must have a special angel watching over you. When I was researching about coppering the hull there were so many comments about fingerprints - WATCH OUT - DON'T TOUCH THE COPPER -Thanks. More progress to post soon. The copper is starting to patinate just from handling and exposure, fortunately without distinctive palm and fingerprints so far. So, I think I'll just wait and see how the process progresses.
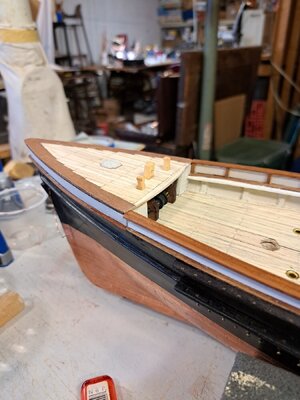
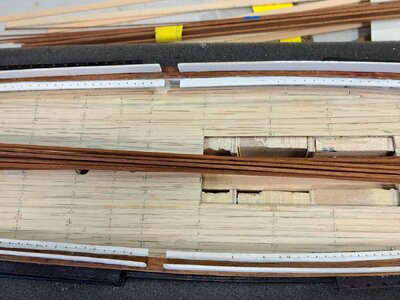
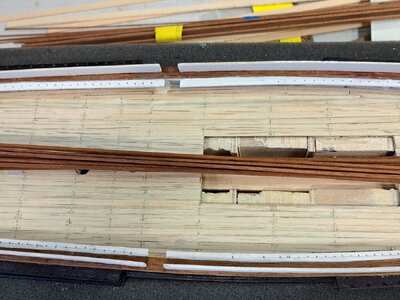
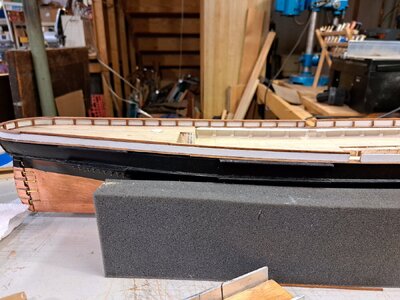
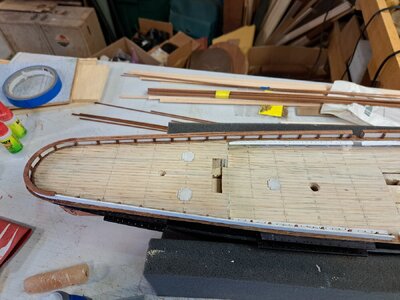
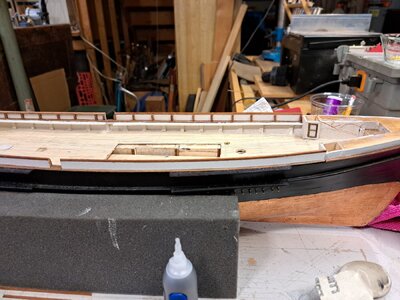
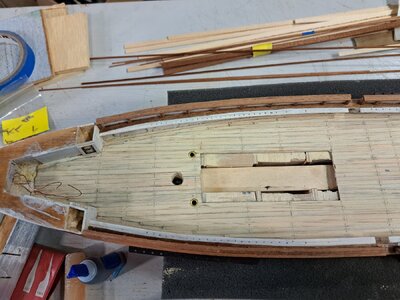
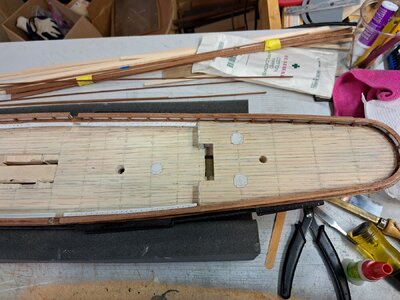
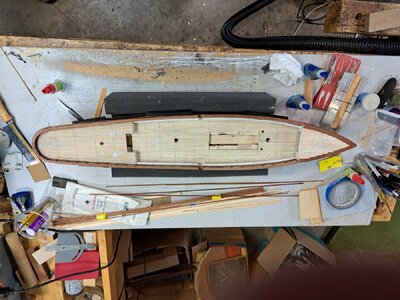
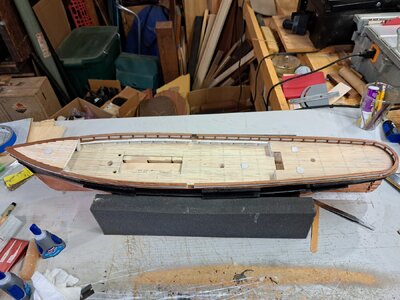
Got the mahogany Monkey Rails on, and all the stanchions for the upper bulwarks.
Congratulations on a grand finale for the semester and your SOR honors!
Must have been exhausting but rewarding.

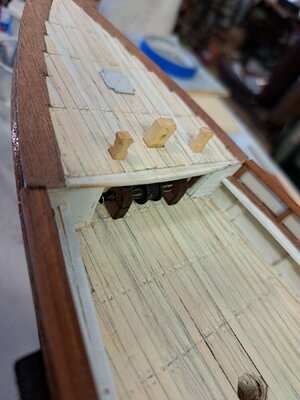
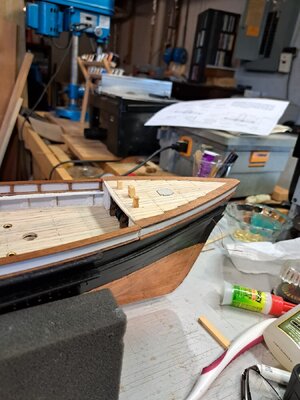
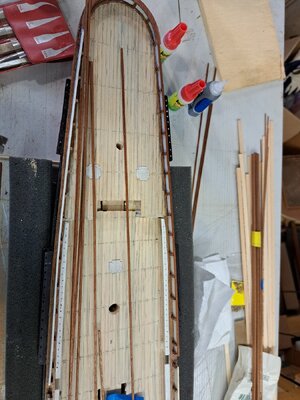
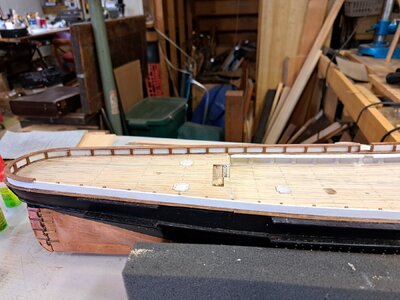
Good morning Peter. Lovely colour contrast. The mahogany fits perfectly. Cheers Grant.What follows is the installation of the upper bulwarks, sans railings, save for the counter. The railing on the first iteration was too narrow which I corrected as 3/16 " wide for the second. I added the mahogany molded extensions of the railings to the bow and milled the 1/16" square strips to make the upper bulwark railings and stanchions. I decided to make the stanchions a finished mahogany (like the railings) for the contrast. They likely would have been colored the same Pearl as the inside of the bulwark. But since there exists no definitive contemporary description of the Flying Cloud, I am using artistic license for these decisions. three 1/16" mahogany strips will be glued side by side to make the railings.View attachment 443550View attachment 443552View attachment 443553View attachment 443555View attachment 443556View attachment 443557View attachment 443558View attachment 443559View attachment 443560View attachment 443562View attachment 443567




Thanks, Paul!Very nice Peter!

Thanks, much appreciated. Tricky, fussy, unforgiving process.One day, I hope, I will 'coper' the hull. Until then, you hull looking very nice, Pete.
Good morning Peter. Lovely colour contrast. The mahogany fits perfectly. Cheers Grant.What follows is the installation of the upper bulwarks, sans railings, save for the counter. The railing on the first iteration was too narrow which I corrected as 3/16 " wide for the second. I added the mahogany molded extensions of the railings to the bow and milled the 1/16" square strips to make the upper bulwark railings and stanchions. I decided to make the stanchions a finished mahogany (like the railings) for the contrast. They likely would have been colored the same Pearl as the inside of the bulwark. But since there exists no definitive contemporary description of the Flying Cloud, I am using artistic license for these decisions. three 1/16" mahogany strips will be glued side by side to make the railings.View attachment 443550View attachment 443552View attachment 443553View attachment 443555View attachment 443556View attachment 443557View attachment 443558View attachment 443559View attachment 443560View attachment 443562View attachment 443567
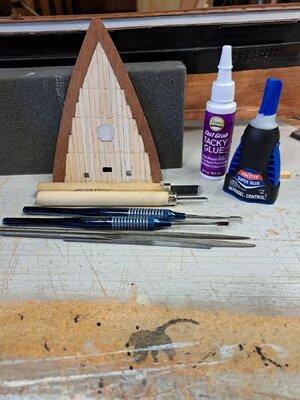
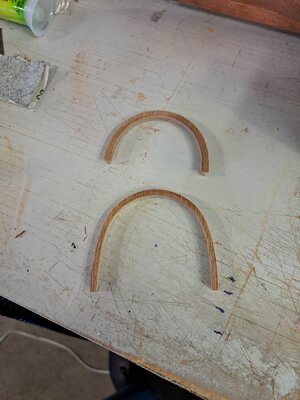
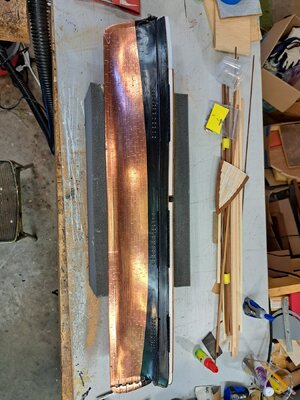
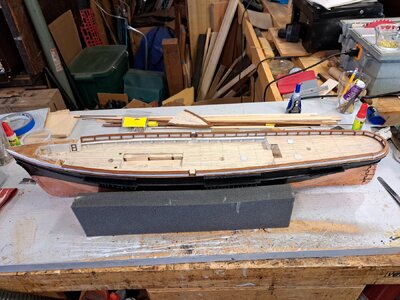
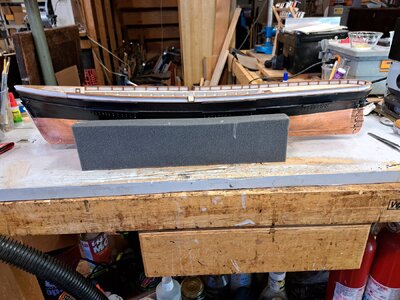
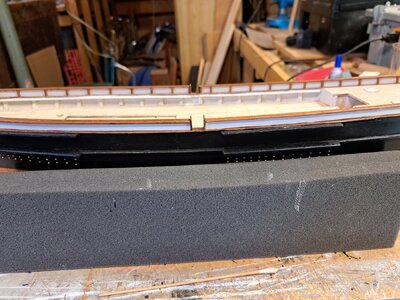
Good morning Peter- I like it …loads. Cheers GrantPictures of monkey rail process:3-part 1/16" mahogany strips. First to the top edge of the bulwark, then side by side with Loctite brand CA gel. Crusty fingers...Then sanded, edges rounded and finished with diluted amber shellac padded on. Pictures of hull patina so far. No distinct hand/fingerprints. Pretty uniform coloration so far. (Fingers crossed) View attachment 444697View attachment 444698View attachment 444699View attachment 444700View attachment 444701View attachment 444702View attachment 444703View attachment 444704View attachment 444705View attachment 444706View attachment 444708View attachment 444709View attachment 444710View attachment 444712View attachment 444713
View attachment 444707


