Fine work my friend.
-

Win a Free Custom Engraved Brass Coin!!!
As a way to introduce our brass coins to the community, we will raffle off a free coin during the month of August. Follow link ABOVE for instructions for entering.
-

PRE-ORDER SHIPS IN SCALE TODAY!
The beloved Ships in Scale Magazine is back and charting a new course for 2026!
Discover new skills, new techniques, and new inspirations in every issue.
NOTE THAT OUR FIRST ISSUE WILL BE JAN/FEB 2026
You are using an out of date browser. It may not display this or other websites correctly.
You should upgrade or use an alternative browser.
You should upgrade or use an alternative browser.
"Flying Cloud " by Mamoli - kit bash
- Thread starter Peter Gutterman
- Start date
- Watchers 33
-
- Tags
- flying cloud mamoli
- Joined
- May 25, 2020
- Messages
- 1,159
- Points
- 443

Pete! Totally worth the effort you went to to make the boxwood mast caps! The tops look great. I think you are having the same issue I have with my camera - it always wants to focus on the objects I'm not highlighting  . I wouldn't dare accuse you of abusing your grog ration. It must be the cameras, your and mine, that need to be cut off. Lovely progress my friend!
So, are you going to fully rig her or not?
Blessings. Peace. Gratitude.
Chuck
 . I wouldn't dare accuse you of abusing your grog ration. It must be the cameras, your and mine, that need to be cut off. Lovely progress my friend!
So, are you going to fully rig her or not?
Blessings. Peace. Gratitude.
Chuck
G
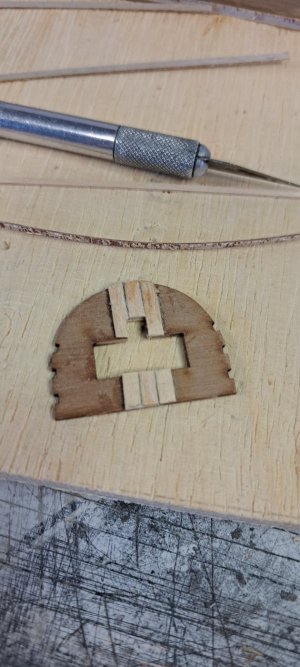
Good evening Peter. Definitely worth the effort to redo this mast caps. Kudos. Cheers GrantI did my best to clean up the white metal mast caps from the kit to see if they were usable and could save the time necessary to fabricate scratch made caps out of boxwood for the fore and main masts. Nope. They were usable, but I still didn't like them. The eyebolts cast into them were fragile and irretrievably crappy. Plus I wish I hadn't wasted the considerable time and broken #78 bits to drill them out. You will see holes drilled in the boxwood caps for annealed wire eybolts to be added once they are glued in place. Those and the platforms for the tops are still just dry fitted. Fitting the cheeks and framing for the tops and shaping the masts to receive them was very fiddly. The supplied laser cut walnut parts I like very much. Close attention to the Mamoli plans (I have several alternatives) is imperative for the parts to work and fit properly as designed by Mamoli. I see no reason to depart from what works for the sake of historic accuracy or periodView attachment 501361View attachment 501362View attachment 501363View attachment 501368View attachment 501364View attachment 501366 photographic variances. View attachment 501370View attachment 501371View attachment 501372View attachment 501373View attachment 501374View attachment 501375 I'm just not that anal retentive.View attachment 501377View attachment 501378View attachment 501379View attachment 501380View attachment 501382View attachment 501383View attachment 501384View attachment 501386 I hope the process pics are sufficiently self-explanatory. As always, I am open to questions and/or critiques.

- Joined
- Jun 17, 2021
- Messages
- 3,202
- Points
- 588

Without a neutral background the camera auto focus doesn't know what to focus on. I'll get the focus right, but the slightest waver or wobble throws it off.
As of now I am thinking of only a partial rig with partial topmasts. more like a dockyard model. The shrouds and rig obscure a lot of the deck detail. Plus, it takes another year or two to complete on a ship like this.
As of now I am thinking of only a partial rig with partial topmasts. more like a dockyard model. The shrouds and rig obscure a lot of the deck detail. Plus, it takes another year or two to complete on a ship like this.
- Joined
- May 25, 2020
- Messages
- 1,159
- Points
- 443

Pete! It's a pain. My camera always wants to focus on the most distant particularly when I'm trying to take a closeup of something that can't be placed almost against the wall or a table. I, too, will keep working on it.Without a neutral background the camera auto focus doesn't know what to focus on. I'll get the focus right, but the slightest waver or wobble throws it off.
As of now I am thinking of only a partial rig with partial topmasts. more like a dockyard model. The shrouds and rig obscure a lot of the deck detail. Plus, it takes another year or two to complete on a ship like this.
Ah! I see! For me showing the detail of the work - particularly the level of detail (and therefore effort
Blessings.
Chuck
- Joined
- Jun 17, 2021
- Messages
- 3,202
- Points
- 588

You too!
- Joined
- May 25, 2020
- Messages
- 1,159
- Points
- 443

I'll do my best, my friend! BTW Loved your story of how you met your wife!!! Some matches are made in Heaven.You too!
Many blessings!
Chuck
- Joined
- Jun 17, 2021
- Messages
- 3,202
- Points
- 588

Me too! As Grant says, "True Story!"
Pete
Pete
- Joined
- Jun 29, 2024
- Messages
- 1,530
- Points
- 438

Peter,
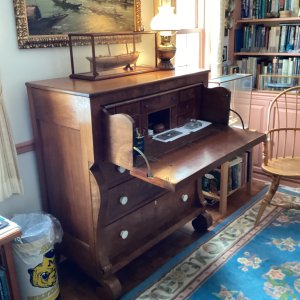
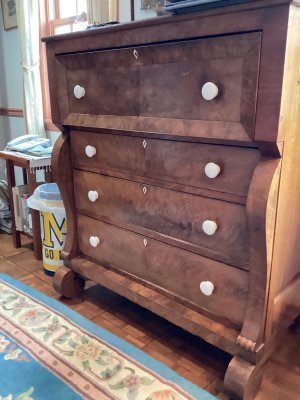
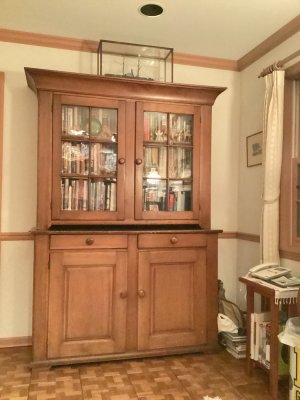
You have mentioned that you once owned an antique furniture restoration business. I thought that you might enjoy photos of these two pieces in my collection.
The desk was made by a Daniel Rohar in 1861. He lived in Wadsworth Ohio and signed one of the drawers. The large drawers are bookmatched walnut veneer. The veneer is quite thick about 1/8”. We believe that it was hand cut. The small drawers are rosewood. Hardware is original.
The bookcase is cherry. Glass is original.


- Joined
- Jun 17, 2021
- Messages
- 3,202
- Points
- 588

Wonderful American Empire and so original and pristine. usually the veneer on these examples is in pretty decrepit shape. looks to be old or original shellac finish, which they all were in this period. The pulls don't look original on the desk. Usually turned Walnut or Mahogany or stamped brass floral rounds. The feet on the bookcase look like they were originally bracket feet but were cut down. A common issue on period furniture. Everything else about it looks original. That and having a signature provenance are all in the very+ column. Sadly, the value of antique furniture has plummeted since the golden era of the late70s, 80s and 90s when I got to work on it.
Thanks for sharing!

PS I can see the waves in the old blown and rolled period glass. A real+
Thanks for sharing!

PS I can see the waves in the old blown and rolled period glass. A real+
Last edited:
- Joined
- Jun 17, 2021
- Messages
- 3,202
- Points
- 588

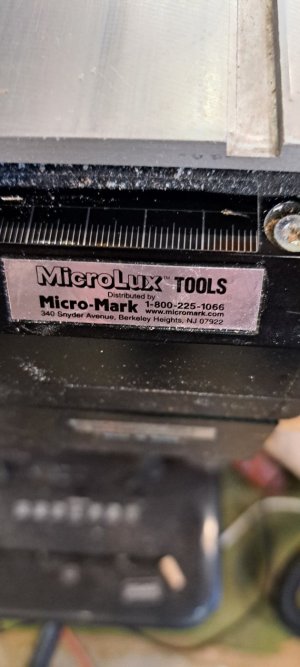
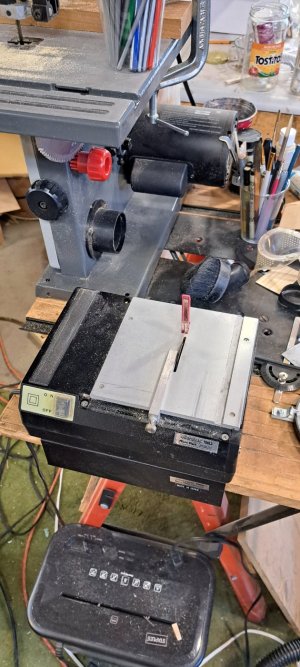
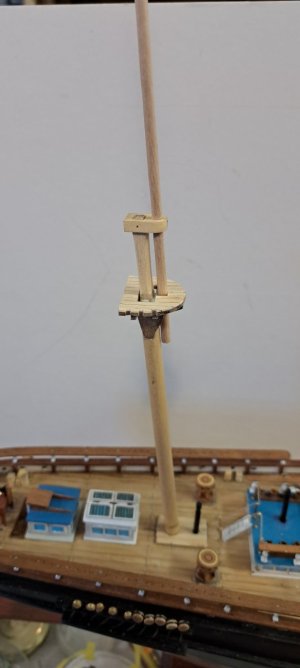
In the last set of pics I noted that, since I was using the Mamoli parts I would hew to their plans, which I did, which worked out fine for the mizzen mast. I was careful to orient the trestles exactly as pictured on the plans, even going so far as to hold the pieces up against the 1:1 drawing on the plans. I thought it odd that the main and fore mast had them oriented opposite to the mizzen. Case in point. Always use easily reversable glue.  So, typically, I ended up doing the trestle trees twice in order to do them once. to make the banding surrounding the tops I used 1/64" birch ply, sliced across the grain to bend around the curve. I have a Micro-Lux (Micro Mark) ultra-mini circular saw with the finest slotting blade to slice nice uniform strips of very thin wood and very narrow slices. I used Loctite CA gel for that and the floor planks. I used Aileen's quick dry tacky glue for the trestle trees. I was able to separate them from the masts and turn them around, using isopropyl (rubbing) alcohol to unglue them. Be patient. brush the alcohol over the seams until the glue debonds and the parts just separate. I was able to slip the assembly off the mast, turn it around and re-attach it.
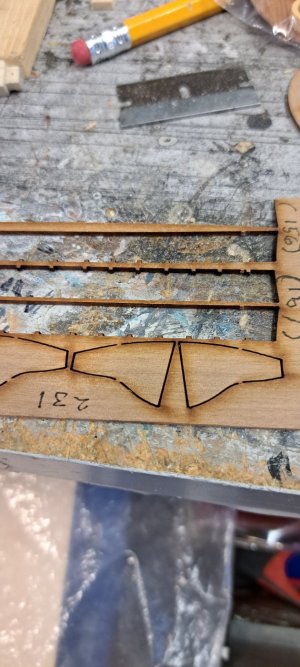
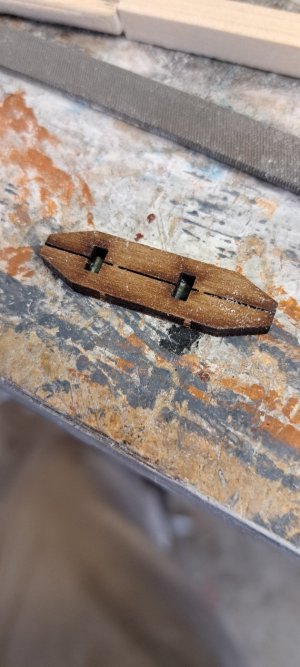


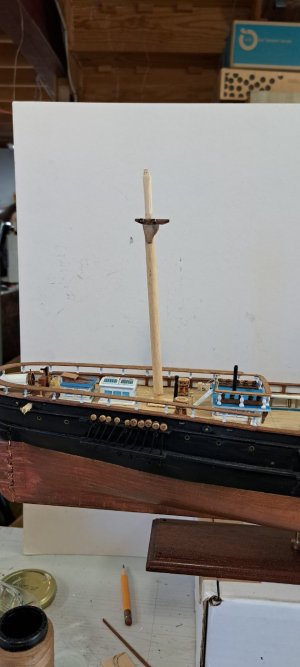

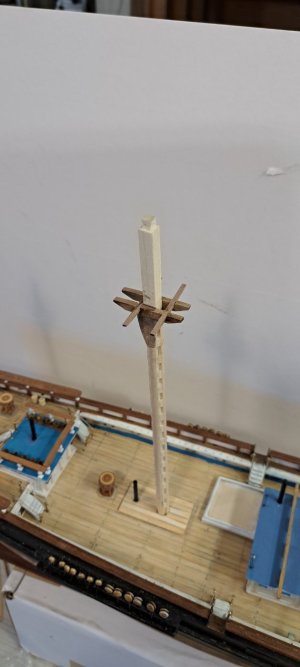
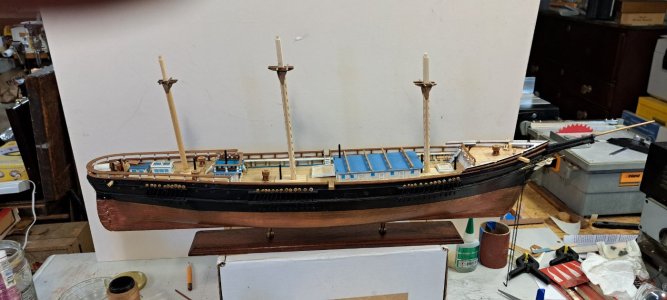
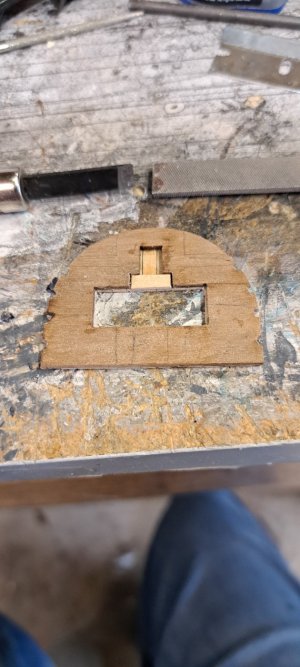
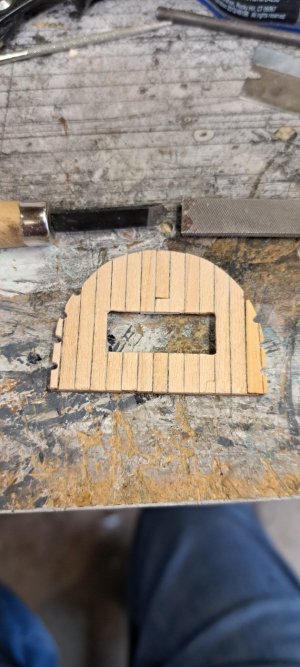
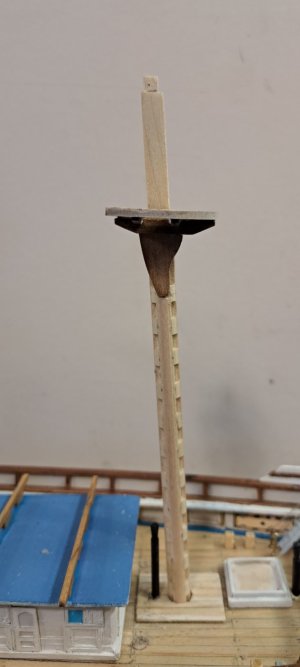
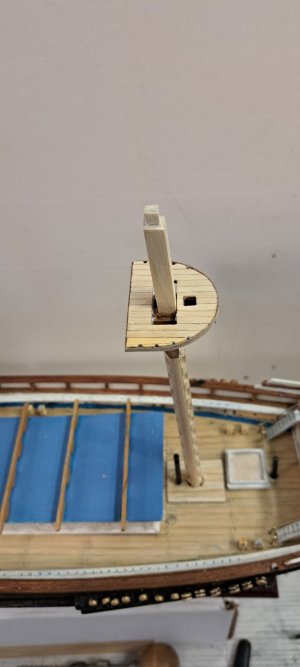
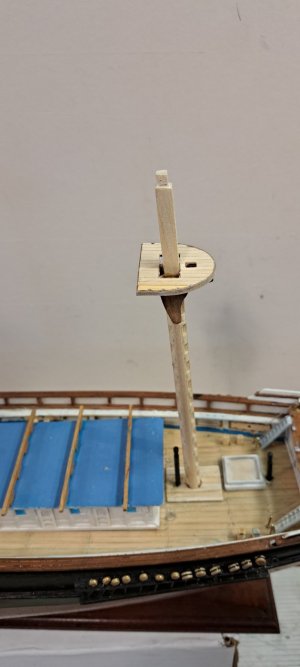
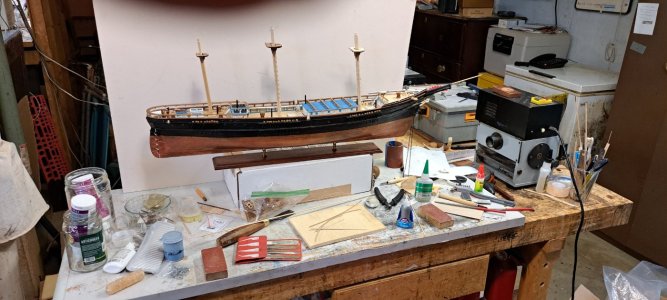 Got the foremast top done. Takes awhile.


 Got the foremast top done. Takes awhile.
Last edited:
Very nice, my friend.
Good afternoon Peter. Way to go. I’m always surprised how much effort it takes to get the masts, tops and associated details take. Looking mighty fine. Cheers GrantIn the last set of pics I noted that, since I was using the Mamoli parts I would hew to their plans, which I did, which worked out fine for the mizzen mast. I was careful to orient the trestles exactly as pictured on the plans, even going so far as to hold the pieces up against the 1:1 drawing on the plans. I thought it odd that the main and fore mast had them oriented opposite to the mizzen. Case in point. Always use easily reversable glue.So, typically, I ended up doing the trestle trees twice in order to do them once. to make the banding surrounding the tops I used 1/64" birch ply, sliced across the grain to bend around the curve. I have a Micro-Lux (Micro Mark) ultra-mini circular saw with the finest slotting blade to slice nice uniform strips of very thin wood and very narrow slices. I used Loctite CA gel for that and the floor planks. I used Aileen's quick dry tacky glue for the trestle trees. I was able to separate them from the masts and turn them around, using isopropyl (rubbing) alcohol to unglue them. Be patient. brush the alcohol over the seams until the glue debonds and the parts just separate. I was able to slip the assembly off the mast, turn it around and re-attach it. View attachment 502427View attachment 502428View attachment 502431View attachment 502432View attachment 502433View attachment 502434View attachment 502435View attachment 502436View attachment 502437View attachment 502438View attachment 502439View attachment 502442View attachment 502443View attachment 502445View attachment 502446View attachment 502447View attachment 502448Got the foremast top done. Takes awhile.
View attachment 502452
- Joined
- Jun 17, 2021
- Messages
- 3,202
- Points
- 588

Thanks, Paul.Very nice, my friend.
Thanks,Grant. Yep, there's a lot of hours in fitting out these tops, mast caps, trestle trees and masts. Very fussy, fiddley and slow, with lots of opportunity for mistakes. Especially in the order of things.Good afternoon Peter. Way to go. I’m always surprised how much effort it takes to get the masts, tops and associated details take. Looking mighty fine. Cheers Grant

When to paint, plus adding futtock bands and eyebolts, plus lots of mast re-enforcing iron bands. You have to figure out what has to slide over what, and in what order, before you find you left something off and now it won't fit over some detail you put on too soon and it's in the way!
Last edited:
before you find you left something off and now it won't fit over some detail you put on too soon and it's in the way!

 I know this feeling.
- Joined
- Jun 17, 2021
- Messages
- 3,202
- Points
- 588

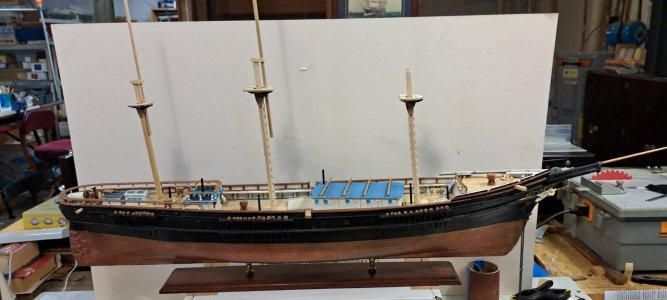
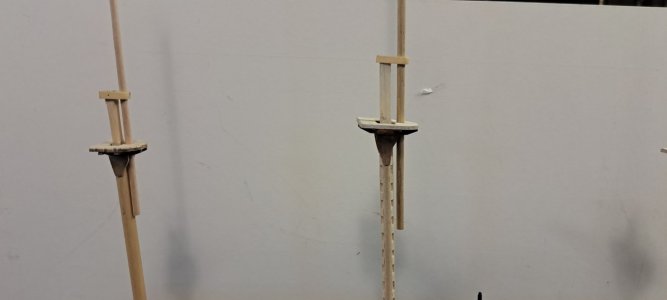
More two steps forward, one back. I re-made the fore and main mast caps, they were too short between the mast and topmast spacing, so I made a new pair. Then finished the remaining tops, and champhered the masts between the couplings. I plan to make the topmasts abbreviated stub masts and present the model only partially rigged and present her as a modified "builder's model" to focus on her hull and deck detail, declare victory and move on. I feel no compulsion to invest possibly another couple of years on masting and rigging. I may well be forced to give it all up before then do to circumstances beyond my control. 
Still a heckuvva lot of work to complete between now and then.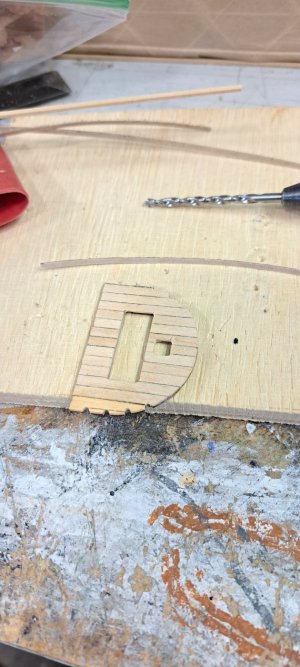
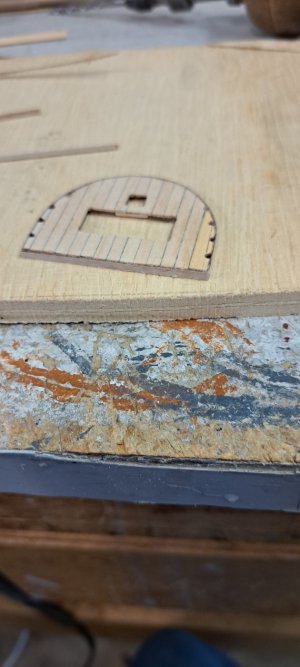
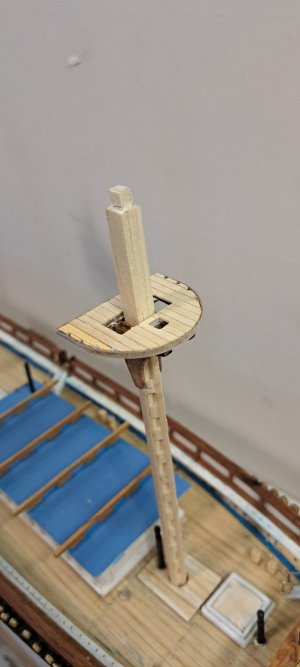

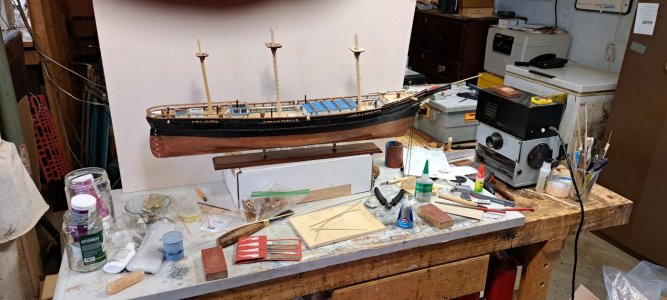
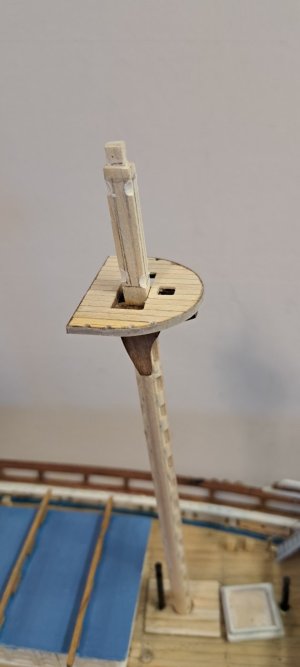

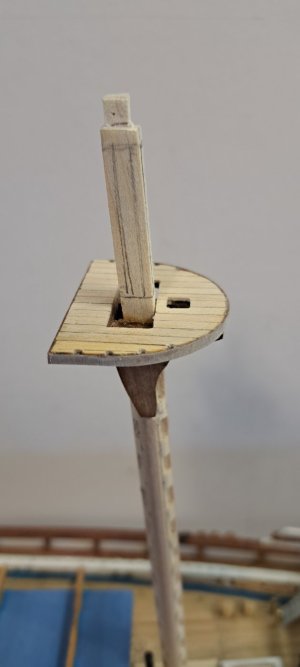

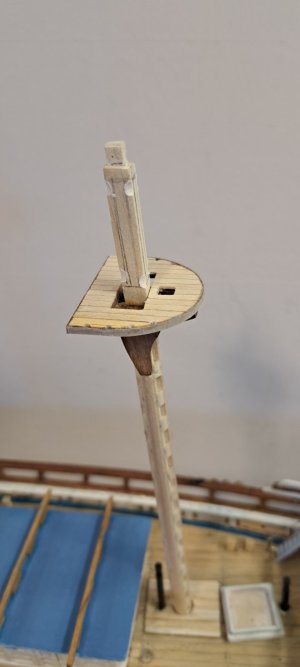

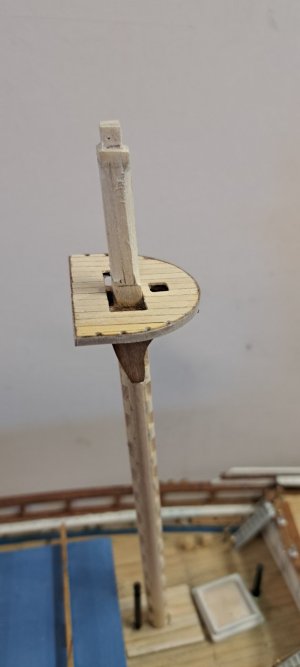
Still a heckuvva lot of work to complete between now and then.


- Joined
- May 25, 2020
- Messages
- 1,159
- Points
- 443

Pete! I feel you on the "two steps forward one step back." She's looking fantastic! I imagine the masts will receive some stain? I enjoy seeing those chapeled lower masts every time you post. I don't think I notice before that the mizzen is not chapeled. Impertinent question: Why is that?More two steps forward, one back. I re-made the fore and main mast caps, they were too short between the mast and topmast spacing, so I made a new pair. Then finished the remaining tops, and champhered the masts between the couplings. I plan to make the topmasts abbreviated stub masts and present the model only partially rigged and present her as a modified "builder's model" to focus on her hull and deck detail, declare victory and move on. I feel no compulsion to invest possibly another couple of years on masting and rigging. I may well be forced to give it all up before then do to circumstances beyond my control.
Still a heckuvva lot of work to complete between now and then.View attachment 503517View attachment 503518View attachment 503519View attachment 503520View attachment 503521View attachment 503523View attachment 503524View attachment 503525View attachment 503526View attachment 503528View attachment 503529View attachment 503530View attachment 503531View attachment 503532View attachment 503535View attachment 503534
Blessings.
Chuck
- Joined
- Jun 17, 2021
- Messages
- 3,202
- Points
- 588

I have no idea. Just that that is how it is in all my references and plans for not only this but any other clippers I have seen with the chapeled compound masts. Fore and main only.Pete! I feel you on the "two steps forward one step back." She's looking fantastic! I imagine the masts will receive some stain? I enjoy seeing those chapeled lower masts every time you post. I don't think I notice before that the mizzen is not chapeled. Impertinent question: Why is that?
Blessings.
Chuck
I wish I had taken more pictures of the process of squaring a round hole. It helps to have a wide variety and selection of wood rasps of all sizes and shapes.
The masts will be mostly painted white with iron bands. Still a lot of fussy work to go. Each a little model in its' own right, of which you are well aware.

