"Flying Cloud " by Mamoli - kit bash

What ho, shipmates! I thought I was in my build log and accidentally posted this in Pete's log :eek: :eek: :eek: Sick. I apologize for not paying attention, Pete and everyone else!

As a further reply to Pete's post about each part becoming its own project, I leave the first paragraph. I am deleting the rest and putting it all where it belonged in the first place. Thank you for the grace.

Pete's comment about each part becoming its own little model was borne out by the davit fabrication project. I had a hell of a time with the soldering. Still not quite sure what I'm doing wrong, although increasing the heat helped make the tip of my iron work to melt the solder. And I kept forgetting to bend the curve outboard. Re-bending the brass left what had been smooth curves with some ripples. Then there was the problem of making a hole at the top of the davit for the upper block. I ruined a lot of drill bits until I learned to file that part almost paper thin so that I could practically punch through with a t-pin to make a divot so the bit wouldn't just skip around on the surface.


Blessings.
Chuck
 
Last edited:
What ho, shipmates! I thought I was in my build log and accidentally posted this in Pete's log :eek: :eek: :eek: Sick. I apologize for not paying attention, Pete and everyone else!

As a further reply to Pete's post about each part becoming its own project, I leave the first paragraph. I am deleting the rest and putting it all where it belonged in the first place. Thank you for the grace.

Pete's comment about each part becoming its own little model was borne out by the davit fabrication project. I had a hell of a time with the soldering. Still not quite sure what I'm doing wrong, although increasing the heat helped make the tip of my iron work to melt the solder. And I kept forgetting to bend the curve outboard. Re-bending the brass left what had been smooth curves with some ripples. Then there was the problem of making a hole at the top of the davit for the upper block. I ruined a lot of drill bits until I learned to file that part almost paper thin so that I could practically punch through with a t-pin to make a divot so the bit wouldn't just skip around on the surface.


Blessings.
Chuck
It's all blending together. I am happy to see the overlap. Sharing is caring in this endeavor. :D Thumbsup
 
Last edited:
Thanks to everybody listed below for following along! Thumbsup
I need to get my butt in the chair at the workbench and start working on the next installment. It requires a lot of mulling before shifting gears,:rolleyes:
 
Each part becomes its own model-Well Said! And this requires a plan to build it. This is particularly true of tiny soldered brass parts for 1:96 scale models. The trick is to figure how to hold them in place during soldering. Sometimes this requires several work sessions for a one or two minute soldering job. Chuck’s davit is a prime example. I would first make the top end with the hole for the block. Using the hole this part can be pinned to a piece of craft plywood. The davit itself can then be fitted in place and pinned. Soldering is then easy.

Roger
 
Well. No pictures for todays' several hours. Reasearch, research and re-research. For you American clipper modelers out there, pretty everything you need to know of the generic details can be found in Ed Tosti's three volume set on building the "Young America" and in the set of plans for Model Shipways' "Flying Fish" as well as the kit booklet. The basic overall information contained in these, supplemented by Crothers' two books on the subject and perhaps Underhills' "Sailing Ships and Rigging", will get you there. For step by step in excruciating illustrated detail, nothing beats Tosti. Even if you don't have his extraordinary technical ability and sophisticated tools, you can take what he has to offer, simplify and extrapolate it into accessibly doable techniques with less demanding materials and sophisticated equipment. After all, look at what @shipbuilder Robert Wilson has achieved. So much with so little!
In the 1955 instructions for the Model shipways 1:192 scale solid hull model of the "Young America" they advised, in regard to simplification for such a tiny model,
" Your model will not be judged by what isn't there, but by what is." Sound advice. Thumbsup ;)
 
Last edited:
Each part becomes its own model-Well Said! And this requires a plan to build it. This is particularly true of tiny soldered brass parts for 1:96 scale models. The trick is to figure how to hold them in place during soldering. Sometimes this requires several work sessions for a one or two minute soldering job. Chuck’s davit is a prime example. I would first make the top end with the hole for the block. Using the hole this part can be pinned to a piece of craft plywood. The davit itself can then be fitted in place and pinned. Soldering is then easy.

Roger
Roger, I never thought to do it that way. I drilled a hole in a piece of scrap wood, pushed the rod through put on the bottom bracket and soldered it. The resulting stability was the same. The real problem is my technique - it sucks ROTF

Blessings.
 
Hi Peter,
I have the 3 volume set of books by Ed Tosti and I agree that they are a tremendous asset. I still need to get Crothers and Underhill's books.

Bill
Pretty much everything you need to know generically for mid 19thc. American clipper rig and construction is wonderfully and clearly laid out in Tosti's books, if you want to build a very accurate 1:96 model of an American clipper of that era.
After perusing vol.III today I find I will probably re-do my mast caps yet again, much I am sure to Paul "Doc" Attners' amusement (see above commentary) ROTF
Now that I've seen what a mast cap really should be like in that scale, I can't very well justify not doing it right. So it's back to the bench for a third try. :rolleyes:
Third time lucky, Pete! Go get 'em!

Blessings.
 
Let me recommend following the Frederick from the Lumberyard build by Mav Rick. This is a wonderful and masterfully crafted POF model, virtually scratch built from the most basic (literally from the supplied lumber up) materials, instructions and plans supplied by the kit company (literally the Lumberyard). The builder is a highly skilled craftsman, very sophisticated and knowledgeable in his approach. His build log is, in essence, a tutorial on miniature shipbuilding. A very rewarding investment of your time! Thumbsup Thumbsup Gold StarGold StarGold StarGold Star

Pete
 
Fitting out the masts, tops, mast caps, etc. cont'd.
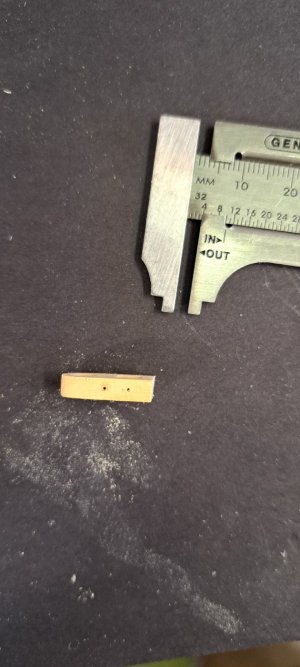
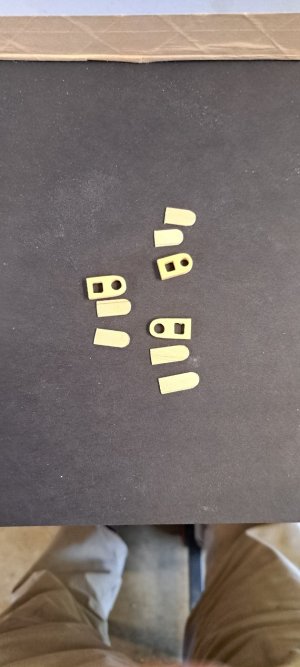
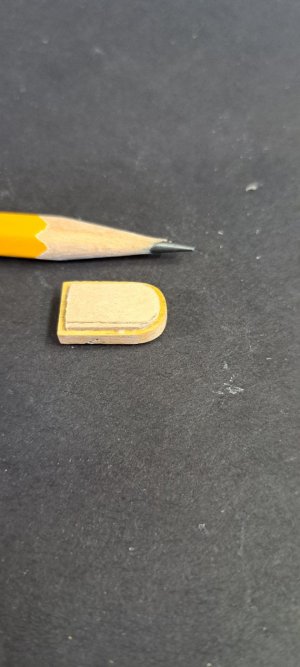
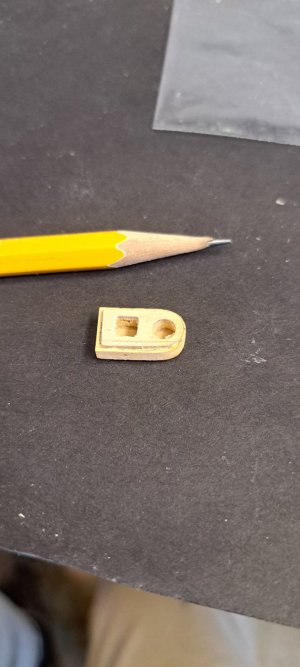
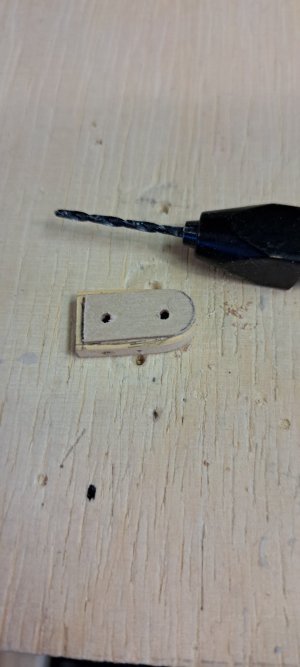
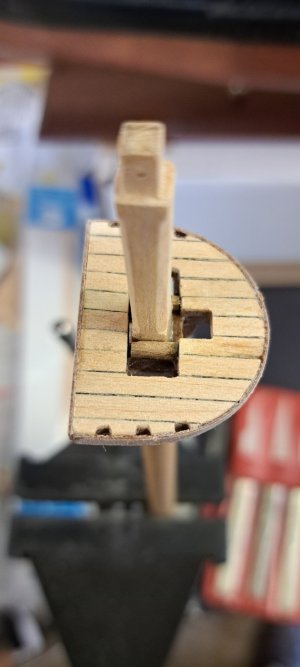
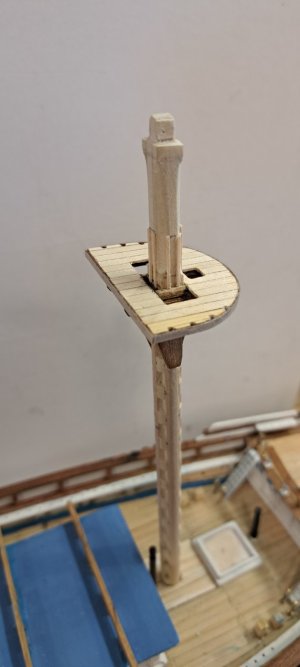
I was thinking I would have to remake the mast caps. Not necessary. Using the Boxwood caps I fabricated I used them as the basis of further refinining and detailing the caps by sanding down their thickness and adding upper and lower pieces, top and bottom, of 1/32" birch ply, slightly smaller all-around, leaving an outer edge protruding to simulate the iron band surrounding the cap. I then recreated the holes for the mast tenons and for the top masts.
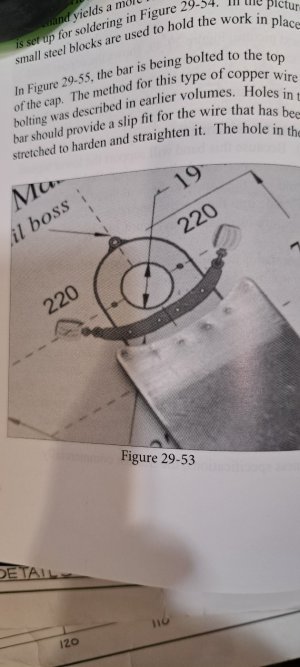
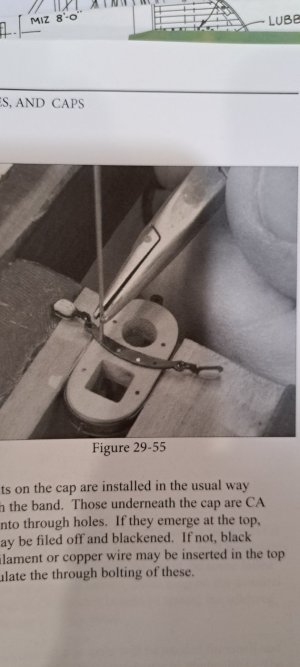
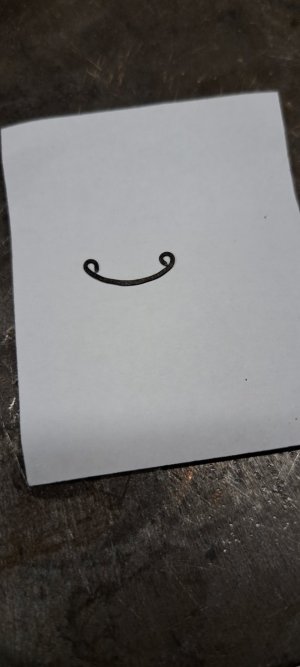
There is a crescent shaped iron bar, with eyes on the ends for a shackle and block, across the tops of the caps, which I fabricated from annealed black wire. I turned the eyes with modified needle nose pliers, shaped the crescent curve around a dowel and flattened the piece on an anvil with a flat tip hammer. The soft wire took the shape required easily and became hardened in the process. These I will add after painting the caps. The upper part of the masts require protective chafing battens for the shrouds and stays, which I fabricated out of 1/32" sq. basswood strip.
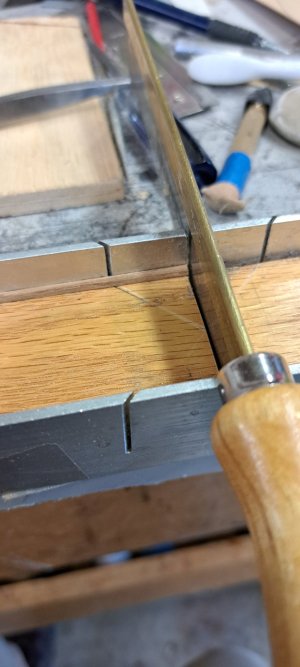
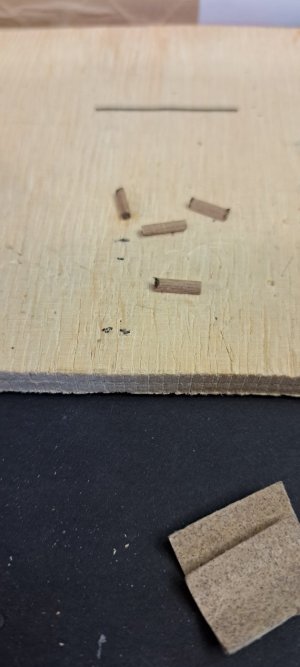
A good collection of a wide variety of sizes of conventional and diamond round and square tapered rat tail files and a lot of patience was required to make the holes in the pieces added to the caps for the mast tenons and topmasts. each piece applied separately, then pierced and the holes shaped first one side, then the other side glued on and shaped in two separate operations, so that I could match the new holes to those already in the caps, being careful not to widen the original holes and keeping the square hole properly square.20250228_150727.jpg20250228_150742.jpg20250228_151507.jpg20250228_125543 (1).jpg20250228_131323 (1).jpg20250228_125752.jpg20250302_123209.jpg20250302_152713.jpg20250302_152758.jpg20250302_122820 (2).jpg20250302_153139.jpg20250228_143822.jpg20250228_145735.jpg20250302_122921.jpg20250302_145758.jpg20250302_145747.jpg20250302_145817 (1).jpg20250303_153833.jpg20250303_153307.jpg20250303_153719.jpg20250304_133722.jpg20250304_133732 (2).jpg20250304_134313.jpg20250304_133147.jpg

20250302_153151.jpg
 
Back
Top