• LUCZORAMA SHIPWRECK SCAVENGER HUNT GIVEAWAY. 4 Weeks of Fun • 1 Legendary Prize ((OcCre’s Fram Ship)) • Global Crew Welcome!
    **VIEW THREAD HERE**

"Flying Cloud " by Mamoli - kit bash

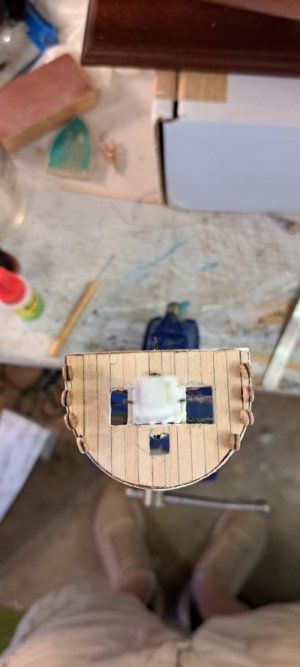
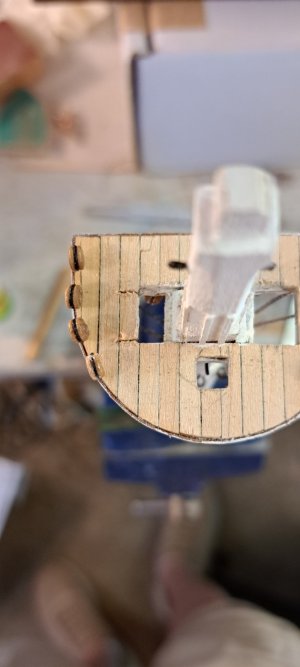
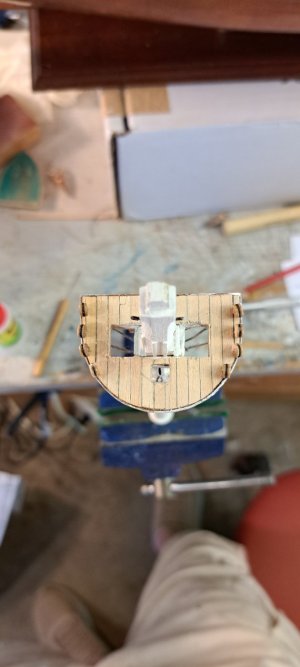
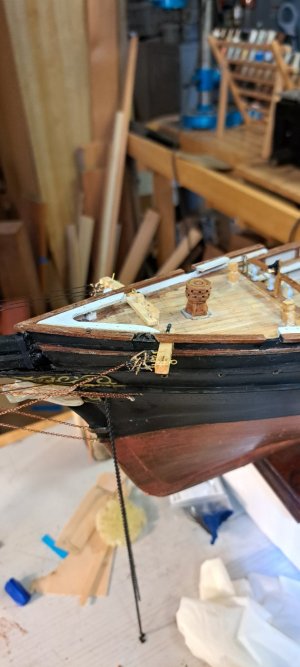
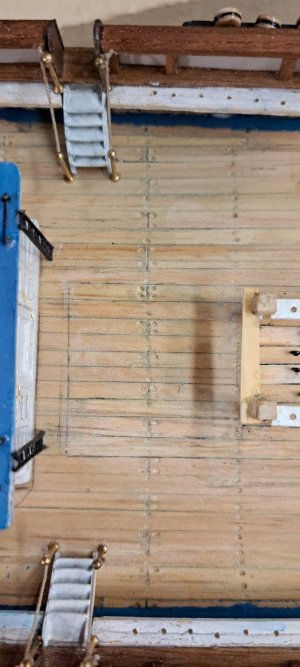
Plugging along with bench time tucked in between doctor visits (pokes, prods, jabs, labs and radiology, between a couple "seniors" they add up :rolleyes: ) and other life contingencies, I managed to finish the water casks and add a few missing door handles. The water casks are A.J. Fisher castings. The door handles are tiny snippets of brass wire. I went with handles rather than knobs. a) easier to make and b) easier to grab and turn a wet handle than a knob.
The white metal castings I cleaned with lacquer thinner, painted with a light brown acrylic, used a colored pencil for the bands and dry brushed with a darker brown. I used quick grab tacky glue for the handles and the casks. Leaves a little adjustment time.View attachment 525062View attachment 525063View attachment 525064View attachment 525065
What a fantastic detail, Pete! Every addition brings her more and more to life!

Blessings.
Chuck
 
Pete! I agree with Paul - the live stock pen needs to come back - Please! All of the effort you put into the details on the deck need this compliment - no matter how long it takes :)

She's really looking magnificent! Thank you, Pete!

Blessings. Peace. Gratitude.
Chuck
 
Pete,
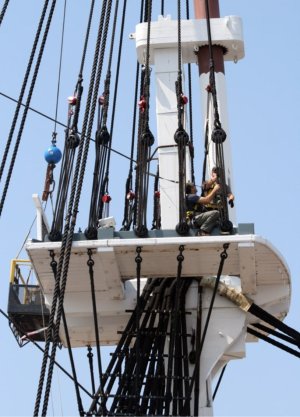
I hope you can take advantage of this latest revelation. Current commercial plans are wrong when illustrating solid top lubber's holes. On Glory of the Seas her lubber's hole opening went clear across the entire top, only ending at fore and aft frames. On the Great Republic booklet there's an illustration of a solid top. The lubber's hole extends from the forward frame about two-thirds across. Both of these examples are easily more than double that shown on plans. When you think critically about this feature, it was designed as an ac too.cess point for crew climbing through to service sails. A long wide opening makes more sense. Ironically making this revision to your solid tops will make it much easier to rig too.

200390735_GloryofTheSeas-02_jpg_1e3ea586a74b8c0a0aa8a4438686e3ec.jpg.f6f2d2d5b7beeb87ff8b85c61...jpg

Screenshot_20250621_210932_Gallery.jpg

Screenshot_20250604_193733_Chrome.jpg
 
I realize from previous posts that McKay's lubber holes were especially spacious. The holes in the Mamoli laser cut tops were pretty roomy and fit the trestle trees supplied, so I went with that. I don't want to get into a lot of retro surgery or have to do my masts over. I'm not sure how extensive a rig I'm doing anyway and may have to pull the plug and button her up with a partial rig, do to constraints imposed by the exigencies of life.
As you know, I appreciate the caring interest you (and Rob, Chuck, Paul and Jim) have shown in my model and your suggestions to improve it and make it a top-notch example. Thanks. Much appreciated! Thumbsup ;)
Pete
 
Pete,
I didn't mean to imply you should do retro surgery. I was thinking you could simply modify other tops which hadn't been installed yet. It would make it far easier to rig the other masts, if you chose to do so. However, taking care of your wife must obviously take precedence over everything else. Family first. As for thinking that only McKay vessels had longer lubber's holes, that's incorrect. Historic vessels have always had long, wide openings to accommodate crew. As confirmation, here's a 1797 fighting top on USS Constitution "Old Ironsides" and a decades later 1843 Whaler Charles W Morgan's civilian solid top. They're virtually identical. It's also another area where it seems like Mamoli and other commercially produced plans and kits are just plain lazy. They should do their customers justice and correct this error in their kits.

Screenshot_20250623_064949_Chrome.jpg

Screenshot_20250623_065441_Chrome.jpg
 
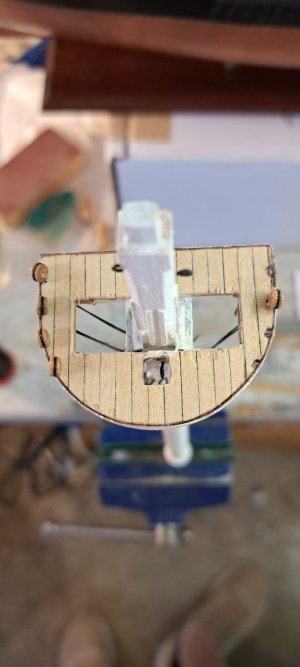
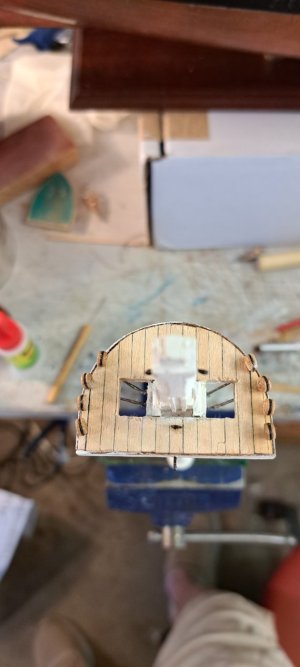
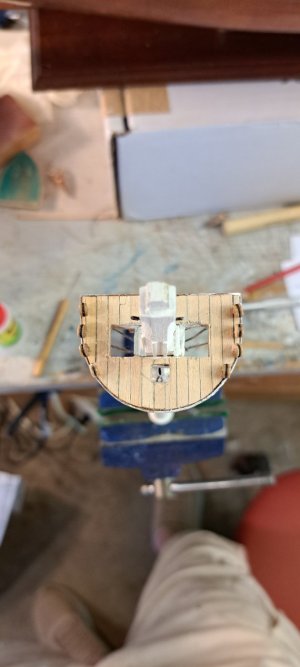
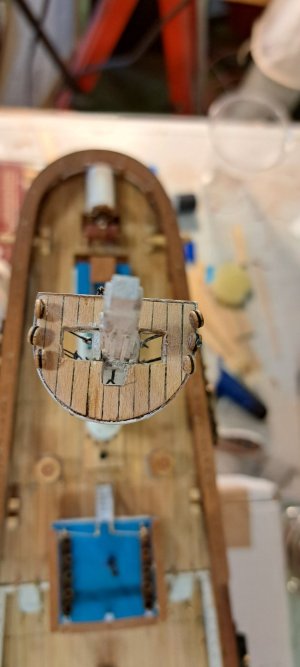
I did find that I was able to open up the lubber holes in the tops, which would allow greater ease for rigging to pass through as well as a man. So, I did that without too much more ado. The only casualty being the supports for the main top left side deadeyes. Easy enough to re-do. On the Young America and other clippers, much of the rigging from above passes through fairlead holes drilled into the tops outside the lubber holes.
I like the look of the roomier lubber holes.20250623_115217.jpg20250623_113857.jpg20250623_114311.jpg20250623_115828.jpg20250623_152414.jpg20250623_115848.jpg20250623_115828 (1).jpg20250623_152436.jpg
 
I did find that I was able to open up the lubber holes in the tops, which would allow greater ease for rigging to pass through as well as a man. So, I did that without too much more ado. The only casualty being the supports for the main top left side deadeyes. Easy enough to re-do. On the Young America and other clippers, much of the rigging from above passes through fairlead holes drilled into the tops outside the lubber holes.
I like the look of the roomier lubber holes.View attachment 527755View attachment 527756View attachment 527757View attachment 527758View attachment 527759View attachment 527760View attachment 527761View attachment 527762
Peter,
I'm glad you could do minor solid top surgery with little difficulty. Besides being more historically accurate, it should make your shroud rigging easier too. I only wish others were as willing as you are to accept new revelations when they're presented with the truth.
 
Peter, wonderful work and progression on a very interesting vessel!
Thanks, Ken! Thumbsup
Peter,
I'm glad you could do minor solid top surgery with little difficulty. Besides being more historically accurate, it should make your shroud rigging easier too. I only wish others were as willing as you are to accept new revelations when they're presented with the truth.
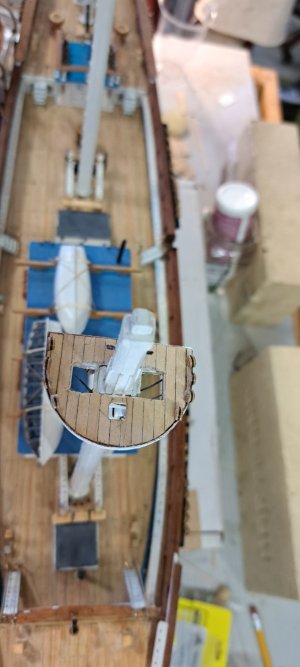
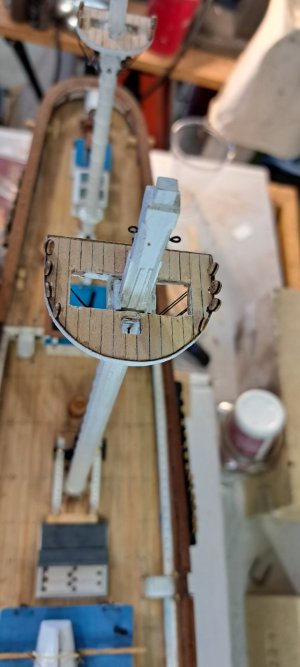
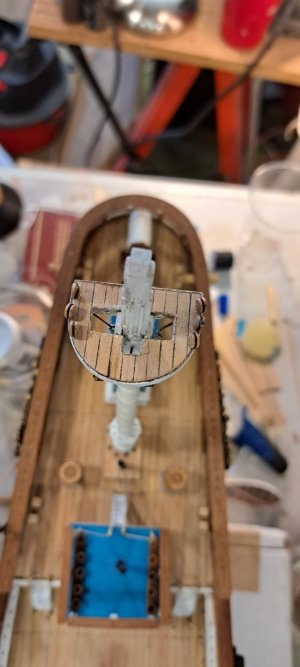
Last pics of the newly modified lubber holes, masts dry fit in place. This build has been a zig-zag path of modifications and do-overs. But, hey, it just keeps getting more interesting, an unfolding story of the "Flying Cloud" My most Iconic favorite since I first fell in love with these clipper ships as a kid 70+ years ago.
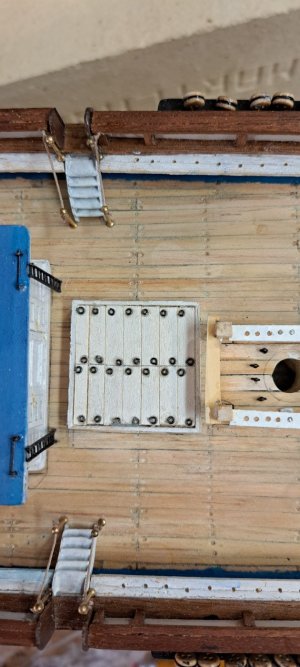
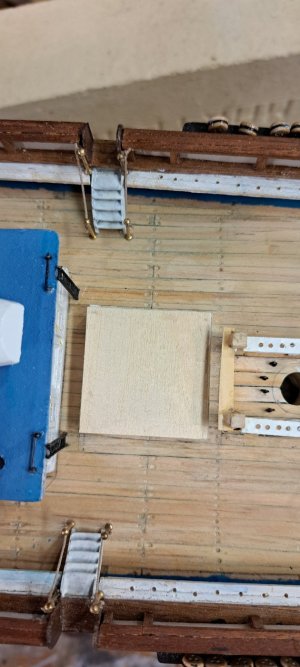
Back by popular demand, I'm starting on a second iteration of the over-the-hatch animal pen. This time over the main hatch, which makes the most sense and doesn't crowd the deck egregiously. (He said,.. hopefully :rolleyes:) Also started fitting cocks into the spray rail.20250624_141749.jpg20250624_141708.jpg

20250624_141738.jpg

20250624_142619.jpg

20250624_154618.jpg

20250624_154636.jpg
 
I had to unglue my main hatch and reduce its overall dimensions for the animal pen to fit on top leaving enough room for crewmen to move around it on deck. if the hatch had an inner coaming the pen could securely fit on top, if its floor had a framework to secure it snugly over the inner coaming (not shown on my hatch as it would not be visible once the pen is secured on top and battened down). This eliminates the need for overlap of the pen floor and overlapping legs. This is the best way I can think of for everything to fit and still leave a believable amount of working room while still having20250625_132659.jpg20250625_132511.jpg20250625_132647.jpg a hatch close to the dimensions of the various sets of plans I have. I also slimmed down the front part of the fife rail.
I'm glad I made use of various kinds of white glue as it easily releases with a little isopropyl (rubbing) alcohol, considering the number of dis-assemblies I've been required to make. :eek:
 
Back
Top