Flying Dutchman, Occre, 1:50

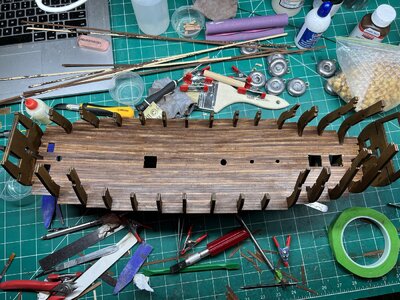
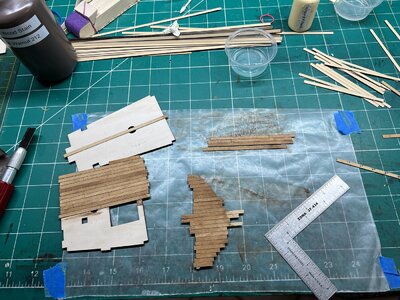
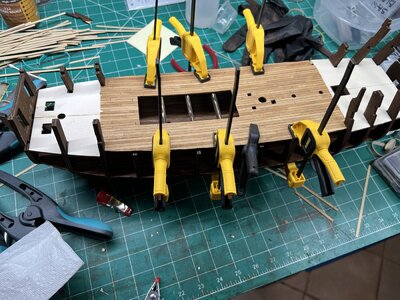
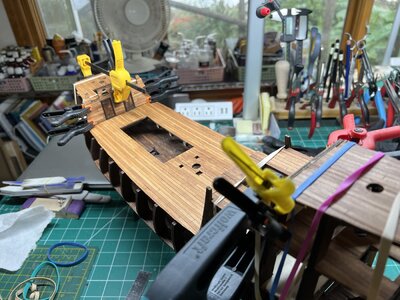
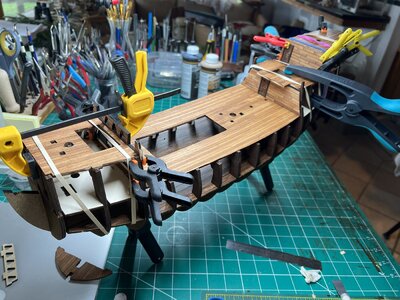
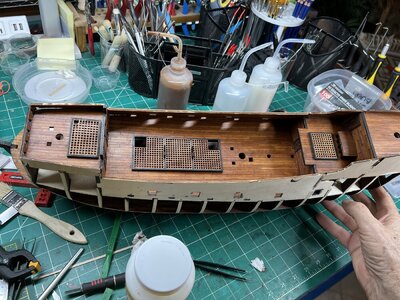
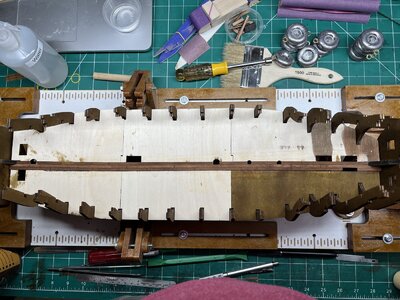
Lower deck is glued in. Laying the planks.
IMG_2581.JPG
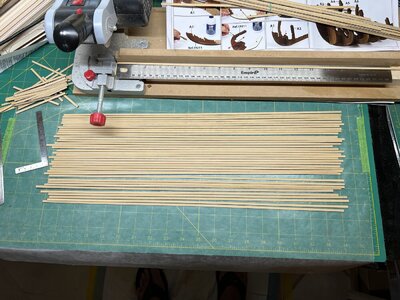
Cut planks to fit inside the length hull.
IMG_2583.JPG

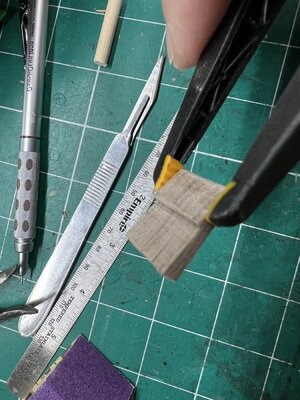
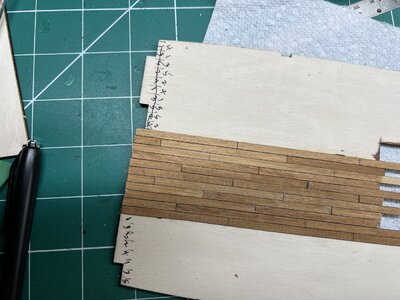
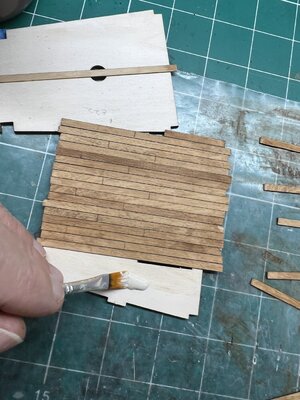
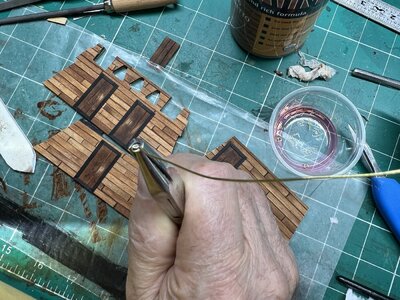
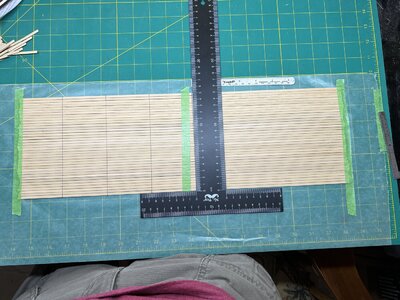
I've already painted the edges. Next I scored in the plank ends by cutting a groove with a scribe, followed by marking the groove with a black pen.
IMG_2584.JPG

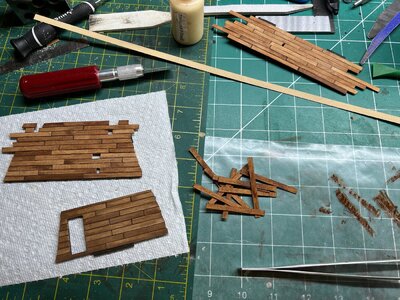
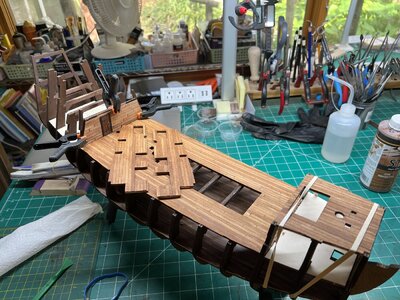
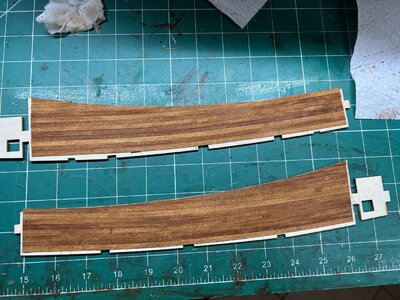
Next, I stained the planks. If I can I like to stain pieces before gluing in. Then don't have to worry about getting glue on unstained wood.
IMG_2587.JPG

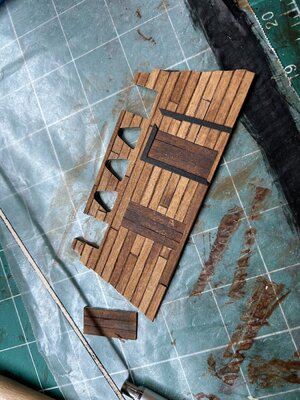
Planks won't be glued in in the same order as shown. So the darker and lighter areas will be mixed. I may give a light sanding and another coat of lightened stain.

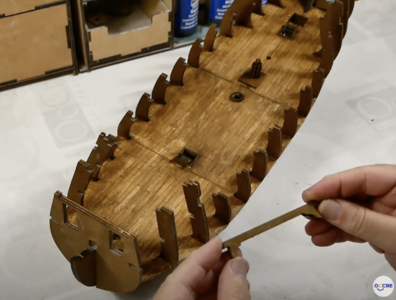
An image of this deck from the OcCre Flying Dutchman YouTube build log.
Screenshot 2022-10-30 at 12.18.11 PM.png
 
Last edited:
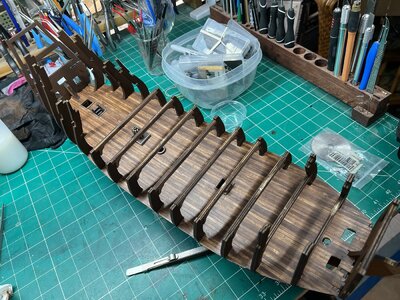
Lower deck is glued in. Laying the planks.
View attachment 337330
Cut them to fit inside the length hull.
View attachment 337335

I've already painted the edges. Next I scored in the plank ends by cutting a groove, followed by marking groove with a black pen.
View attachment 337340

Next, I stained the planks. If I can I like to stain pieces before gluing in. Then don't have to worry about getting glue on unstained wood.
View attachment 337342

Planks won't be glued in in the same order as shown. So the darker and lighter areas will be mixed. I may give a light sanding and another coat of lightened stain.

An image of this deck from the OcCre Flying Dutchman YouTube build log.
View attachment 337343
Hi Margherita, it is possible to have some information about that cutting-off tool, Thanks
 
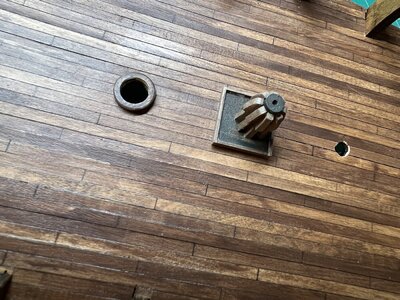
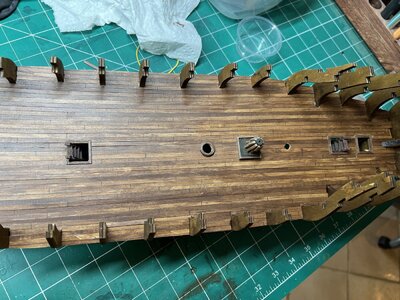
Installed the fittings on this deck.

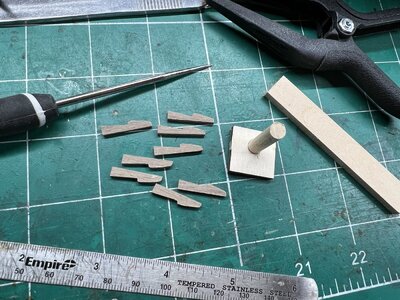
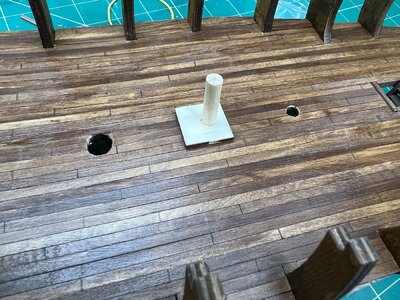
Put together what looks like a capstan without any bars. There's a 1.5mm hole drilled in the top. Might be used to load cargo into the lower decks. I couldn't find any reference to the capstan further into the build. Also couldn't find the base (think it was labeled as C8). Made one out of scrap wood.

IMG_2637.JPG
IMG_2639.JPG
IMG_2640.JPGIMG_2643.JPGIMG_2642.JPG
 
Putting the decks in.
Ready for main deck.
IMG_2645.JPG

Main deck. I kept putting the wrong sequence in. So... I wrote the plank offset on the sheet. And, of course, I got that wrong too. :rolleyes:ROTF
IMG_2651.JPG

Smaller decks.
IMG_2654.JPG
IMG_2655.JPG

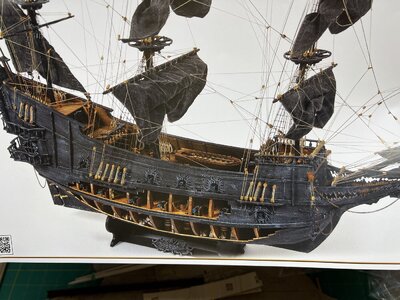
Bulkheads for the decks are highly distressed in the instructions (Sanded white over black). I'm going to a more mellow look. The image on the kit cover shows interior areas of the decking and other things as a light oak-ish looking color. I'm making all these areas including the bulkheads a slightly darkened light color (Saman Amaretto - Amazon)
IMG_2657.JPG
IMG_2658.JPG

Making door opening rings from brass.
IMG_2659.JPG
IMG_2666.JPG

Gluing the decks in...
IMG_2652.JPGIMG_2661.JPG
IMG_2662.JPG
IMG_2663.JPG

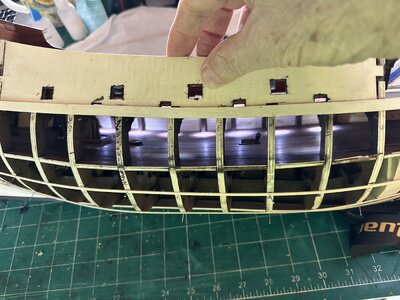
Decks/bulkheads are in...
IMG_2668.JPGIMG_2670.JPG
 
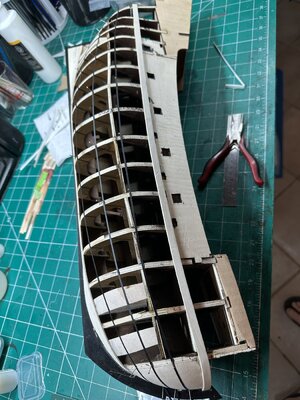
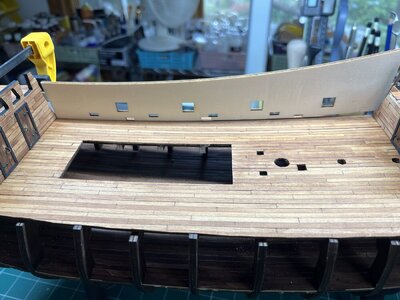
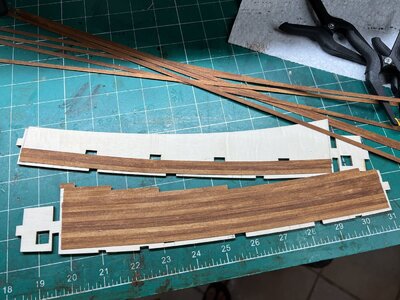
Up next is to install plywood sheeting that will be the interior bulwarks. Kit has the plywood bulwarks stained the kits dark walnut. This doesn't look good to me. Like other interior pieces, I'm going to plank with holly wood and use the same Amaretto stain. Might put another coat of Amaretto stain on everything once it's all together if it doesn't look dark enough. As I said before, I like the light interior walls/decking as on the kit cover. I plan on using my own wood for planking the hull and giving it a dark-ish stain. Some of the exterior hull is actually plywood. I can't do this. Will plank these areas too. And the bow isn't planked at all. It's just sanded blocks of wood. Bow will be planked too.

IMG_2669.JPG

Note: you may have noticed the 2nd deck (below) and hold area are stained with the kits dark Walnut stain. After staining these, I decided to use a lighter color stain on remainder. These areas will be dark anyway, so may not be noticeable. I have ordered a few plastic lanterns for the lower area. The kit came with LED's set.
 
Last edited:
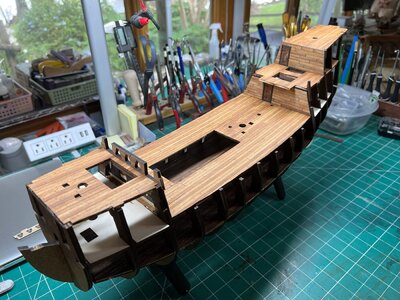
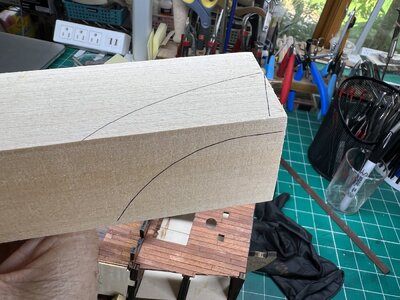
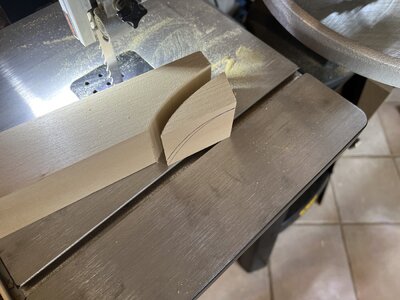
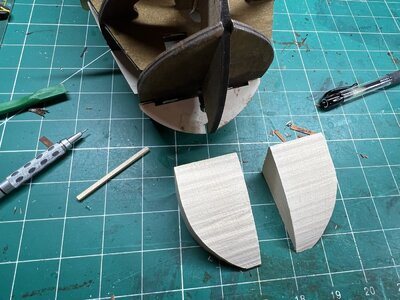
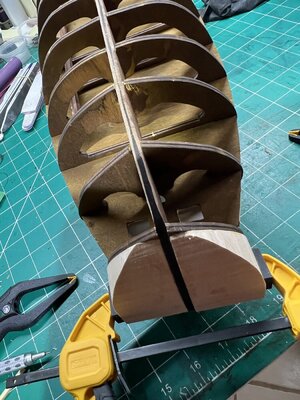
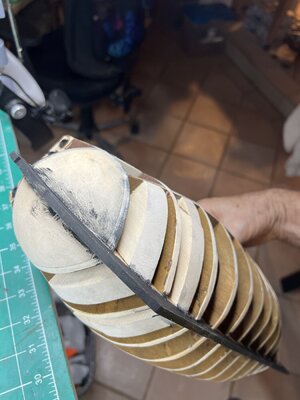
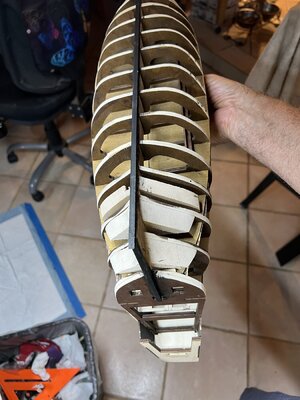
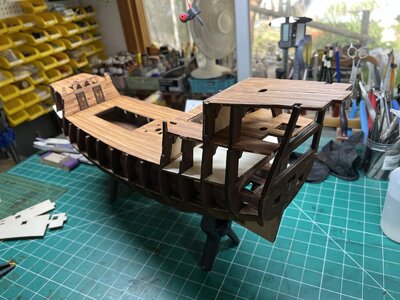
Inside the hull is partially finished. The instructions stop here on the inside. Some planking is next. I have to decide if I will use the kit supplied lime wood (according to the internet this is basswood) as it's pretty soft wood. Or I may cut some of my own planks from a better wood. I made some bow fillers.
IMG_2679.JPG
IMG_2680.JPGIMG_2681.JPG
IMG_2683.JPG
IMG_2693.JPG
IMG_2694.JPG
 
Last edited:
Excellent progress Rob. The bow and stern fillers will make the planking so much easier!
 
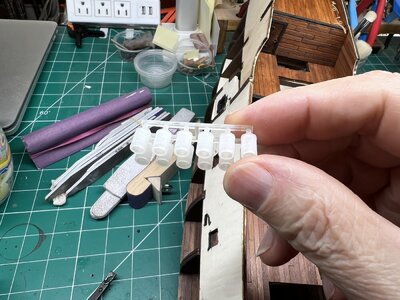
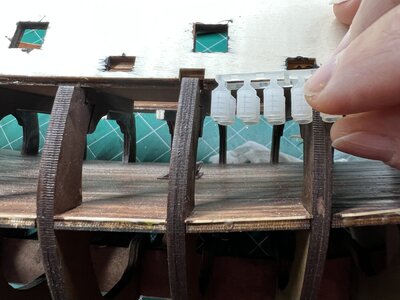
I bought these little lanterns from Shapeways. Was thinking of putting them in the hull, but I already had some of the work done to the lower deck, making it harder to install them. I will likely save them for another ship and install the ship supplied lights. The frames need to be painted black or brass.
IMG_2684.JPGIMG_2686.JPG
 
Last edited:
Thanks Paul. I'm not really into authentic. Just what looks good, and fun for me to build whether right or not. On this ship the kit box cover image is a light discolored wood contrasting the dark outside hull. I'll likely not make the hull solid black either.

IMG_2695.JPG
 
Such a great work, looks beautiful!
Recently I've received the same model as a gift but since it is my first such project, I have a small question (one so far:)) and hope you'd be able to help.

what paint type/colours did you use and can recommend for the deck? Occre paint pack or something different?
 
Hi Cirill. I'm sorry, that isn't a photo of my ship. That's the photo that's on the kit box. I was showing Paul the color of the interior woods of the ship. I'm still planking the hull on mine. The stain I used on the decks is Amaretto (LINK). The walnut from the Occre paint pack would be okay too. I just wanted something a little lighter in color.
 
I'm slowly working on the hull. This is a 1 layer planking hull. I've read everything I could find on the web about lining off and made a lot of notes. I want to improve my planking.

My first attempt at lining off. I used tape rather than battens as I wanted to curve the tape right up to the Stem and was harder with a batten.
IMG_2757.JPG
 
Last edited:
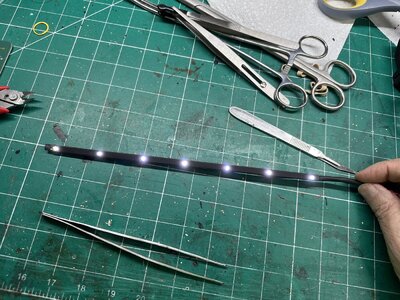
I made the 2nd deck lights from the instructions and installed it.

IMG_2775.JPG

Occre lights for the ship. This is the 2nd deck. Looks like a night club ROTF. Not going to install the other one laid out in the plans for the bilge.
IMG_2777.JPG
 
Last edited:
Back
Top