Friedrich Wilhelm Zu Pferde 1/48 scale by Euro Model

292.jpg
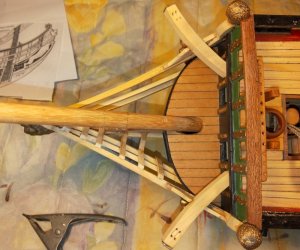
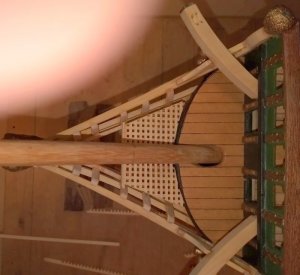
Next on the menu was the support brackets for the cat arms, i made a cardboard template, transferred it to the
wood, cut and filed it to shape, then glued it in position has in the pic, I then did the same for the other side,

293.jpg
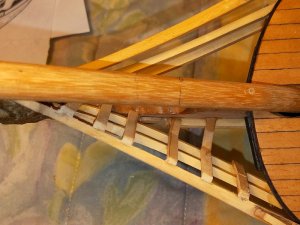
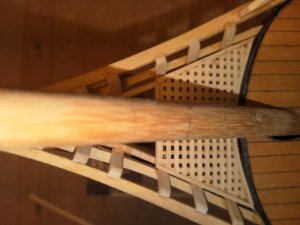
The cat beam now glued in place,
294.jpg
and another view looking up,


.
 
Last edited:
296.jpg
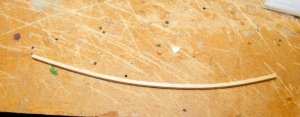
This is the casting that sits on top of the main head rail, I drilled a hole up into the head and CA glued a brass pin
into it to secure it to the rail,

297.jpg
I drilled a hole down into the top of the rail then I glued the head in place,

298.jpg
And a view of both heads glued in place,
 
Last edited:
301.jpg
The second rail pinned and glued in place,


302.jpg
The third rail glued in place,


303.jpg
This is the second rail on the port side being attached, You can see the hole drilled to take the brass pin,
I am just test fitting and trimming the rail to length, a lot of trial and remeasuring to get it right,


304.jpg
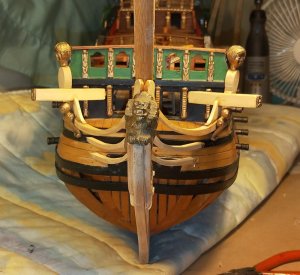
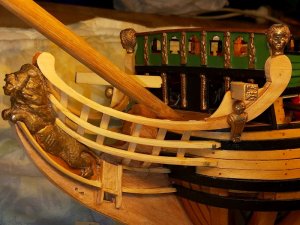
Head on view, the port top rail is just a little higher than the starboard one, but I think I am going to leave it
as it is, Lazy Bludger aint I,
 
305.jpg
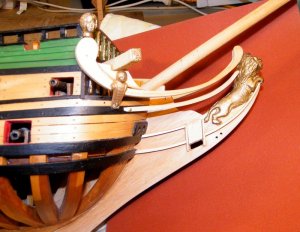
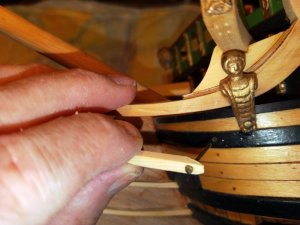
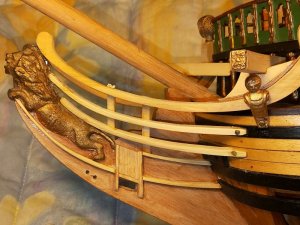
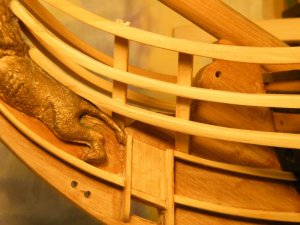
I am now installing the head rail upright supports, the first two in position,

306.jpg
a close up of the first twoo,

307.jpg
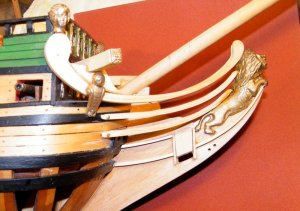
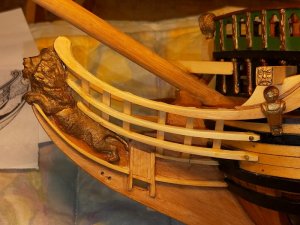
And the full six glued in place,

308.jpg
another view at a different angle,

309.jpg
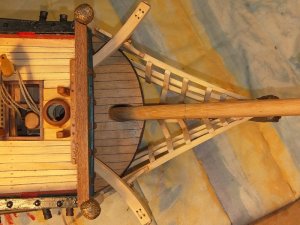
and looking down on the head rails,

310.jpg
a closer view, I have to do the Starb side, then I will probably attach the Bow Sprit lashings, the Gammoning,
it will be easier than after I have attached all the gratings etc, the very last support only attached to the three rails,
I presume it ended there so it would not interfere with the anchor cables, any questions just ask,

best regards John,

.
 
Last edited:
Keep going!!! Looks great! Nice build! Gonna sand the whole hull from my wilhelm and plank it again. Have sorted out all the wood i have and found some nice pieces for this ship. Also gonna try to make my own castings with tin or pewer i guess its called. Want to make some for felipe . Gonna try one tonigh if shaking hands will Let me do it. 6 weeks inside the house now... was someone on the second floor of the appartement building who called the Police and told that he opened all the gas in his house and wanted it to lett it explode. The evacuated the building but i stayed and watched from my 7th floor. Nothing happend. Bloke was arrested.
 
Keep going!!! Looks great! Nice build! Gonna sand the whole hull from my wilhelm and plank it again. Have sorted out all the wood i have and found some nice pieces for this ship. Also gonna try to make my own castings with tin or pewer i guess its called. Want to make some for felipe . Gonna try one tonigh if shaking hands will Let me do it. 6 weeks inside the house now... was someone on the second floor of the appartement building who called the Police and told that he opened all the gas in his house and wanted it to lett it explode. The evacuated the building but i stayed and watched from my 7th floor. Nothing happend. Bloke was arrested.

Wow Pat, that must have been frightening, you took a big chance staying in the building, glad everything worked out OK, you take care and I hope you feeling better soon,

best regards john,
 
311.jpg
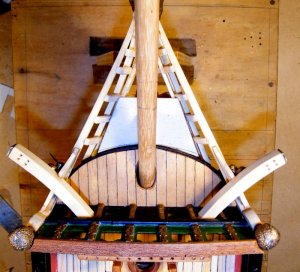
Thats both sides of the head rails glued in place,


312.jpg
next is the two support pieces to hold the flooring strips in place, I like the English way so I decided to use gratings,
I had enough left over from when I had made the other gratings on the ship,

313.jpg
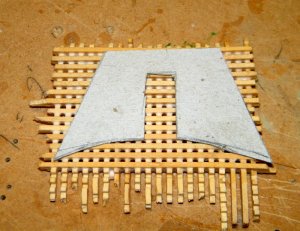
I then made a template using some card board, it was just a case of cutting and re cutting till it fit, you can see
the template sitting on the support pieces that have been glued to the inside of the rails,

314.jpg
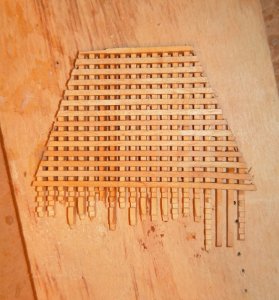
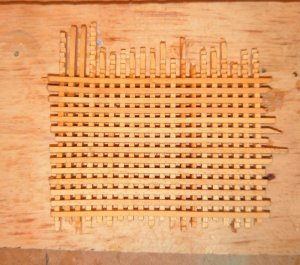
I glued up the grating strips and left them to dry overnight,

315.jpg
The template sitting over the gratings,

316.jpg
Started to cut the gratings to size,


.
 
317.jpg
Test fitting the grating after roughly trimming to shape, I have to take a bit more off the sides to allow
for the side battens to be attached, and also the back has to be sanded to the final shape,

318.jpg
Another view,

319.jpg
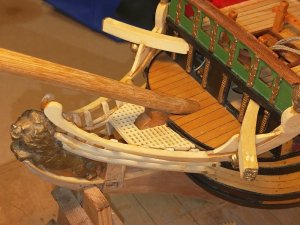
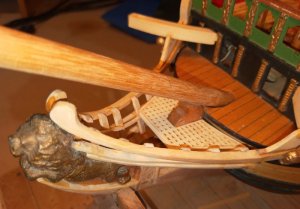
These two pics show the grating after final shaping and after attaching the side and back battens,

320.jpg
another view, got to make a smaller one to go up in front of the gammonig ropes,


.
 
Back
Top