I have finally hit on a way to make a becket that is easy for me, and produces reasonably neat results in a few minutes. I have seen other methods that work very well but I could not get them to work with a 2mm block

So I thought I would put my method here.
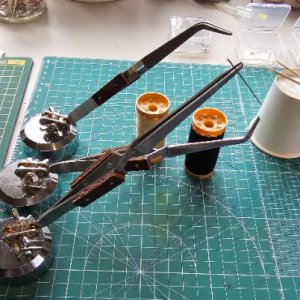
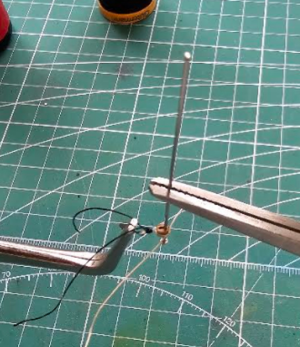
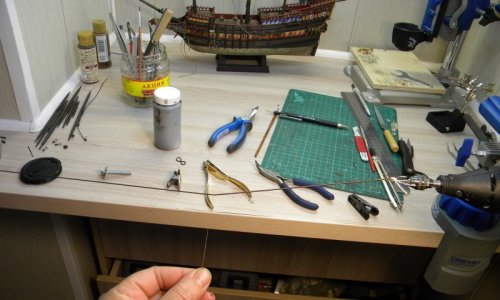
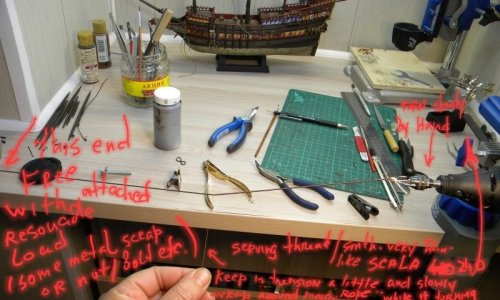
The useful tools are straight and angled self-holding tweezers with a good solid base
View attachment 628878
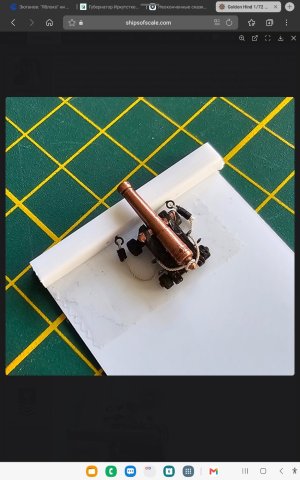
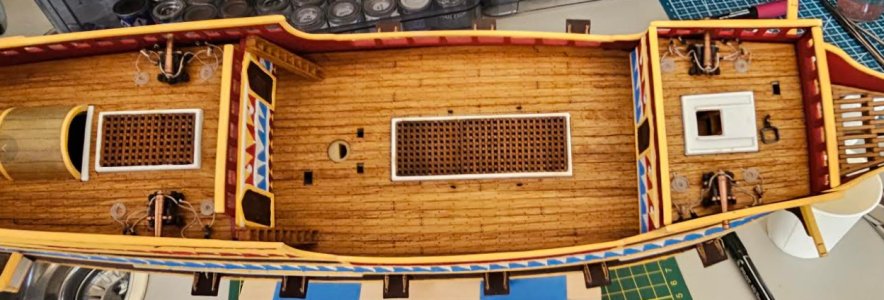
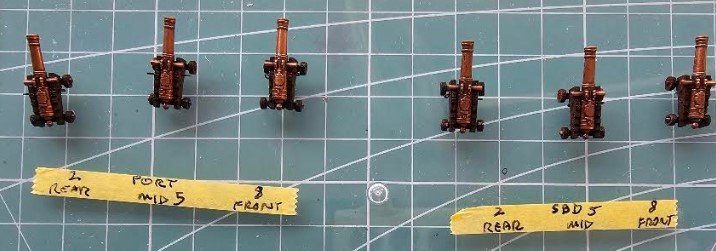
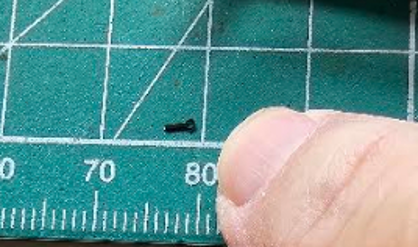
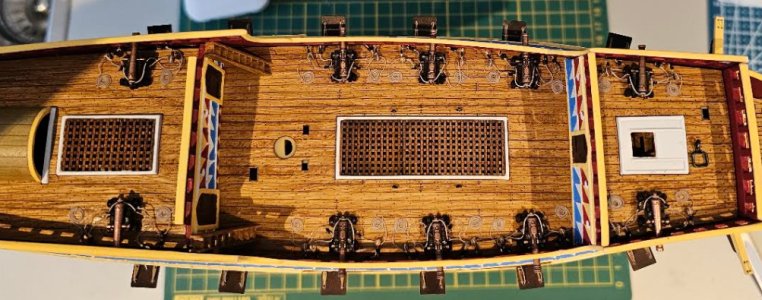
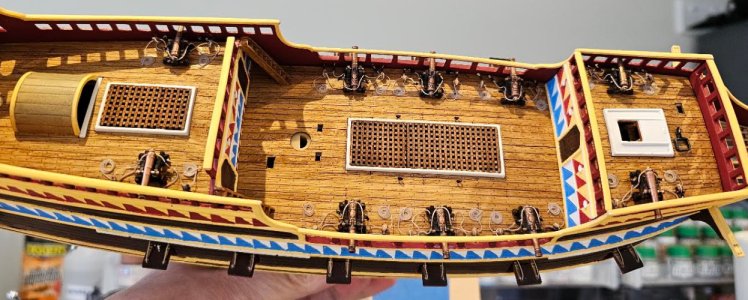
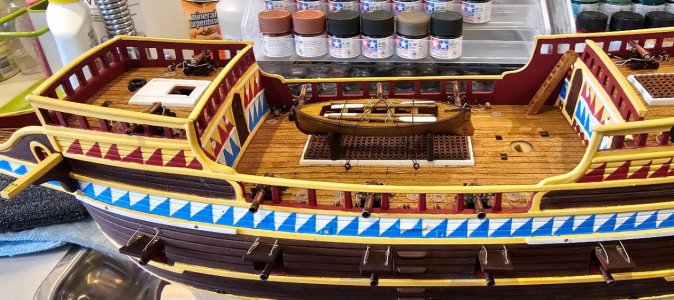
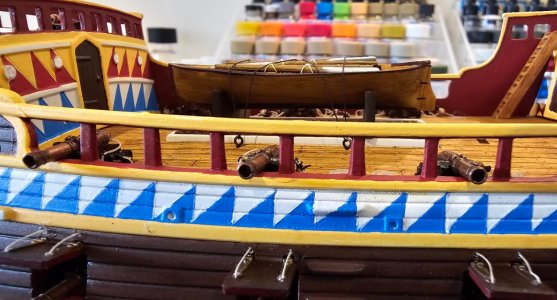
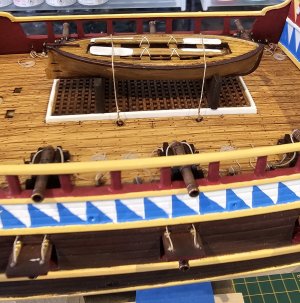
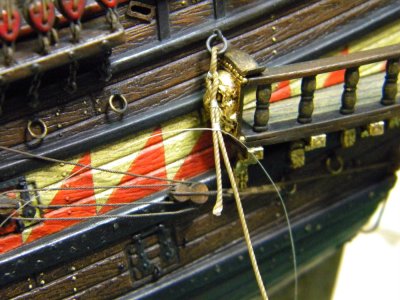
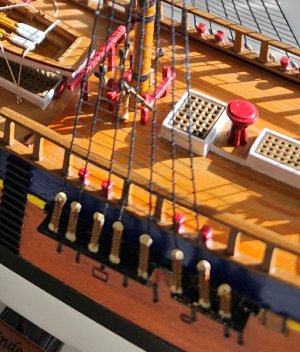
I have been using 0.9mm diameter eyebolts for the gun tackles. These are to be attached to the inside of the railings for the guns.
1 Take the eyebolt or hook or whatever.
View attachment 628879
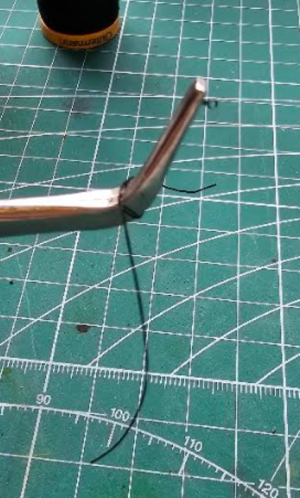
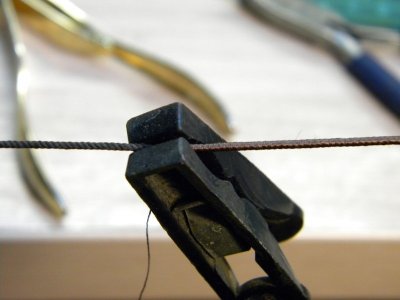
2 Hold it with angled tweezers.
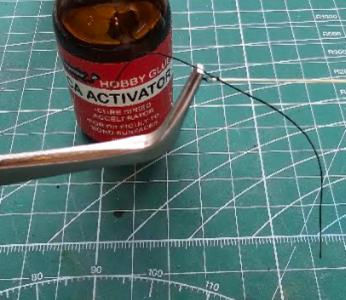
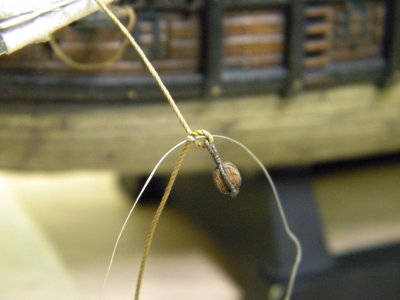
3 Tie a knot in the seizing thread (black) and slip it over the end of the tweezers.
View attachment 628881
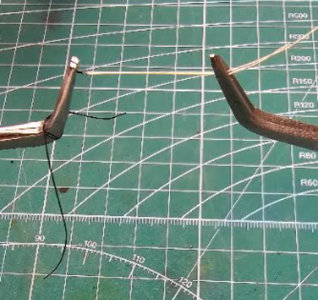
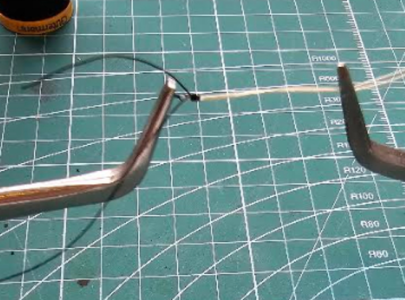
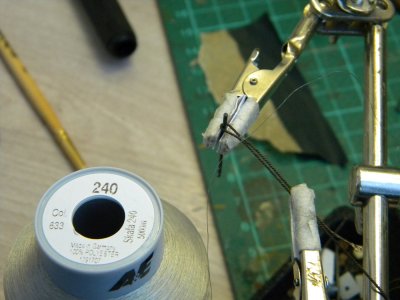
4 Thread the stropping thread (tan) through the hook, eyelet etc
5 Hold it tight with a second pair of (angled) tweezers
View attachment 628882
6 Add a drop of CA glue where the seizing will go. Try not to add too much – keep it small and where the
seizing will go.
7 Move the seizing thread into place and pull tight.
8 Add a tiny bit of CA accelerator to ...er....accelerate proceedings.
View attachment 628883
9 This holds the black knot in place when we wind the seizing… otherwise it rotates
10 Wind seizing around a few times. Finish with a knot.
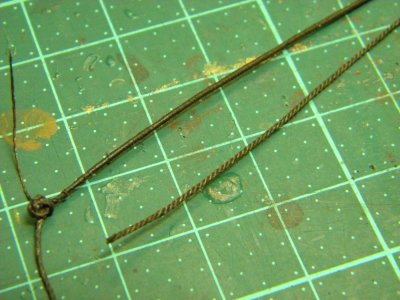
11 If necessary, push the black thread together so that it is a solid seizing.
12 If there is a tiny gap, and some white thread shows, colour it with a black pen!
13 Trim black seizing and we have a nice hook or eyebolt etc
View attachment 628885
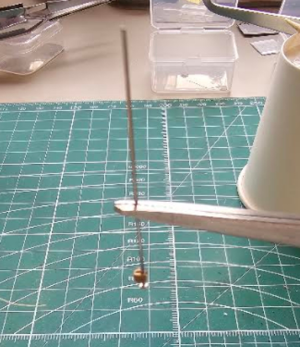
14 Get a pin with a head and thread the block onto it.
15 Hold with straight ended tweezers.
View attachment 628886
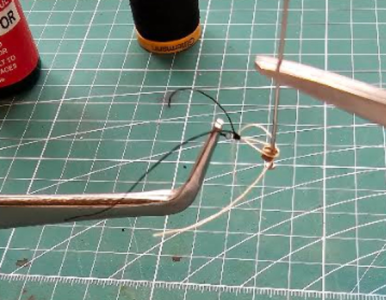
16 Tie a loose knot in the white thread.
17 Position the knot around the block.
NB – the tweezer on the RHS can rotate in all directions, so we can get the knot in the thread on the opposite side to the seizing
and the eyebolt. Similarly, we can get the block square. It is a little fiddly but much better than trying to do it on the table!
View attachment 628887
18 When happy add a drop of CA glue on the knot in the white thread.
19 And a drop of CA bonder to hold it.
20 Then white glue on the other sides of the strop to secure it.
View attachment 628889
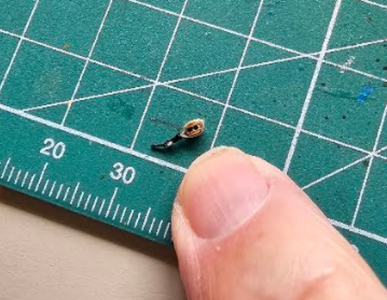
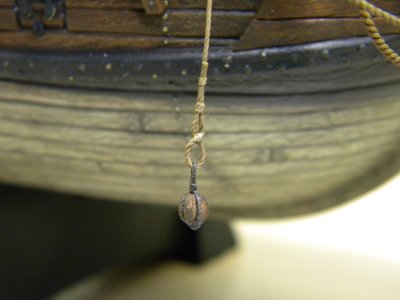
21 Trim loose ends and we are done!
View attachment 628891
I found this was relatively easy and relatively quick