• Ships of Scale has incorportated an extra level of security when you log In. Please follow on-screen prompts to acknowledge that you are not a robot via a "Check Box" or a "Pictorial Check Box Puzzle". This is needed due to higher level of AI Activity Security.
  • SUBSCRIBE TO SHIPS IN SCALE TODAY!

    The beloved Ships in Scale Magazine is back and charting a new course for 2026!
    Discover new skills, new techniques, and new inspirations in every issue.

    NOTE THAT OUR NEXT ISSUE WILL BE July/August 2026
  • Win a Free Custom Engraved Brass Coin!!!
    As a way to introduce our brass coins to the community, we will raffle off a free coin during the month of August. Follow link ABOVE for instructions for entering.

Golden Hind - OcCre 1:85

Joined
May 22, 2025
Messages
271
Points
138

Location
Coral Gables, Florida
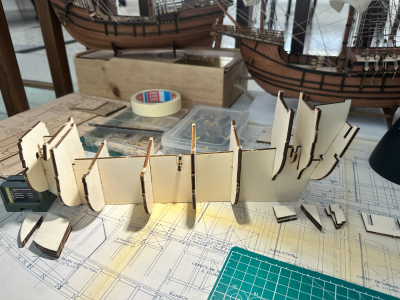
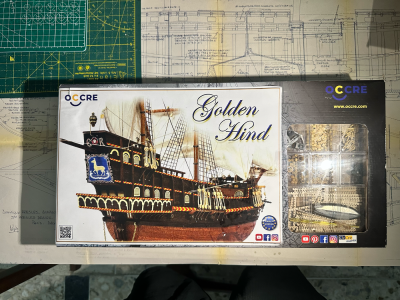
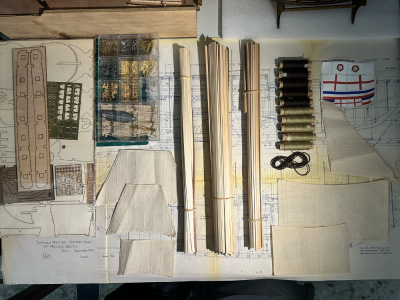
Finally unboxing the Golden Hind model from OcCre, which I got back in October 2024. My particular interest in this ship comes from its connection to Sir Francis Drake, who attacked Cartagena de Indias in 1586, with the Golden Hind serving as his flagship. This one joins my growing collection of ship models with fascinating stories behind them.

Since I’ve had issues with other kits arriving without all the necessary parts, I’ll take some extra time to carefully check that everything is included. I’d rather catch any missing pieces now than end up putting the build on hold later while waiting for replacements.
tempImageWBaR4x.png

tempImageter4HM.png
 
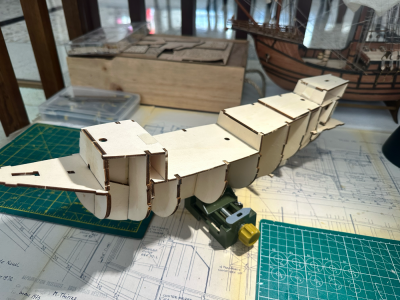
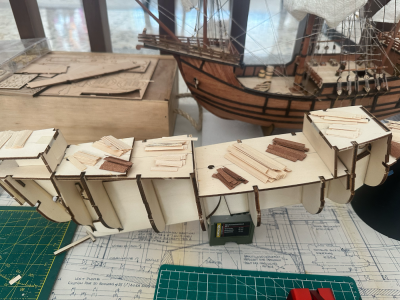
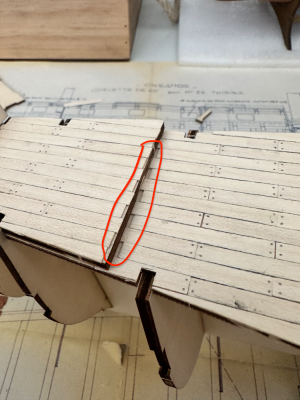
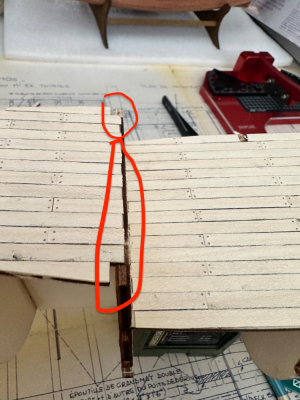
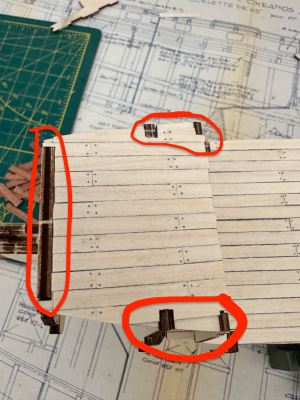
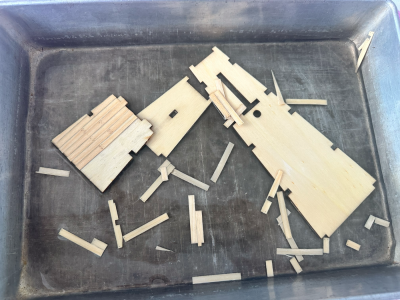
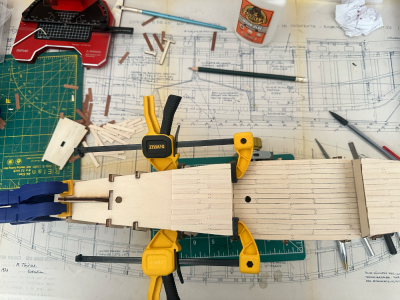
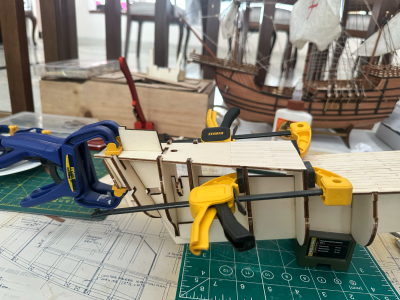
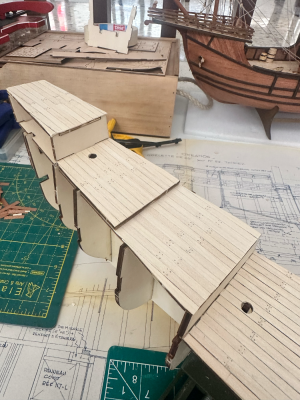
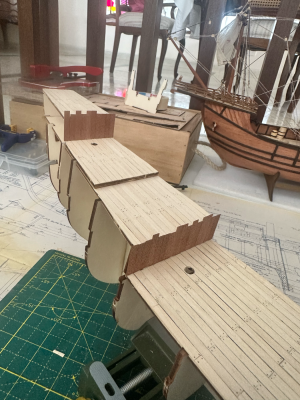
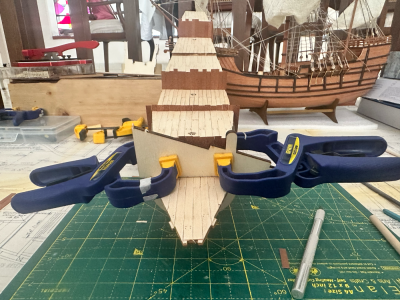
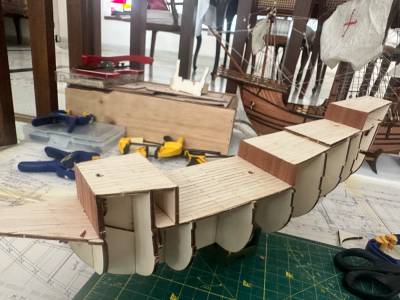
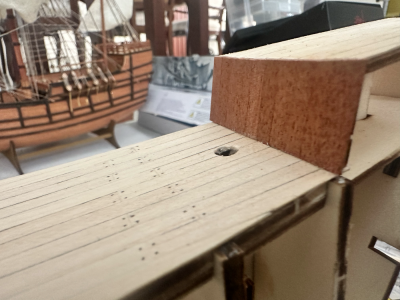
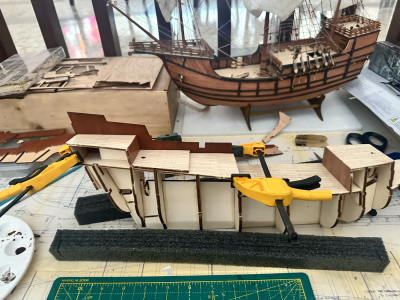
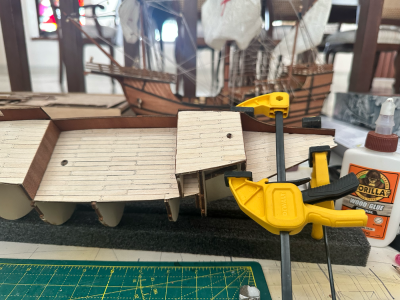
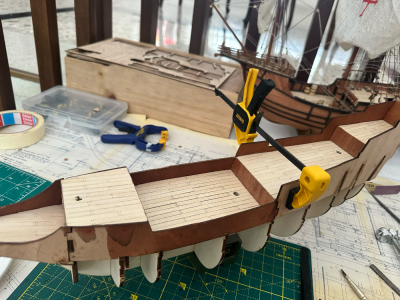
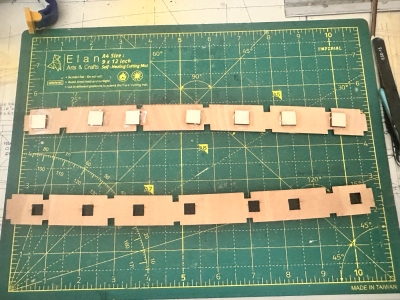
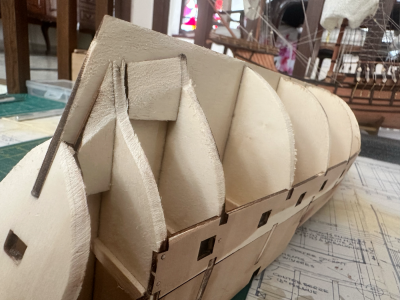
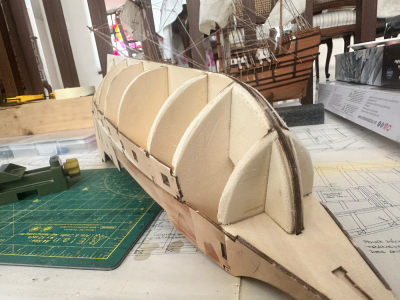
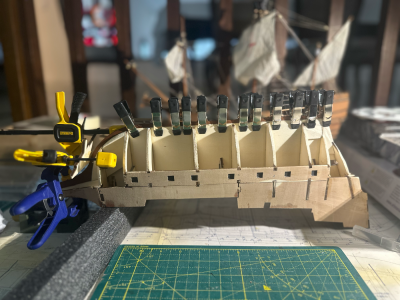
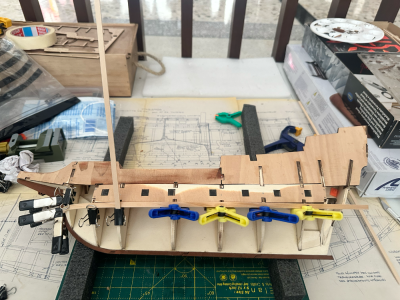
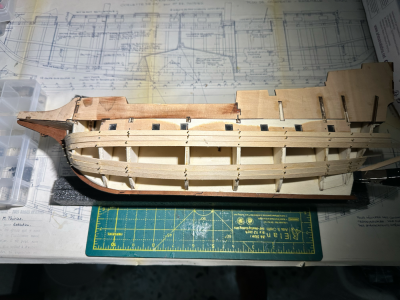
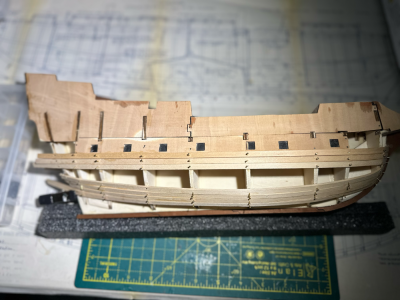
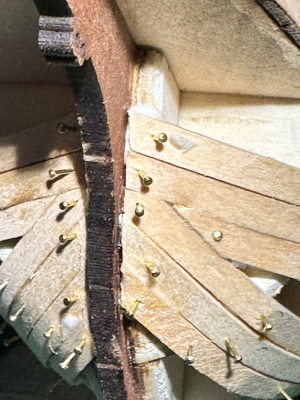
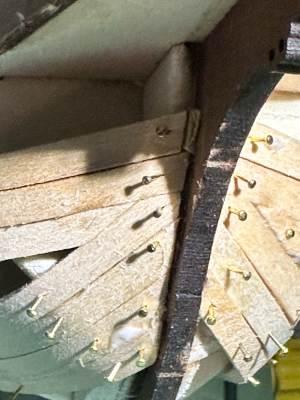
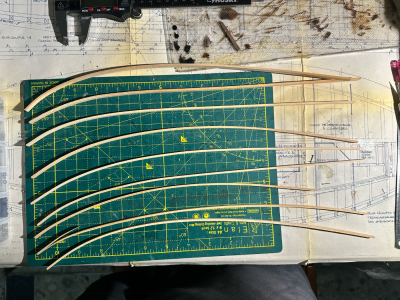
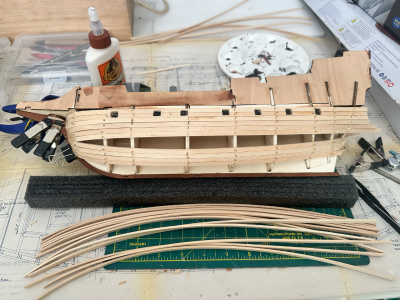
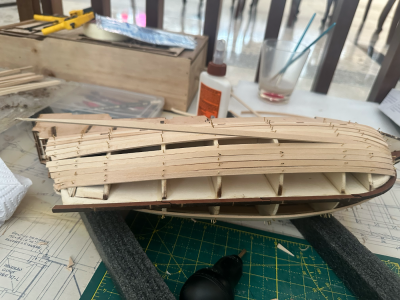
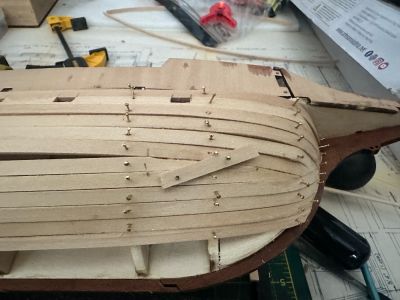
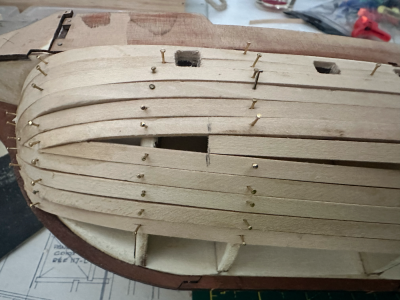
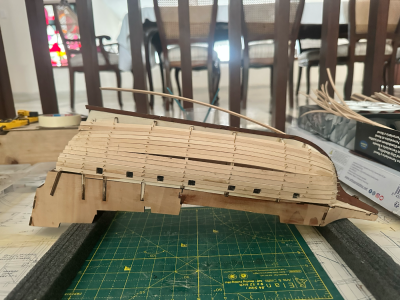
The deck plank work was completed, but the result wasn’t any good. All the planks are now being removed so we can start over and get it right. .:(

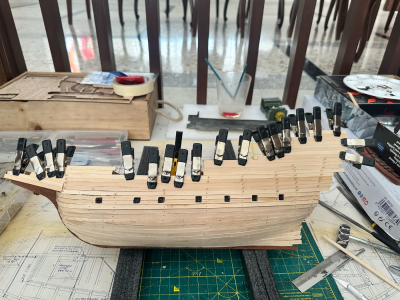
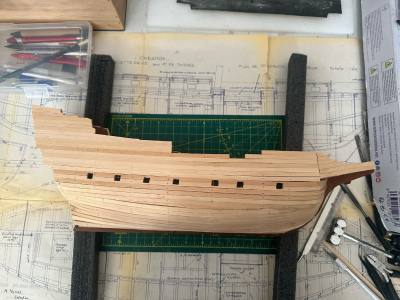
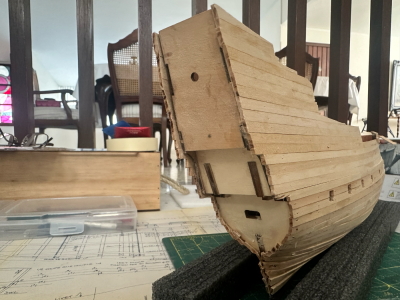
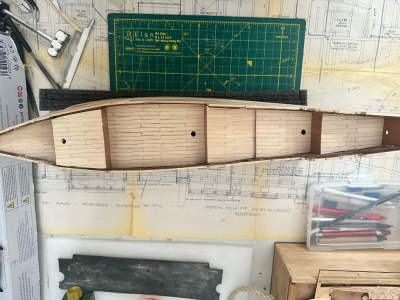
tempImage5l2tWb.pngtempImage3n1OHI.pngtempImage32US3F.pngtempImage9gUWB2.png
 
Last edited:
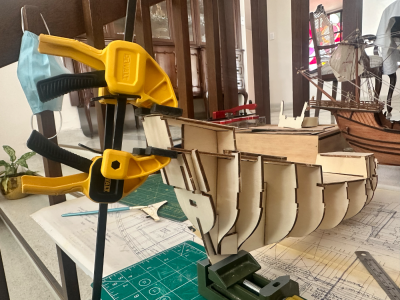
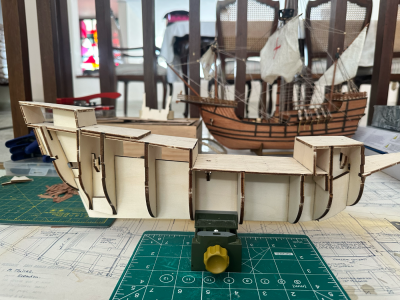
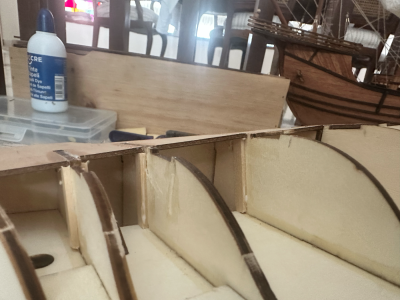
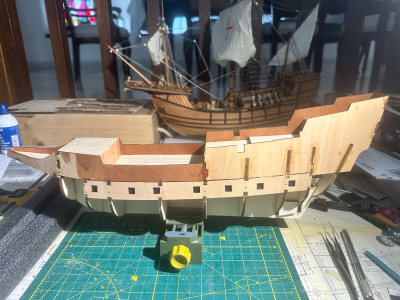
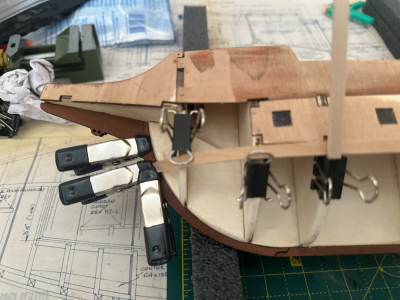
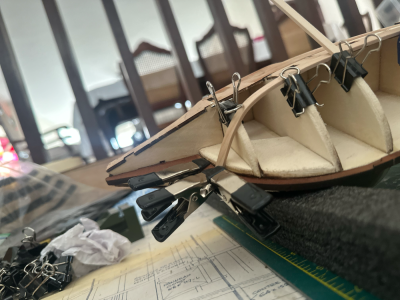
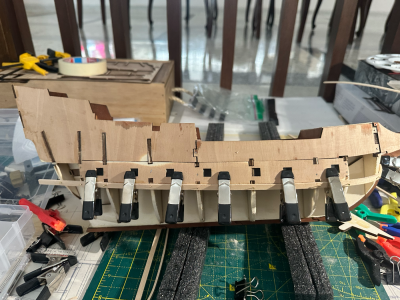
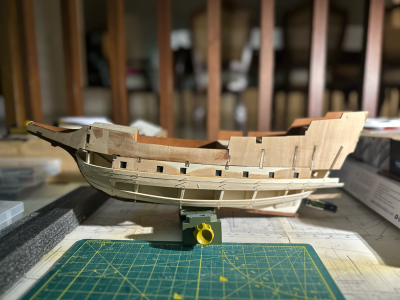
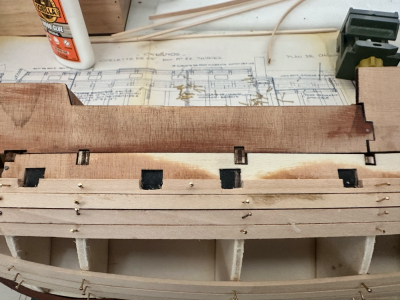
Moving forward today with the bulk-ward and gun port installation.

tempImagegZBzMS.pngtempImagetv7sXb.pngtempImage6idzZP.png

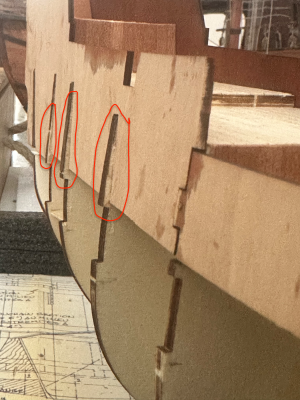
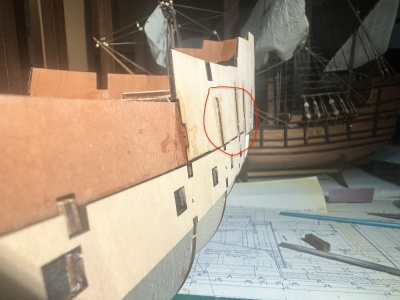
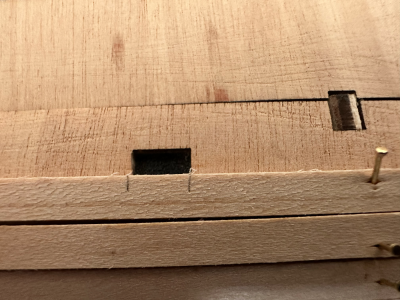
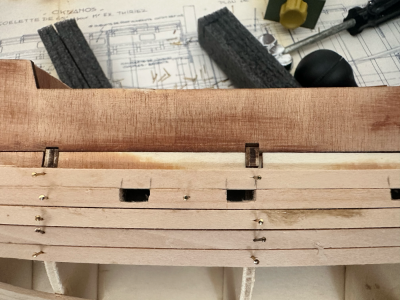
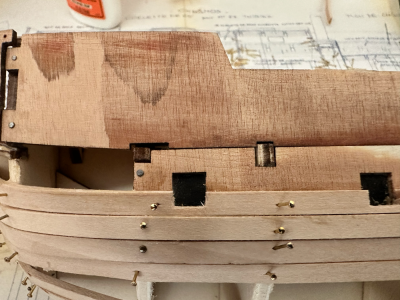
Everything looks fine until I start installing the gun ports... and then I discover yet another mistake!

tempImage50zrpf.png

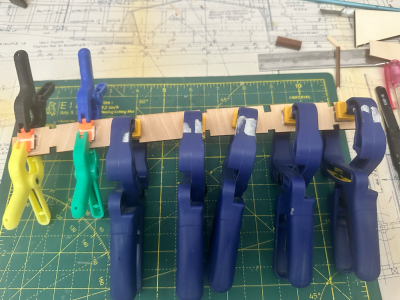
One of the great things about modeling is that you learn how to solve your mistakes. In this case, I used a hand saw to cut the bulkhead, and then used a piece of wood to make sure it was flush and flat with the gun port, as it was supposed to be.

tempImageQyCh7A.png

tempImagegee4Q6.png
 
Last edited:
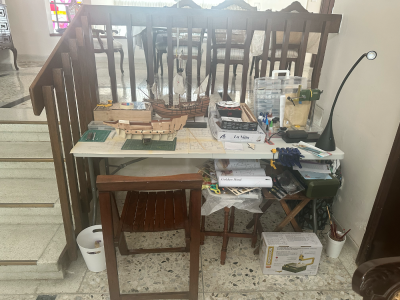
Since we are already in Cartagena visiting family, I set up a work table at my in-laws’ home.
So far this has been my Golden Hind shipyard.

tempImagewHWfbO.png

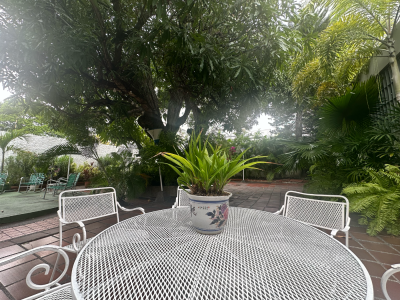
The backyard table turned out to be the perfect place for sanding, a place to e enjoying the Cartagena weather—with the mosquitoes keeping me company !!

tempImagexOevuu.png


Sanding done!

tempImageR32zOE.png

tempImageXGksy6.png
 
Last edited:
Not much progress today. I spent a lot of time thinking about how to improve my planking skills, then immediately fell down the rabbit hole of SOS searches on planking, bending techniques, and tools.

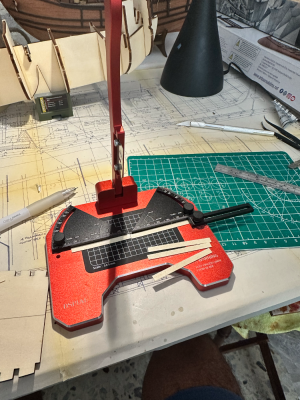
Now I’m working on copying the bending/form board from Philski’s post, “Steam Box for Bending Planks.” I’m already looking for the wood, and I’ve even ordered some dowel pins from Amazon.

Anyway, to get my hands on the ship today, I decided to install the false keel. In my case, it gives me a much better reference point for installing the first planks.

tempImagebyhyPu.png
 
Well, I finally got the first planks in place! I tried a few different heating techniques—hot water, a wet towel heated in the microwave, and even a household iron. They all seem to work. Now I just need to fine-tune the heating time and the amount of pressure to apply to the wood.


tempImagePoNiM5.pngtempImage6KSOmN.pngtempImageXICz1A.pngtempImage8LHPaK.pngtempImageqlZEPW.pngtempImageI5F6pw.png
 
Last edited:
I didn’t get much done on the build today, but I did get some time to experiment with wood bending and install a few planks.tempImage4Rb2sq.pngtempImagemQWqHd.pngtempImageLy56wa.pngtempImageUOUHiH.png

A better fit against the false keel (if compare with my past builds), but still didn't pass a picture test.

tempImagecxYw2l.pngtempImage3IcV0G.png
 
Last edited:
Working on the first plank. I think I may have overdone the bending of the wood a little, but I'm learning how to bend it better. I'm taking my time with this part, focusing on improving my technique so this ship turns out better than my previous builds.

tempImageAFjrsy.png tempImageZEg9QY.png
tempImageFFkJ1Z.png tempImage96awZA.pngtempImageBW0UAd.png tempImage9UKUvX.png

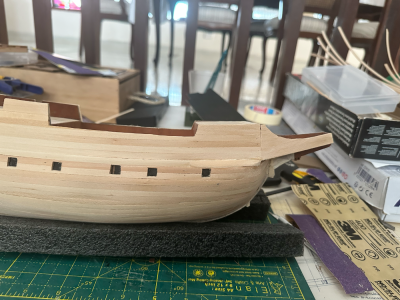
I've been more careful with the gunports, but they still need a little more work to make sure they are all uniform.

tempImagezkRfMY.png tempImagenIbULA.png

tempImagek5XAf7.png tempImage2SLHpr.png
 
Last edited:
Hopefully, I’ll get the first plank installed, fully cut, and ready for sanding by the end of the day!!
tempImagePBS9mK.png tempImage3h8cah.png

Initial cut using my Proxxon rotary tool. I'm still trying not to rely on it too much, as I want to improve my manual skills and develop a better feel for working with wood by hand. I'm also still a bit wary of removing too much material with a powered tool!


tempImage76uMwy.png tempImagehuGHdp.pngtempImageltJx1G.png tempImageKIHrRy.png
 
Last edited:
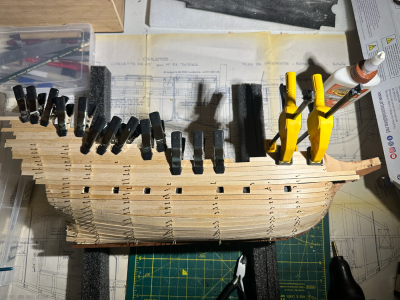
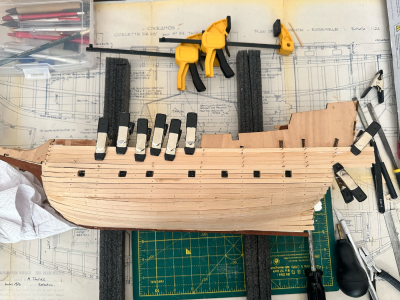
Started sanding the first plank on the starboard side today. I’m starting starboard so I can take some photos and compare the results with the port side as the work progresses. I worked through sanding sheets of 80, 120, 220 and finally 400 grit to gradually smooth the surface and see how the finish develops

tempImage9RleOK.png tempImageDCGPDo.png tempImageY357eU.png tempImageNRKNb7.pngtempImagesWiLAU.png tempImage0lajfU.png tempImagesWiLAU.png
 
Last edited:
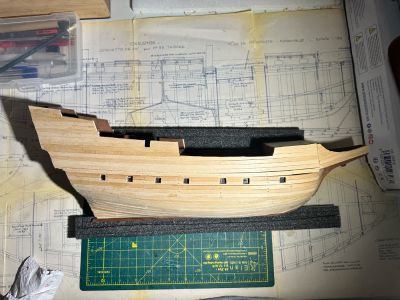
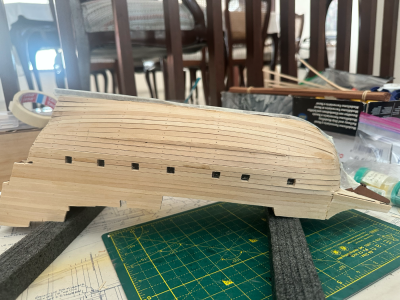
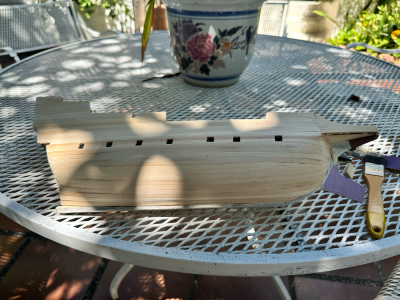
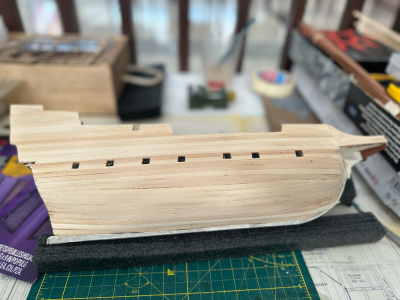
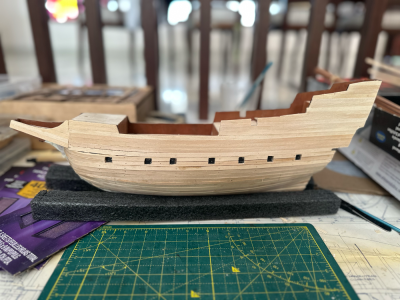
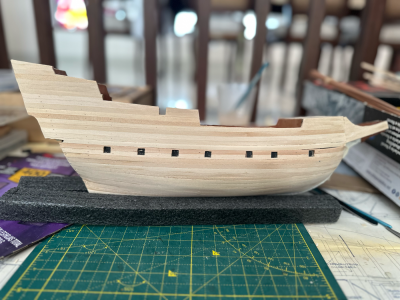
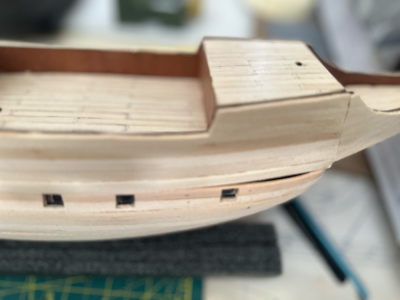
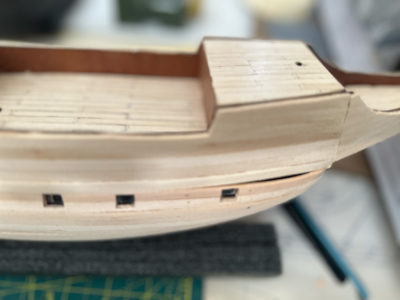
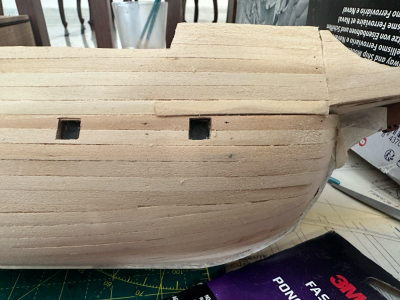
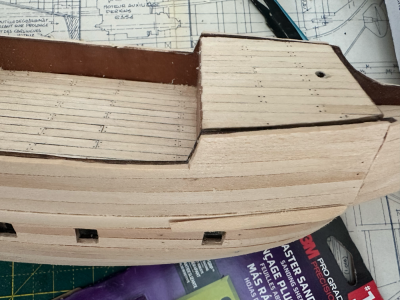
Before polishing the port side, I need to correct a mistake in the hull caused by one of the planks, whose curvature I didn’t adjust properly during installation.

I have two options: add a small piece of wood on top of the plank and sand it down until it blends seamlessly with the hull, or partially remove the plank and replace it with a new one.

Unfortunately, I made the same mistake on both sides of the hull, so I’ll need to find the best solution before proceeding with the final sanding and polishing.

Any suggestions? They are very welcome! I’d appreciate hearing your thoughts on the best way to fix this before moving forward.

tempImageM7HLGT.png
 
Removing the plank would be a major job, as I would need to remove several planks below it and reshape the gunports. I’m also almost finished with the planking, so I’d really like to avoid going down that route if possible.
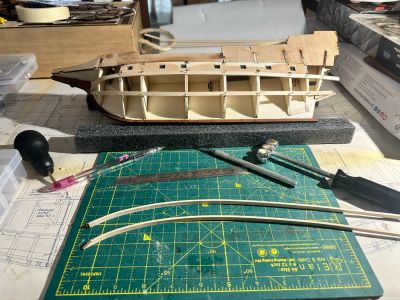
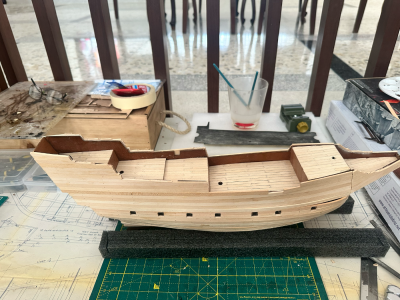
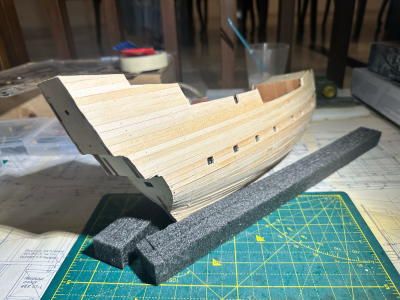
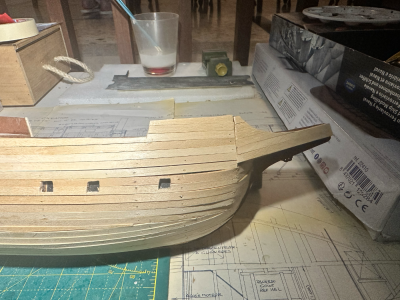
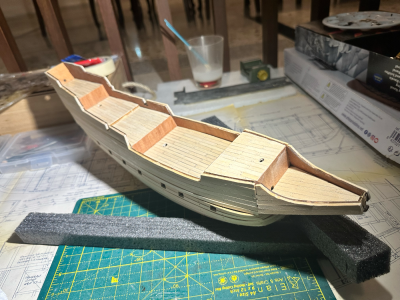
I’m leaning towards adding a small piece of wood and carefully sanding it to match the hull’s natural curvature. I’ve made a test piece, which isn’t glued in place yet, but it looks like this approach might work.

tempImagext8qHT.png

tempImageDnp2Rn.png
 
Hi, a bit of wood filler would have done a good enogh job to fill these 2 holes. For the next model, try to treat first planking as it was the final layer, even if it isn't. Try working with shorter pieces, 2 or 3 planks for each run, landing just on a bulkhead, and staggered over 3 or 4 bulkheads around the middle ones, where there is the least bend. Let them 'lay themselves', without forcing them up or down, respecting their 'natural lay' as far as possible. You will need to shape every plank individually, but so what?
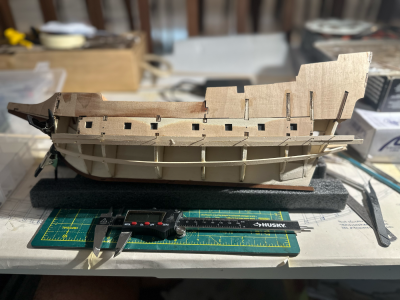
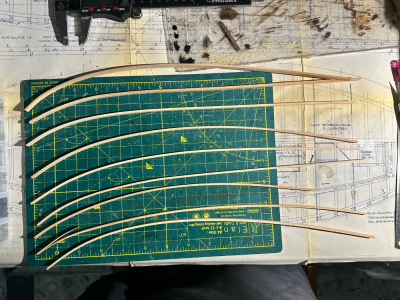
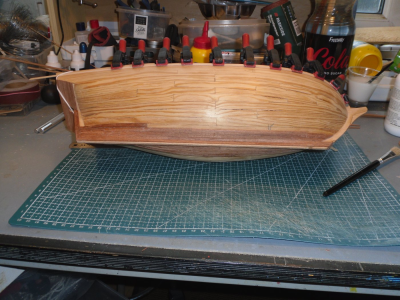
I attach a photo of my actual build. The planks for the first layer are pine wood, only 1mm thick and about 10mm wide. No way to edge bend them without getting in a big mess and to have huge holes to fill after sanding (I experienced this on another old Steingraeber kit!). This time, I got it so smooth that there was no need for any filler and very little sanding before I could apply the second layer.
1792009450945.png
 
Hi, a bit of wood filler would have done a good enogh job to fill these 2 holes. For the next model, try to treat first planking as it was the final layer, even if it isn't. Try working with shorter pieces, 2 or 3 planks for each run, landing just on a bulkhead, and staggered over 3 or 4 bulkheads around the middle ones, where there is the least bend. Let them 'lay themselves', without forcing them up or down, respecting their 'natural lay' as far as possible. You will need to shape every plank individually, but so what?
Pepite, thanks a lot for your suggestion and tips for my next build! I’m still far from having the skills needed to build more complex ships, but I’m really enjoying the learning process, even when making these kinds of mistakes.

tempImagejUipHO.png
 
Back
Top