• LUCZORAMA SHIPWRECK SCAVENGER HUNT GIVEAWAY. 4 Weeks of Fun • 1 Legendary Prize ((OcCre’s Fram Ship)) • Global Crew Welcome!
    **VIEW THREAD HERE**

Gunboat Philadelphia 1776 Model Shipways MS2263 1:24 Scale

OK, so the improper looking floorboards have been nagging me for two weeks, and not I think I will spend the time to remove them and rework the floor boards (turn them over and use underside) to correct the nails and location of frames underneath, especially in aft cockpit where the plans are wrong on size of the bailing well located there. And hopefully get mine more like the way Olha shows in her online build. I still don't like the bright yellow shellac color, but I will make some adjustments to what I did, based on her last online posting where she showed how just stain makes boards look dirty, vs using thin CA as wood sealer first then adding stains to adjust shade of wood.
You only need to take the 2 half pieces, add a short beam in the middle, just the section that can be seen, and reglue the floor planks as Olha did. That will be very simple.

Concerning the nails position, I can't see them on your picture, or they are too small or they are out of focus. Nevertheless, if that bothers you too much, then you will have to take off all the planks. Something that I will probably don't do. But that's me :-)
That was my starting plan for rework, depending on how it goes, I only used a scribe to mark nail holes so they can barely be seen, maybe I need to drill them out as Olha and many others do. At this scale they should be clearly visible.
 
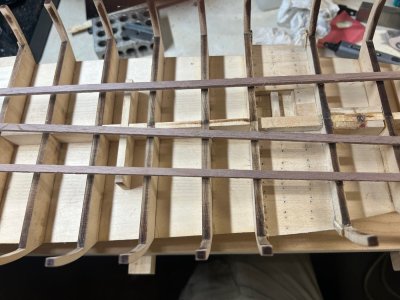
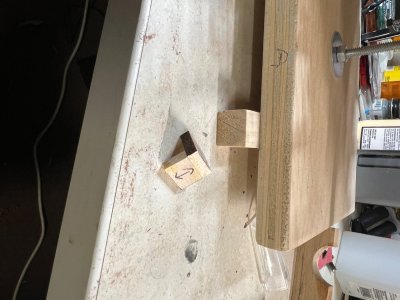
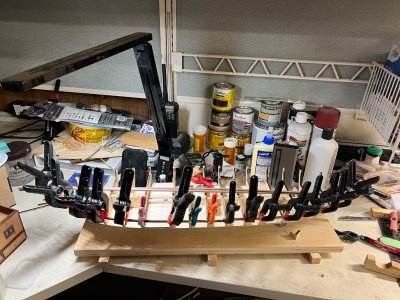
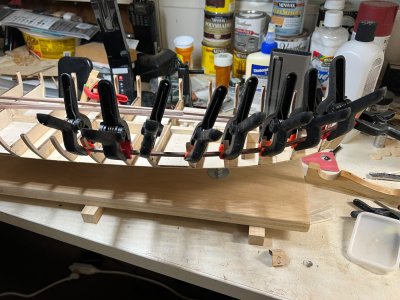
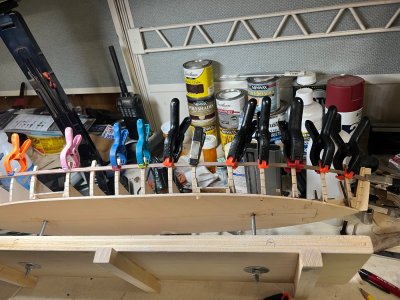
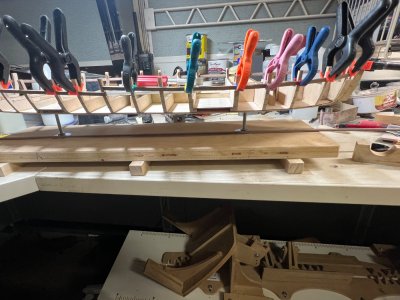
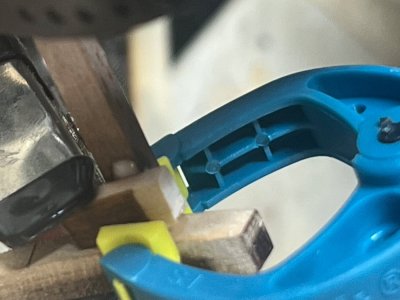
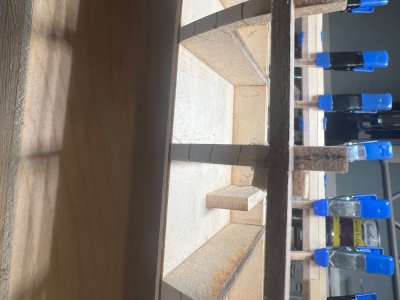
So after some time I started getting ready to attach the bulkheads. Except for #1 & 16, the others are in two piece sets. So I used a few of them to temp place in the keel and using a small square, I marked lines on the bottom to keep the bulkheads square and straight across the width of the hull. Then started the slow process of gluing, cleaning up excess glue, and clamping with my Lego blocks to keep things square. It is nice that Oklahoma City has a official Lego store in the mall, so I could go buy enough pieces just for ship building. The Admiral forbid robbing of the grandkids Lego stash.

View attachment 520446

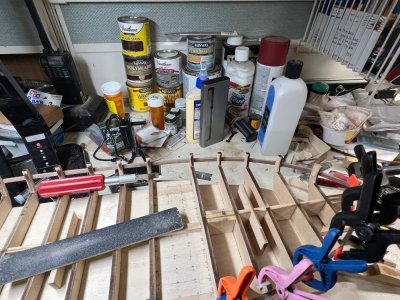
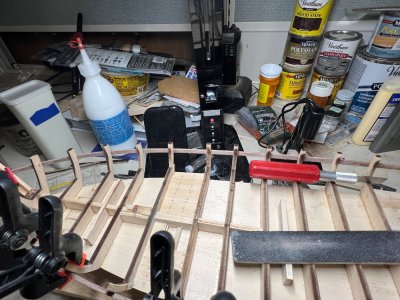
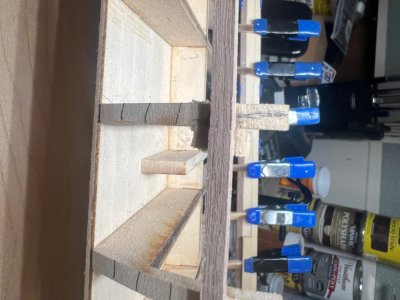
Then working every other bulkhead set I started gluing them all in, alternating location of my blocks, as some spots were tight on spacing. When done I carefully added #1 back after repairs and all will sit now overnight to glue up.

View attachment 520447

Now to start the fun part which is fairing all the bulkheads from top to bottom, and that means the bottom must also be faired as the side planks go down to bottom, with no external keel to mate against. A true flat bottom boat. Hopefully, fingers crossed I won't break any bulkhead tops off, as Olha has two break just by bumping them lightly. But she showed how to fix this kind of problem, which makes for great teaching video series.

I have a week to get fairing done to catch up with where the work is at in her online group build.
Looking good. I love to follow Olha. Your build adds and extra dimension.
 
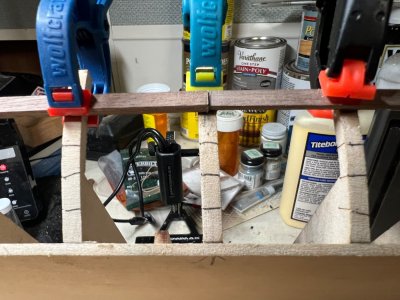
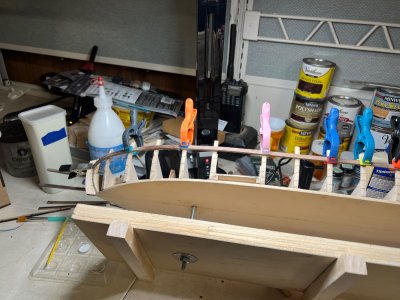
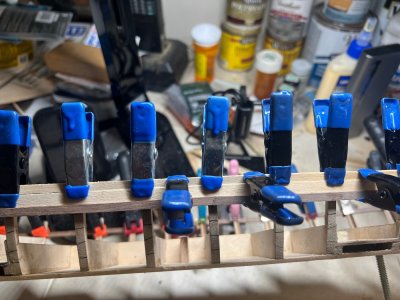
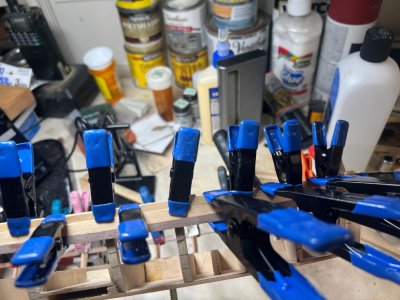
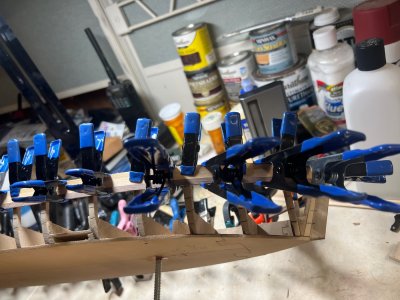
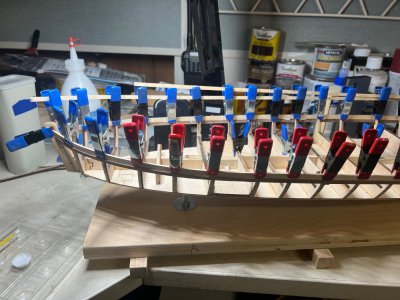
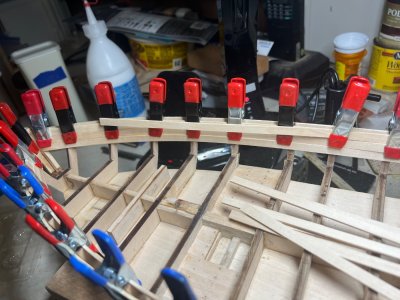
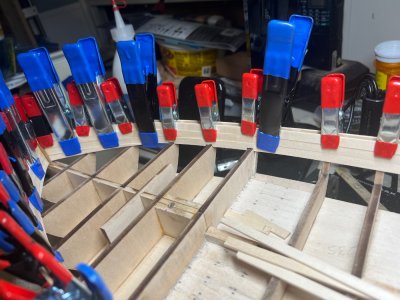
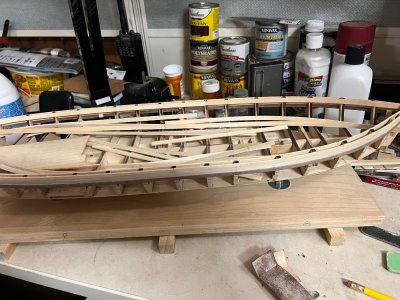
As Olha did on her online build, she used kit wood and dyed it black with ink, I found a source who got me some nice scraps so I could cut down the wood and make my own accent wales for the boat.

Thanks to the supplier for the wood, and it gave me a chance to use my mini table top saw and my Model Machines thickness planer.

No to just get them installed correctly, so I don't have to remove and reinstall like Olha did!

Raw Whales 2.jpg
 
Back
Top