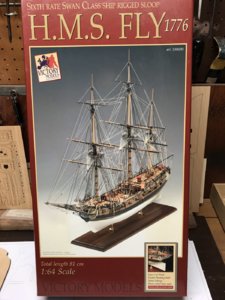
H.M.S. Fly, Victory models.

Tony P

Staff member
Le Rochefort Moderator
Joined
Mar 25, 2012
Messages
741
Points
343

Location
Whiting New Jersey
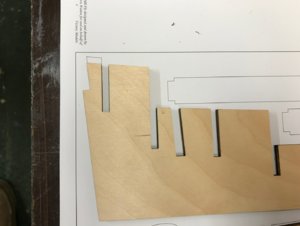
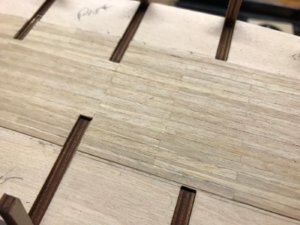
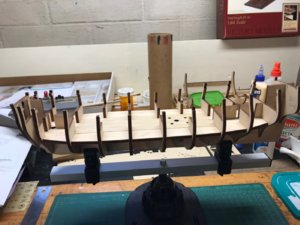
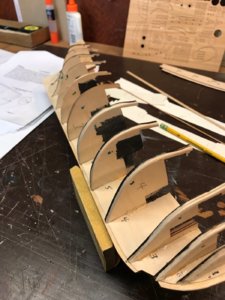
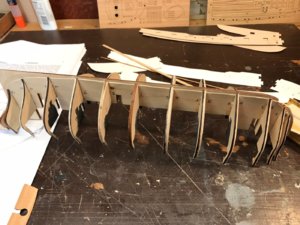
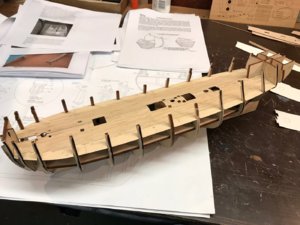
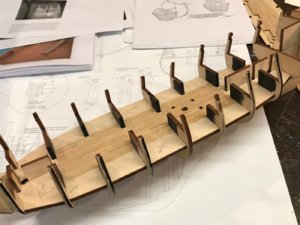
Ok finally have my first wooden ship project underway. I’ve been wanting to start and reading about wooden ships for 10 years so it’s about time. First question as the first piece i handled already doesn’t match the plan, please see photo. Ive looked at many Swan class builds and this wasn’t mentioned. Anyone know what goes in the missing area or why that piece is left short ? It’s not seen on any of the other plans that I have here either.
Thanks TonyDED2DB7F-85A0-4EDB-8C0E-4687EF509FE2.jpeg90C39E93-DBD4-47C0-9489-AE4930324104.jpeg5F201E3C-79B2-4F5C-B12E-B0AA1644C0A3.jpegC5DDDF43-7E11-4EDF-8B98-E96EA9FE6CC4.jpeg
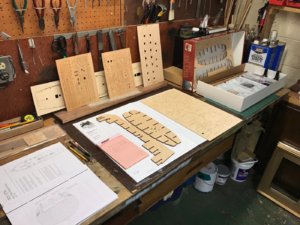
 
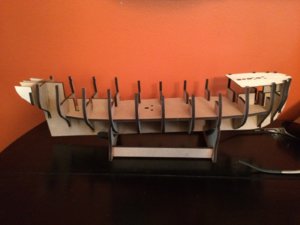
Hello @tonphil1960, It is great that our oldest SOS members post a new build log, specifically a member which is also a neighbor of mine. I am from Brooklyn just across the GW bridge! Please continue with your build log and if you have any question we are here to help. just ask! I cannot wait to see the bulkheads on the kill.
 
Checking is important, better check twice to be sure.
But like Zoly already mentioned, I see here also no problem, if this part would be too short - you can easily adjust this later on (if really necessary) with gluing some extension - it is anyhow afterwards covered.
I will follow your log with big interest
 
A common mistake (I know it happen to me) is that kit supply is to often very limit on supplying the wood to make mast and spar.
I always do a cutting chart before cutting those part
Now when I study a kit before building it I also check for limit size of wood to be certain that I am not short of 2x3, some size are sometime on limit quantity. It is not really difficult it just take time and is part of preparing the build.
 
I think that if you dry fit the two appropriate bulkheads into place you will find that everything fits fine and the drawing is wrong. I have the Pegasus which is the exact same model only with copper plates and different decorations, my plans do not show such a sharp incline like that at the stern. I am surprised to see the use of plywood as mine is mdf.IMG_0989.JPG
 
Last edited:
Yes I’m doing a lot of checking and moving slowly to avoid any mistakes. This is an older kit I think that’s why it’s plywood. I’m going to order some balsa for filler between bulkheads soon. Thanks
 
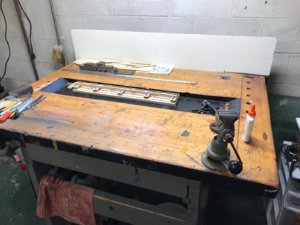
That’s the bottom piece of a “Fair a Frame” kit. Got it for free with the kits I bought. I’ve heard it’s useless and I can see it probably is but the bottom part is still a good keel clamp.
 
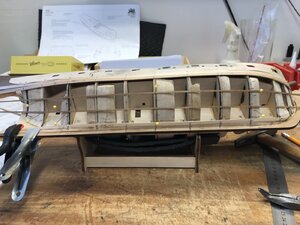
Progress. Lower false deck planked, not necessary but it can be seen looking through the hatches when done. I’m ready to plank the gun deck. I’d like to do it before installation if possible but since it’s curved not sure it’ll work. The Tanganika wood is pretty poor the edges are hairy and no matter the sanding it doesn’t help. Looking for an alternative, lighter color and tighter grain for all the other decks.

7CB04B5D-00E5-4073-87E7-E424C304513E.jpeg7AB91191-CE29-4B70-96B9-7250B751E387.jpeg
 
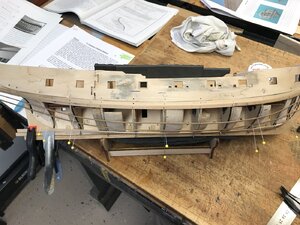
Long time no post I know. Started the first layer of planking. Layed the Garboard and the one above it and 2 directly below the gunport pattern. I assume critical lining off isn’t needed with this layer but I want to get it right as practice for the top layer. Here you see battens following the natural curve of the hull. My question is should they sweep up bow and stern or follow the bottom edge of the gun port pattens and be straight horizontally or does it matter at all and just add stealers ??

F2E6BE4E-00C1-4B6D-8B16-2C259CBA4849.jpeg

164993A6-6E8E-42BB-82FA-2135743FAAD9.jpeg

F2E6BE4E-00C1-4B6D-8B16-2C259CBA4849.jpeg164993A6-6E8E-42BB-82FA-2135743FAAD9.jpeg
Thanks Tony
 
Last edited by a moderator:
Back
Top