-

Win a Free Custom Engraved Brass Coin!!!
As a way to introduce our brass coins to the community, we will raffle off a free coin during the month of August. Follow link ABOVE for instructions for entering.
-

PRE-ORDER SHIPS IN SCALE TODAY!
The beloved Ships in Scale Magazine is back and charting a new course for 2026!
Discover new skills, new techniques, and new inspirations in every issue.
NOTE THAT OUR FIRST ISSUE WILL BE JAN/FEB 2026
You are using an out of date browser. It may not display this or other websites correctly.
You should upgrade or use an alternative browser.
You should upgrade or use an alternative browser.
H.M.Y Britannia (MV44) by Mamoli [COMPLETED BUILD]
- Thread starter STGCS
- Start date
- Watchers 13
-
- Tags
- completed build
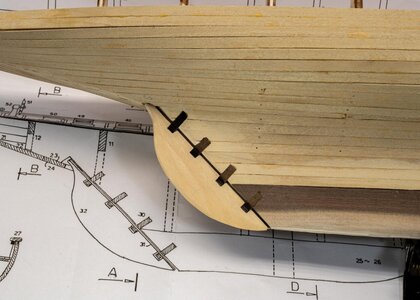
Hey Nigel The ~ or "Tilde" symbol means approximately equal to in math. That makes no sense to me as it relates to the plans. Two of Part #25's is correct for
their dimensions on the parts list and placed on either side of the keel as in photo, then shaped to form the correct outline. I think that is the best way to go. There is no metal part # 26 that matches anything on the plans.
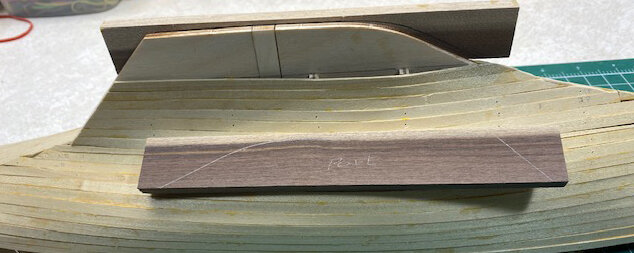

their dimensions on the parts list and placed on either side of the keel as in photo, then shaped to form the correct outline. I think that is the best way to go. There is no metal part # 26 that matches anything on the plans.


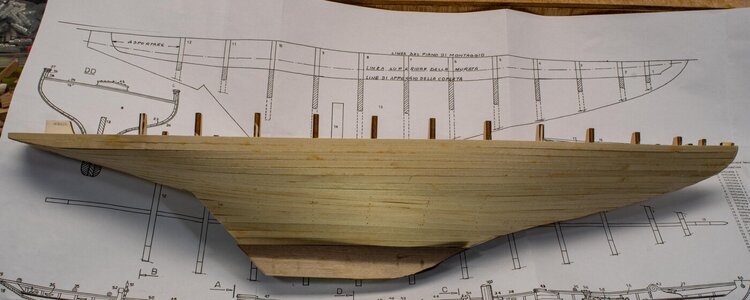
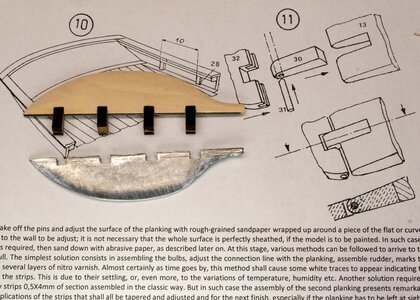
I trimmed the two part #25's to the rough outline of the keel and glued them on. At this point I decided to do some work on the rudder. You might as well junk the bent piece of medal supplied with the kit and make your own. I wanted to at least dry fit the pieces before I coat the hull with filler and sand everything down.
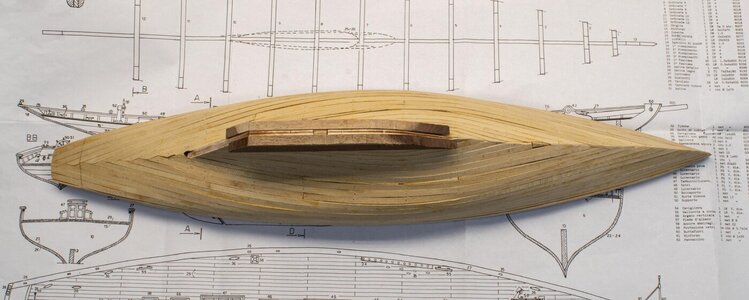


Wow! I should have invested in wood putty futures... 
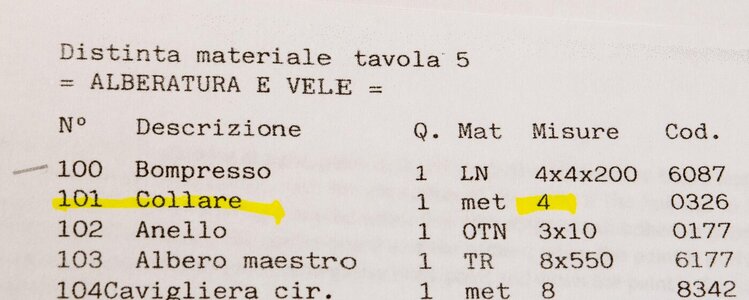
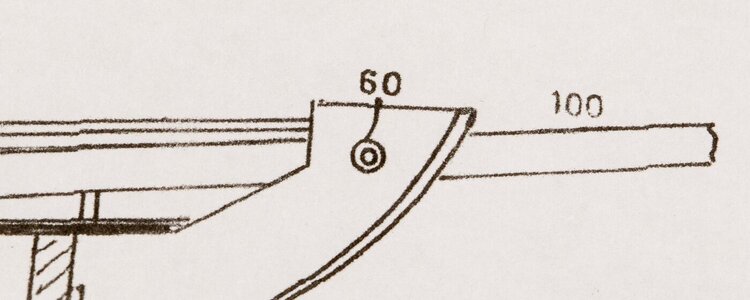
Another example of the frustrating errors I keep finding in the directions. The parts list and drawings indicate the Bowsprit (bompresso) as part # 100. The English directions call it part # 59, table "14". The Italian directions correctly call it Part # 100, table "A". Grrrrrrr! That whole sentence is a mess.




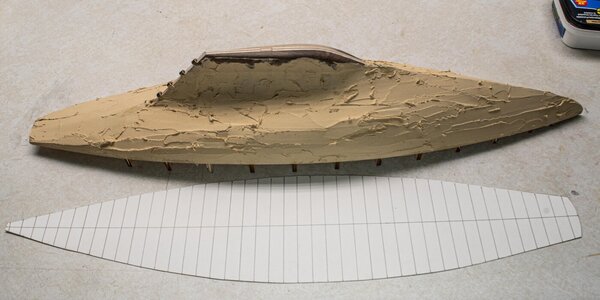
Didn't want to miss a spot. Worked on my Bluenose so went for the gusto again. Besides I bought to much sandpaper and need to use some up.Wow! I should have invested in wood putty futures...
After a lot of sanding, spraying on auto primer, and more sanding I am really close to putting on some color. Dark navy blue above the waterline and red below. I use striping tape for the waterline and the gold trim line along the upper hull then coat the everything with clear gloss.

I like to mark my waterlines with a laser.


I like to mark my waterlines with a laser.

Sure glad I sawed through about 80% of each frame at deck level before I assembled the hull or "breaking" off the tops as the instruction called for would not have been pretty. I laid a hacksaw blade flat on the deck and cutoff the remaining 20% then sanded the stubs flush with the deck. Also painted the bulkheads white. I'll paint the bulkhead stiffeners white and then install them after the deck has been laid so I get a clean line between the deck and bulkhead.


The location of the scuppers and bulkhead stiffeners were a little vague. The instructions only showed one scupper but stated there were 7 on each side but didn't specify the distance between them so had to guess. Same with the bulkhead stiffeners. No exact location but did give the distance between them. I made a template from the deck part # 15 scrap and marked it up with the estimated locations and transferred the marks to the painted bulkhead.


Wow! That's looks great!
Thanks Paul. Always a hair-raising event pulling off tape from painted surfaces. One little spot of blue peeled up but thankfully it will be under the waterline and won't show. Disaster averted!Wow! That's looks great!
May I say my WOW as well as Doc Paul!!!
You may.... ThanksMay I say my WOW as well as Doc Paul!!!
WOW!!!!!!!WOW!!! When I build the battleships 1/350 this was the most challenging task, and I have never archived results like yours, even acceptable results. Maybe that's why I stopped building from plastic models. I cannot paint..., period!You may.... Thanks
Learned how to airbrush when I was stationed in Key West working part time for a fish taxidermy outfit. Now it really comes in handy.WOW!!!!!!!WOW!!! When I build the battleships 1/350 this was the most challenging task, and I have never archived results like yours, even acceptable results. Maybe that's why I stopped building from plastic models. I cannot paint..., period!
Forget to mention... After masking I spray a light coat of clear along the tape line to seal it. If anything bleeds under the tape it will be the clear and not the color. Final coat will be clear also.


