H.M.Y Britannia (MV44) by Mamoli [COMPLETED BUILD]

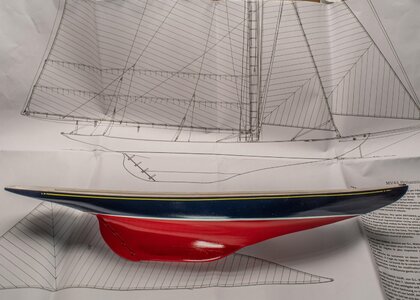
Applied about 7 coats of red lacquer. I'll let it dry for a couple of days before I mask and paint the upper portion of the hull a dark blue.

View attachment 235794

sanded between coats?

I find painting a hull is incredibly frustrating because the imperfections show up where none appeared to be before with each coat, and sanding it down looks a right mess. The nice part is that all of a sudden a gloss coat goes on and magically it looks perfect. I believe the philosophy of painting Rolls Royce cars was similar except when they got it perfect they then went for another half-a-dozen coats just to give it depth.

Like Jimsky I hate painting and avoid it wherever possible, which may explain why I prefer open frame models in the raw.
I put on a couple of light coats then sand down until the gloss is gone using 320 grit. That highlights the places that need more attention. Lastly a couple of wet coats with 5 -10 minutes between but no more sanding. When the hull is complete two wet coats of clear gloss will lock everything together. Of course I only use this process with modern vessels. If I paint period ships I use flat instead of gloss but always use an airbrush where possible. Still had a few spots not perfect but had enough sanding so moved on to the next phase. I'm not a real perfectionist.
 
sanded between coats?

I find painting a hull is incredibly frustrating because the imperfections show up where none appeared to be before with each coat, and sanding it down looks a right mess. The nice part is that all of a sudden a gloss coat goes on and magically it looks perfect. I believe the philosophy of painting Rolls Royce cars was similar except when they got it perfect they then went for another half-a-dozen coats just to give it depth.

Like Jimsky I hate painting and avoid it wherever possible, which may explain why I prefer open frame models in the raw.
Had a small crackling on one spot but after drying for a couple of days i was able to sand it out and redcoat. Close call.
 
i can appreciate the paint job look really nice.

Lately i have been playing with Epoxy finishes and it is applying a coat and in some spots it soaks into the wood so i have to sand it smooth and another coat and sand again, sand, coat, sand, coat over and over until it is smooth. Wife askes how manty times are you going to do that? Finally the last cost is as smooth as glass. so it is showing her the end result rather than trying to explain how may time it takes. I am not working with color i am working with clear and reflecting of light on a final surface to show the colors in a spalted wood. Many times i worked with an air brush and color an art form in itself.

good job looks like you know what your doing.
 
Completed the hull except for drilling out the scuppers, hawsepipes, and bowsprit holes. I wanted to get the first deck plank installed along the bulkhead so the holes are at the right location. Then I'll do the rest of the decking.

HMY Britannia 038.jpg
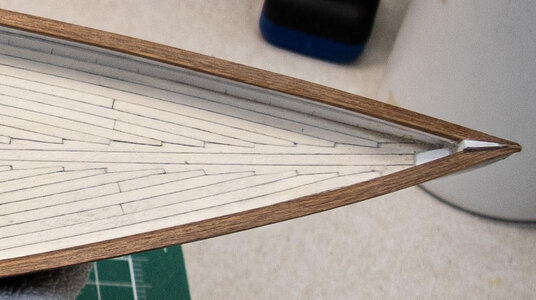
I've been looking at several patterns for the decking layout and think the King plank and nibbling the strakes looks the best.

King plank .png
 
i can appreciate the paint job look really nice.

Lately i have been playing with Epoxy finishes and it is applying a coat and in some spots it soaks into the wood so i have to sand it smooth and another coat and sand again, sand, coat, sand, coat over and over until it is smooth. Wife askes how manty times are you going to do that? Finally the last cost is as smooth as glass. so it is showing her the end result rather than trying to explain how may time it takes. I am not working with color i am working with clear and reflecting of light on a final surface to show the colors in a spalted wood. Many times i worked with an air brush and color an art form in itself.

good job looks like you know what your doing.
Thanks for the comment Dave. There is still plenty room for improvement. Are you using two part epoxy, of marine epoxy? I use two part to finish my homemake fishing lures. Two part sounds like an interesting idea. Might have to test that out. I have a small motor device that slowly turns the lure around so the epoxy doesn't puddle or run as it hardens. The same thing on a bigger scale would be neat to try on a hull like Britianna.
 
yes i am using 2 part Epoxy there are many different types some are for floors, some for pouring and some for table and bar finishes. i am at the test and learning stage of playing with Epoxy finishes. Then the Gel coat for fiberglass hulls have not gotten in that also there is UV set Epoxy that sets up fast paint it on and hit it with UV light and BAM! it sets up
 
yes i am using 2 part Epoxy there are many different types some are for floors, some for pouring and some for table and bar finishes. i am at the test and learning stage of playing with Epoxy finishes. Then the Gel coat for fiberglass hulls have not gotten in that also there is UV set Epoxy that sets up fast paint it on and hit it with UV light and BAM! it sets up
I built a couple of small 10 foot skiffs years ago with the "stick and glue" method then cover with glass and resin and it worked great. No gelcoat required. I'm definitely going to play around with your idea and see how it comes out. Especially the UV epoxy.
 
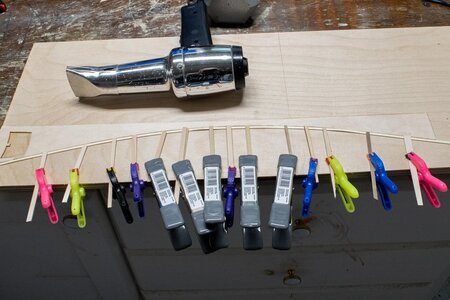
After deciding to do the king plank and nibbling the edges, bending the rest of the planks was accomplished by glueing down the plywood remains of the deck part #15 to a board. Then after an overnight soak I clamped them to the form. After drying with a heat gun they held their shape nicely.
HMY Britannia 039.jpg

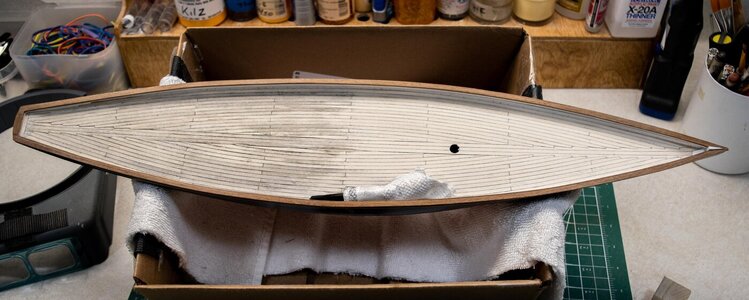
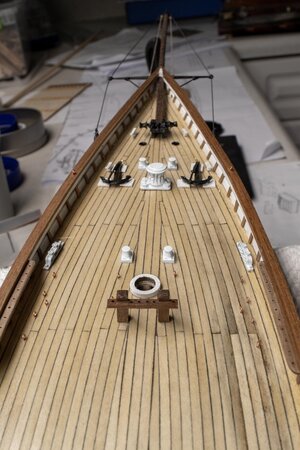
I used an artist's black charcoal stick for the edges, then fitted and glued them to the plywood deck. Kind of messy but came out looking pretty nice. Here is a shot after sanding the fore deck to get rid of the black dust. Stern still to go. When ready, my wife will pick out the stain or clear finish for the deck as she was the one who ordered this ship.
HMY Britannia 040.jpg

HMY Britannia 040-1.jpg
 
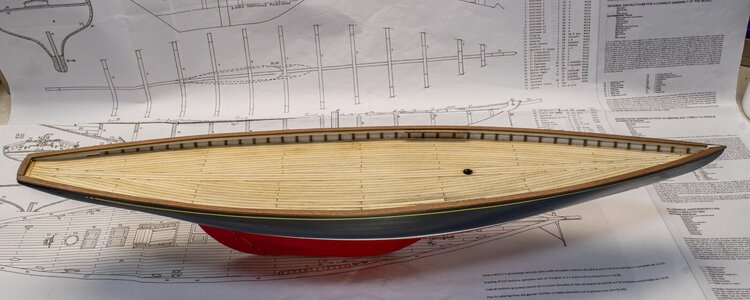
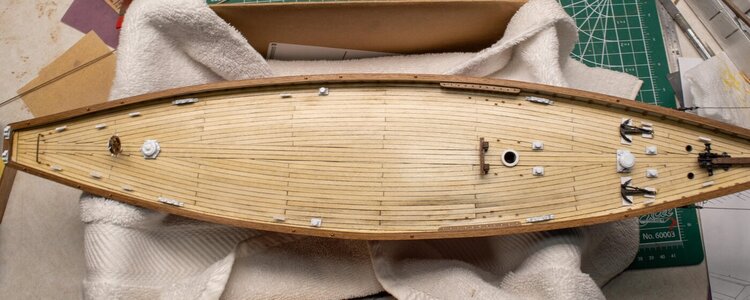
More problems with the deck. The planking supplied was only .5 mm thick so when I was doing the final sanding I went through to the plywood in one spot. I peeled up several planks and replaced them but still not happy with the result. You can see the new planks clearly on the starboard side just aft of the mast. Decks have always been a problem spot for me. Will have to live with it as I didn't have enough planks left to replace three or four more, so I gave it a light oak stain and several coats of clear and called it a day. Next I installed the pin rails and bulkhead stanchions. Tomorrow I'll cut the hole for the bowsprit and the scuppers. Kind of touchy cutting into a nice finished hull. HMY Britannia 042.jpg
 
Hello Charlie!
Your Britannia hull is beautiful !!! The profile view really jumps out at me and great decking as well. Looking forward to the rest of it.
Daniel
 
Hello Charlie!
Your Britannia hull is beautiful !!! The profile view really jumps out at me and great decking as well. Looking forward to the rest of it.
Daniel
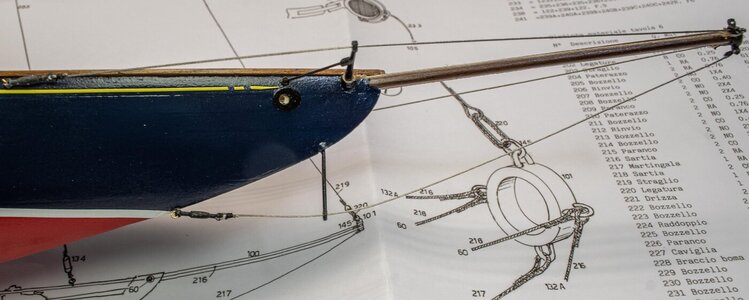
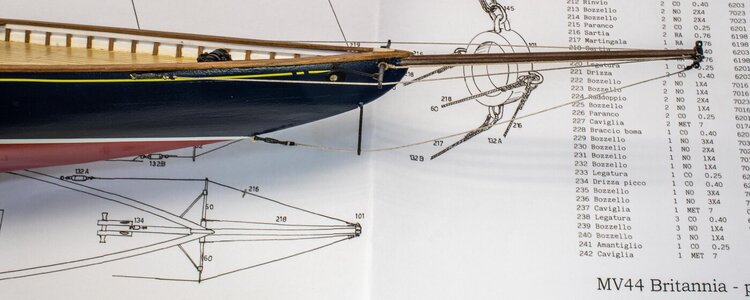
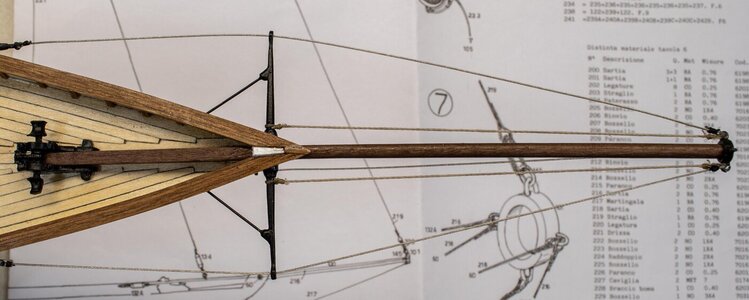
Thanks Daniel - Slowed down a bit. Weathers been nice lately so been out in the marsh with the camera. Working on the bowsprit trying to figure out the crummy directions.
 
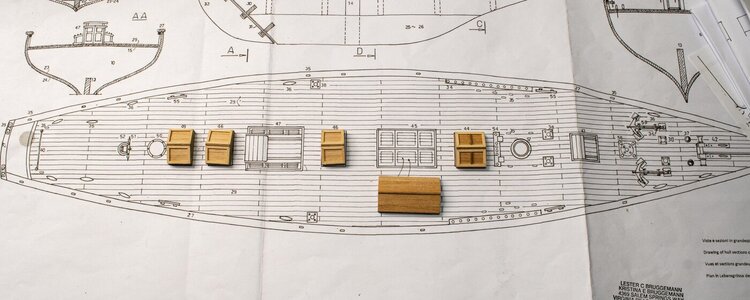
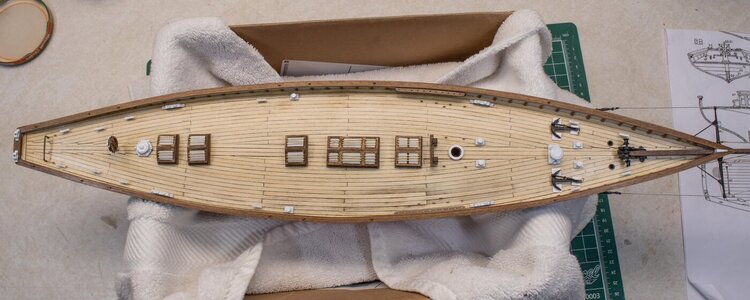
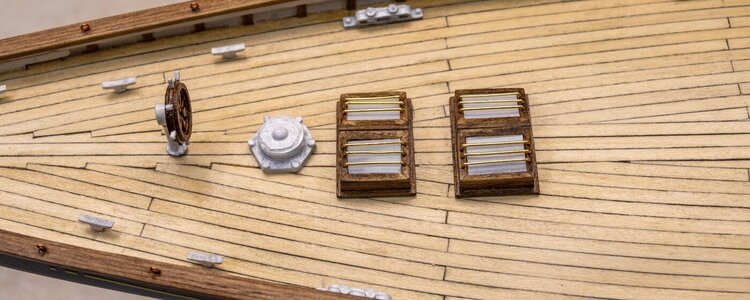
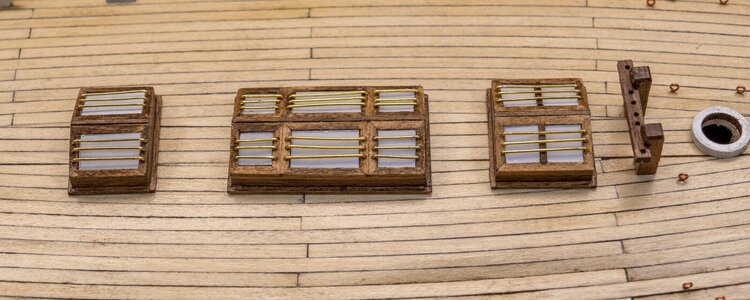
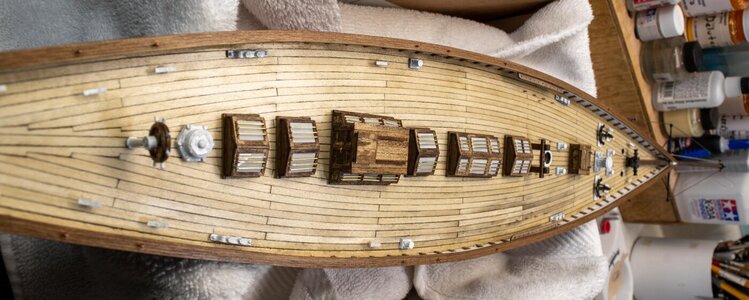
Well the deckhouses are complete. I could have done a better job. Things are not precisely aligned and square between houses. It really shows up in the closeup shots. Also the stain color probably could have been oak instead of walnut. This has been a good learning build.HMY Britannia 051.jpgHMY Britannia 052.jpgHMY Britannia 053.jpgHMY Britannia 054.jpg
 
The overall effect is nevertheless excellent. Unless you draw someone's attention to the "imperfections", no one will ever know.
 
The overall effect is nevertheless excellent. Unless you draw someone's attention to the "imperfections", no one will ever know.
I know I'm to hard on myself but seeing all the awesome other builds on SOS sets a high bar. The people that see the finished product, friends and family, are not a seaworthy bunch so they never see what I see. Thanks for the comment.
 
I know what you mean about walnut stain. I used it on some basswood and the results were way less than what I was expecting. I've found that lighter stains like pecan or golden oak look much better. I'm sure it has to do with basswoods density and grain structure. You do have a very beautiful ship there Charlie.

Daniel
 
Back
Top