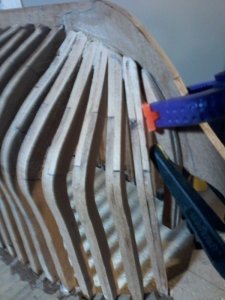
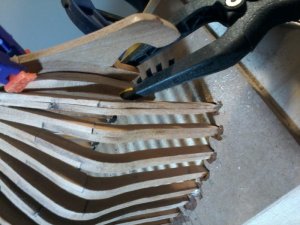
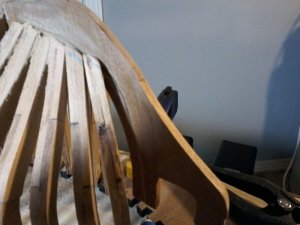
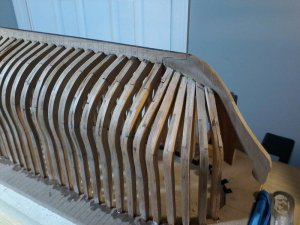
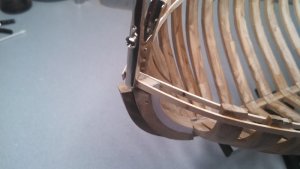
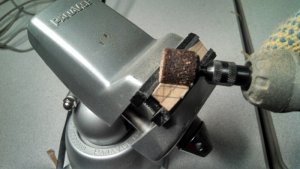
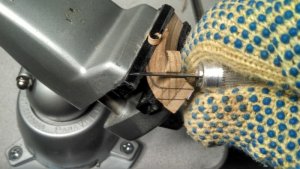
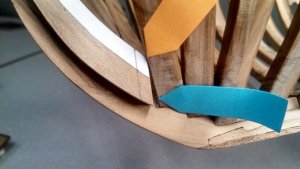
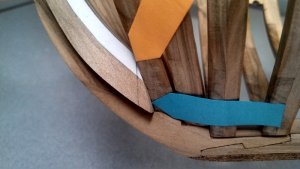
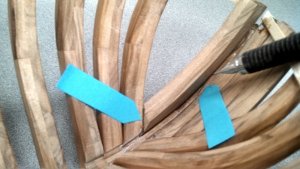
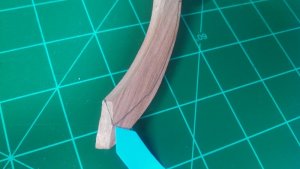
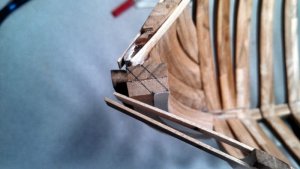
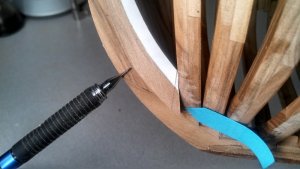
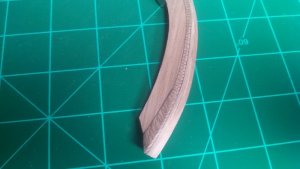
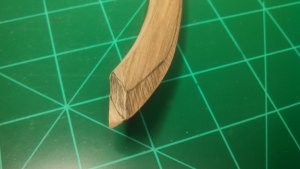
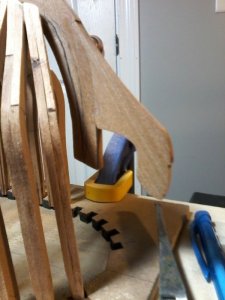
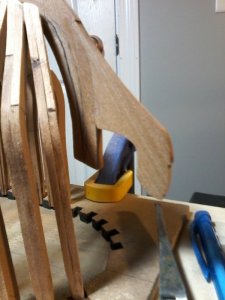
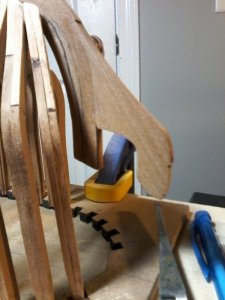
THANKS DAVE, THE Cant frames are only DRY FITTED so I can play with them to get it correct the INFO on Cant Frame No. 1o is very helpfull, THE ONE QUESTION I HAVE NOW IS THE KEEL I TRIM ALL THE CANT FRAME AT THE THE KEEL GET WORKED INTO THE RABBIT LINE ON THE DEADWOOD ESPECIALLY CANT FRAME No. 10. THANKS DAVE,,,,,PS The picture that you reposted have not shown up on the log yet WILL ASK GEOFF ABOUT THIS Don
-

Win a Free Custom Engraved Brass Coin!!!
As a way to introduce our brass coins to the community, we will raffle off a free coin during the month of August. Follow link ABOVE for instructions for entering.
-

PRE-ORDER SHIPS IN SCALE TODAY!
The beloved Ships in Scale Magazine is back and charting a new course for 2026!
Discover new skills, new techniques, and new inspirations in every issue.
NOTE THAT OUR FIRST ISSUE WILL BE JAN/FEB 2026
You are using an out of date browser. It may not display this or other websites correctly.
You should upgrade or use an alternative browser.
You should upgrade or use an alternative browser.
Halifax Build Log: Lumberyard
- Thread starter donfarr
- Start date
- Watchers 14
-
- Tags
- halifax lumberyard
- Joined
- Dec 1, 2016
- Messages
- 6,372
- Points
- 728

"PS The picture that you reposted have not shown up on the log yet WILL ASK GEOFF ABOUT THIS Don"
I went back to post number 52 and re did the photos. I just went back and looked again and I see the pictures so are we talking about the same post? or is something weird going on
I went back to post number 52 and re did the photos. I just went back and looked again and I see the pictures so are we talking about the same post? or is something weird going on
- Joined
- Dec 1, 2016
- Messages
- 6,372
- Points
- 728

if those frames are not glued in then sure go back and fuss with them a little more
it might be helpful to go back and look at the General Hunter I will see if I can find a link for you on how I installed the bow timbers on that model
it might be helpful to go back and look at the General Hunter I will see if I can find a link for you on how I installed the bow timbers on that model
Dave It was the pictures that you sowed on how to get the mesurments of the cut off at bottom of cap rail and wale mesurments the how to in plan views. SORRY FOR THE INCONVENCE Don
Don you are doing a great job ,your journey is learning curve.
Dave is the wedge shap pies the Hawse piecs and fitted between FRAMES No. 9 and 10. Don
You're moving along at a good pace Don. I'm just getting started on the cant frames.
Kip, Can not wait to see how you do your CANT FRAMES THEY GIVE ME A FIT,will learn from you and Dave how to do them, installing CANT FRAMES 5,6,AND 7the easy ones. Don
You will get there!! Like was already mentioned... cant frames are shaped like a wedge. Since they require shaping inside and outside, it's a bit more difficult to visualize it. Typically, I shape the foot and top and then taper in the middle to meet the ends. Use your pencil to mark some reference points as you slowly sand the frame into shape. I would be happy to post a few detailed photos of how I did the cant frames on my AVS. Let me know...
cant frame no. 10 is dry fitted used a sample that I made knowing there was going to be a problem, no. 10 is above original rabbit woud not work where the orignal rabbitt was so if this is correct will cut new rabbit, so it meets the stem correctly, ANY COMENTS ARE REALLT APPRECIATED IS CANT FRAME No. !) CORRECT ALL THE OTHERS ARE INSTALLED(5 THROUGH 9). THANKS FOR ANY HELP Don
- Joined
- Dec 1, 2016
- Messages
- 6,372
- Points
- 728

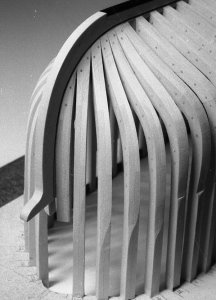
what you have done so far is looking good. The thing is with cant frames or for that matter framing in general can be done a number of different ways. There is no right or wrong as you can see in the images cant frames are basically done the same with slight variations.
http://www.instructables.com/id/Build-a-Plank-on-Frame-Model-Ship/
you can go to this link and check out the cant frames
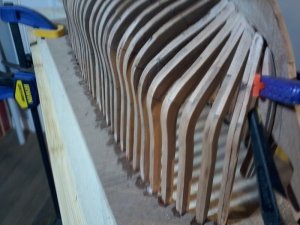
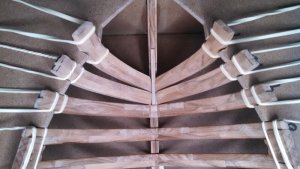
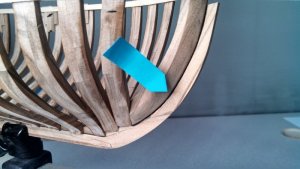
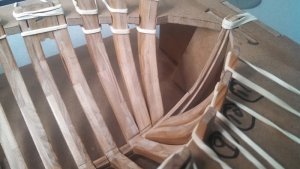
here are some images of cant frames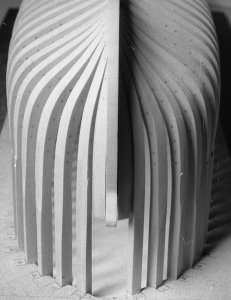
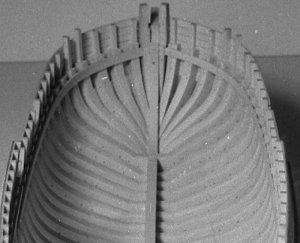
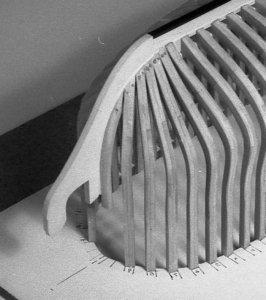
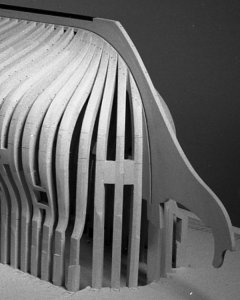
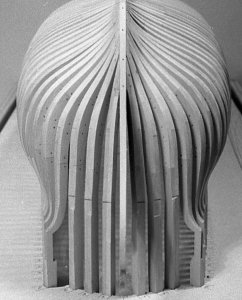
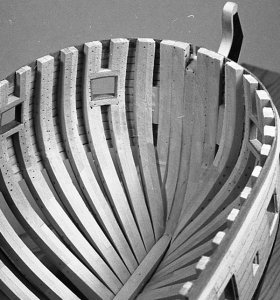
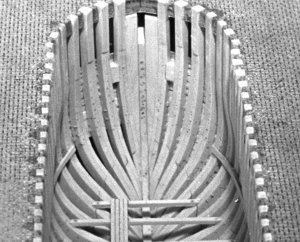
http://www.instructables.com/id/Build-a-Plank-on-Frame-Model-Ship/
you can go to this link and check out the cant frames
here are some images of cant frames


- Joined
- Dec 1, 2016
- Messages
- 6,372
- Points
- 728

"I would be happy to post a few detailed photos of how I did the cant frames on my AVS. Let me know..."
Mike that would be great if you can add detailed photos of your AVS
Mike that would be great if you can add detailed photos of your AVS
So Dave I am Ok to go with cant frame no. 10, I will use the original piece, Ami correct to cut new rabbit to fit No. 10 then I can move on, one other thing sometimes it is hard to grasp the upside down method as being used to oppisite has anyone else experienced this. Don
- Joined
- Dec 1, 2016
- Messages
- 6,372
- Points
- 728

donfarr post_id=23023 time=1506446591 user_id=2519 said:So Dave I am Ok to go with cant frame no. 10, I will use the original piece, Ami correct to cut new rabbit to fit No. 10 then I can move on, one other thing sometimes it is hard to grasp the upside down method as being used to oppisite has anyone else experienced this. Don
I would say you are OK to go with frame 10 I am not sure what the difference is with frame 10 but my thought is to shape 10 to fit the rabbit rather than changing the rabbit line.
before you more on maybe post a few close up shots of frame 10 in place so I can see what the difference is with the rabbit
OK Dave will Do. THANKS Don


