


Yes I have just noted that my ships wheel is missing, the wheel I used was from my stockpile. Eagle bow decoration ???Looking good, glad you found the covers. My kit was shorted the Eagle bow decoration and the steering wheel. Looking forward to seeing how your customizing turns out.

-

SUBSCRIBE TO SHIPS IN SCALE TODAY!
The beloved Ships in Scale Magazine is back and charting a new course for 2026!
Discover new skills, new techniques, and new inspirations in every issue.
NOTE THAT OUR NEXT ISSUE WILL BE July/August 2026 -

Win a Free Custom Engraved Brass Coin!!!
As a way to introduce our brass coins to the community, we will raffle off a free coin during the month of August. Follow link ABOVE for instructions for entering.
You are using an out of date browser. It may not display this or other websites correctly.
You should upgrade or use an alternative browser.
You should upgrade or use an alternative browser.
- Joined
- Jul 10, 2026
- Messages
- 23
- Points
- 48

The instructions on page 21 call it a eagle figure and to paint it gold, then install. It was made of cast metal and required a bit of sanding to get rid of the flash. Hope you got that piece. I am wondering if both the eagle and the steering wheel were to be package together and maybe someone forgot to put that package in some of the kits.
Central structure progressing, I intend to put lights inside the structure but I have found with the thinner woods, the light shines through. this may not be a problem when covered by paper but to be sure, I have painted the insides of the thinner woods black
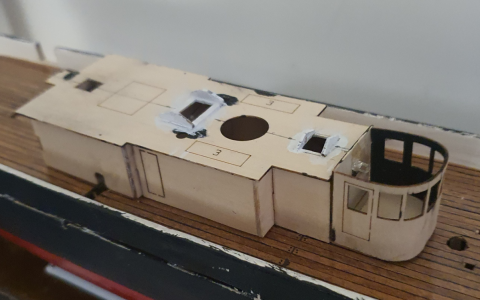
Now I am doing the fiddley bits that need a steady hand (which I do not have). still progressing slowly. I am about to attach the outside walls with a contact glue & I am not sure how that is going to go. I should also say that the hatch cover at the rear is not really a hatch cover but a switch to turn the wheel motors on and off. Pess once - they operate, press again -they stop (I hope)
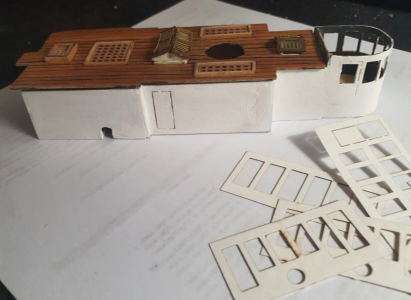
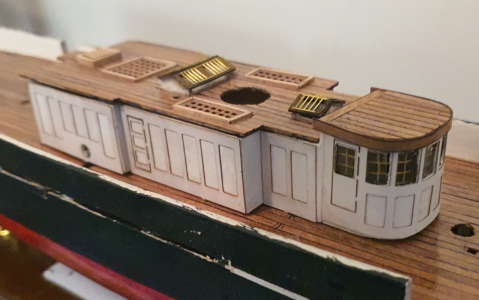
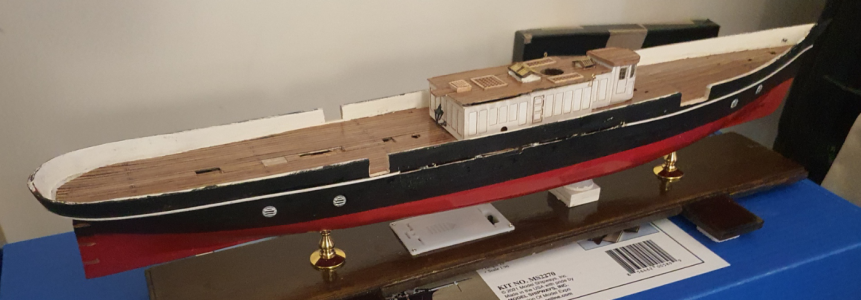
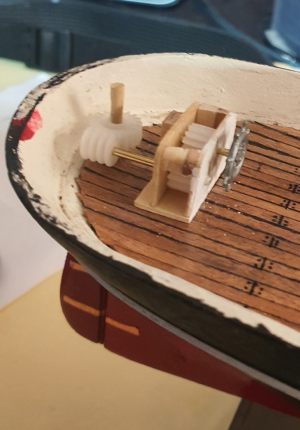
I now test fit the pieces more often because I have found things that need to be done before glueing. In this case it is the stays underneath the pontoon. they have to be moved away from the wheels as they could interfere. I have done this. the move was only 2mm but It had to be done because of the position of my wheels and kits fake wheels differ slightly
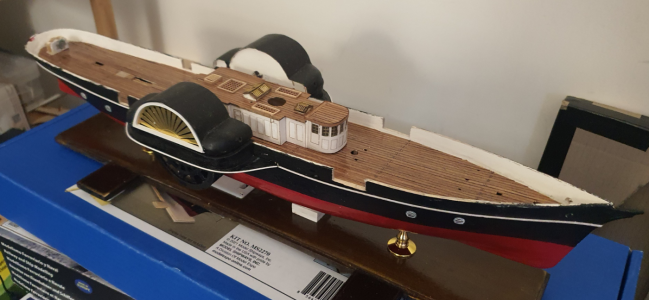
Well paddle wheels are permantly fixed & operating. A bit slower than I would have liked but I did pick the speed,
View attachment 639069
View attachment Paddle Wheels.mp4
View attachment 639069
View attachment Paddle Wheels.mp4
Last edited:
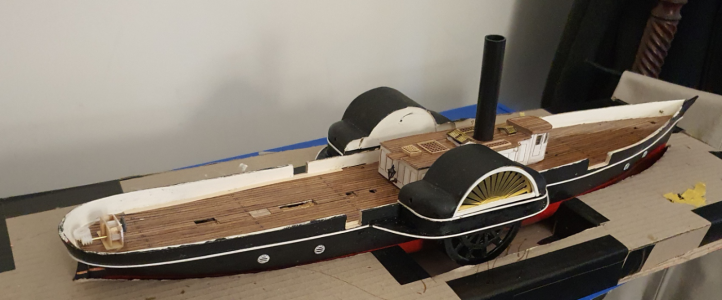
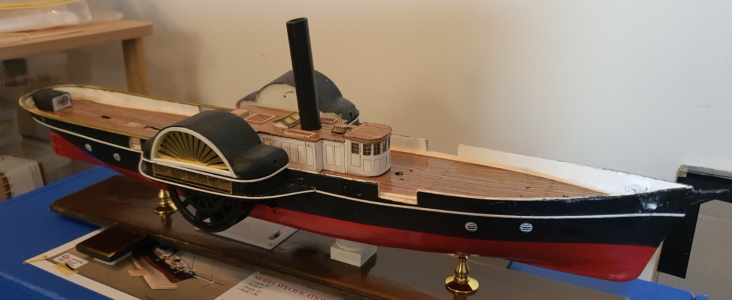
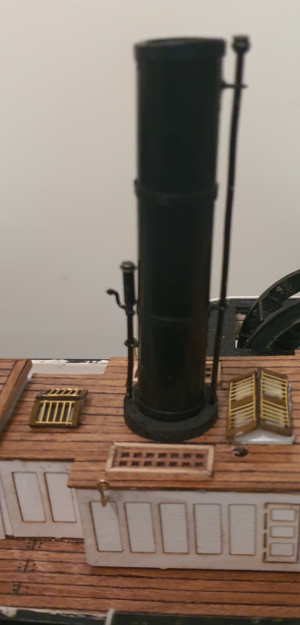
Well I have prepared the funnel using a plastic tube, I think it is better that the paper one but I will wait to see how others turn out. The additional deck cover I have left out at this time because of my changes to the deck from the kit because of room
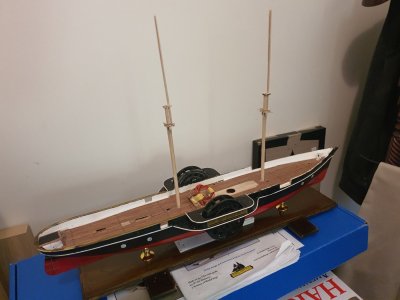
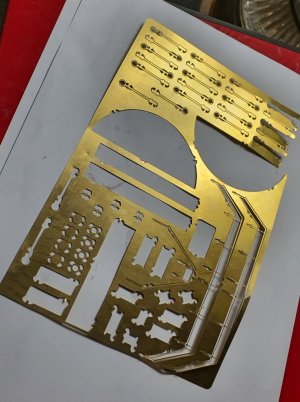

I used an Xacto chisel knife blade, both a small one and a large one, depending on the piece I was cutting. I applied just a little pressure on one side of the brass sheet and then switched to the other side. I just repeated this process until the piece finally broke for the stem. Not very easy to do. I was attempted to also use my Dremel with a saw blade for metal, but I have a slight tremor in my hand, so I did not try using it as I thought I would destroy the piece.
The Chisel blade sounds like a good idea. All I have to do is find oneI used an Xacto chisel knife blade, both a small one and a large one, depending on the piece I was cutting. I applied just a little pressure on one side of the brass sheet and then switched to the other side. I just repeated this process until the piece finally broke for the stem. Not very easy to do. I was attempted to also use my Dremel with a saw blade for metal, but I have a slight tremor in my hand, so I did not try using it as I thought I would destroy the piece.

- Joined
- Jul 10, 2026
- Messages
- 23
- Points
- 48
Make you have a solid base under the item being removed, that will decrease the bending of the item, wood really doesn't work. I prefer masonite or even a small steel anvil. You will definitely go through a few blades, the key is to have a sharp on and take your time. Good luck.

I use a sprue cutter that I bought on Amazon. Kind of like mini dykes. It makes a flat cutI am having great difficulty removing items from the brass sheet witout damageing them. Is there an easy way to do this ???
View attachment 641900
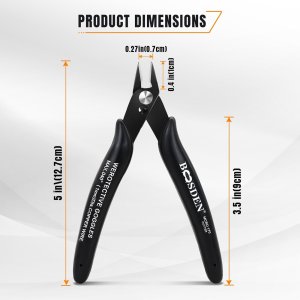
$7.90 for two of them. I just used them to cut the outlines for the port holes on the water closets with no issues.
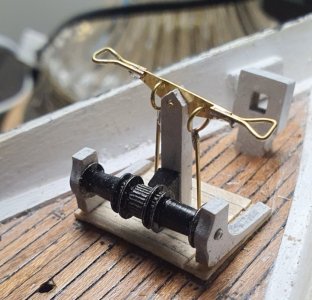
Your winch looks great. Model Expo will hopefully send you a replacement anchor quickly.