Hayling 1760 - Model Ship Dockyard - Pear

Colin great to see some progress. Looks like you made the same mistake as me on the hawse pieces. If you look in my build log from #36 you can seen what is wrong. I corrected it after that the fit was much beter
I had no excuse for doing it incorrectly, after all I had your thread and Tom of all Trades thread to follow, but yer, progress being made and its a bit more fun now.
 
Last edited:
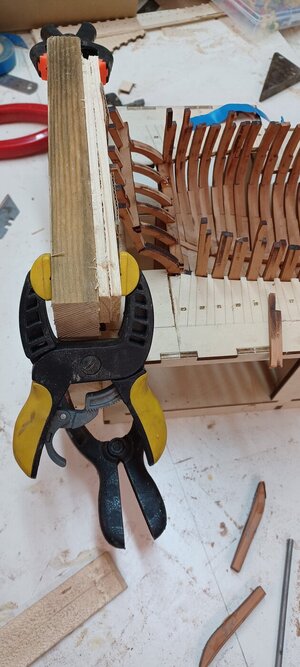
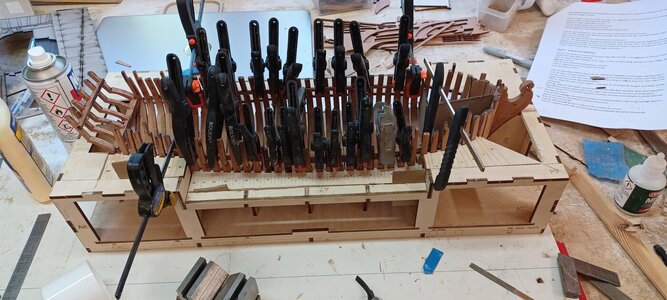
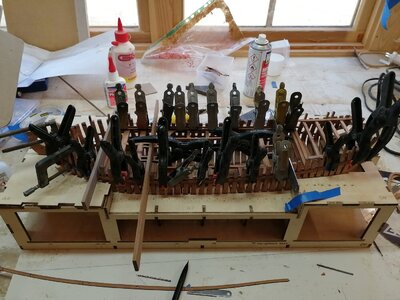
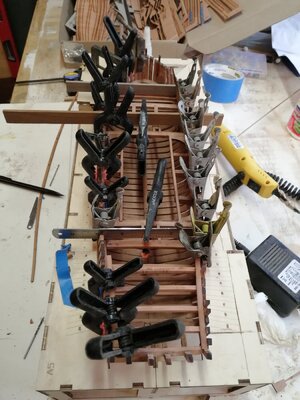
Moving on a pace now, interest is up again. Used just about every small clamp I have to hold the side deck beams(?) in place. I have had the hull out of the jig, I had to cut the deck off the jig of with my multi tool. How did I ever manage for 30 years in the building trade without one.

The stern caused me some small amount of bother as the "uprights" are more or less free floating, so I rigged up this jig just hold it all true, seems to have worked.

20221028_074155.jpg

20221028_160017.jpg
 
Last edited:
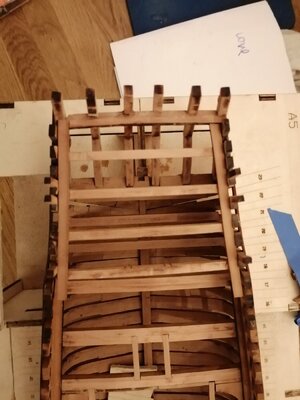
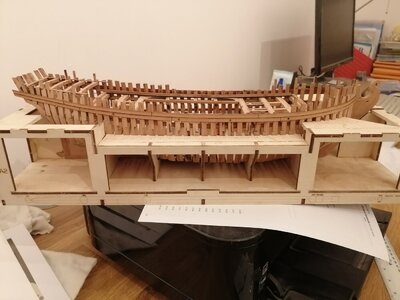
Not done a lot on the Hayling lately, sort of found it hard going. But the hull framing is now complete, just some fairing to do once I release the hull from the jig. The waterways are glued in, they sort of conformed to the shape of the hull, after a fashion, with a bit of persuasion, but the bow wasn't such a good fit at, but got there with a bit more persuasion. On the whole, quite chuffed with the end result.
Now, as I have said before, I have never built anything like this before. I did find the instructions disapointing, but having a fair degree of common sense, I got there. I have orderd up some 1mm wood which I will use for the decking, as the kit ones I am not happy with, not sure how I will do it, but I have seen a deck where it was "!nibbled" away at an angle, think that might look interesting, while hiding a multitude of sins.

IMG_20221201_173646.jpg

IMG_20221201_173658.jpg
 
Not done a lot on the Hayling lately, sort of found it hard going. But the hull framing is now complete, just some fairing to do once I release the hull from the jig. The waterways are glued in, they sort of conformed to the shape of the hull, after a fashion, with a bit of persuasion, but the bow wasn't such a good fit at, but got there with a bit more persuasion. On the whole, quite chuffed with the end result.
Now, as I have said before, I have never built anything like this before. I did find the instructions disapointing, but having a fair degree of common sense, I got there. I have orderd up some 1mm wood which I will use for the decking, as the kit ones I am not happy with, not sure how I will do it, but I have seen a deck where it was "!nibbled" away at an angle, think that might look interesting, while hiding a multitude of sins.

View attachment 343481

View attachment 343482
Looks good!
 
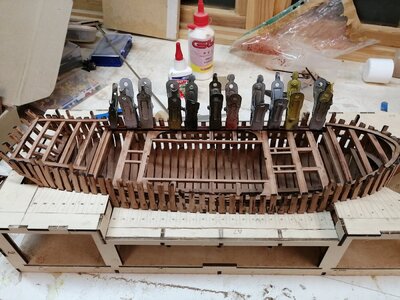
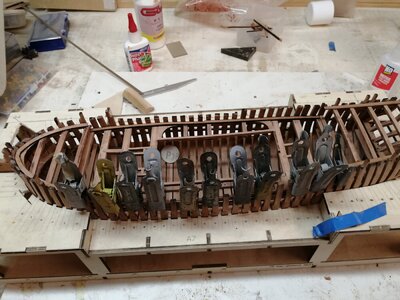
The roll is continuing. Fixed the "1 x 3 strip" along the middle section and then dry fitted 5b and 6b. They didn't look right to me, so I decided I knew best! Fatal. Looking at the planking for the outside of the hull I noticed that plank No 3 had holes in it and I decided that these were to line up with the waterway, be it a bit lower. So that is what I have done. That now means that plank No 2 is much higher than the 1 x 3. Really should think these things through more thoroughly. It does mean that plank No 1 is now redundant, so may use that to make up the difference.
Something else I now notice is that the waterway J3 is far to long ( as is the deck J3-1). It in fact lines up, sort of, with the rear of the middle deck. Don't know how that has happened. Not going to do an autopsy, I will have to deal with it somehow.
Another mistake is that I also noticed that the fore deck didn't look right, I must have jogged it before the glue set, so I have managed to cut that out and I will refit it to suit the planking.
Finally, as the old saying goes, " you can never have enough modelers telling you that you can never have to many clamps", I still have a fair few in the box. Wish I had as many woodworking clamps.

IMG_20221202_120022.jpg

IMG_20221202_120026.jpg
 
Next day, the hull came indoors as it is now cold in the garage/workshop/hideaway, so thought it would be better for the glue.
Clamps removed, chuffed.
At the stern I have noticed that the outside planking "dips" in on one side. Suggestions on how to correct this would be gratefully received.

IMG_20221203_065333.jpg

IMG_20221203_065059.jpg
 
Next day, the hull came indoors as it is now cold in the garage/workshop/hideaway, so thought it would be better for the glue.
Clamps removed, chuffed.
At the stern I have noticed that the outside planking "dips" in on one side. Suggestions on how to correct this would be gratefully received.

View attachment 343635

View attachment 343636
Dear Colin
Great progress, it's looks beautiful Thumbsup :)
 
Not done a lot on the Hayling lately, sort of found it hard going. But the hull framing is now complete, just some fairing to do once I release the hull from the jig. The waterways are glued in, they sort of conformed to the shape of the hull, after a fashion, with a bit of persuasion, but the bow wasn't such a good fit at, but got there with a bit more persuasion. On the whole, quite chuffed with the end result.
Now, as I have said before, I have never built anything like this before. I did find the instructions disapointing, but having a fair degree of common sense, I got there. I have orderd up some 1mm wood which I will use for the decking, as the kit ones I am not happy with, not sure how I will do it, but I have seen a deck where it was "!nibbled" away at an angle, think that might look interesting, while hiding a multitude of sins.

View attachment 343481

View attachment 343482
Good afternoon Colin. Your “multitude of sins” must be misdemeanours as all looks really good. Cheers Grant
 
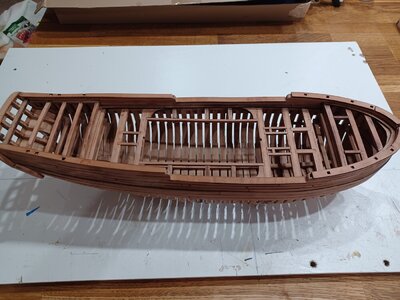
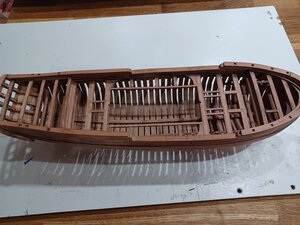
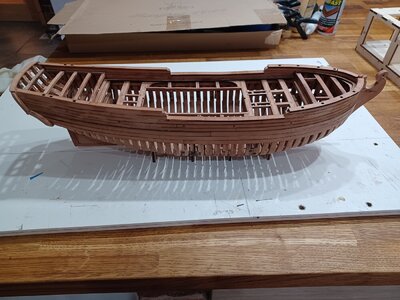
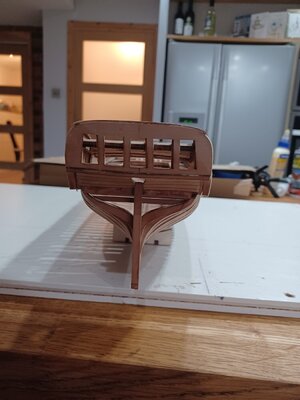
Still working on the kitchen island, much to the bosses delight. Hoy is out of the jig now, and needs a fair amount of cleaning/fairing, but reasonably happy with the the hull. Got to say that I am only using the instructions as a guide, and all but ignoring the written instructions as they just confuse the life out of me.
The glazing for the stern "windows" has been left out as I just could not stand the faffing around to fit them! The window frames and the stern trim will be fitted last knocking as I haven't decided on the overall finish as yet.

The top of the hull has had the caps fitted, but the overhang was not consistent and didnt look right so I have/will sand down to the hull sides and use scrap the create a lip inboard/outboard. Pushing my luck doing too much sanding in the kitchen.

20221228_105605.jpg

20221228_105753.jpg

20221228_105801.jpg

20221228_105809.jpg
 
Hi Colin, your model and mine could be twins Thumbsup and your comment 'only using the instructions as a guide, and all but ignoring the written instructions as they just confuse the life out of me' is exactly what I did as well :).
I'll post some updated pics of my effort soon because I'm coming to the end of my build (i.e. only stub masts and no rigging).
Tom
 
Just been looking further forward in the rendered instruction, (dreading the rigging), and I am wondering if any one Has any one found the beads #31 referred to in stage 84?
Not looking forward to the rigging, not finding the instructions too much help so if any one can point me in the direction of an idiots guide I would be grateful.
I didn't get any either Colin. If you have difficulty finding any, I have some 2.5mm black ones in my spares box so please PM me with your address and I'll stick some in the post to you.
Tom
 
This is my first ever wooden kit. I have Scratch built, using a supplied hull, various British Navy ships, and one other wooden kit. That was a total failure, not even good for the fire as I had resorted to Cyno as a last ditch repair. It failed.

So I am going to need a lot of hand holding.

First question, recommended glue any one?

Not being the most patient of people I have cracked on.

The first thing I had to do was apply heat to my cutting mat, and then put a large weight on it to flatten it. The mat had been used as a guard to protect cables from our puppy and had warped. Note to self, she loves chewing wood, so don't drop anything.

The first step is to build the jig. A nice easy introduction to the build. Every thing just slots together, beautifully, it's dry fitted at the moment. Just as well as the fore and aft jigs (A3) are handed and I had put them in the wrong way round. Easily rectified.

Now got to take the mutt out for a walk, and will glue up tomorrow.

The glue sitting in the jig are what I shall use for the jig.

Colin
Hallo @colin100
we wish you all the BEST and a HAPPY BIRTHDAY
Birthday-Cake
 
Back
Top