- Joined
- Jan 9, 2020
- Messages
- 10,566
- Points
- 938

Welcome Peter. Yes - this kit does build into a beautiful model - now it's up to me to do it justice!I’m following also in silence! Great intro Heinrich! This is a lovely model to build!
 |
As a way to introduce our brass coins to the community, we will raffle off a free coin during the month of August. Follow link ABOVE for instructions for entering. |
 |
 |
The beloved Ships in Scale Magazine is back and charting a new course for 2026! Discover new skills, new techniques, and new inspirations in every issue. NOTE THAT OUR FIRST ISSUE WILL BE JAN/FEB 2026 |
 |

Welcome Peter. Yes - this kit does build into a beautiful model - now it's up to me to do it justice!I’m following also in silence! Great intro Heinrich! This is a lovely model to build!
I have that article. That's how I noticed the slight wording difference.Thank you Ron - the thread title is an adaptation of "High Hopes, Wild Men and Polar Bears" which was actually the sub-title of an article published on Willem Barentsz's voyages in Oceanwide Expeditions. You can read the full article here:
https://www.oceanwide-expeditions.com/blog/third-time-s-a-charm-the-last-voyage-of-willem-barentsz
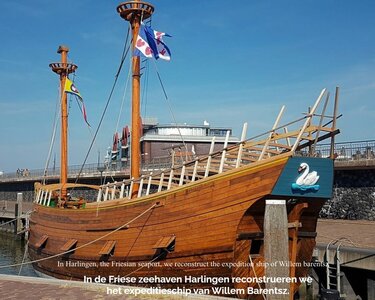

Kurt, my friend, you know you are always most welcome. Come into the kitchen (it's breakfast time now), grab a baozi and while you are munching away, enjoy the build!Looks to a crowd on deck to watch the talented seaman do his work!
I will try to find a spot to watch from

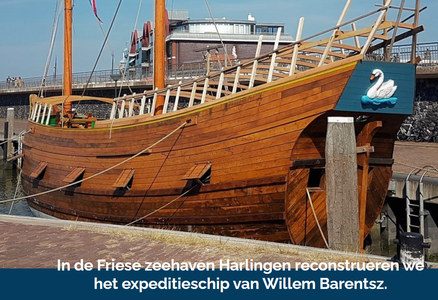
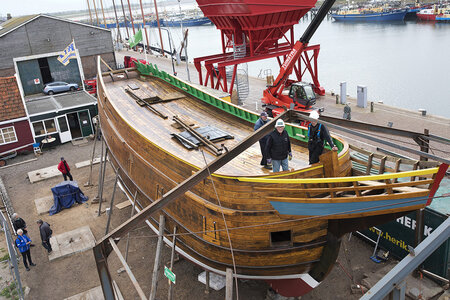
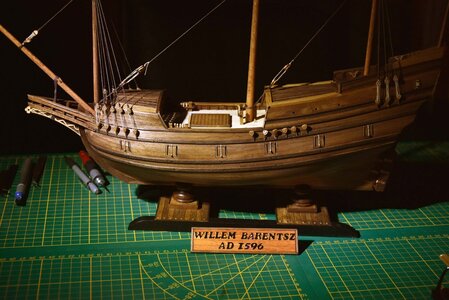
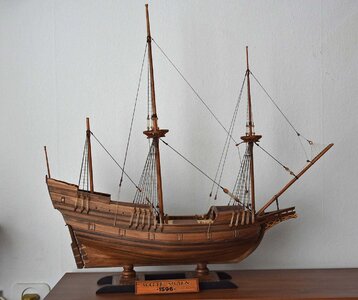

Thank you Dean. The build would not have been the same without you - welcome!Interesting ship! Looking forward to the build!
Thank you for the warm welcome Heinrich. You will have quite a fleet in the future!Thank you Dean. The build would not have been the same without you - welcome!

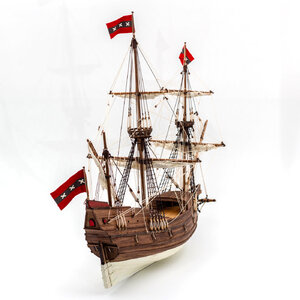

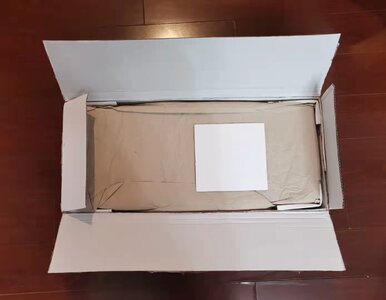
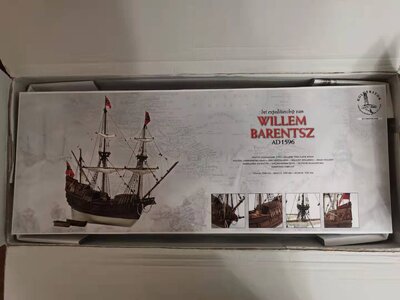
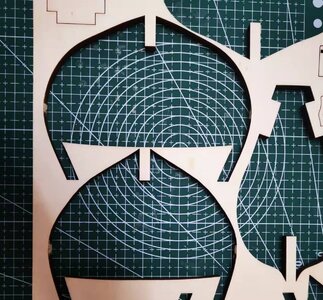
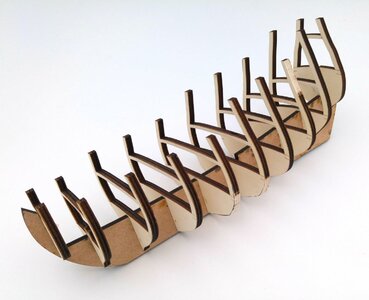
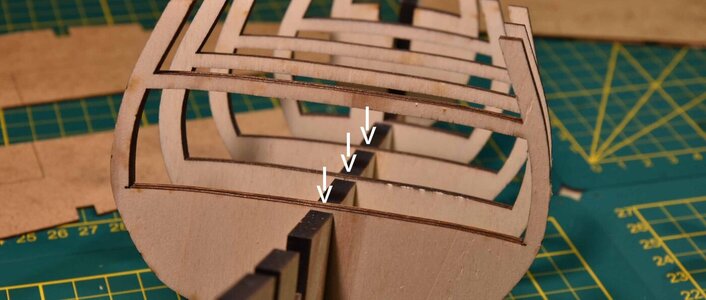


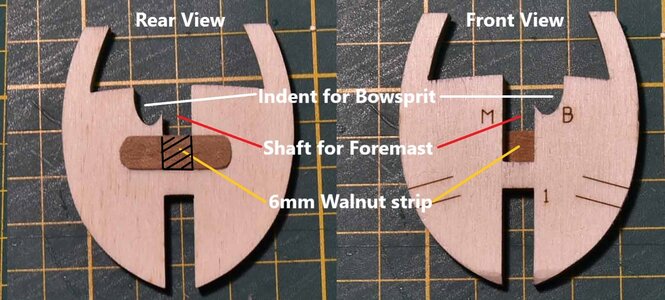
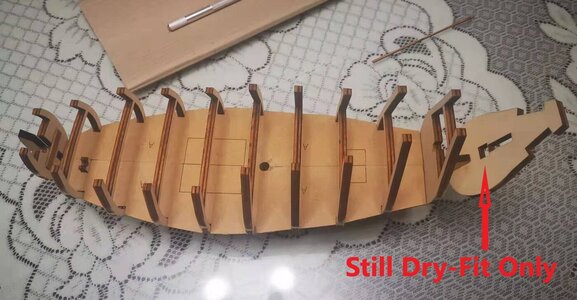
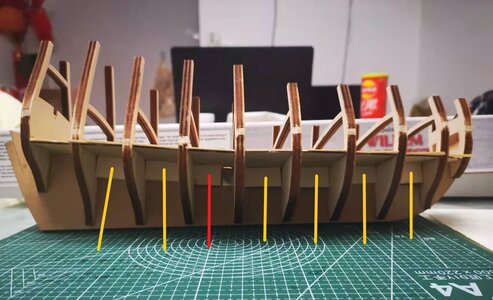

My dearest Ron - NEVER apologize for asking a question. It was a great question to ask and as you can see one that has been widely debated. Those type of questions are exactly what we need to fuel our passion for the hobby and provide information to anyone who cares to use it. Thank you for the question - I am very glad you asked it!Thank you very much Heinrich, Ab and others for sharing your knowledge and research regarding the ships name. I apologize if I’ve stirred up a hornets nest. In doing what research I could regarding this ship, which I plan to build, I was/am in a quandary as to how it should be named.
Again, sorry for posing the question and thanks again guys. What a great group of individuals with a common interest in recreating history in miniature.
Ron

Another great historical read as you start your log Heinrich. Looking foward to following this one too.
Hey, someone moved my "reserved" seat sign - Jimsky looks guilty! But that's ok because I brought my portable chair with me, just in case.
Thanks Jim but I’ll sit a couple of rows back, that way you and Peter get all the difficult front row questions...didn't mean to spoil your view, hence offer my spot in exchange for your folding chair (if Peter @Peter Voogt doesn't mind)

Welcome Adi. I am so glad that you have joined the build log. I am extremely impressed with the work that you are doing on your Le Coureur. Guys, if you haven't seen Adi's work yet, take a look here:Hallo Heinrich, another great story, another very nice ship. I am really taken and would like to join all the other highly interested observers.

