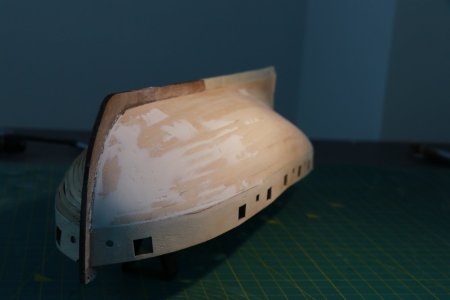
• SUBSCRIBE TO SHIPS IN SCALE TODAY!

    The beloved Ships in Scale Magazine is back and charting a new course for 2026!
    Discover new skills, new techniques, and new inspirations in every issue.

    NOTE THAT OUR NEXT ISSUE WILL BE July/August 2026
  • Win a Free Custom Engraved Brass Coin!!!
    As a way to introduce our brass coins to the community, we will raffle off a free coin during the month of August. Follow link ABOVE for instructions for entering.

HM Cutter Lady Nelson 1:64 - Build Log

Cut the balsa blocks into rough, blocky approximates of their final shape using a bandsaw and a few test fits, taking care to make sure all surfaces of the block protrude a little beyond the edges of adjacent frames. This will save you lots of sanding time, even though a 60 grit pad on a vibrating sander EATS balsa quickly. Below are shown the midship blocks for my model. You will probably only need some at the extreme bow and perhaps the stern.
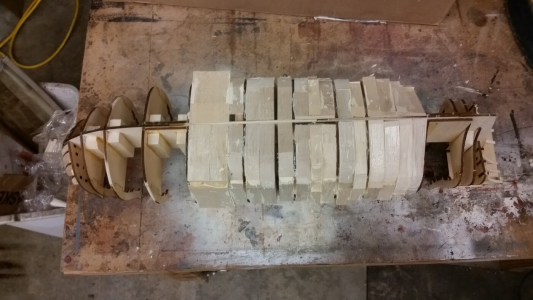
1784099038361.png


This is the blocky mess I sanded down at the bow. It doesn't start off pretty, but it is at the finish of sanding.
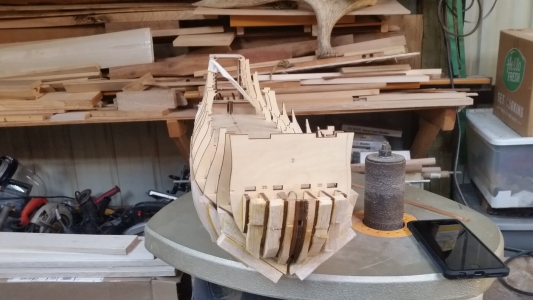
1784099178433.png
 
Shipmodellers,
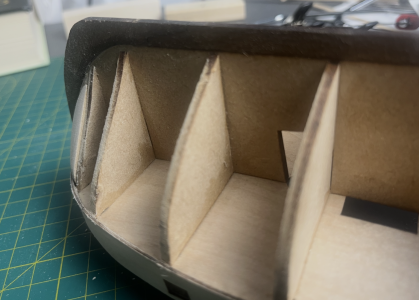
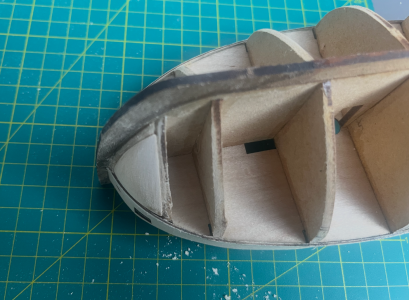
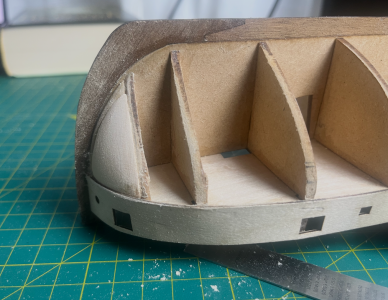
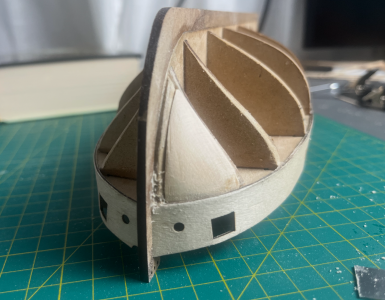
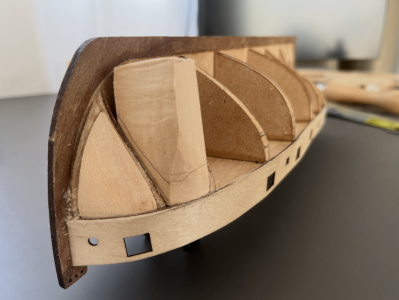
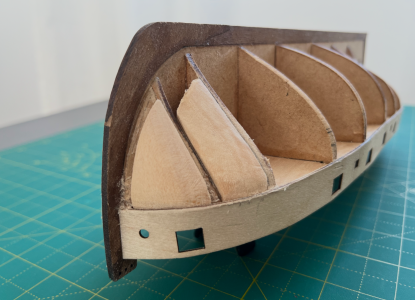
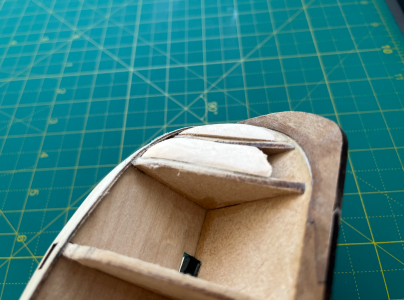
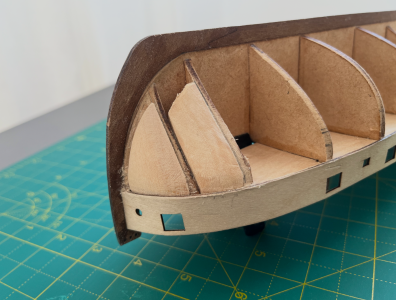
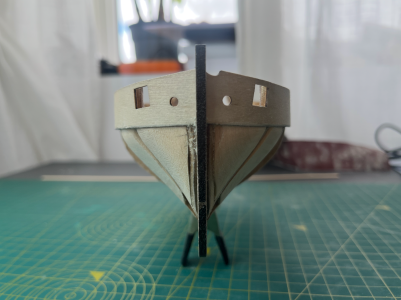
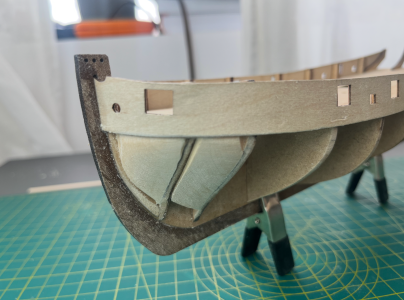
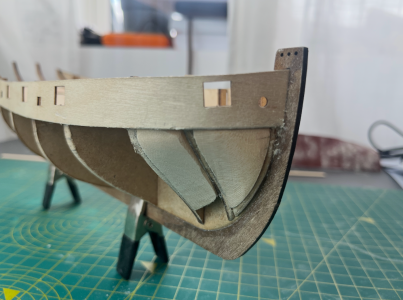
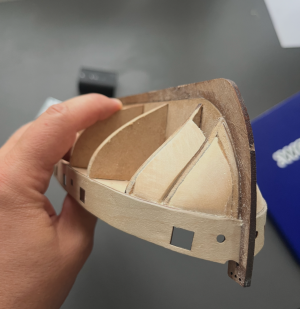
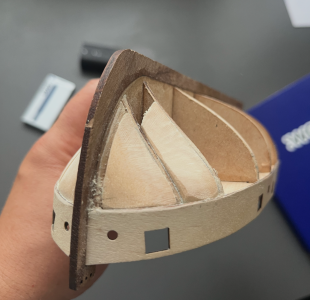
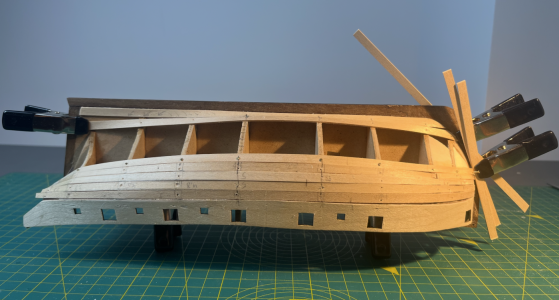
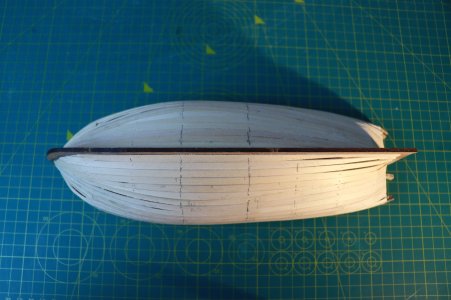
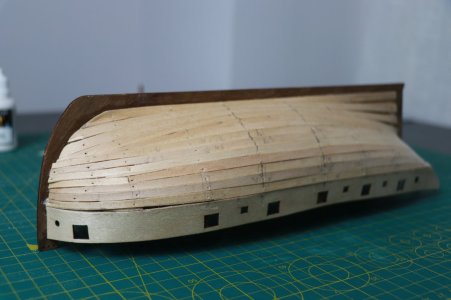
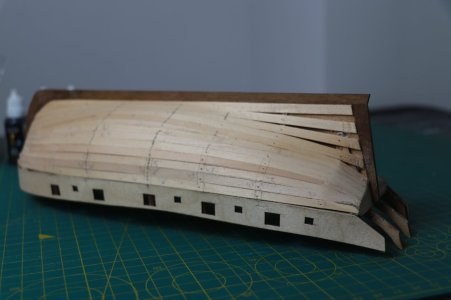
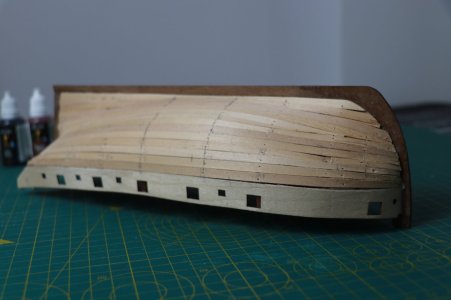
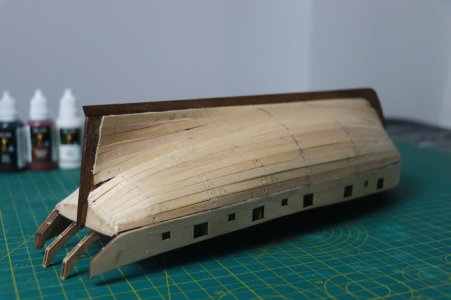
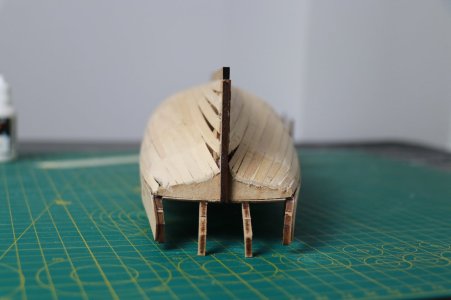
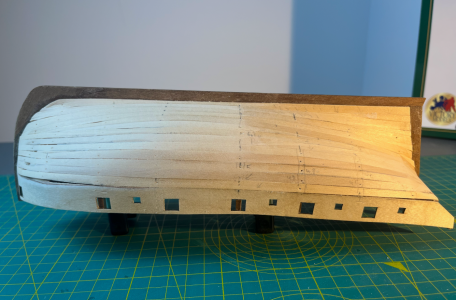
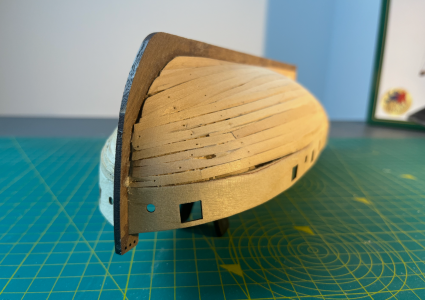
It took me entire evening yesterday to prepare one block. The block is not glued.
I wonder if I should sand the block more to be the same as the first bulkhead.
And if I add one more block between 1 and 2 bulkheads.
Feedback is appreciated.
Screenshot 2026-07-15 at 22.29.12.png
Screenshot 2026-07-15 at 22.29.08.pngScreenshot 2026-07-15 at 22.29.03.pngScreenshot 2026-07-15 at 22.28.59.png
 
Last edited:
Shipmodellers,
It took me entire evening yesterday to prepare one block. The block is not glued.
I wonder if I should sand the block more to be the same as the first bulkhead.
And if I add one more block between 1 and 2 bulkheads.
Feedback is appreciated.
View attachment 619350
View attachment 619351View attachment 619352View attachment 619353
That block looks PERFECT. I has the subtle curves which follow the frame and stem, and serves as a 3-D transition. Pre-form the planks individually to fit the hull and the model will stun you with good it will look.
 
Are you installing blocks on the port side of the model? You should always add filler blocks and then hull planks in pairs, PORT AND STARBOARD. Why? because if you don't, the hull could develope a twist or bend as you add parts. Even the slightest distortion casued by wedging a filler block between two frames will bend the keel, and they would all add up and make a curve in the keel if you filler one entire side with blocks. It's all about balancing the forces and reinforcement provide by the planking. You don't want a warped hull! That can not be corrected later. You're stuck with it if it happens.
 
Are you installing blocks on the port side of the model? You should always add filler blocks and then hull planks in pairs, PORT AND STARBOARD. Why? because if you don't, the hull could develope a twist or bend as you add parts. Even the slightest distortion casued by wedging a filler block between two frames will bend the keel, and they would all add up and make a curve in the keel if you filler one entire side with blocks. It's all about balancing the forces and reinforcement provide by the planking. You don't want a warped hull! That can not be corrected later. You're stuck with it if it happens.
I haven't glued those blocks yet. First one is still can be removed. I make forms, and I will make sure to glue keel blocks on both sides first. Thank you for the advice.
 
Back
Top