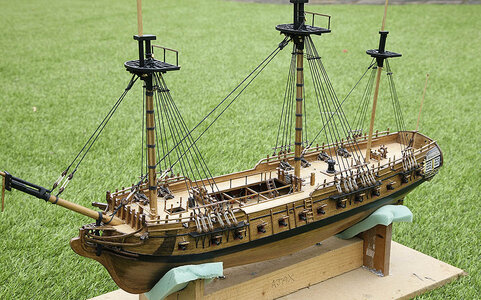
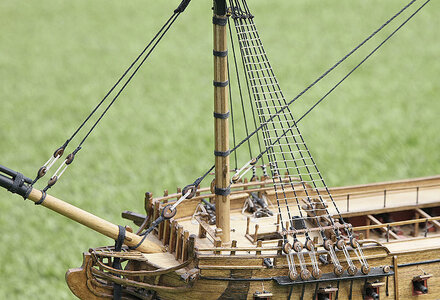
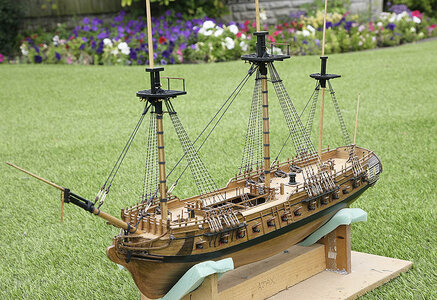
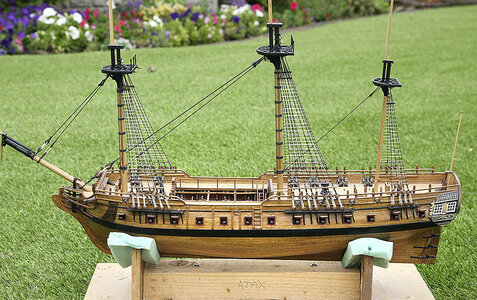
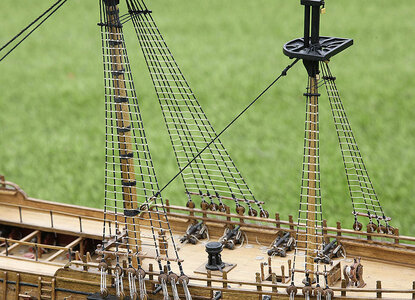
HMS Ajax 38 gun frigate. Euromodel [COMPLETED BUILD]

Ken, much work achieved in a few days so well done on that. Did you darken the lines yourself and if so what did you use ?
Hi Pete, Thanks for the files that you kindly sent. For dyeing the lines I always use suede leather dye, ( normal leather dye is a bit shiny ) it’s dense, and very permanent, other stuff that I have used in the past doesn’t get the thread as pure black and over time fades. I run out a good length tie it off so that it’s taught then with a small piece of cloth rub the dye in.
 
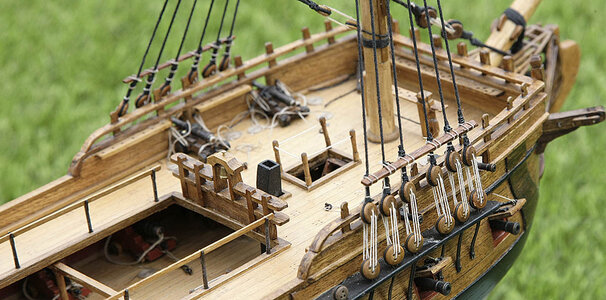
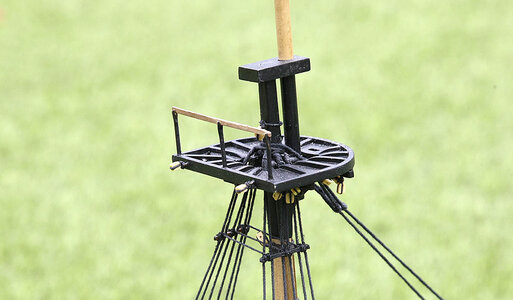
Hello, Once again and thanks for dropping in. The build is still making progress, I have now fitted some blocks that would prove difficult later on, I’ve banded the masts and stepped them, and they sit well, in line and look to be at the correct angle. I’ve done the top of the shrouds and the lower stays, I’m happy that it’s taking shape.

Some of you will be aware from previous logs that I have issues with my hands, missing fingers etc. and that I have extreme difficulty working with small blocks, so you must give me some slack when it comes to authenticity with knots etc. So that I don’t get too frustrated and quit I’m going to simplify all aspects of the rigging so that I can get over the finishing line with my sanity intact. I am not going to follow the excellent but complicated plan but instead do a sort of simple generic 18th century rig and hope that it looks believable, and that from a pace away looks convincing to the masses.

To do Euromodel justice I’ve shown part of their rigging plans which are a lesson in rigging, they are to my mind overcomplicated for a model and would take an age to complete, but they are good, it would be up to the modeller to leave out or simplify to suit his aims. Mine won’t resemble these plans in any way.

View attachment 386950

View attachment 386951

View attachment 386952

View attachment 386953

View attachment 386954
You're back on track, Ken. What I see is promising. She is growing nicely now in height.
Regards, Peter
 
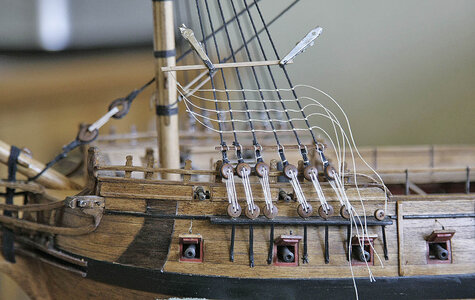
Hello, Again thanks for your likes. I’ve started attaching the shroud deadeyes and it’s going fairly quickly without any issues, I imagine that I’ll have them all done today.

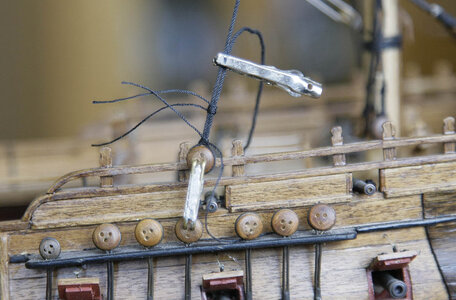
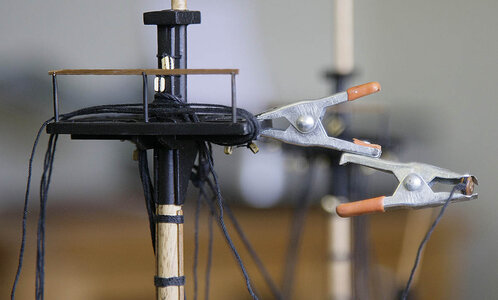
I mentioned that I can’t hold blocks in my fingers, this isn’t an issue when I’m tying them up on the bench, I have an array of clips and clamps that I use as I’m sure that you do . The issue arises when I have to tie them up on lines that are already fitted on the model. My solution is very simple, I’ve bolted two spring clips together, one you can clip to any part of the ship that’s close to where the block is needed and the other end holds the block whilst you are working on it. The clips can swivel at the bolt so you can have it at any angle needed, use more that one if needed. I’m sure that you have your own method but it’s just a thought.

026.jpg

027.jpg
 
Hello, Again thanks for your likes. I’ve started attaching the shroud deadeyes and it’s going fairly quickly without any issues, I imagine that I’ll have them all done today.

I mentioned that I can’t hold blocks in my fingers, this isn’t an issue when I’m tying them up on the bench, I have an array of clips and clamps that I use as I’m sure that you do . The issue arises when I have to tie them up on lines that are already fitted on the model. My solution is very simple, I’ve bolted two spring clips together, one you can clip to any part of the ship that’s close to where the block is needed and the other end holds the block whilst you are working on it. The clips can swivel at the bolt so you can have it at any angle needed, use more that one if needed. I’m sure that you have your own method but it’s just a thought.

View attachment 387215

View attachment 387216
Great method of using clips as helping hands! ;)
 
  • Like
Reactions: Ken
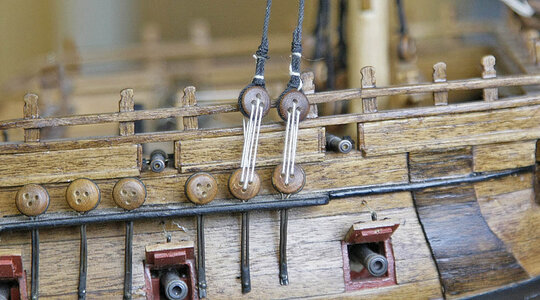
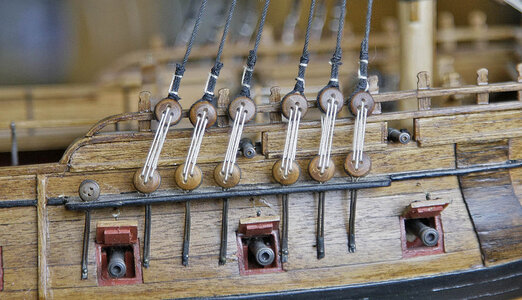
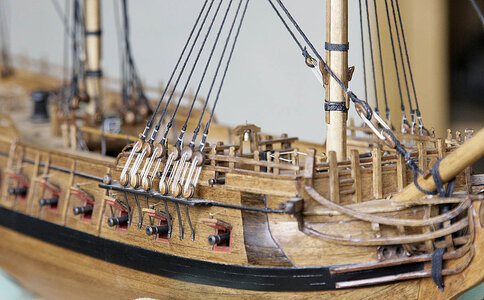
Hello, As predicted I managed to complete the deadeyes by late afternoon. This morning I started the job of tying them down with their lanyards. I hadn’t done any rigging for about three years and at first the amount of work ahead feels a bit daunting but as I’m working my way through it seems less so, it’s like putting that first plank on and you are over cautious then soon wonder why you were worried. I think another day will see this part of the rigging done, then it will feel like real progress is being made.

028.jpg

029.jpg

030.jpg
 
Ken, your step by step commentary makes for some refreshing reading and certainly will help others. Keep at it.
 
  • Like
Reactions: Ken
Hello, As predicted I managed to complete the deadeyes by late afternoon. This morning I started the job of tying them down with their lanyards. I hadn’t done any rigging for about three years and at first the amount of work ahead feels a bit daunting but as I’m working my way through it seems less so, it’s like putting that first plank on and you are over cautious then soon wonder why you were worried. I think another day will see this part of the rigging done, then it will feel like real progress is being made.

View attachment 387395

View attachment 387396

View attachment 387397
You managed this part of the rigging very well, Ken. The ‘double clip’ is very useful.
Regards, Peter
 
  • Like
Reactions: Ken
Hello and welcome. Again thanks for you comments and likes, they are much appreciated.

The rigging is moving along but not without beginner’s mistakes, two steps forward and one step back.
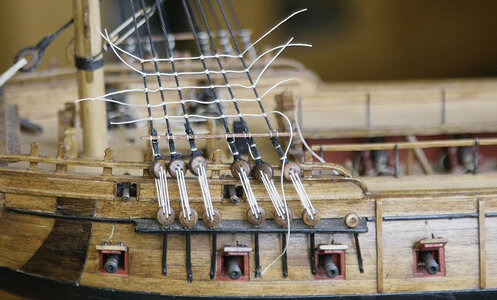
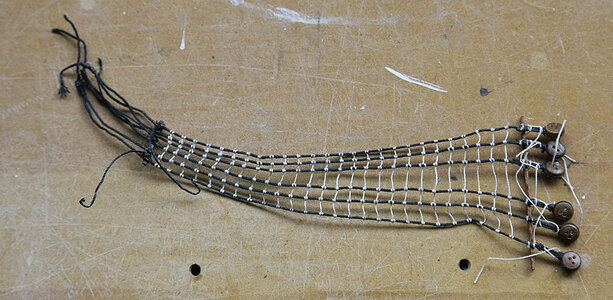
All the shrouds went on quite well, I was pleased and hurriedly moved on to the ratlines which were easy enough, just repetitive. When I’d completed the port fore set and took the time to look at them I realised that the lines were too dominant, they looked too light in colour and too thick in diameter. I could have carried on but I know that I would have regretted it so I took the plunge and did what was necessary. I’d sealed the lines to the shrouds so I had to cut away that complete section and re-do it. It proved quite difficult getting the new shrouds to sit in their correct order and under the forestays, but I eventually managed it satisfactorily and I’m now ready to start the ratlines once again but this time with the correct thread.

The start of my first attempt

031.jpg

The offending version

032.jpg

Now the start of the re-made version showing all the shrouds

033.jpg

034.jpg035.jpg


036.jpg
 
Last edited:
Hello and welcome. Again thanks for you comments and likes, they are much appreciated.

The rigging is moving along but not without beginner’s mistakes, two steps forward and one step back.
All the shrouds went on quite well, I was pleased and hurriedly moved on to the ratlines which were easy enough, just repetitive. When I’d completed the port fore set and took the time to look at them I realised that the lines were too dominant, they looked too light in colour and too thick in diameter. I could have carried on but I know that I would have regretted it so I took the plunge and did what was necessary. I’d sealed the lines to the shrouds so I had to cut away that complete section and re-do it. It proved quite difficult getting the new shrouds to sit in their correct order and under the forestays, but I eventually managed it satisfactorily and I’m now ready to start the ratlines once again but this time with the correct thread.

The start of my first attempt

View attachment 387670

The offending version

View attachment 387671

Now the start of the re-made version showing all the shrouds

View attachment 387672

View attachment 387673View attachment 387674


View attachment 387675
The best remedy for a 'dislike' is a re-do.
A tough decision, Ken, but just what Paul wrote, you would always look at it with ‘furrowed eyebrows’
Regards, Peter
 
The best remedy for a 'dislike' is a re-do.
A tough decision, Ken, but just what Paul wrote, you would always look at it with ‘furrowed eyebrows’
Regards, Peter
Hi Peter, yourself and Paul have got it absolutely right, there was no question, a re-do was the only solution. I was ready for bed, it was on my mind and I knew that I wouldn’t be able to sleep thinking about it so I bit the bullet and got the scalpel out, once the deed was done I felt relieved rather than annoyed and had a good nights sleep.
Ken
 
Hello and welcome. Again thanks for you comments and likes, they are much appreciated.

The rigging is moving along but not without beginner’s mistakes, two steps forward and one step back.
All the shrouds went on quite well, I was pleased and hurriedly moved on to the ratlines which were easy enough, just repetitive. When I’d completed the port fore set and took the time to look at them I realised that the lines were too dominant, they looked too light in colour and too thick in diameter. I could have carried on but I know that I would have regretted it so I took the plunge and did what was necessary. I’d sealed the lines to the shrouds so I had to cut away that complete section and re-do it. It proved quite difficult getting the new shrouds to sit in their correct order and under the forestays, but I eventually managed it satisfactorily and I’m now ready to start the ratlines once again but this time with the correct thread.

The start of my first attempt

View attachment 387670

The offending version

View attachment 387671

Now the start of the re-made version showing all the shrouds

View attachment 387672

View attachment 387673View attachment 387674


View attachment 387675
wonderful progress dear Ken :) Thumbsup
 
  • Like
Reactions: Ken
Hello, Thanks for taking the time to look at my Ajax build and again thanks very much for your likes and kind comments. We’re having rather a lot of rain at the moment in the UK so I’m spending quite a bit of time at my bench and progress on the rigging is pretty rapid, I’ll probably finish all the lower ratlines by the end of the day.

I braced the outer shrouds with a strip of wood to prevent them from becoming concave and using the correct size cord this time worked my way upwards using a pair of tweezers in each hand. I use a piece of dark card as a background to help me focus. It looks a lot better so I'm rather pleased at having a re-do.

037.jpg

038.jpg
 
What is excellent with your posts Ken is that not only do you show what you have created but also HOW you actually do each step. Let's hope the rain continues !!!
 
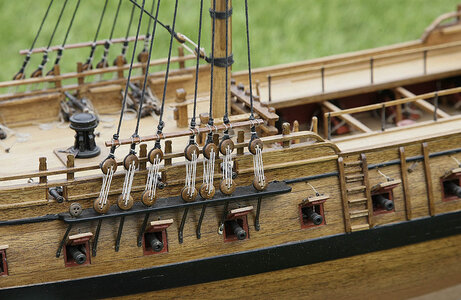
Hello. Just a short update. The rigging continues to go well and fairly quickly with no more issues. The pictures show all the lower rat lines now completed, I'm very pleased with the result. Next will be the euphroes', I always get myself into a confused tangle with these.

039.jpg

040.jpg

041.jpg
 
Back
Top