HMS Bounty 1:60 scale scratch build

Joined
Jul 11, 2018
Messages
156
Points
253

Location
Belgrade, Serbia
As my Argosy carrack is in the final stage, requiring just s dozen or so hours more for finishing touch, I suddenly got an inspiration for the next build, the ship I wanted to make for a long time ago - HMS Bounty.

This will be another scratch build, chosen scale is 1:60 which will be quite a relaxation after complicated work small parts of1:100 scale Ragusian carrack and would let me to make all details with more accuracy. Also I expect to finish this one in a shorter time, I hope in less than 12 months before jumping on another one.
I was reluctant which version to build, open hull to show interior, or fully completed mode, yet as a modeler of the old school, although open hull models are interesting showing interior of the ship, fully completed model is more of an "old school" and artistic so I decided to make it that way, with all the rigging and sails.
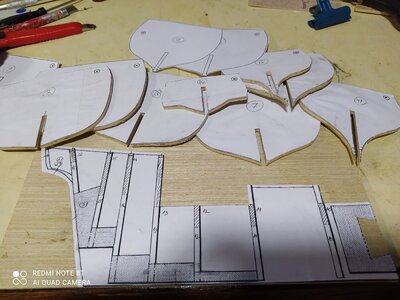
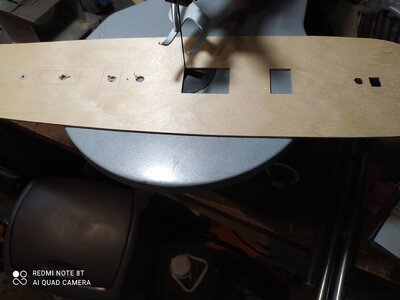
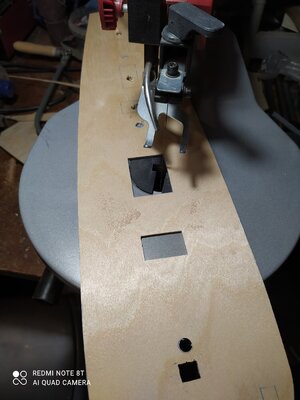
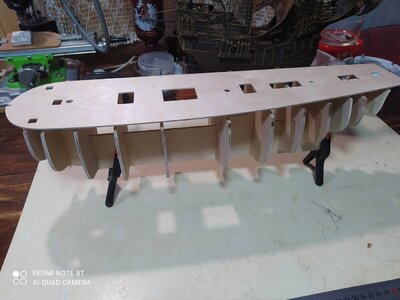
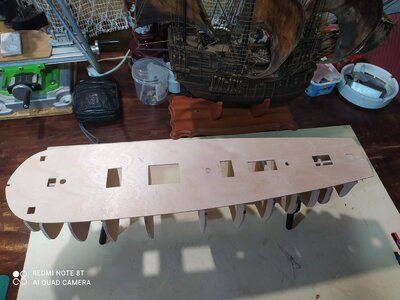
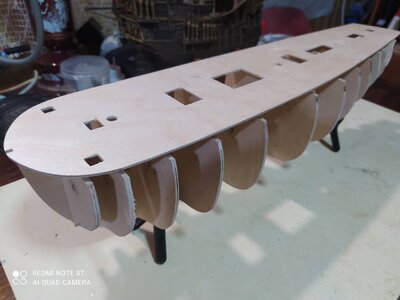
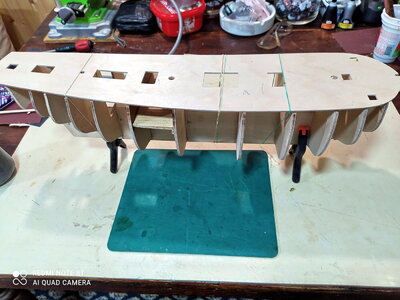
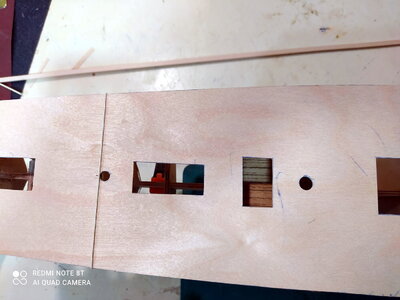
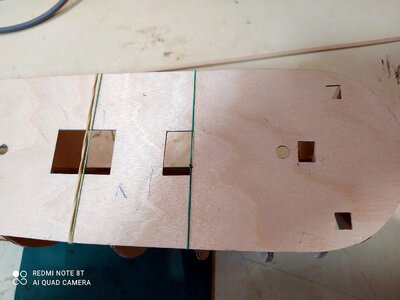
Construction is "plank on the bulkheads" type and I already finished all bulkheads, keel, and keel support parts as well as the main deck.
I took just a few pictures to post now, the more will come in the next days.

1606122895789.png

IMG_20201120_004201.jpgIMG_20201121_135520.jpgIMG_20201121_135553.jpg
 
HMS Bounty 1:60 scratch build log:
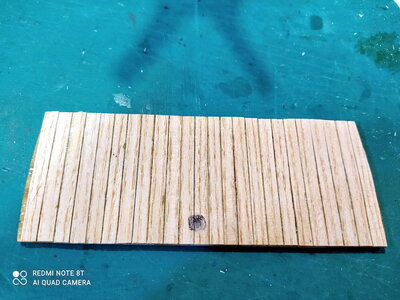
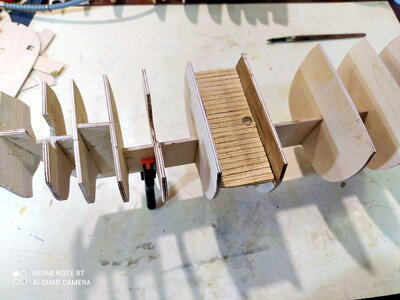
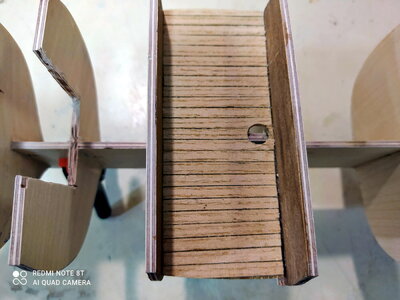
All bulkheads fixed and glued, main deck and half deck ( lower deck prepared. Half deck planked and glued (opening hatch for stairs)
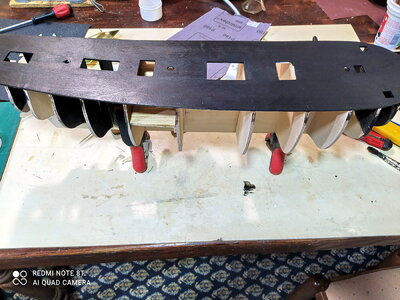
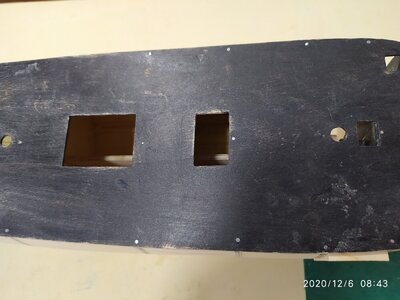
Main deck glued and nailed to the frame. Painted black. Black color allows me very easy and very successful planking with clearly visible quite narrow and accurate "caulking" effect (visible on the planked lower half deck.


IMG_20201130_202451.jpgIMG_20201130_202527.jpgIMG_20201130_202612.jpgIMG_20201130_220618.jpgIMG_20201130_220631.jpgIMG_20201130_221315.jpgIMG_20201130_221322.jpgIMG_20201130_221327.jpgIMG_20201130_235336.jpg
 
Last edited:
As usually, I decided to make changes in original plans/ instructions and this model is not exception.
Original plans show the ordinary process of plank on bulkhead type construction and double planked hull.
Yet Amati have some errors in own plans and also - in my opinion their model have too small number of bulkheads to do well done first layer planking. The hull type, curvatures etc. for this model require either more bulkheads, or more fillers at least in my opinion.

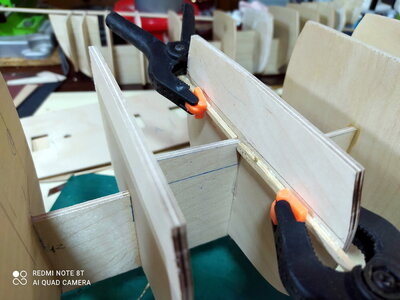
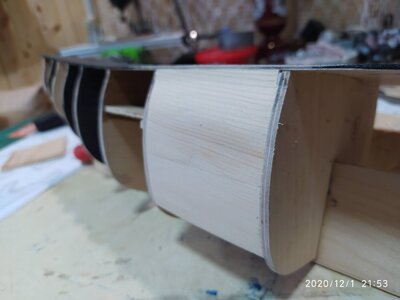
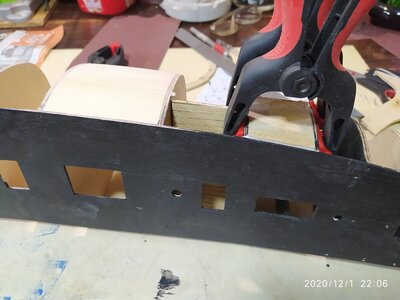
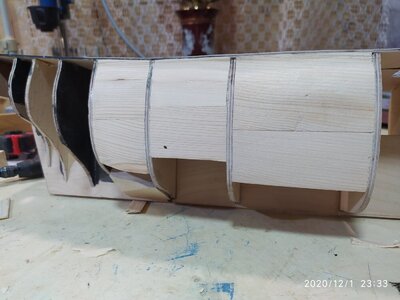
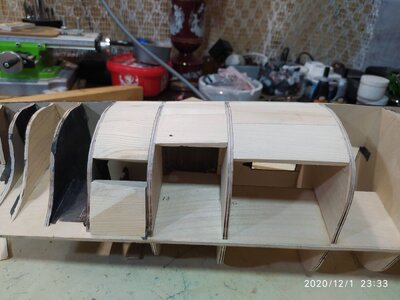
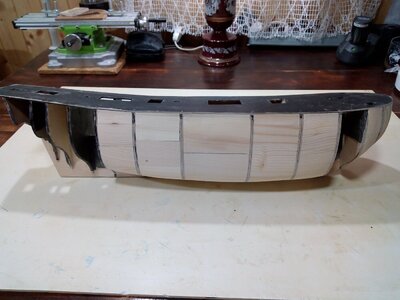
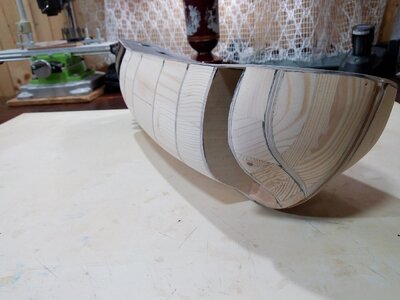
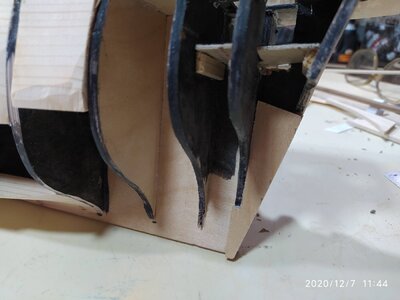
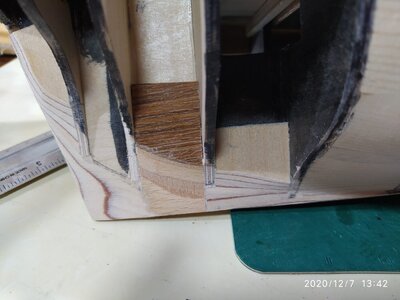
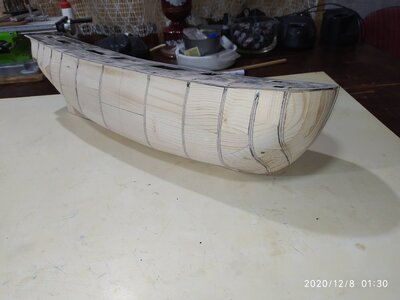
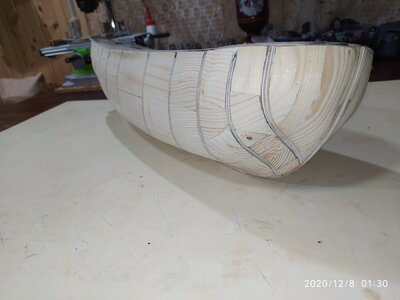
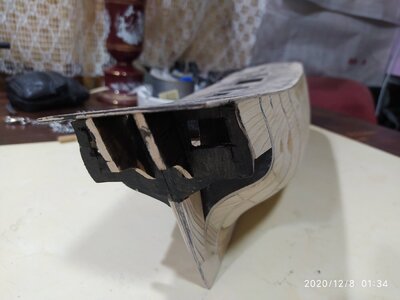
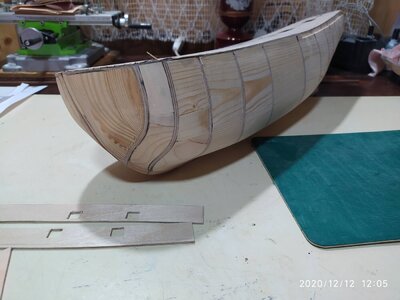
So I decided to change some things: I decided to insert wood fillers between all bulkheads, but not full fillers , just a kind of thick edge fillers so I still retain hollow hull structure, but with solid smooth perfectly shaped and sanded surface. Although it seems at the first glance additional and not necessary job, it will for sure add structural strength and stiffness of the model and, although I still didn't decide it definitively- might allow me to do perfect single layer planking. Here are some pics how it is going along:
IMG_20201201_215302.jpgIMG_20201201_220610.jpgIMG_20201201_233310.jpgIMG_20201201_233320.jpg
 
Last edited:
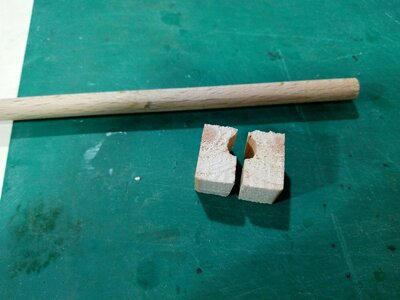
Working on the hull fillers is going on. Before enclosing the bow end completely, one reminder: Original plans suggest to cut a small cut - out on the mast-kee joint so the mast could be positioned easier in the right place. Plans suggest to do it after gluing the deck so the position of the cut-out would be accurately positioned to hold mast in absolutely vertical position.

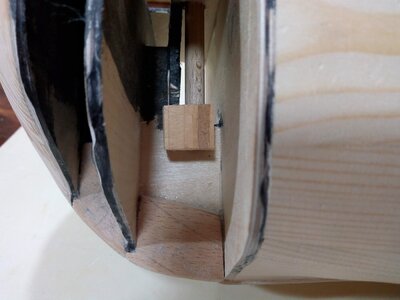
No lateral supports were planned in the original plans so it might me difficult to position mast completely vertical i lateral position, so I added to my model mast base support as shown in the picture. Supports are glued on both sides of the cut-outforming very accurate and firm base, ensuring that the masts will be absolutely vertical without mounting problems.
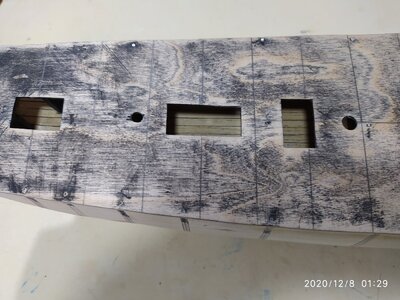
Both sides of the hull are almost completely done, just one gap at the bow and a few gaps between bulkheads at the stern

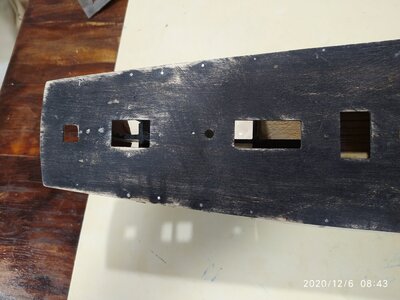
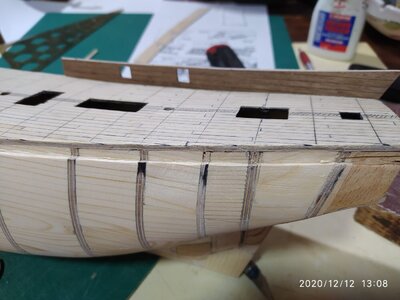
SO far, I am very, very satisfied with this technique and the results. fairing and sanding of such a hollow hull is like a dream it is perfectly smooth, extremely rigid, without a single issue or bad spot, no putty work required at all. ON the pictures below you could see the interior of the hull through deck hatches, model is hollow PoB technique and it looks like it was planking of first layer done. Reminder- I didn't put the solid blocks to fill entire gaps, just approx. 5mm to 1cm solid wood fillers to create the solid hull surface. IMG_20201205_221827662.jpgIMG_20201205_221836451.jpgIMG_20201205_225513562.jpgIMG_20201205_225910671.jpgIMG_20201206_084345.jpgIMG_20201206_084354.jpg
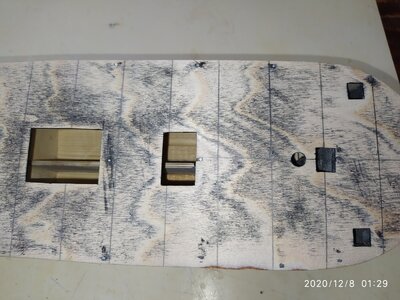
If you make a PoB design, and it is not semi-open hull model to show interiors of the ship, I could warmly advise you to try this methodology. It is probably the same time consuming as first layer planking, but in all it is quicker since if you are careful enough and do it well it doesn't require any putty to correct minor problems with the shape and it is extraordinary, rigid, smooth, well defined surface for the final planking.
 
Last edited:
with those bulkheads 'plugs,' you are making very good and smooth foundation for the final planking. I really like the way you shape the hull! Great job!
 
Hull is almost finished just a few wood fillers at the stern and ready to start cutting planks for deck planking.
A few helpful notes:
This plans have multiple issues which are often when it is coming from the kit completes, so I (as usually) keep modifying and modifying.....
Instead of just one false lower deck - below the stairs hatch I made two additional planked false decks - one below each stern gratings.
At 1:60 scale gratings holes are large enough to partially see trough and it wouldn't be nice to see bulkheads or keel just below gratings.
SO I cut out parts of the keel, and bulkheads, and added 2 additional false decks.
Pictures show how realistically these false decks look like
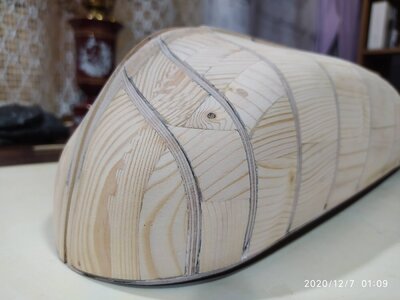
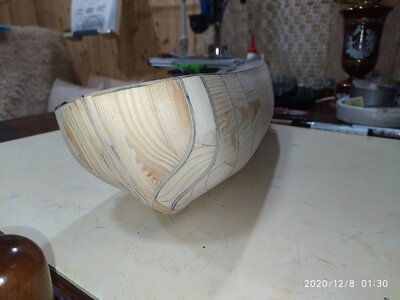
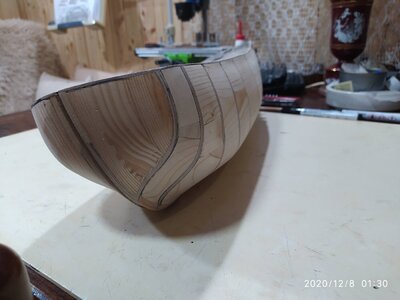
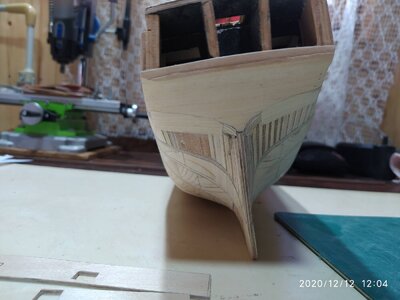
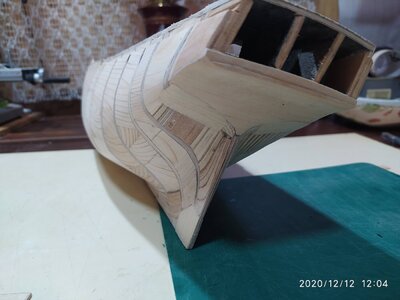
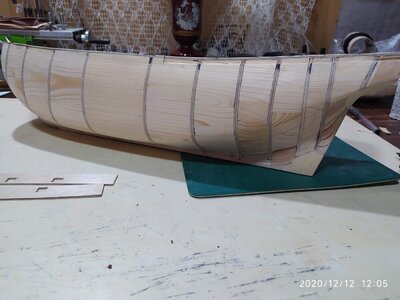
One more thing about this method of making hulls: it is really amazing how accurate smooth, perfect shaped hull could be created inserting thick hull wooden filers instead of 2-layer planking. Amati kits like the one where this plans come from suffer of having too small number of bulkheads and they are at the large distance apart, making first layer planking quite difficult.
Instead of inserting full balsa fillers like some modelers do, I just cut approx 1cm thick wooden filler blocks inserting them between bulkheads. Thus I retain "hollow model" while eliminating the need for - 2 layer planking, wood putty, sanding of putty etc etc...
These pictures show the hull if a perfect accurate shape without any putty to cover failures and gaps.IMG_20201207_010931.jpgIMG_20201207_114450.jpgIMG_20201207_134217.jpgIMG_20201208_012932.jpgIMG_20201208_012956.jpgIMG_20201208_013018.jpgIMG_20201208_013024.jpgIMG_20201208_013034.jpgIMG_20201208_013042.jpgIMG_20201208_013434.jpg
 
A very good basis for the planking works - Looking very good :cool:
 
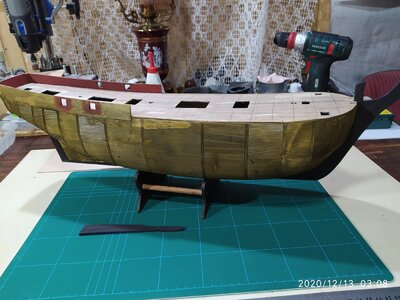
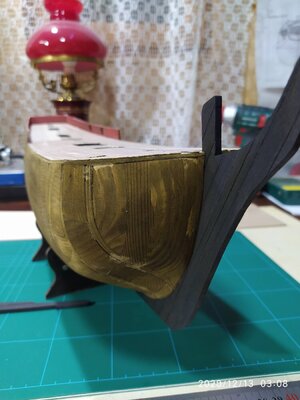
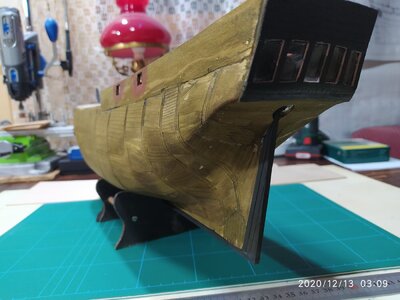
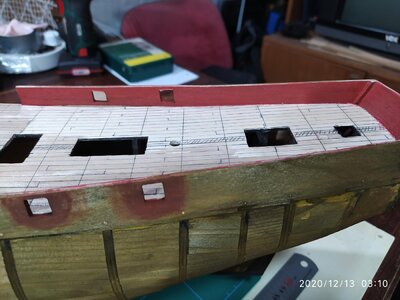
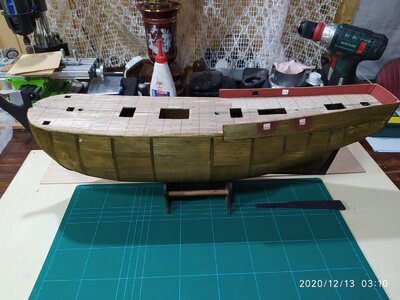
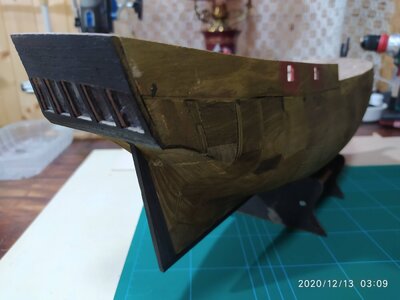
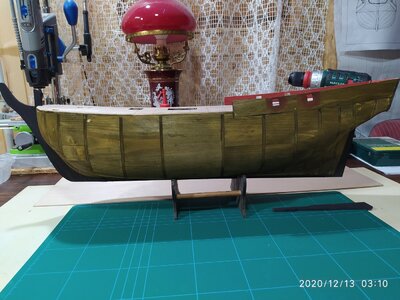
After fairing of the hull is completed, I stained it with water based stain of "green walnut". That small trick is done to efficiently hide any imperfection in planking which might lead to tinny white streaks if any small gap between planks appear. (usually I have no such gaps but... better save than sorry)
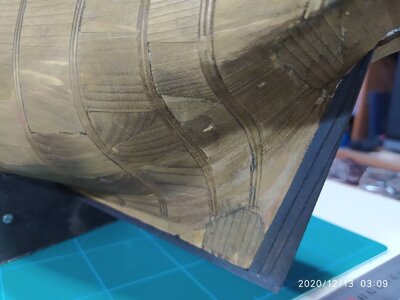
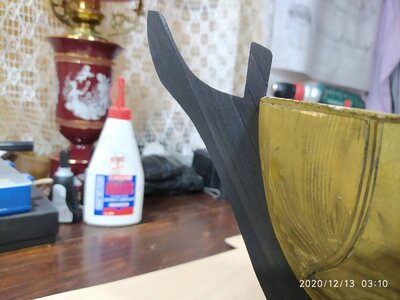
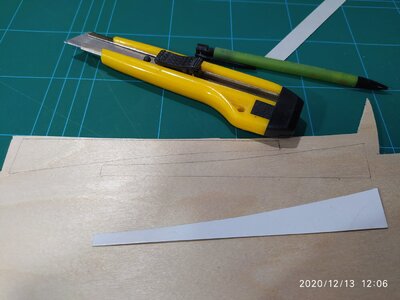
The water-stop bow bulwarks is cut out from 2mm avio plywood which was soaked in hot water for 10 minutes and than easily bent to the shape. Temp-mounted on the bow, fixed until it completely dried out and getting the shape.
After that, bulwarks were removed, a narrow strip 2mm depth was cut out from the bow to accommodate these front-end pieces. Beak top is also carved in tinny slots 2mm wide, 0.5mm depth so the bulwarks sit there and got secured in place by the beak.
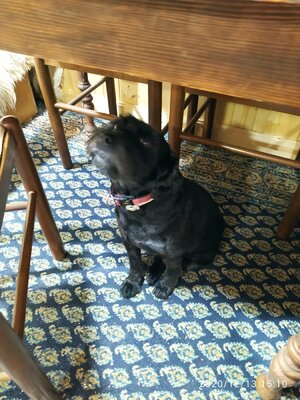
My assistant below the table approved the operation :)IMG_20201213_030848.jpgIMG_20201213_030857.jpgIMG_20201213_030908.jpgIMG_20201213_030918.jpgIMG_20201213_030943.jpgIMG_20201213_031000.jpgIMG_20201213_031008.jpgIMG_20201213_031043.jpgIMG_20201213_030935.jpgIMG_20201213_031047.jpgIMG_20201213_120651.jpgIMG_20201213_130043.jpgIMG_20201213_130047.jpgIMG_20201213_145537.jpgIMG_20201213_151031.jpg
 
Last edited:
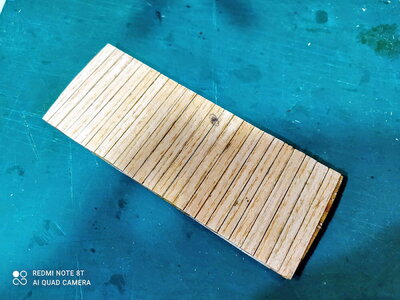
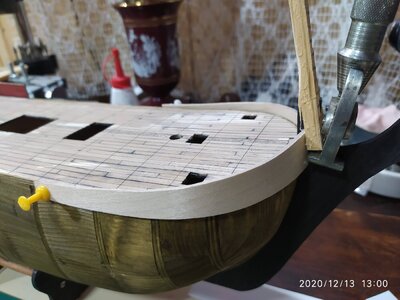
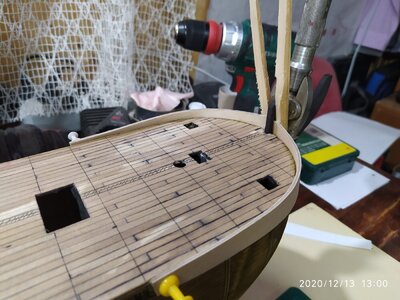
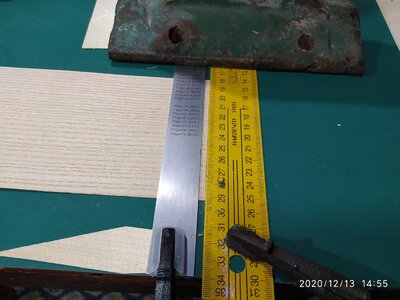
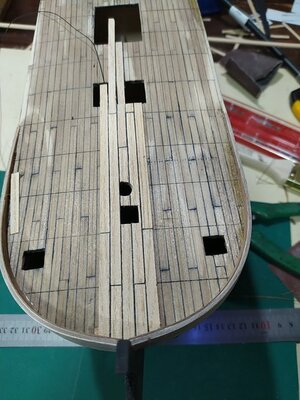
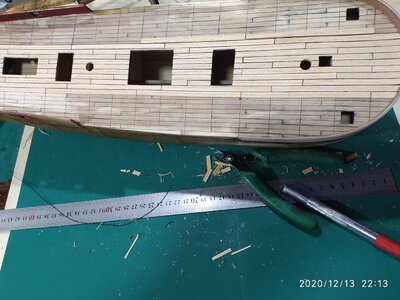
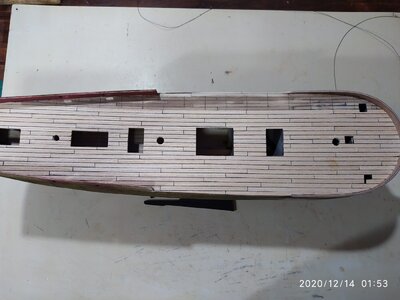
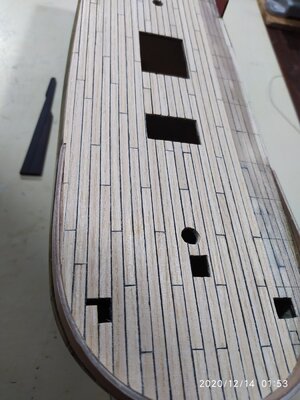
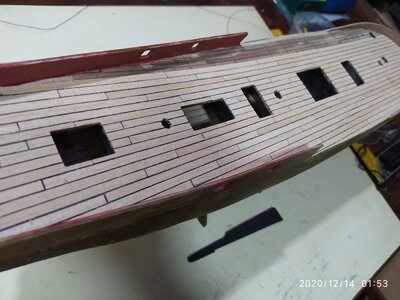
Started planking the deck. I use black thread previously dragged through the white wood glue to get stiff and nice to work with as caulking. All strips previously prepared were cut to 10cm length and 4mm wide. Peace of cake.
Yet, it was late last night and I was already tired and didn't notice that the penultimate plank on the starboard side is misaligned .. huh. today afternoon I need to remove it , and insert new planks with the correct joint positions. It will be a tough task

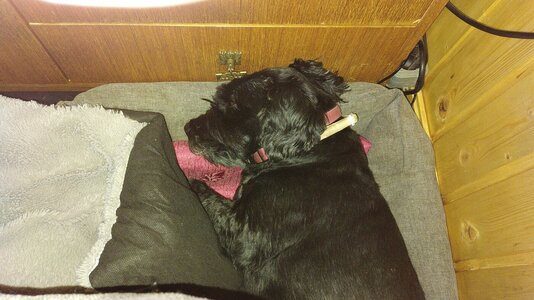
My assistant got tired of supervising me and went to sleep IMG_20201213_185519.jpgIMG_20201213_221313.jpgIMG_20201214_015335.jpgIMG_20201214_015351.jpgIMG_20201214_015357.jpgIMG-d52ba8e0847eed995e3326a36241ef7c-V.jpg
 
Back
Top