HMS Discovery 1789 scratch build in 1:48

Can anyone tell me if every beam has a pillar or if places where the beam is partially supported by cabins or such may not need a pillar?
When the beams reached a certain length, they need a pillar to stabilze and take over the deck weights.
The cabin walls were usually not taking over forces, due to the fact, that they were usually removable. Especially for "Ready for action" these walls were dismantled to reduce the possibility of wood splinters when the ship was hit by a canon ball.......
 
Thanks Uwe. I thought that would be the case but Yedlinsky's "Scantlings" (Steele) says a pillar under "each" beam but the drawing I have by McKay shows pillars only on the center(ish) half dozen beams. I quite often go with McKay because he obviously knows more than me but in this case maybe Steele is a better option. Maybe a compromise and put pillars on each beam between the fore and mizzen mast. It ain't going to show anyway:):)so maybe I'm frettin' over nothin'.
 
Thanks Uwe. I thought that would be the case but Yedlinsky's "Scantlings" (Steele) says a pillar under "each" beam but the drawing I have by McKay shows pillars only on the center(ish) half dozen beams. I quite often go with McKay because he obviously knows more than me but in this case maybe Steele is a better option. Maybe a compromise and put pillars on each beam between the fore and mizzen mast. It ain't going to show anyway:):)so maybe I'm frettin' over nothin'.
To install a pillar or not is a pure question of static analysis - now I am talking like my personal profession, I am civil engineer, so I try to explain it.
"pillar under each beam" is not every time correct.
It depends really only on the strength of the beam, which is depends mainly on the cross section of the beam. with a certain cross section (height and width) a beam can be f.e. installed up to a length of f.e. 8m without any pillar - if the length of the beam would be more without any additional support (via a pillar) the beam would deflect or bended more than wanted or in extreme also brake - It is like the ceiling of a room in your house -> the width of the room is limited to the strength of the ceiling. Back to the example with the 8m beam - if the span would be longer, so f.e. 9m you have to install a pillar, usually in the center so at 4,5m
If you need a longer beam and the installation of a pillar is by any reason not possible -> you have to increase the cross section of the beam with a bigger height (bigger width will not help)
So the principle of Mc Kay is correct and also your assumption to make pillars only in the area with the longest length of the deck beams.....
Sorry for the long explanation..... just realized it Redface
 
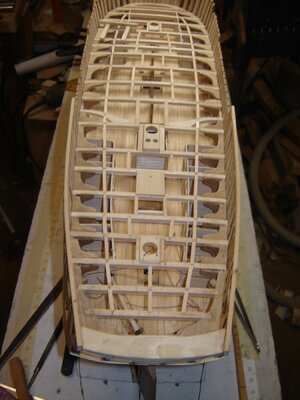
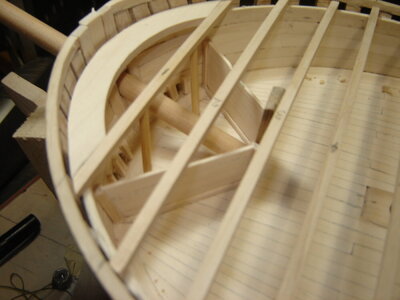
I'm not really keeping up my end on this build along but I just find myself too involved in the building to take pictures. I'm basically following all the Swan series builds on here with slight modifications to match the drawings I have of the Discovery. Here's one of where I am now. Upper deck carlings done. On to the ledges. It's funny, when I first glued in the upper deck beams I seriously considered skipping the carlings and ledges and just gluing
on the planks. Nobody's going to see it anyway. But then I needed a few carlings to frame in the hatches and stairwells etc. Next thing I knew the carlings were all done. And reasonably straight too:)

DSC04494.JPG
 
Last edited by a moderator:
I'm not really keeping up my end on this build along but I just find myself too involved in the building to take pictures. I'm basically following all the Swan series builds on here with slight modifications to match the drawings I have of the Discovery. Here's one of where I am now. Upper deck carlings done. On to the ledges. It's funny, when I first glued in the upper deck beams I seriously considered skipping the carlings and ledges and just gluing
on the planks. Nobody's going to see it anyway. But then I needed a few carlings to frame in the hatches and stairwells etc. Next thing I knew the carlings were all done. And reasonably straight too:)

View attachment 289670
Hi Don,
I don't see "being too busy to take photos" as a problem the main thing in my opinion is to enjoy yourself and maybe in a sense loose yourself when building, so good for you. Thumbsup by the way the ship is looking great.
Cheers,
Stephen.
 
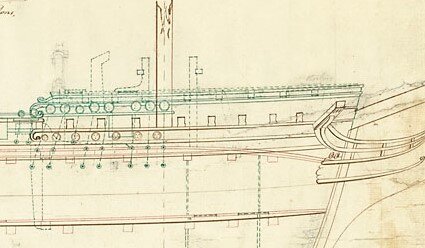
I need some advice/opinions in being my own shipwright. I'm a few steps away from deciding how to step the bowsprit and I have a conundrum. I have no drawings of how the Discovery1789 bowsprit was stepped. The problem starts with the construction and then modification of the Discovery. According to this drawing, when she was purchased by the navy she had a forecastle added. In the drawing red is "as is" and green is "proposed".

DISCOVERY_1789_RMG_J0509.jpg

If I'm seeing right there was originally no forecastle and the bowsprit would have been stepped on the deck. Even though she was not a collier I'm assuming the sprit would have been stepped much like one. I've looked at builds of the Bounty and Endeavour (both colliers) and they are stepped sort of like each other. According to Goodwin if the ship had a deck above the sprit then the step spanned the two decks from one upper beam to another lower one. Do you think they would have torn out all the original framing and stepped it Goodwin's way or just left it like it was(however that was)?
Any ideas would be appreciated.
 
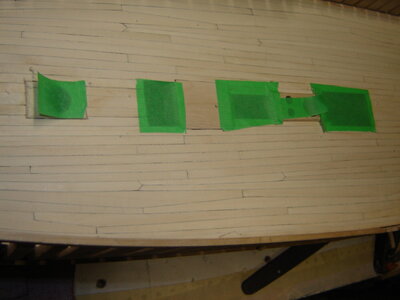
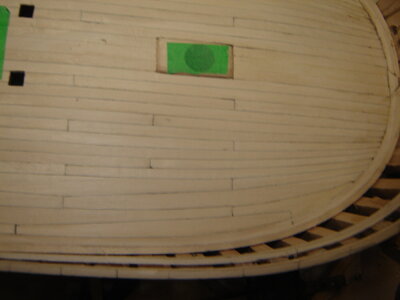
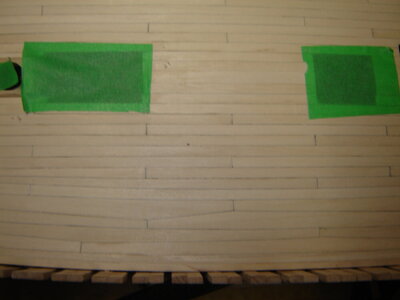
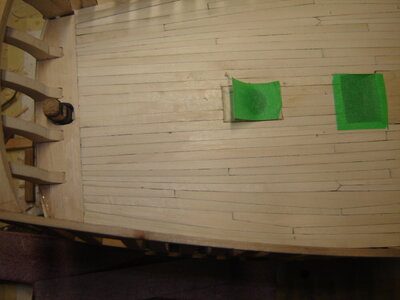
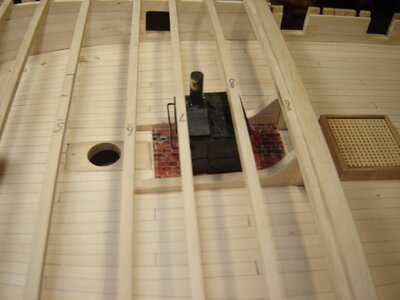
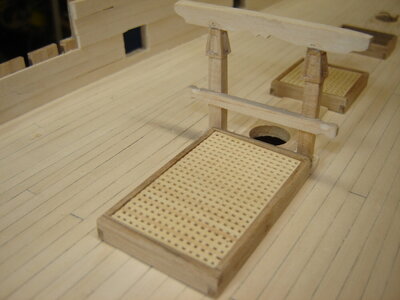
This isn't much of a build along but I'll keep posting pictures. I finished the main deck. The top and butt planking was a chore to figure out but I think it's OK. Please comment if you see a mistake. Finally something that is going to show on the finished ship. I've just scraped it a bit and it needs some sanding.

.DSC04503.JPGDSC04504.JPGDSC04505.JPGDSC04506.JPG
 
I've gotten to the point that I'll be decking over a couple of guns so I decided to make all 10 of them. This site was very helpful in deciding how long the guns should be. They look longer than I thought they should but they are a 66" barrel. I was going to turn a brass barrel and then mold/cast ten of them. I decided I would try to turn one out of wood. I have a bunch of Ocean Spray that I cut/cured for making bows. It is very dense, around 1.2 SG. It sinks in salt water. It turns like a dream so I made the decision to turn all ten. I got five done today. It's quite enjoyable actually. All I have to do now is figure out how to hold the barrel to drill a hole for the trunnion. Here's a picture of what I've done.

DSC04532.JPG
 
Last edited by a moderator:
I've gotten to the point that I'll be decking over a couple of guns so I decided to make all 10 of them. This site was very helpful in deciding how long the guns should be. They look longer than I thought they should but they are a 66" barrel. I was going to turn a brass barrel and then mold/cast ten of them. I decided I would try to turn one out of wood. I have a bunch of Ocean Spray that I cut/cured for making bows. It is very dense, around 1.2 SG. It sinks in salt water. It turns like a dream so I made the decision to turn all ten. I got five done today. It's quite enjoyable actually. All I have to do now is figure out how to hold the barrel to drill a hole for the trunnion. Here's a picture of what I've done.

View attachment 302777
Nice looking cannons Don,
Are you going to make a jig to hold the cannons for drilling?

Cheers,
Stephen.
 
Thanks Stephan. I think I will make a jig. Each cannon takes about an hour to turn so it would be unwise not to have a jig. I have a 1/16 end mill which is the size of the trunnion so I'll do something with the milling machine. I think the end mill would have less tendency to walk off the side.
 
Last edited:
I've gotten to the point that I'll be decking over a couple of guns so I decided to make all 10 of them. This site was very helpful in deciding how long the guns should be. They look longer than I thought they should but they are a 66" barrel. I was going to turn a brass barrel and then mold/cast ten of them. I decided I would try to turn one out of wood. I have a bunch of Ocean Spray that I cut/cured for making bows. It is very dense, around 1.2 SG. It sinks in salt water. It turns like a dream so I made the decision to turn all ten. I got five done today. It's quite enjoyable actually. All I have to do now is figure out how to hold the barrel to drill a hole for the trunnion. Here's a picture of what I've done.

View attachment 302777
it's looks beautiful work
 
Thanks Stephan. I think I will make a jig. Each cannon takes about an hour to turn so it would be unwise not to have a jig. I have a 1/16 end mill which is the size of the trunnion so I'll do something with the milling machine. I think the end mill would have less tendency to walk off the side.
Hi Don,
Most end mills (3 or more flutes) you cannot plunge slot drills (2 flutes) you can plunge. Be careful 1/16 cutters break easily.

Cheers,
Stephen.
 
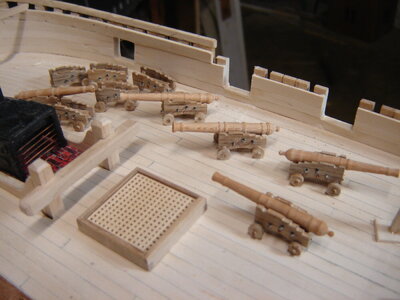
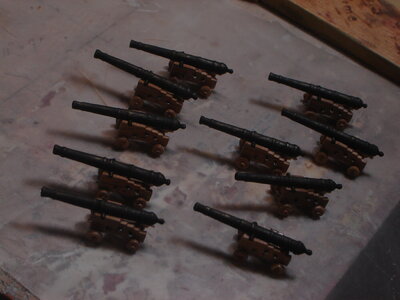
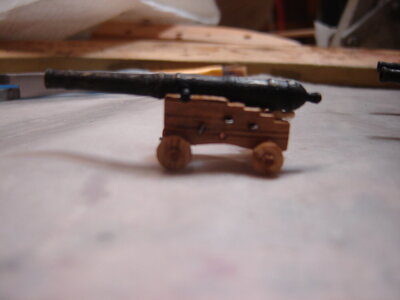
Here's the mostly complete guns. I have mixed feelings about them. I like the look other than the length of the barrel. The barrel looks too long but everything I could find says they are right. On a 4 pdr the barrel is either 5.5 or 6'. I used the Hahn chart for dimensions of the carriage for a 4 pdr. Put it all together and the breech hangs over the back of the carriage. The only thing I can think of is the length dimension. Hahn shows it as overall length but the proper dimension for length is from the muzzle to the rear reinforcing ring(the fattest part right at the back:)). Even then at 1:48 this would only make a difference of about 1/8", not enough to take away the "too long" look. All I can hang on to is that as the poundage goes down the barrel length gets comparatively longer so that may account for it but you'd think that the carriage size would reflect that. Whatever, they are done and I'm going to use them. I have a couple of weeks invested and I don't think I want to redo them:).

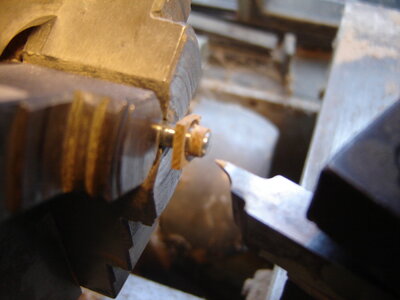
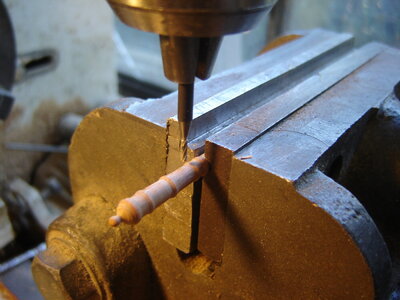
The first picture is of the setup I used to drill the trunnion holes in the barrel. I didn't have to make a jig(there is a "V" slot in the vice jaw) and the end mill plunged nicely.

DSC04536.JPGDSC04540.JPGDSC04539.JPG
 
Last edited:
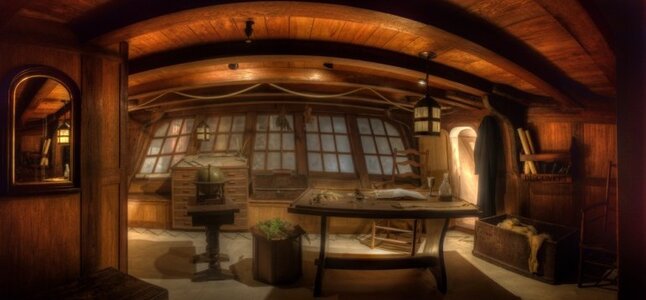
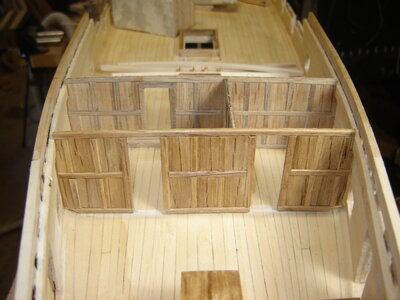
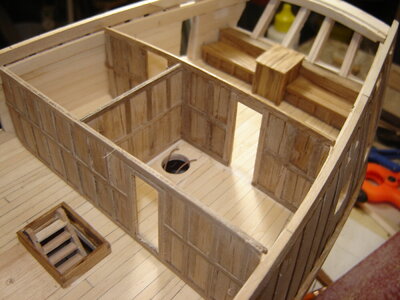
Officers quarters paneling. This has been the fiddleyest part of this build so far and I have mixed feelings about it. I first saw the paneling in a drawing by John McKay when I was just starting the build. At the time I thought it was going to be tough but as I worked my way through the build I got more interested in doing it. When it got to be time I had realized that maybe this was mostly in McKay's imagination and most likely there was just removeable bulkheads. By then, though, I wanted to give it a shot. I think I've been working on them for 3 weeks or more (interrupted by a Covid bout) and I still have a few bulkheads to go. I justified doing it by thinking that this was a diplomatic mission more than a Naval one and since the headroom under the FC and QD was modified maybe they fancied up the quarters to impress the Spanish at the same time. I'm going to have to read Vancouver's journal yet again to see if there is any mention of it. They aren't glued in yet. The rudder trunk is oversized as I saw the display of Vancouver's cabin in the BC Provincial Museum and they had it set up as a map table. I thought it was a cool idea. :)
Edit- Crap, I just went back and looked at the picture of the museum display and the map table isn't over the rudder trunk, it's off to one side. I'll have to see if it's an easyish fix. I don't know where they got the idea from so mine may be as accurate as theirs. (see first pic)georges cabin.jpg

DSC04549.JPGDSC04550.JPG
 
Last edited:
Back
Top