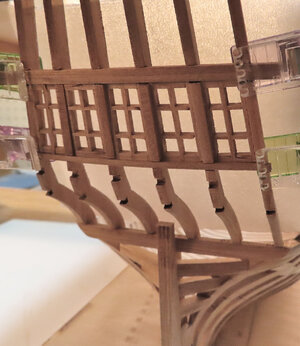
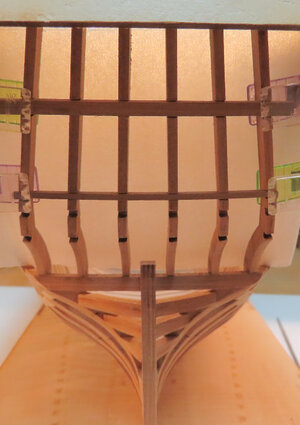
HMS Druid P.O.F. - Unicorn Models by Donnie [COMPLETED BUILD]

Thank you all for the likes.
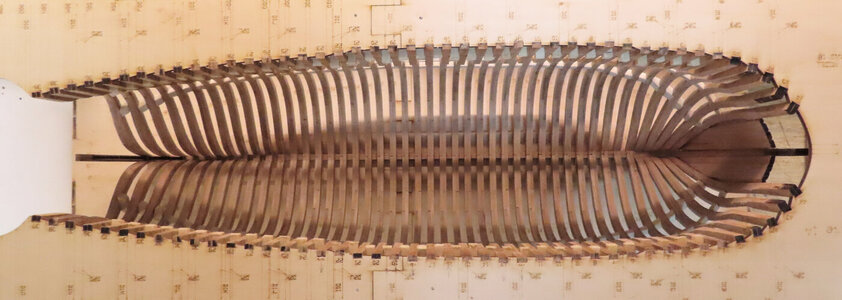
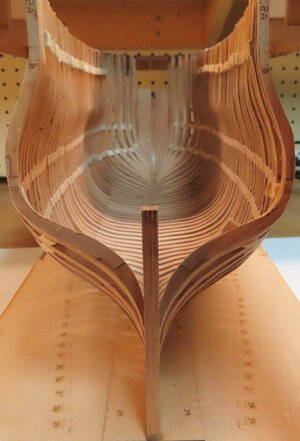
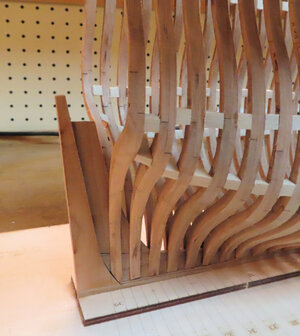
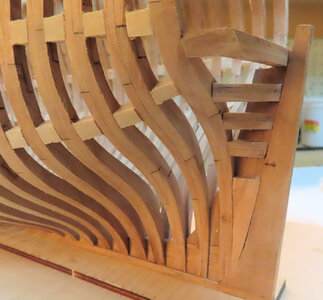
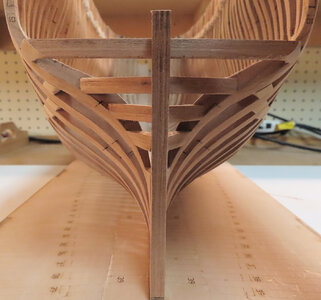
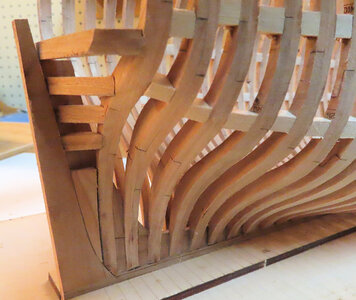
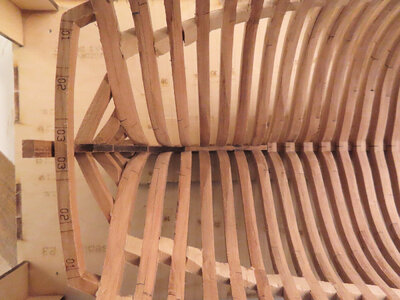
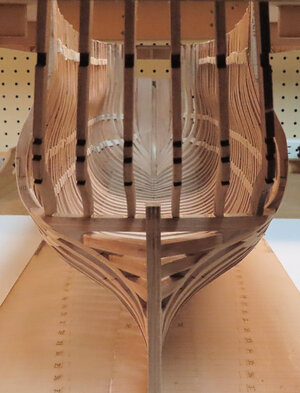
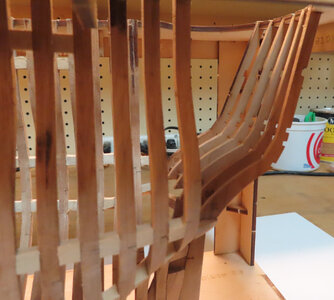
Well, it was pointed out to me that these frames in the very bow are cant frames. However, it was told to me that these are not true cant frames, but more of a false type of cant frames. Nevertheless, this is what the kit had and I plan to keep going with it.

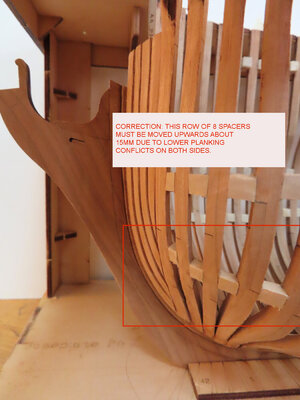
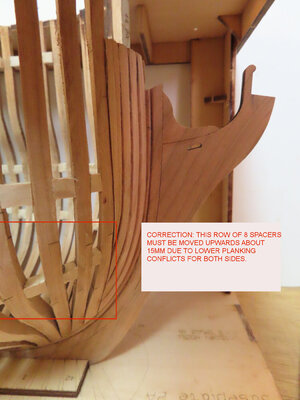
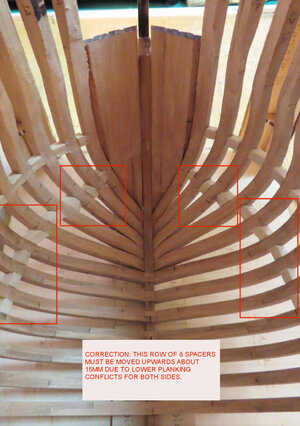
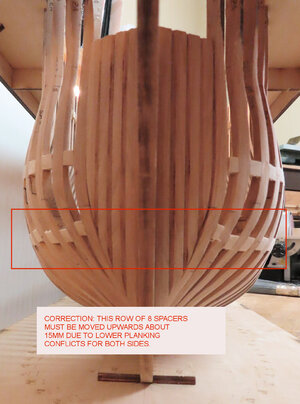
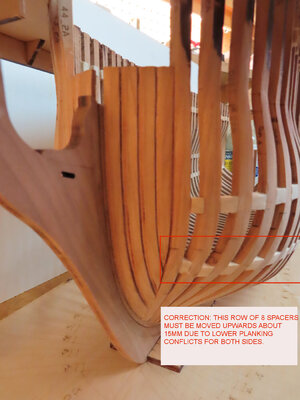
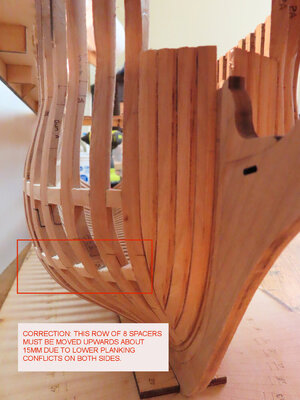
EDIT AND CORRECTION: PLEASE TAKE NOTE WHEN INSTALLING
THE FIRST 8 TO 9 SPACERS AT THE BOW. IN THIS PHOTO, THE SPACERS ARE INSTALLED TOO LOW. THEREFORE WHEN THE (PARTIAL) PLANKING IS DONE (WHICH IS ONLY ABOUT 3 LOWER STRIPS), THESE SPACERS WILL BE SEEN. IN ORDER TO AVOID THIS, THE SPACERS MUST BE RELOCATED ABOUT 15MM UPWARDS NEXT TO THE UPPER ROW.
THE MANUAL (PERSPECTIVE CAMERA ANGLE) IS TRICKY AND HARD TO FOLLOW. THE PLANS ALSO DO NOT GIVE ANY PLACEMENT INSTRUCTIONS OF WHICH I FEEL LIKE THEY SHOULD HAVE INCLUDED IN THE PROFILE VIEW OF SUCH PLACEMENT. THEREFORE, I CAN TAKE ANOTHER PHOTO OF THE CORRECT PLACEMENT. I SORELY APOLOGIZE FOR THIS MISGUIDED ATTEMPT.
THIS CHANGE ONLY AFFECTS THE LOWER ROW OF THE FIRST 8 TO 9 SPACERS IS ALL. AT THE BOW.
HKF-27.jpg


HKF-26.jpg


HKF-25.jpg


HKF-24.jpg


HKF-23.jpg


HKF-22.jpg
 
Last edited:
G'day Donnie, you are doing a lovely job on the framing, that last set of timbers are what are called Hawse Piece's they are built like that on the actual ship's, the angled spaced one's are like you have said called Cant frames, hope you are feeling a lot better,
Best regards John,
 
Thank you all for the kind words. I am now working on closing up the Stern. This is the last frame of the stern pieces. Thank goodness.
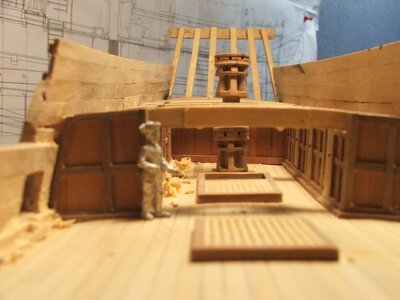
There is a little more sanding to do, but I just stopped long enough to take some pics. What I dislike the most are those dang spacer blocks. I hate them.

HKF-28.jpg


HKF-29.jpg


HKF-30.jpg
 
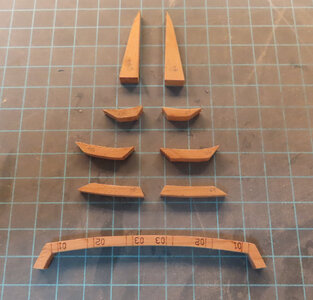
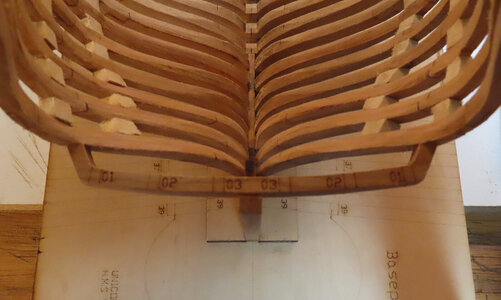
Due to request, here are many more pictures showing the steps and progress of making the Stern Batten pieces. The instructions mention that there is a template that shows the placement of each Batten. I would say it is very useful.

The first image shows all the pieces that will make up the Stern Batten supports.

HKF-31.jpg


HKF-32.jpg


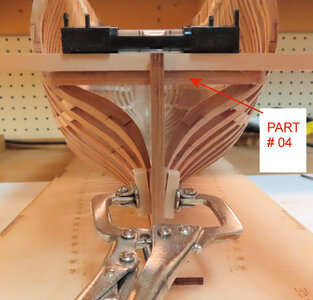
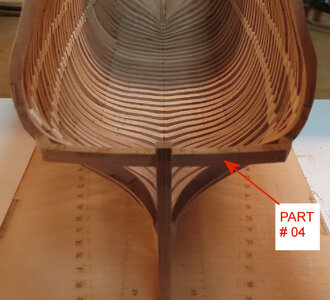
I am using my level to make sure that PART #04 is level.

HKF-33.jpg


HKF-34.jpg


HKF-35.jpg


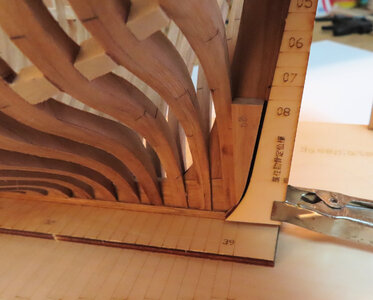
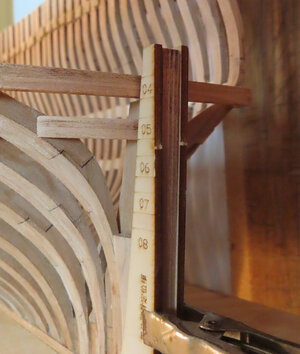
This is the image showing the HEIGHT TEMPLATE

HKF-36.jpg


You will notice that PART #04 is sitting square and flush with part of the inner false stern post and NOT the main Stern Post. You will see a small GAP and this is the way it is supposed to be mounted.

HKF-37.jpg


HKF-39.jpg


You will notice that PART #04 is sitting square and flush with part of the inner false stern post and NOT the main Stern Post. You will see a small GAP and this is the way it is supposed to be mounted.

HKF-38.jpg


HKF-40.jpg
 
HI dockattner,
I am really humbled by your comment - I honestly do not consider myself an expert by any means. Well here are the latest. I added the stern upper verticle battens in place.
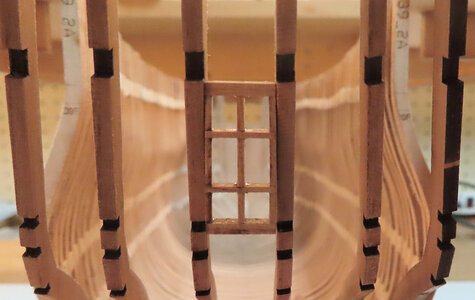
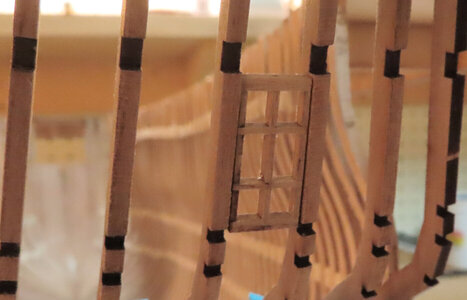
Before I go any further with adding the 2 x 2 MM strips that hold the verticle batten assembly, I need to start making some windows to make sure they are going to fit right. It seems the center window fits great like it is. The windows will be fitted (or dry-fitted first) and then there are several HORIZONTAL strips that hold the verticle battens in place. When the windows are fitted, then the 4 or so horizontal 2 x 2 strips will be glued in.

HKF-41.jpg

HKF-42.jpg

HKF-43.jpg

HKF-44.jpg

HKF-45.jpg
 
Thank you all for the likes and for following this build. It is important that the window frames fit within the verticle stern battens BEFORE they are glued in permanently.

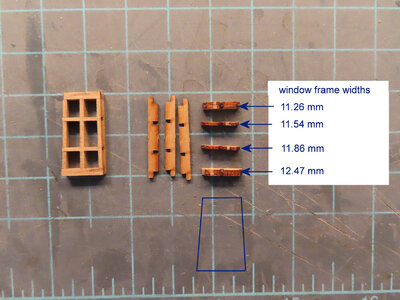
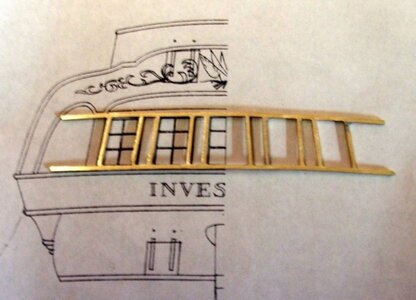
Therefore, I thought I would present this situation. The parts for the window frames are ALL CNC. Here is a problem, there seem to be duplicate parts and some parts do not make much sense as to how the windows should be made. OR, I should say the instructions show only ONE window, and it seems the PARTS LAYOUT in the instructions are not correct.

The solution to this is this fact: I do know that all five of the window frames are identical and I also know that each frame has an angle to it. ALL frames have a taper on BOTH SIDES.

Therefore, I carefully measured each of the window frame pieces and derived this solution and I present the measurements in millimeters to show the length of each frame. You will notice that at the top of the frame is the SHORTEST, while the width of the frames INCREASES slightly as you move towards the BASE of the frame.

If you are building this kit, it is possible that you might find another solution and that is ok. I am just saying unless I have made a huge mistake, this is the only way I can find to make the windows. The instructions are completely NOT clear at all on this important step. I hope this makes sense to all following.

window-frames-01.jpg
 
Very good work and good progress - really! It is looking very good Thumbsup
 
G'day Donnie, with regards to the stern timbers and the windows, usually on these vessels the stern timbers were not exactly vertical, they tilted slightly in towards the centre line so the gap between them should narrow from the transom they are sitting on to where they finish up at the top rail, as you can see in the following pic,

057.jpg

so the windows will also narrow as they follow the line of the timbers,

101.jpg


153.jpg

maybe in the kit they have made a mistake and taken the stern timbers straight up,

hope this helps you a bit,

best regards John,
 
John,
Yes, you are correct, there is a very slight angle as the windows span out from side to side. I do see what you are referring to. I can manage each window to have the proper angles by applying a little water to each frame to soften the joints up and repositioning it - that is not a problem for me at this time and thank you for pointing this out to me.

Daniel,
all of the window pieces are all there and are all CNC machined. There are 5 windows, but I am just saying that it seems that the kit gave more window frame pieces than what is required for some strange reason. I will sort through all this later.

Ha, this reminds me of a saying I have heard before ----"I don't do windows".

Thanks, Uwe, et al, I appreciate the thumbs up.
 
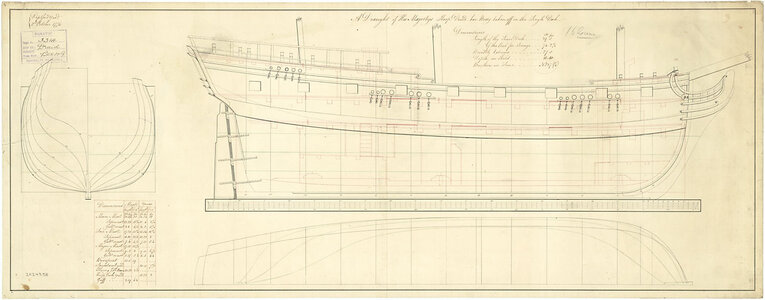
BTW: Just found three contemporary drawings at the NMM of the HMD Druid (purchased 1776) - I guess it is "your" Druid, or?
Maybe they are of some help


f.e. this one
j4549.jpg


also maybe interesting
 
Uwe,
I cannot tell from those drawings from the moment. I will review them closer later. However, I really do appreciate your attention to this matter.

---------------

Now, the instructions call for me to add "horizontal battens" into the "verticle battens" - these battens will hold the window frames in. So, therefore, it is interesting that they want these battens to be installed first - but what if the windows do not fit after the battens are glued down?

Therefore, I went ahead and built all of my windows and temporarily dry-fitting those WITH the battens in place with clamps. It just makes sense to do it this way first. Then when I see that the windows fit nice and snug, I will remove the windows and glue the horizontal battens in place. Then reinstall the windows at a later time when called for.


HKF-47.jpg


HKF-46.jpg
 
Back
Top