Post 6: Stern decorations, paint job, and galleries
A bike accident meant that I had lots of time to spend on Elephant, as I couldn't go to work for a week and couldn't look at screens.
Paint
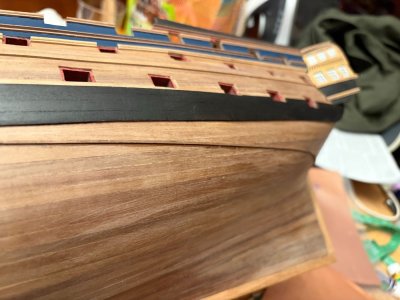
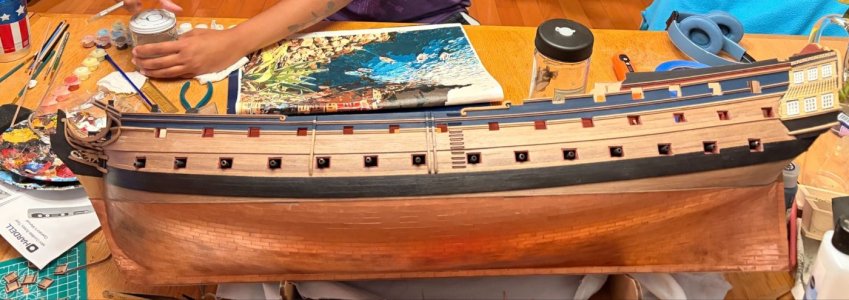
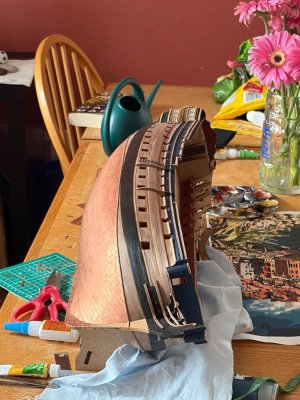
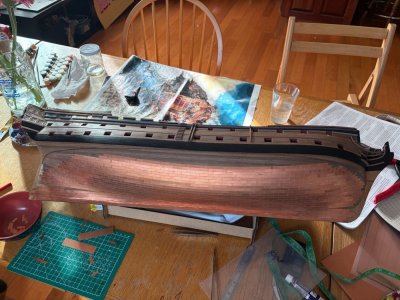
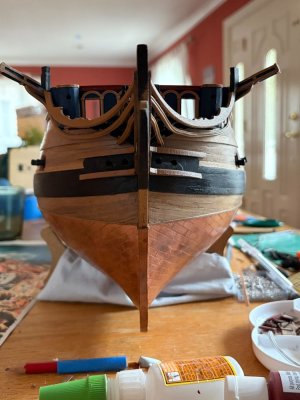
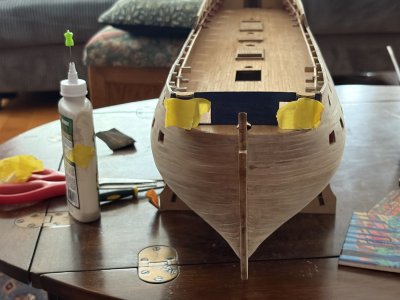
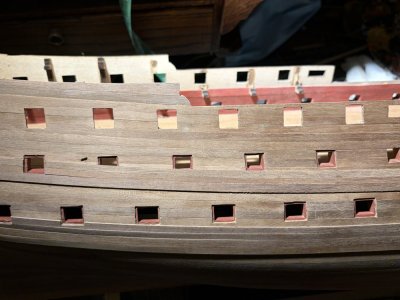
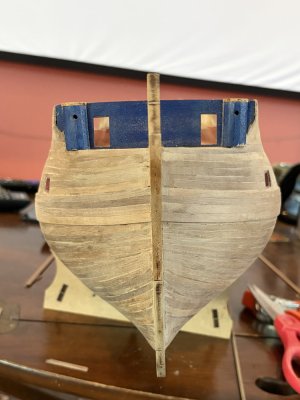
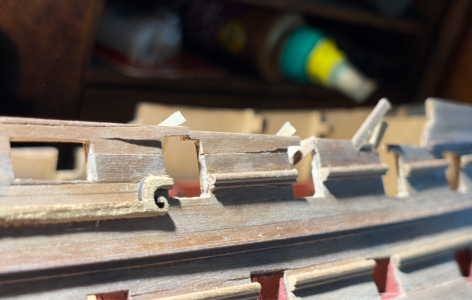
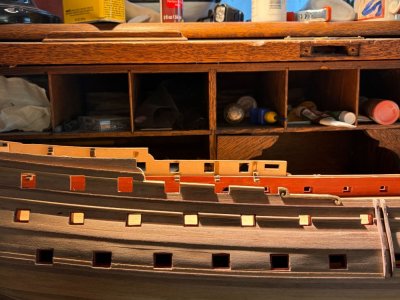
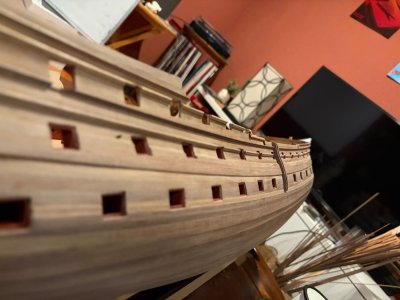
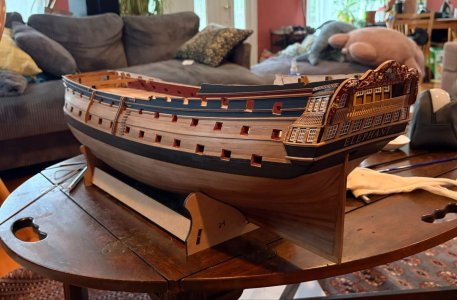
Elephant was likely painted in a good ol’ Nelson Chequer by 1801, however I think this paint scheme is used too frequently, and would cover up the lovely wood, so I opted to paint Elephant as she might have looked prior to 1798, with varnished sides and a navy blue stripe above her main gun deck. I used the model in RMG of the HMS Hercules (or Thunderer) as a reference for which parts should be colored blue. Alternatively, it’s similar to the Bellona model, just without any friezes. Her wales would have likely been black, as would the top of her bulkheads. Essentially, I just followed the Elephant/Bellerophon pre 1798 paint scheme suggested by the instructions, except that the blue extends one stripe further down the hull.
Galleries
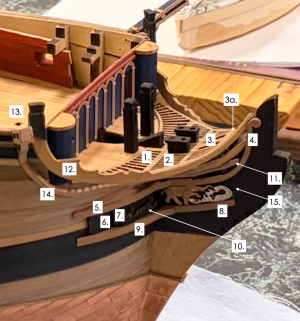
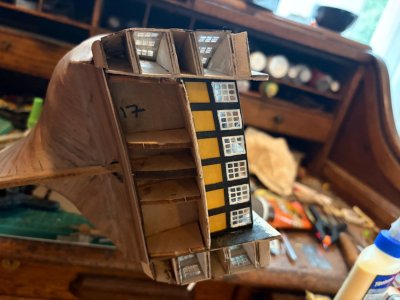
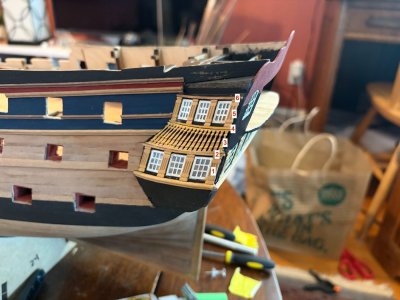
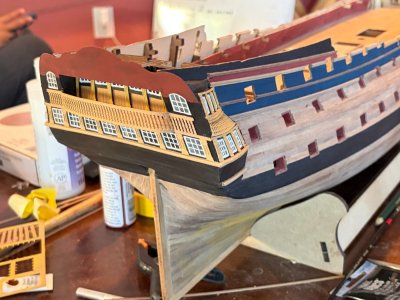
Getting the quarter galleries to align properly was reasonably easy. The brass window frames fit very snugly. Ensure the windows are glued in one at a time; they are uniquely shaped. I painted them white beforehand. I think real ships would have had them yellow ochre, but I like the contrast of the white, so white they shall remain. The windows were a piece of clear plastic provided with the kit. Instead of cutting out each window individually, I just cut a strip and glued it to the inside using CA glue, on the idea that the cloudiness created by the CA glue would not be visible through the windows. The parts between the window frames will hold some photoetch decorative stuff, and required ironing and steaming to bend appropriately.
Wood filler + black paint took care of the rest. I decided to paint the inside of the galleries white so that it’d be a bit more light and airy inside the windows.
View attachment 625377
All wood trim and brass bits were painted a muted yellow ochre, created by mixing white, purple, and yellow ochre. The purple dulls the ochre and white lightens the whole thing so it doesn’t stand out as much against the walnut sides
For installing the quarter gallery pillars, I found I had to install them in a certain order. For future modelers, the easiest thing to do was:
- Start with the PE pillars on the lower set of windows, try and get the “notches” in the pillars to both be near the top and bottom of each window.
- Add the 1mm walnut strip above them.
- Add the PE curved piece, carefully bending it to fit the wood beneath
- Add the 1mm walnut strip above that
- Add the PE pillars of the upper windows
- Add the 1mm walnut strip above that.
View attachment 625379
This means everything should line up decently with only small gaps.
Stern Fascia and Decorations
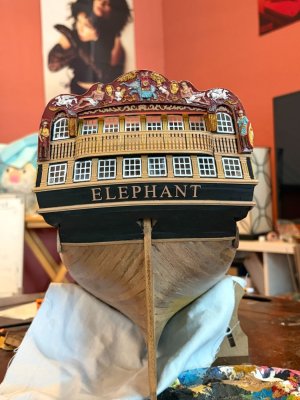
The large balcony railing is a single piece of photoetch brass. I painted it, and in the course of bending it to the shape of the protruding wood balcony, promptly peeled most of the paint off the edges. Interestingly, the balcony railing proved two pillars too long, so I trimmed them.
View attachment 625378
Elephant and Bellerophon use a slightly different and taller fascia than Vanguard. This piece was a little delicate, and I snapped one window frame trying to test fit it. I painted the top half red and the bottom half black. I’ve been using a mixture of black and dark umber to take the blue off the black paint.
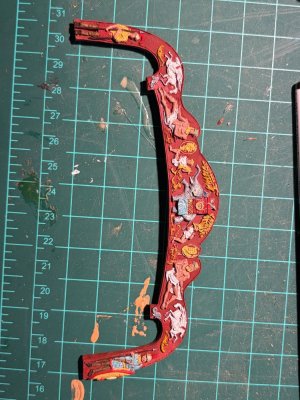
Amati provides three options for stern carvings, two resin pieces (Elephant and Vanguard), and, bizarrely, a three piece white metal one for Bellerophon. Elephant and Bellerophon share identical stern carvings save for the center piece, which on Elephant is… an Elephant. This resin piece is quite tricky to match the reasonably complicated curve of the stern fascia. It needs to bend laterally, and the two dangly bits needed to bend slightly forwards. Heating the piece over a stovetop burner using forceps heated it enough to soften and bend slightly, offering the piece up to the stern repeatedly to try and get the curve correct.
View attachment 625382
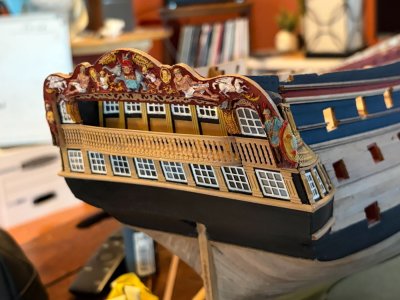
Painting was quick as well. I gave the resin piece two coats of primer. Instructions say to paint the entire thing red, and then have all the carvings yellow. This is a boring paintjob, so I decided to add some more color, which only took about an hour. I made the Elephant grey, and gave some more color to the soldiers, horses, and cherubs. I then coated everything in matte polyurethane varnish, and heated the whole thing up in a microwave for 10 seconds before finally clamping it to the stern. This took three tries before the glue set properly.
View attachment 625381
The part of the stern where the letters go is supposed to use some white metal pieces for moulding. I do not own a soldering iron, and think the white metal pieces looked rough, so I replaced them with some extra walnut moulding that I used on the sides of the ship. I steamed and clamped these to a cutting board to ensure they’d have a gentle curve to them.
Last but not least, the photoetch Elephant letters. I puzzled on how to align these, but in the end relied on eyeballing it based on a photograph and aligning the base of the letter to the underside of the windows, using the plans as a reference.
View attachment 625383
View attachment 625380










 ,unlike the tiny detailed painting you acheived.....kudos. She looks very impressive Cheers Grant.