• Ships of Scale has incorportated an extra level of security when you log In. Please follow on-screen prompts to acknowledge that you are not a robot via a "Check Box" or a "Pictorial Check Box Puzzle". This is needed due to higher level of AI Activity Security.
  • SUBSCRIBE TO SHIPS IN SCALE TODAY!

    The beloved Ships in Scale Magazine is back and charting a new course for 2026!
    Discover new skills, new techniques, and new inspirations in every issue.

    NOTE THAT OUR NEXT ISSUE WILL BE July/August 2026
  • Win a Free Custom Engraved Brass Coin!!!
    As a way to introduce our brass coins to the community, we will raffle off a free coin during the month of August. Follow link ABOVE for instructions for entering.

HMS Endeavour 1768 1:60 by Artesania Latina

Excellent work, Noel! I had built the same kit some 30 years ago, and -inspired by your project- I'm thinking of strip her down (mainly masts, sails and rigging), correct the mistakes I did at that time (since it was one of my first projects in model ship building), and build her again!
I think I'll probably need your help, I've sent you a message (please, check your message box)
 
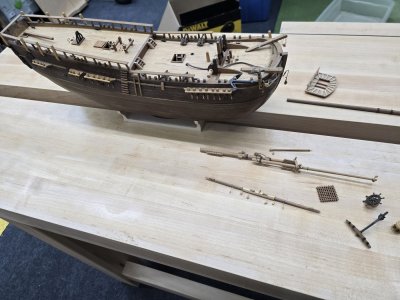
I started mine over 20 years ago untill life got in the way. It is covered with dust. I was wondering if I should start with a new kit or finish this one. This is my first build.
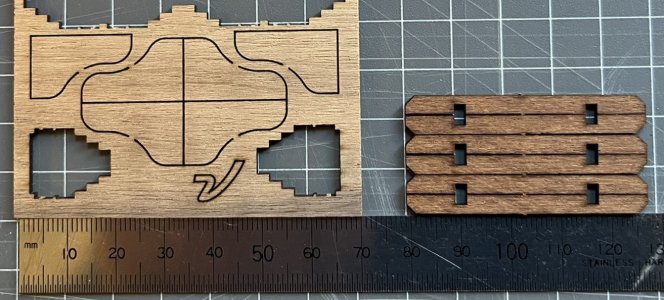
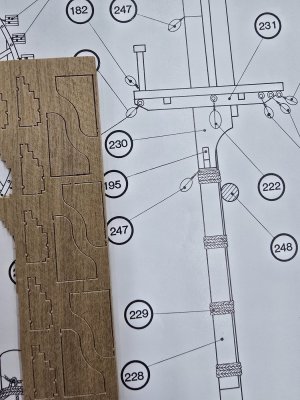
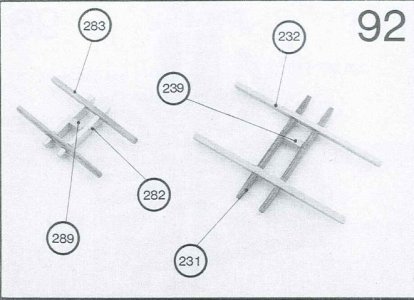
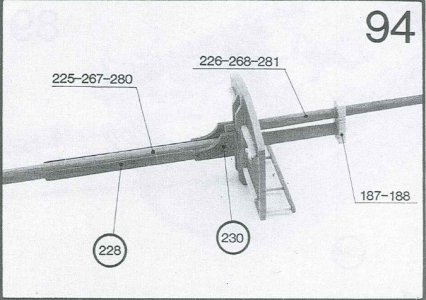
I may be missing some parts. Is there a part 230 and 231? If not scroll saw it is.

20260718_191317.jpg
 
Yes, I would like to work on it. I am working on other projects in my wood shop. That is my main hobby. After spending hours on my feet in the shop I like to sit down. When I do that I am watching tv. I am getting sick of tv so I would like something else to do. That is when I thought about building this ship or a new kit.

One thing I want tot know more about is how to "stropping a block with wire". At least that is what AI called it. I see we need to do that a lot so I want to get it right. Most ship building Youtubers tend to skip this because it is a repetitive task.

Here is what I found but it is a little different.

This one is the one I think we do.

If you find something on when you are on that part please let me know.

Thank you for working on this build with me.

Dave
 
Last edited:
Thanks for those tutorial videos, I'm sure they'll be useful.
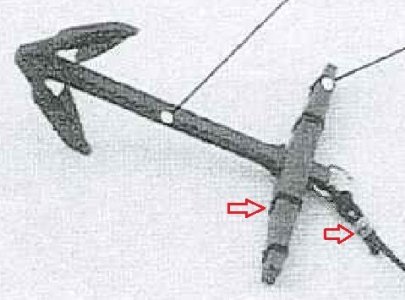
The anchors have wire wound hoops on the stocks and wire to fix the cable.
Do you use a particular knot or method for these?

anchors.jpg

I've been away from my model for a while with other projects too.
It's good to be able to get back to it again.

cheers,
Noel
 
rudder
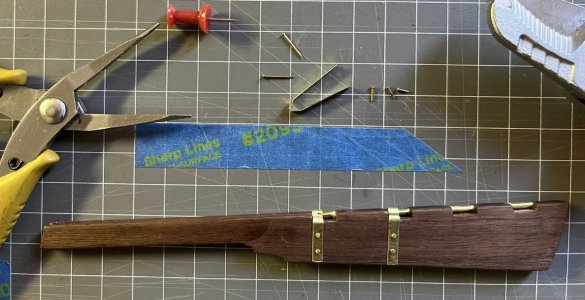
Fixing the hinges to the rudder proved to be quite a challenge as they would come apart just when they seemed about to fit together. I ended up gluing the axles in place while leaving a small gap for the hinge pieces. This allowed the top hinges to be fixed to the rudder then the lower hinges were pushed through the gap to be fixed to the hull. The supplied brads needed to be cut down to be shorter than the thickness of the rudder.

57 rudder hinge.jpg

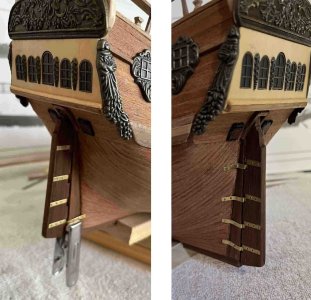
The lower hinge was fixed to the hull first and then the others were tacked on with one nail each side to allow them to be adjusted. It turned out not as neat as expected, I think partly because the axles were not properly aligned when glued, and I didn’t pay enough attention to the alignment, however the rudder does swivel freely.

58 rudder fitting.jpg

Micro-engineering of the deck pieces:
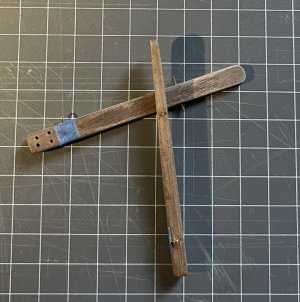
anchor davits
Anchor davits were filed to shape and holes drilled for the mooring bitts, eyebolts and rigging.
59 anchor davits.jpg

windlass
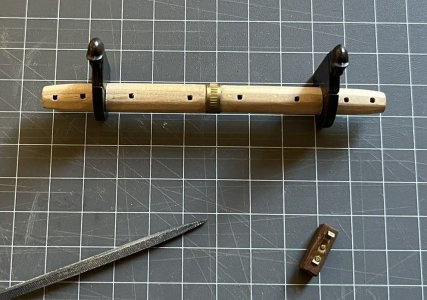
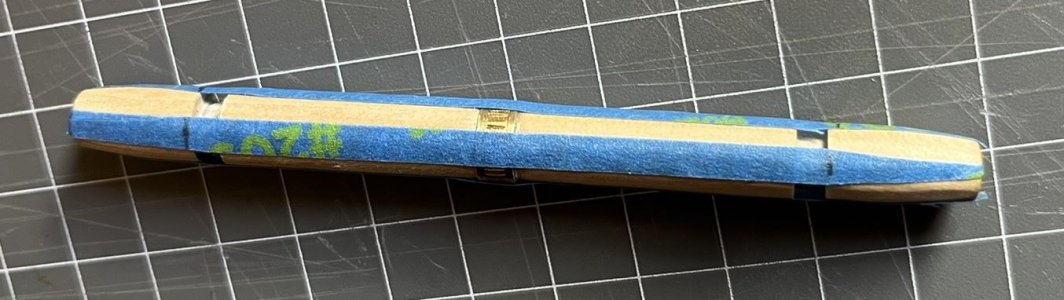
Masking tape strips were used to mark out for filing the octagonal shape of the windlass lathes.
The holes were drilled then made square with the tip of a small square file.

60 windlass marking.jpg

61 windlass.jpg

belfry
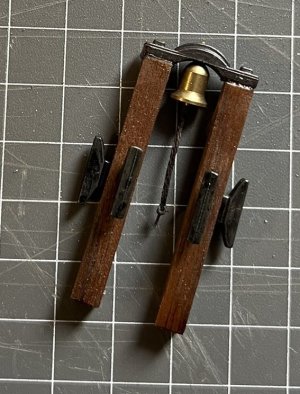
The lintel was drilled for mounting the bell then the stands were cut and drilled for the cleats before being assembled.
A piece of brown thread was used for the bell rope.

62 belfry.jpg

pinracks
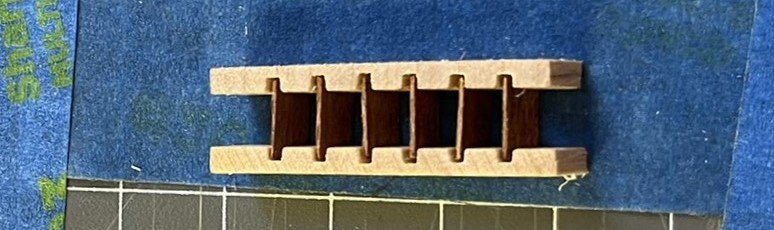
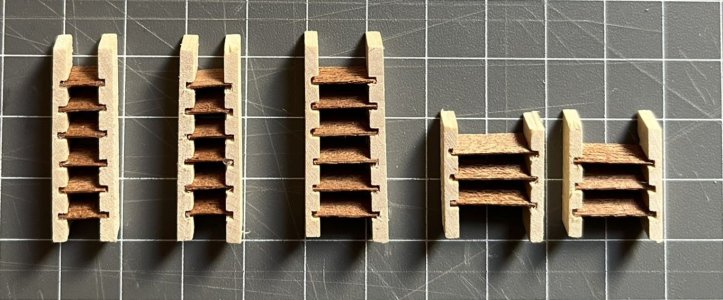
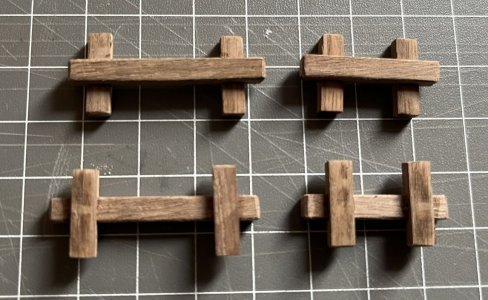
Two prefabricated pinrack stand pieces were missing from the kit so these were cut and shaped from the Walnut frame that had held the supplied six pieces.

63 pinracks.jpg
 
Hi Noel. I'm totally at a loss as to how I should start drilling the 6mm hole for the rudder. Do I drill from the bottom of the ship and if so precisely where? Thank you in anticipation.
 
Hi Tony. I had the same sort of quandary.
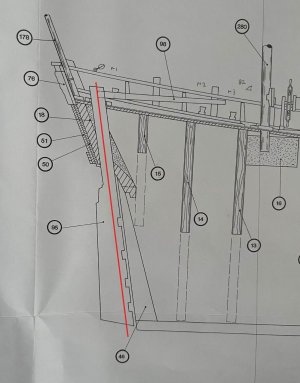
The hole for the rudder was initially drilled from the underside parallel to the sternpost allowing a mm or so for the rudder hinges. When the hole was almost through to the deck I carefully drilled from the deck downwards at the approximate angle using a brad point drill bit. The centre of this hole was measured from the longitudinal schematic. The 6mm hole was then filed out to a 12mm squarish shape so alignment inaccuracies could be fixed and the rudder would swing side to side easily and fully. The ends of the hole have coamings fitted later on that will make them neater.

I hope this helps, best of luck.
Noel

rudder hole.jpg
 
Hi Noel. Many thanks for your prompt reply. As a very inexperienced model builder I sometimes become frustrated when I hit a snag that prevents me from continuing with the build. It's wonderful to have your prompt and precise assistance. Also a thumbs up to this wonderful site.
 
Back
Top