• LUCZORAMA SHIPWRECK SCAVENGER HUNT GIVEAWAY. 4 Weeks of Fun • 1 Legendary Prize ((OcCre’s Fram Ship)) • Global Crew Welcome!
    **VIEW THREAD HERE**

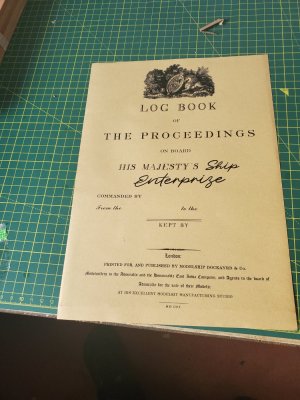
HMS ENTERPRISE 1774 by RichardJJS 1:48 scale. New Kit from M.D

Joined
Jul 24, 2016
Messages
180
Points
78

Hi Again Guys Have decided to try a NEW Plank on Frame Model (POF)
Looking at the great posts if I take my time I should be OK
Bought the Antisana Anatomy Victory but have decided to try something else
Have had to buy my wife a new Cooker !!
But before when I bought a Porsche it cost me a Diamond Ring from the Birmingham Jewellery Quarter !!
Sold our house to fund our future and bought a Porsche 997,2 4S (PDK)
 
Last edited:
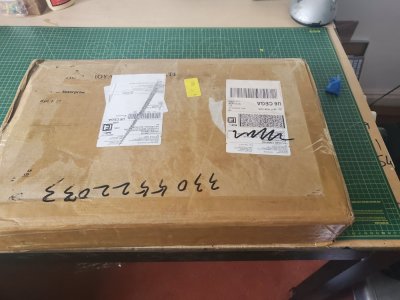
Victor had a few problems getting my kit to FEDex. He has ben brilliant.
It left Hong Kong on Monday and is scheduled to be delivered Thursday
Can wait
Ive looked at all your builds so hopefully will miss any problems.
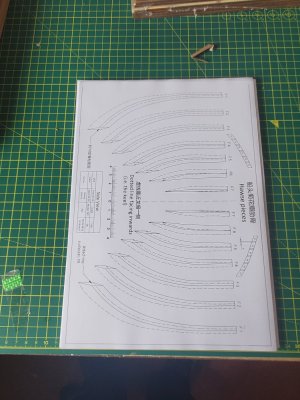
Just printed the Manual will read it again tomorrow
LOve Keiths idea of using Sellotape over the joins. Did something similar when joining a whole load of timber on the Artisania Victory (But thats another story)
 
Hi Again Guys Have decided to try a NEW Plank on Frame Model (POF)
Looking at the great posts if I take my time I should be OK
Bought the Antisana Anatomy Victory but have decided to try something else
Have had to buy my wife a new Cooker !!
But before when I bought a Porsche it cost me a Diamond Ring from the Birmingham Jewellery Quarter !!
Sold our house to fund our future and bought a Porsche 997,2 4S (PDK)
What is old saying, Happy Admiral, Happy Live!
 
During the production process and packaging sorting, we have incorporated 4-5 inspection procedures to ensure the completeness and accuracy of the parts. If the parts are damaged due to transportation or customs inspection, we also provide replacement services, so it is highly likely that our products will not have a parts list
 
During the production process and packaging sorting, we have incorporated 4-5 inspection procedures to ensure the completeness and accuracy of the parts. If the parts are damaged due to transportation or customs inspection, we also provide replacement services, so it is highly likely that our products will not have a parts list
It would just make it easier to ensure everything is in the kit - And where the parts are
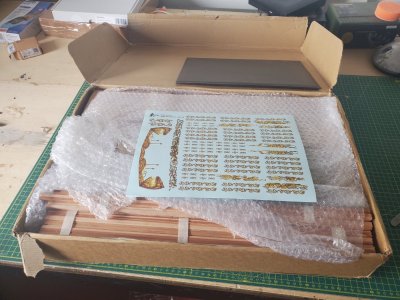
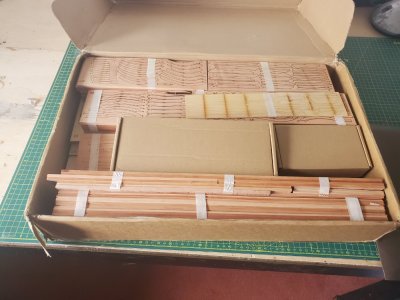
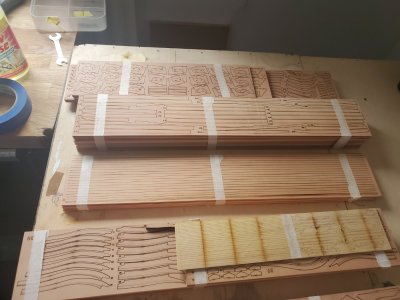
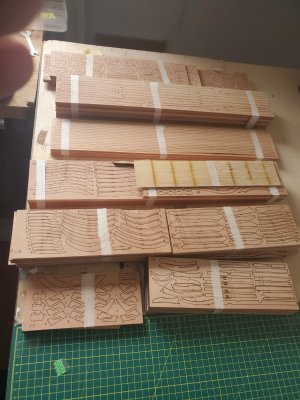
So impressed with quality
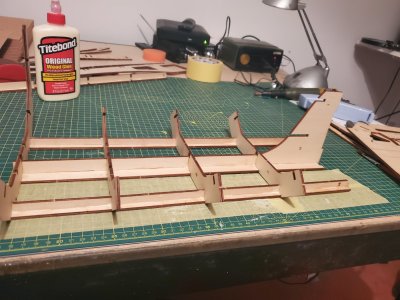
Iv built the JIG Nice work but its not as easy as one would think
 
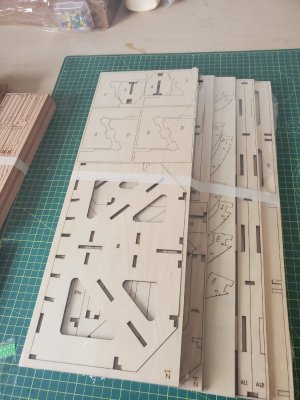
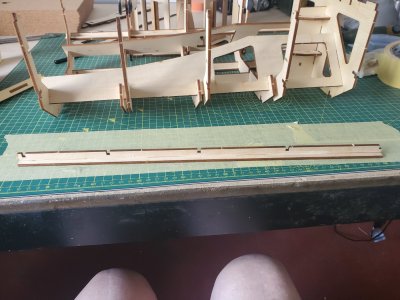
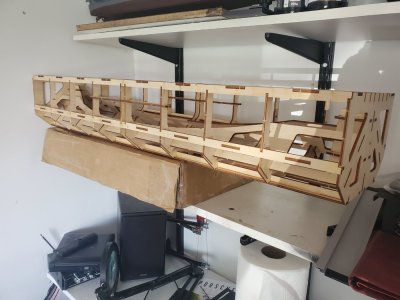
OK So the Jig
Removed all the Parts as they are Numbered
Dry Build First to make sure its all OK~
Lucky I did as some parts are confusing as to where they go
Keef suggested Building A the B Agree and doing That
Once you done it its obvious But first time its a bit awkward
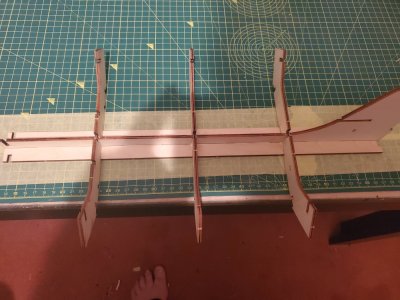
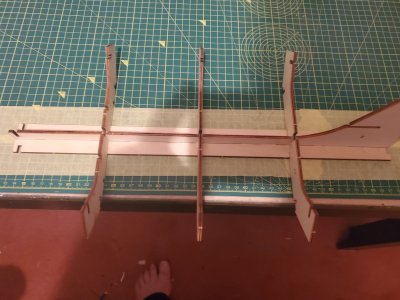
PHOTO 1,2,3
A1 A2 A3 A3a (Note extra notch to join A & B
A4 Clips in - NOTE Ends of Jig are Flush
PHOTO 4
A7 and A8 need to be test fitted as they only go one way
PHOTO 5
A5 Ive marked in Pencil the End of the Slots to make sure they go right in
(When i dry Built it it tried to fall apart but Glue Holds rest in place)

20250627_225505.jpg

20250627_225506.jpg

20250627_230920.jpg

20250627_232512.jpg
 
Last edited:
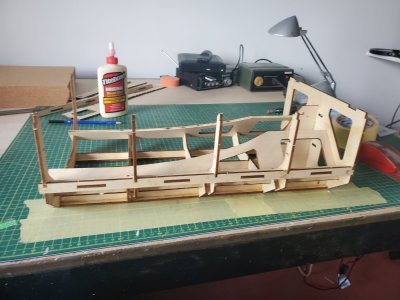
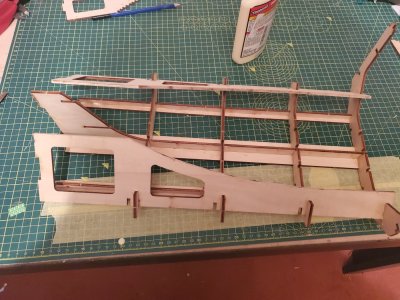
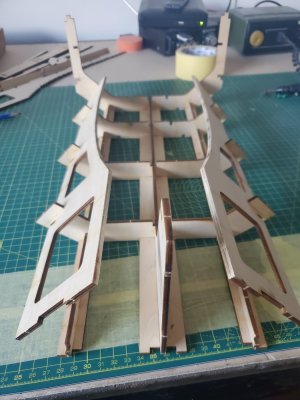
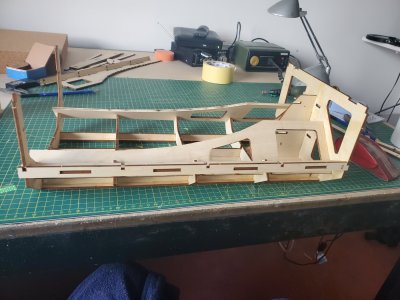
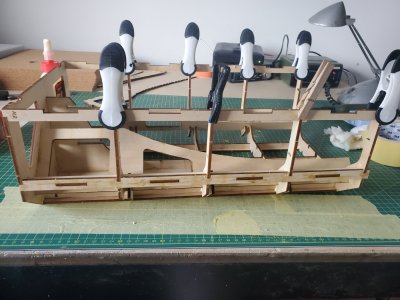
Finished the Jig - Quite a challenge but did do it DRY and some fell apart

THe "Tee" pieces I removed Dry and Glued them as that was my many problem and they just stotted in

THe engineering is superb each piece fits perfectly AMAZING

Ive not glued the Top Pieces A15 and B16 as i might need a bit o room to check the Keel (Do it Later)

It mentions A16 Supports for Counter Timber (DO NOT FIT THEM)
But they are parts no B17a B17b and B17c and not sure which of them is INNER but no doubt it will be explained

20250628_071411.jpg

20250628_072033.jpg

20250628_072709.jpg

20250628_074126.jpg

20250628_074837.jpg

20250628_131500.jpg
 
STEP 6
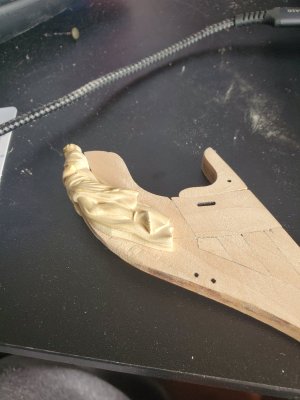
OK SO NOW THE CUTWATER
Step 6 aloows the main parts to be assembled
And Trim Cutwater doen to 4 - 4.5 BUT NOT WHY
So its to take the figurehead (I HOPE) So will make that Fit
HOW far down does the triming go
 
STEP 6
OK SO NOW THE CUTWATER
Step 6 aloows the main parts to be assembled
And Trim Cutwater doen to 4 - 4.5 BUT NOT WHY
So its to take the figurehead (I HOPE) So will make that Fit
HOW far down does the triming go
it gets trimmed down so it can be scale.
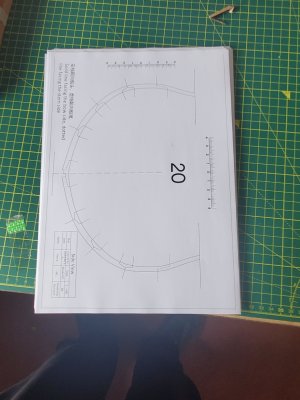
The trimming goes down to the gripe (the curve at the bottom)
 
you asked me why it gets trimmed down and where.
If the figurehead doesn't fit, you can do things to make it fit.
I'm sorry if you feel I mislead you.
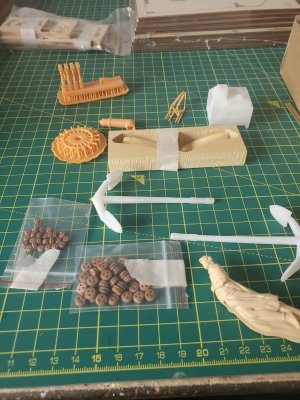
I've not tried the figurehead on mine yet because I'm no where near the point to attach it. I don't want to take it out of the protective packing.
 
Hi Richard. Just found your build log and will be following your progress with great interest. Good luck with this project and I'm sure you have found that this is an excellent kit, both in quality of the materials and standard of engineering. So far I have found no problems, everything fits superbly but you do need to keep concentrating on what you're doing as mistakes can easily be made :)
 
Richards

I would suggest to slow down with the buildcut
sorry needed to fing out where we trim the water Must Eventually take the Figurehead. I dont want to start trimming the cutwater after its al attached to the model

I only took it out to check its fit and it 4mm is ok.
 
Last edited:
Back
Top