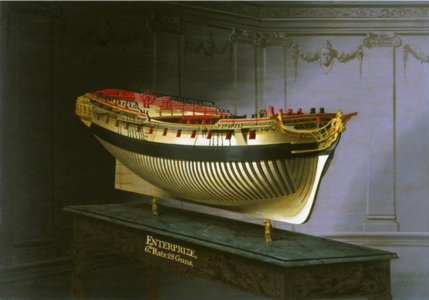
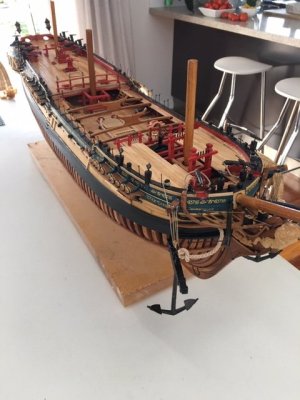
HMS Enterprise 1774 POF 1:48.

Joined
May 8, 2021
Messages
6,802
Points
738

Location
Cape Town South Africa
Good afternoon.

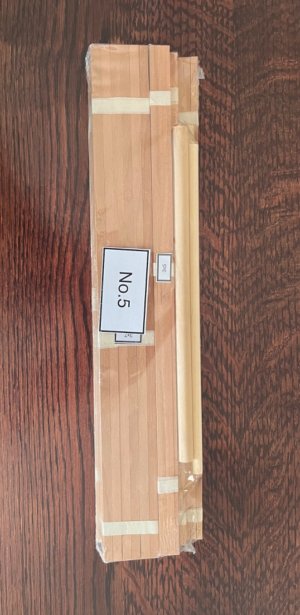
I thought I would start a log for my Enterprise build. I bought the CAF models 1:48 kit made primarily from Cherry wood.
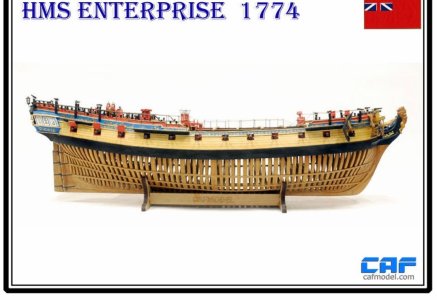
DFC04877-C494-49CF-A889-26EBB21402C2.jpeg
2D5B0055-ABC9-4EF2-AEF4-5ED82BA9B0DF.jpeg
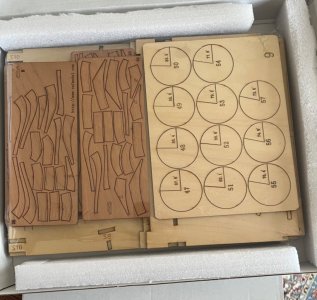
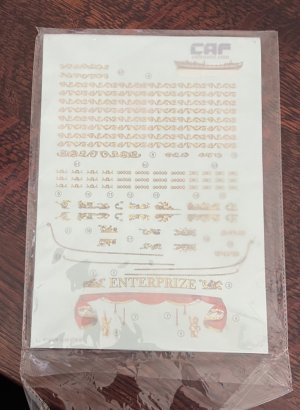
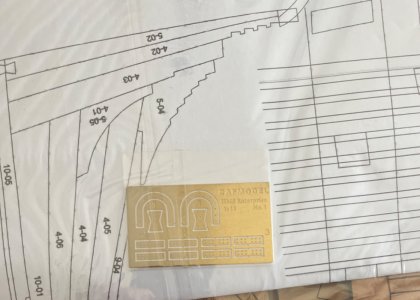
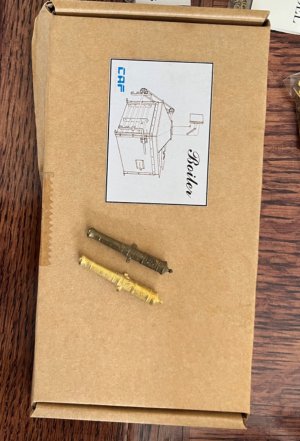
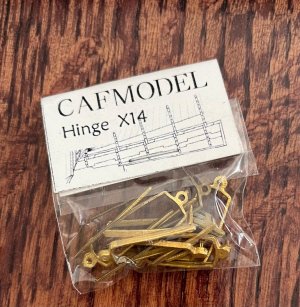
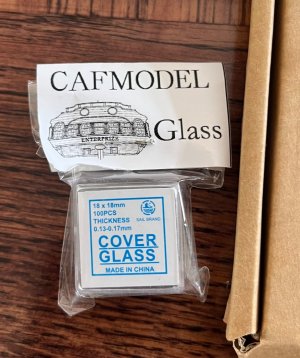
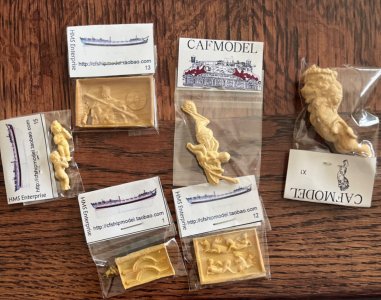
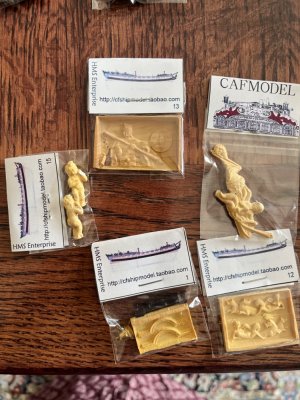
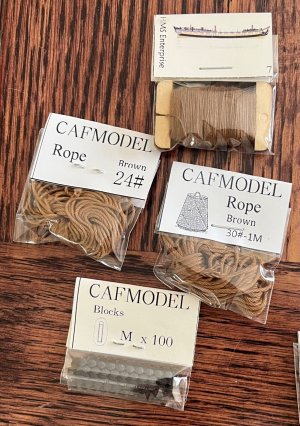
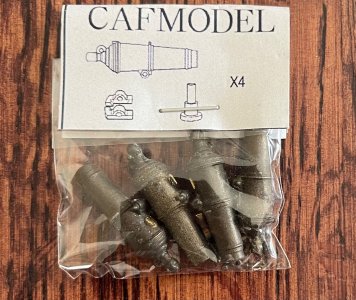
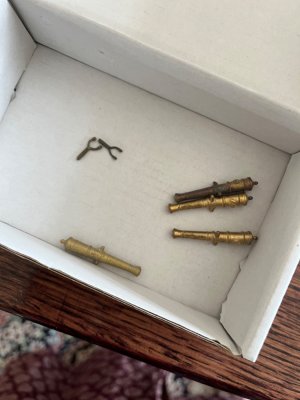
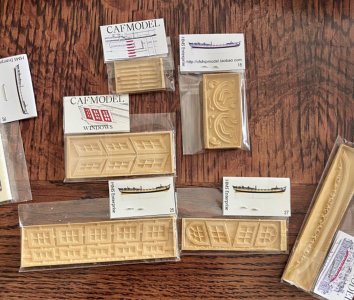
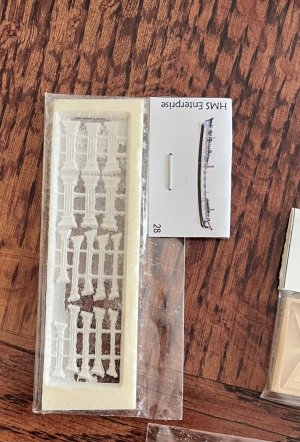
I am impressed with the quality of the kit with everything packed and presented very professionally. Let the photos do the talking :
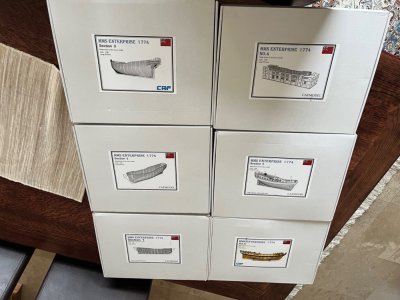
8FCDDCA8-C162-4578-A13D-ADE076A476C0.jpegA9559685-76BD-43D5-99E2-480EB5563E49.jpegA1CFE1E9-751C-458F-B3F7-E8FB9CDC4A57.jpeg0FE52C54-051B-4CA4-A821-AF2A1686AA10.jpeg903FA6E7-FC9F-4FA8-BC12-541BF241D0DE.jpeg9B43C308-C7F2-45C9-AEC1-E15CBE8FDBDE.jpeg288CF9C8-C08C-4F02-A930-6DDCB4A4AF1B.jpegEC36DA79-ABF4-4147-B794-0E3F4A0B5AF5.jpegBBCF3B4A-3460-4728-9178-5AE0F95119E9.jpeg244FDAD6-2E6A-4997-ADA6-E66433E0C34A.jpeg7E4DF78C-C082-4D2B-B0B1-A4780C12495B.jpeg3480D726-1F31-4B2F-83A7-8B08BB2D1906.jpegAC45687A-1791-4E0F-9D2D-D0F1E54249BB.jpeg
0B425E99-7BAA-4FE6-A660-800A39A8075B.jpeg63ADE0F6-9C6C-41BD-93CD-05557A06BFCD.jpeg
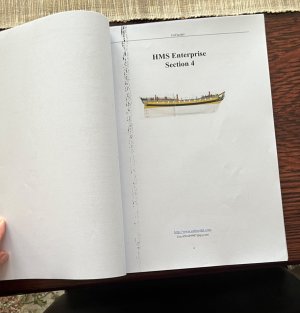
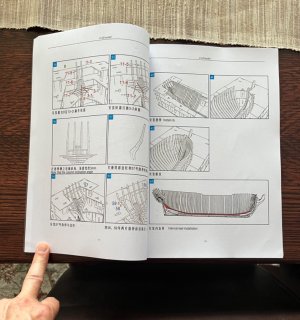
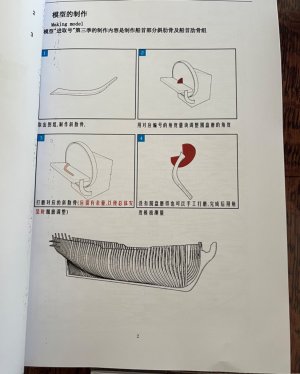
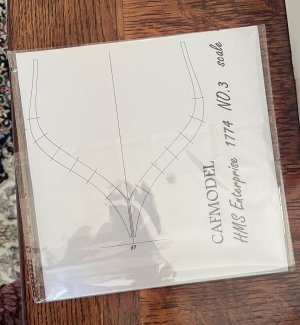
The instructions are just a series of drawings with a 1:1 scale diagram supplied with each section/box. These appear to be really good-the proof will be in the pudding so to speak.
Each box is a section with the instruction manual divided into 6 sections:
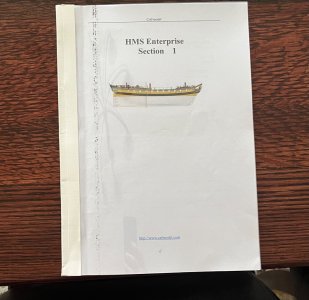
38B0C0F1-2F2B-4117-9D8B-2A9706D2707A.jpeg2718B230-42EC-47DD-98D5-285A88A6034E.jpeg
986E1373-C617-4CCF-986B-C0687F56E422.jpegCCC37369-3C39-4234-A043-D46C6BB9EC0E.jpegD0B9F791-1206-4A76-9303-CAC20BA8E4A4.jpeg76CF4E96-1F2A-475B-88D9-52F9646EC7F2.jpeg

My initial disappointment is the level of accuracy with this kit. Just some background reading and my preview of the kit has revealed a fair amount of discrepancies. Being my first POF I am inclined to “stick with the kit” however we never know….;).

Cheers Grant
 
This weekend I started playing a little with my new venture. Being Grant, I decided to start with Section 4 which in my opinion should be section 1.

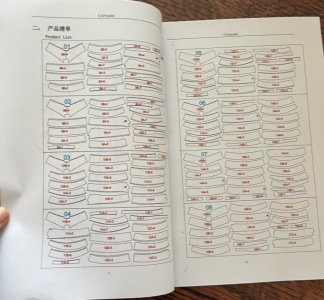
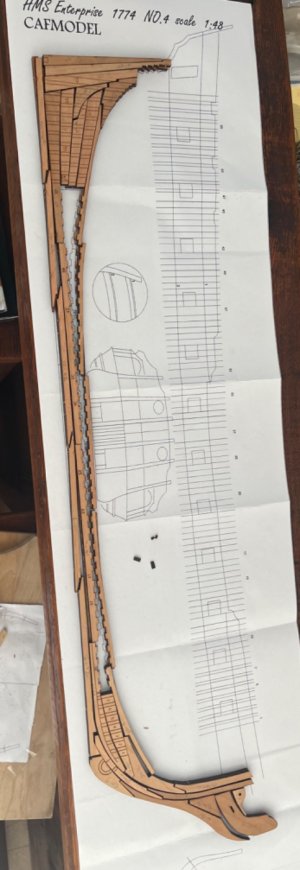
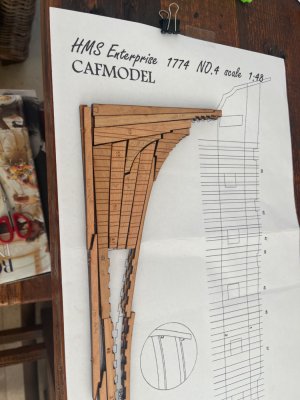
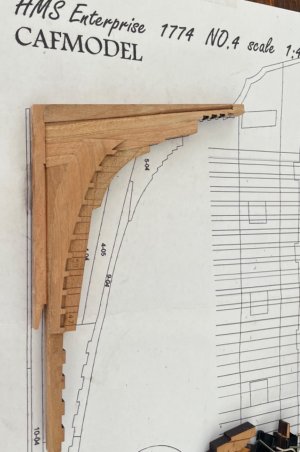
I extracted all the laser cut parts which came out very easily, identified them and laid them on the 1:1 diagram (like a big wooden puzzle):
88D6F8A4-BEE9-4C39-A713-A818E835A514.jpeg
The aft deadwood and stem :
85BA18A0-727E-4E24-9BEB-42977A055598.jpeg
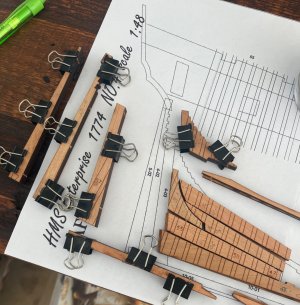
All parts come in pairs and need to be glued together:
E4C32CDC-30E1-48EA-9F6C-5B87F37574D2.jpeg
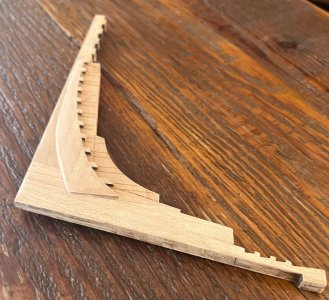
I decided not to caulk this section and the char was removed and some of the deadwood parts glued together.
The notches for the aft cant frames were added:
CB4C0772-72F9-4E63-95B3-6B48D39253F1.jpeg
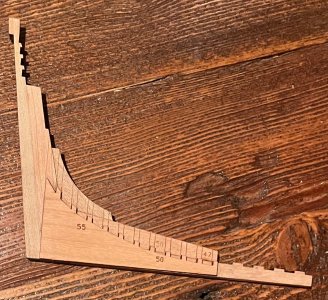
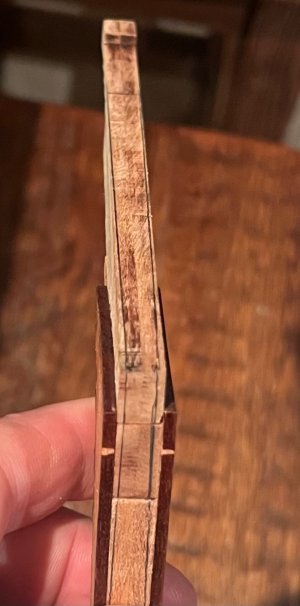
The deadwood section was tapered top to bottom and fore to aft. This is not shown in the instructions however it is something which is obvious…? The manner in which the kit includes the aft cant frame notches does not seem correct however I am sticking with it.
51A86D2B-05A8-4D64-BF8E-C2EA109F6F21.jpeg5C57D610-A87E-4448-8C6A-E6156F3AE953.jpeg
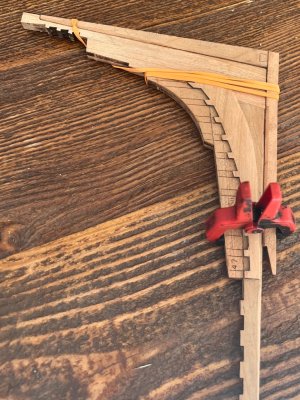
I included the V shaped rabbet for this section although I will only finish these after the frames are on. The stem and keel for this section are added:
5D2AAB3D-991D-4A6C-BB4F-78239F8FB4F1.jpeg6252E7AC-7F60-4929-B94C-69F3798E17F8.jpeg
I am Learning as I go so I’m pretty sure I’m missing something although I seem in line with the instructions.

I am a little concerned with my kit selection as there are a fair number who started this project with only a handlful who actually finished. So far I am enjoying it tremendously.
Cheers Grant
 
This weekend I started playing a little with my new venture. Being Grant, I decided to start with Section 4 which in my opinion should be section 1.

I extracted all the laser cut parts which came out very easily, identified them and laid them on the 1:1 diagram (like a big wooden puzzle):
View attachment 501702
The aft deadwood and stem :
View attachment 501703
All parts come in pairs and need to be glued together:
View attachment 501704
I decided not to caulk this section and the char was removed and some of the deadwood parts glued together.
The notches for the aft cant frames were added:
View attachment 501705
The deadwood section was tapered top to bottom and fore to aft. This is not shown in the instructions however it is something which is obvious…? The manner in which the kit includes the aft cant frame notches does not seem correct however I am sticking with it.
View attachment 501707View attachment 501708
I included the V shaped rabbet for this section although I will only finish these after the frames are on. The stem and keel for this section are added:
View attachment 501709View attachment 501710
I am Learning as I go so I’m pretty sure I’m missing something although I seem in line with the instructions.

I am a little concerned with my kit selection as there are a fair number who started this project with only a handlful who actually finished. So far I am enjoying it tremendously.
Cheers Grant
Hi Grant
Good luck with your new build
I'll be following your progress
Cheers
 
Looking at all the parts, they look really good. You may find the contract for one of her sister ships, Aurora (28) 1776 to be interesting and maybe of some help. There are also high resolution plans of Enterprize (28) 1774 on the Wiki Commons website as she was originally designed and as she was as a receiving ship with the change in the platforms as well as cabins, the addition of a skylight on the QD and more.
https://commons.wikimedia.org/wiki/Category:Ship_plans_of_the_Royal_Museums_Greenwich Scroll down to page 8. Not sure which configuration your kit is, but looking at another build some time ago their particular kit was set up as a receiving ship rather than a fighting ship. Lots of choices for you. :)
Allan
 

Attachments

Last edited:
This weekend I started playing a little with my new venture. Being Grant, I decided to start with Section 4 which in my opinion should be section 1.

I extracted all the laser cut parts which came out very easily, identified them and laid them on the 1:1 diagram (like a big wooden puzzle):
View attachment 501702
The aft deadwood and stem :
View attachment 501703
All parts come in pairs and need to be glued together:
View attachment 501704
I decided not to caulk this section and the char was removed and some of the deadwood parts glued together.
The notches for the aft cant frames were added:
View attachment 501705
The deadwood section was tapered top to bottom and fore to aft. This is not shown in the instructions however it is something which is obvious…? The manner in which the kit includes the aft cant frame notches does not seem correct however I am sticking with it.
View attachment 501707View attachment 501708
I included the V shaped rabbet for this section although I will only finish these after the frames are on. The stem and keel for this section are added:
View attachment 501709View attachment 501710
I am Learning as I go so I’m pretty sure I’m missing something although I seem in line with the instructions.

I am a little concerned with my kit selection as there are a fair number who started this project with only a handlful who actually finished. So far I am enjoying it tremendously.
Cheers Grant

Templates with precise angles for the canting frames is a great idea!
 
Hi Grant
I'm one of those that started the same kit almost 5 years ago, and have not finished it yet. It's been febrile activity followed by long periods of inactivity., However, recently I have made a lot of progress and it is almost finished !! I'll be posting a progress report and pictures on my build site in about 2-3weeks (right now I'm away from the ship). Anyway, I have made so many mistakes and learned so much from it that I now consider it may "practice" model. I have a long list of things that I would do differently, if I was starting the build the same kit again.
Rather than buy CAF's kit again, I have instead just bought Dockyards' 1:48 HMS Enterprize-the same ship as CAF's but with full interior, and different frame structure. My intention is to apply lessons learned, and create my personal best. Let's see what happens. The CAF kit is excellent, and can certainly be built into a superb model as is; it can also be extensively bashed if one desires. Tom at CAF offers great customer support. Look at Bryan's build here in SOS-a masterpiece.
I will follow your build with great interest and will be happy to offer my "I've been here before" input and help if you need.
Congratulations.
Alex Rosas
 
Dang it. I missed the start and am now relegated to the second row. I've ordered a high-top table with a few bar stools so I can see over the people in front of me...hope Arlene won't mind that I redecorated your hobby space...

Yes, a little tardy and please empty that beach sand from your shoes before taking that second row seat ROTF.
 
Thanks for sharing this information! I'm also wondering about first POF.
You are welcome. Yep we have to make that jump to POF ships at least once. If we don’t like it at least we gave it a shot.
Hi Grant
Good luck with your new build
I'll be following your progress
Cheers
Good morning Gilbert. Thank you kindly. It is always a pleasure to have to on board
Looking at all the parts, they look really good. You may find the contract for one of her sister ships, Aurora (28) 1776 to be interesting and maybe of some help. There are also high resolution plans of Enterprize (28) 1774 on the Wiki Commons website as she was originally designed and as she was as a receiving ship with the change in the platforms as well as cabins, the addition of a skylight on the QD and more.
https://commons.wikimedia.org/wiki/Category:Ship_plans_of_the_Royal_Museums_Greenwich Scroll down to page 8. Not sure which configuration your kit is, but looking at another build some time ago their particular kit was set up as a receiving ship rather than a fighting ship. Lots of choices for you. :)
Allan
Good morning Alan. Thanks for this. I did read through the Aurora contract and check somethings against the kit. It was from this that my disappointment arose as the kit detail is far removed from the actual specs. E.g the frame construction is way out with no chocks and the futtock being the same width with a simple overlay construction etc, let alone the frame width being too large. That being said it is my first POF and I am excited to just build one according to the kit. Let see what goes.
Excellent start. Watching this with great expectations.
Good morning Neil. Thank you. I have been following your build and kudos you are owning the project.
I'm pulling up a chair. It's gonna be an awesome build. Good luck my friend:)
Good morning my friend. It is always good to have you on board….I appreciate your input.
I will be looking for a PoF later in the year. Following with interest.
Hi Graham. We all have to give a POF a go sometime……in my case may be a fool’s errand ;) …we shall see. Thanks for checking this build out.
Interesting looking build Grant, I’ll follow along too.
Good morning my friend. Thanks Roger. Let’s hope it will be a good adventure.
Wow
This is a another dimension .
Good luck and have fun ,I'll pull up a chair and crack a can. Good luck cheers snowy
Thank you Snowy.
CAF's Enterprize first log ever here on SOS, I guess... .
Templates with precise angles for the canting frames is a great idea!
Good morning. I agree there are some very helpful concepts CAF have added into this kit - let’s hope they help me along the way.
There are others
Yep Zoly is correct there are a few completed build logs here. @Bryian built a cool one.
Hi Grant
I'm one of those that started the same kit almost 5 years ago, and have not finished it yet. It's been febrile activity followed by long periods of inactivity., However, recently I have made a lot of progress and it is almost finished !! I'll be posting a progress report and pictures on my build site in about 2-3weeks (right now I'm away from the ship). Anyway, I have made so many mistakes and learned so much from it that I now consider it may "practice" model. I have a long list of things that I would do differently, if I was starting the build the same kit again.
Rather than buy CAF's kit again, I have instead just bought Dockyards' 1:48 HMS Enterprize-the same ship as CAF's but with full interior, and different frame structure. My intention is to apply lessons learned, and create my personal best. Let's see what happens. The CAF kit is excellent, and can certainly be built into a superb model as is; it can also be extensively bashed if one desires. Tom at CAF offers great customer support. Look at Bryan's build here in SOS-a masterpiece.
I will follow your build with great interest and will be happy to offer my "I've been here before" input and help if you need.
Congratulations.
Alex Rosas
Good morning Alex. I may well be asking some questions and learn from your process. I look forward to seeing your progress as I think I’m going to need all the help I can get.
I do have a little “buyers remorse” after seeing Dockyard has now released the1:48 kit. I think it adds so much added detail and accuracy. That being said I am excited to give this a try.
Dang it. I missed the start and am now relegated to the second row. I've ordered a high-top table with a few bar stools so I can see over the people in front of me...hope Arlene won't mind that I redecorated your hobby space...
Welcome Paul always a pleasure. I think Arlene would be ecstatic if you redecorated my hobby space….. she just rolls her eyes when she enters my shipyard lately ROTF

Thanks for the post. This is great stuff. I would be curious to know what are the differences between the model at this scale and the smaller one.
Hi Jack. At the moment there are 3 POF enterprise models out there (all Chinese). Model Dockyard makes a 1:48 and a 1;96. These are more accurate kits with regard to internal structures and give more detail on the interior at all deck levels than the CAF version. The CAF 1:48 is an older kit from Cherry wood and has a different outcome to the others giving an outward POF museum finish with high quality upper deck finishes.
I'll be watching with great interest as well. Looks like it will be fun!
Thanks Russ. Welcome aboard. Hopefully we have smooth sailing ahead….

Cheers Grant
 
Back
Top