HMS Enterprize 1774 1:96 von Modelship Dockyard

Joined
Dec 31, 2019
Messages
11
Points
58

Hello everyone,

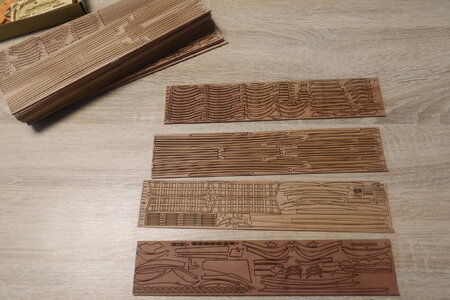
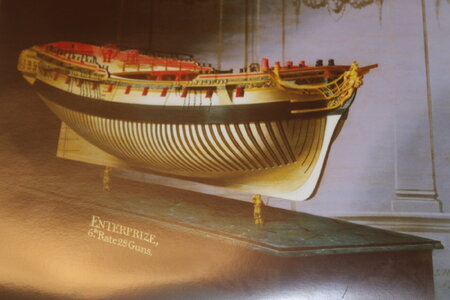
On Tuesday I received the beautiful kit of the HMS Enterprize 1774 1:96 from Dry-Dock Models & Parts.

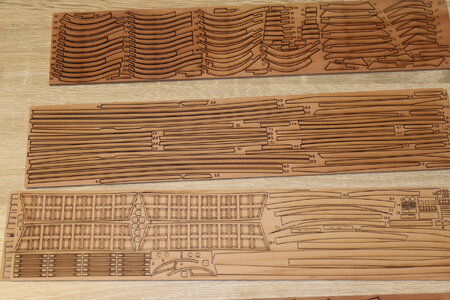
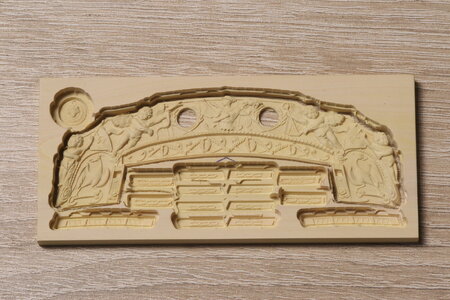
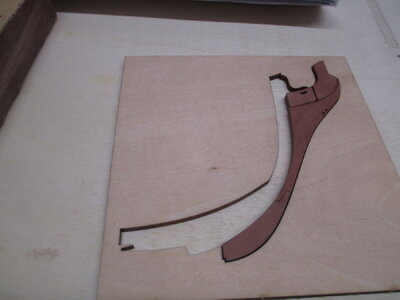
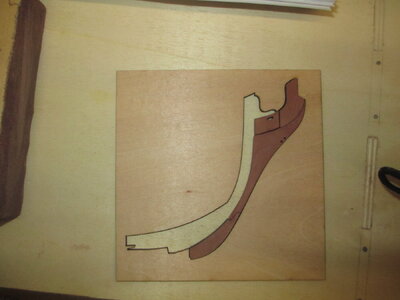
It has very cleanly lasered parts and very detailed CNC milled parts made of boxwood such as the figurehead and the transom, which are also included as a 3D printed version.
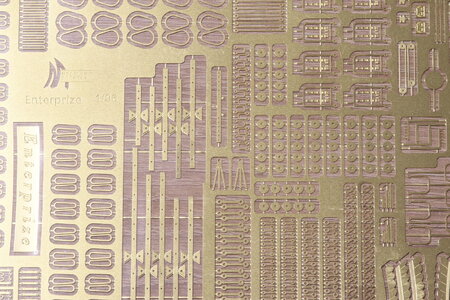
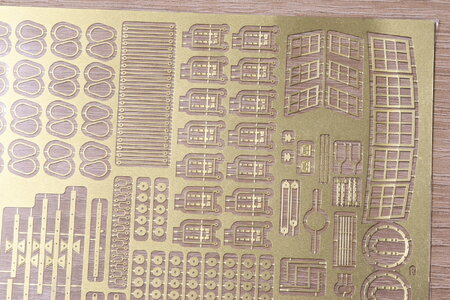
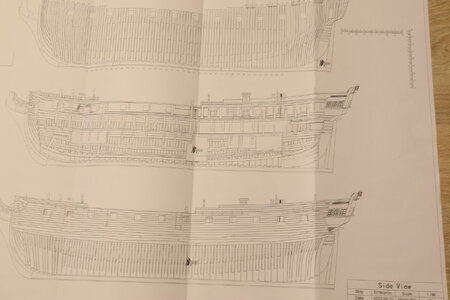
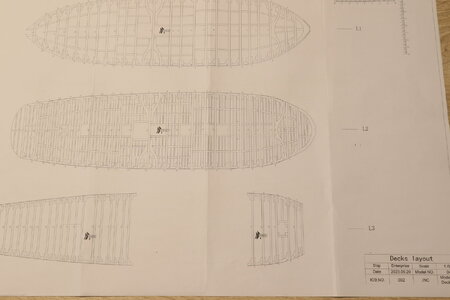
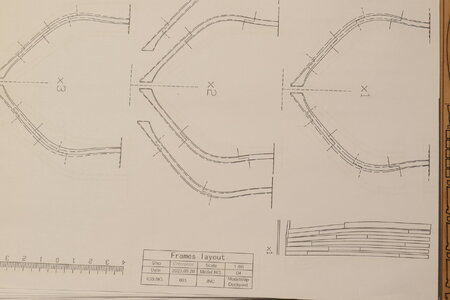
There are also 3D prints of the cooking area, the steering wheel, tiny columns, lanterns and much more. There is also a large etching board with some very tiny parts. 2 plans in original size, one with 3 side views and one with the deck details in plan view, there are also countless plans for the construction of the frames. You can download the construction plan from Dry-Dock Models.
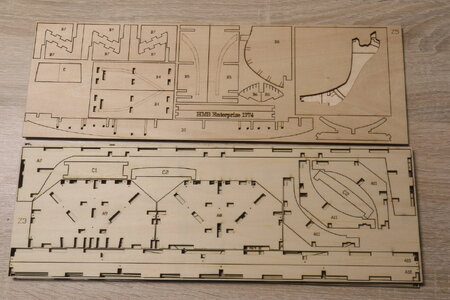
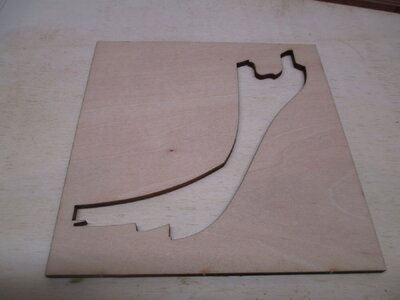
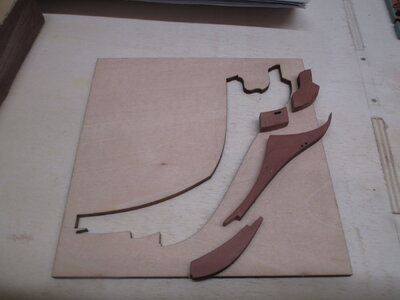
The slipway and some templates are laser cut from plywood.

Now there is a small selection of pictures

Greetings Mario
7C8A3355.JPG

7C8A3356.JPG

7C8A3357.JPG

7C8A3370.JPG

7C8A3371.JPG

7C8A3372.JPG

7C8A3373.JPG

7C8A3374.JPG

7C8A3375.JPG

7C8A3376.JPG
 
Ja, ich bin sehr gespannt, selbst wenn ein kleines Teilchen fehlt, werde ich es selbst hinbekommen.
An einigen Stellen war die Helling nicht vollständig durchgelasert. Ich konnte es trotzdem ganz gut lösen.
Der Bugspriet ist nach 2 Tagen fertig.
Heute Abend fange ich mit dem Kiel an.

Grüße Mario

google translation:
Yes, I'm very excited, even if a small particle is missing, I will manage it myself.
In some places the slipway was not completely lasered through. I was still able to solve it quite well.
The bowsprit is ready after 2 days.
Tonight I'll start with the keel.

Greetings Mario

IMG_1175.JPG

IMG_1176.JPG

IMG_1177.JPG

IMG_1179.JPG

IMG_1180.JPG

IMG_1183.JPG

IMG_1184.JPG
 
Last edited by a moderator:
Ja, ich bin sehr gespannt, selbst wenn ein kleines Teilchen fehlt, werde ich es selbst hinbekommen.
An einigen Stellen war die Helling nicht vollständig durchgelasert. Ich konnte es trotzdem ganz gut lösen.
Der Bugspriet ist nach 2 Tagen fertig.
Heute Abend fange ich mit dem Kiel an.

Grüße Mario

View attachment 420845

View attachment 420846

View attachment 420847

View attachment 420848

View attachment 420849

View attachment 420850

View attachment 420851
good luck with your new project, I will keep following with great curiosity :)
 
Danke für die vielen Likes und Wünsche.

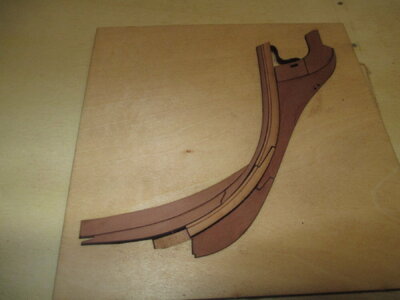
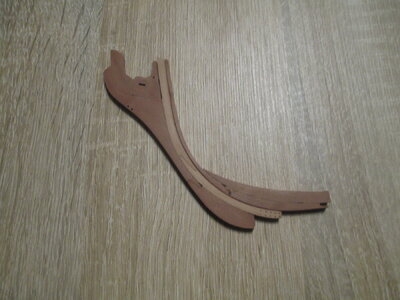
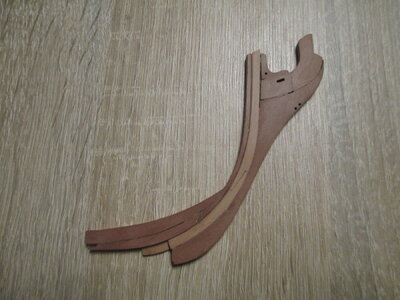
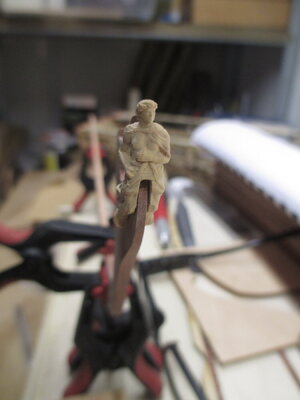
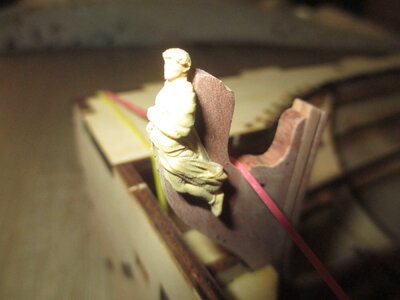
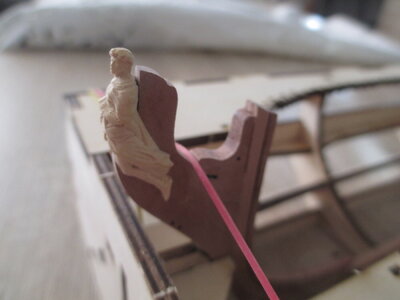
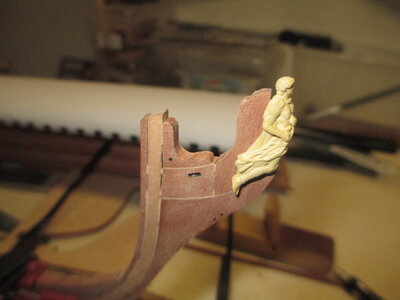
Ich fuhr mit der Gallion fort. Entgegen der Bauanleitung habe ich die Galionsfigur und die Gallion bereits angepasst. Ich finde es zu diesem Zeitpunkt viel einfacher zu bewältigen als später. Der Kiel ließ sich sehr einfach zusammenkleben und passt sehr gut zum Gallion, ich muss nicht viel anpassen.
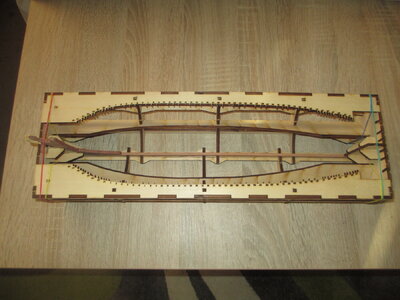
Ich habe die Slipanlage vorerst nur mit Gummibändern befestigt und werde sie zu einem späteren Zeitpunkt kleben oder nageln.
Allerdings wird die Figur beim Aufbau wieder sicher verstaut und hin und wieder wieder befestigt.

Einen schönen Sonntag wünsche ich dir, Mario

google translation:
Thank you for the many likes and wishes.
I continued with the Gallion. Contrary to the construction instructions, I have already adapted the figurehead and the gallion. I find it much easier to deal with at this point than later. The keel was very easy to glue together and fits the Gallion very well, I don't have to adjust much.
I've just attached the slipway with rubber bands for now and will glue or nail it at a later date.
However, the figure is safely stowed away during assembly and reattached every now and then.
I wish you a nice Sunday, Mario

IMG_1188.JPG

IMG_1191.JPG

IMG_1192.JPG

IMG_1194.JPG

IMG_1195.JPG
 
Last edited by a moderator:
Danke für die vielen Likes und Wünsche.

Ich fuhr mit der Gallion fort. Entgegen der Bauanleitung habe ich die Galionsfigur und die Gallion bereits angepasst. Ich finde es zu diesem Zeitpunkt viel einfacher zu bewältigen als später. Der Kiel ließ sich sehr einfach zusammenkleben und passt sehr gut zum Gallion, ich muss nicht viel anpassen.
Ich habe die Slipanlage vorerst nur mit Gummibändern befestigt und werde sie zu einem späteren Zeitpunkt kleben oder nageln.
Allerdings wird die Figur beim Aufbau wieder sicher verstaut und hin und wieder wieder befestigt.

Einen schönen Sonntag wünsche ich dir, Mario

View attachment 421134

View attachment 421135

View attachment 421136

View attachment 421137

View attachment 421138
Good evening. I will follow this with interest as I am very keen to build the HMS Enterprise as my first POF ship. Still a way off though. I have pull up a chair for sure. Cheers Grant
 
Guten Abend,

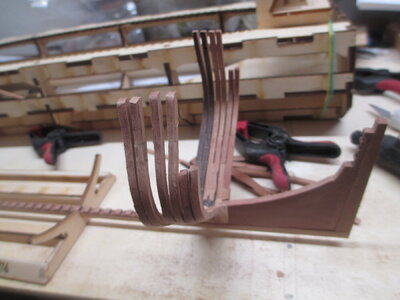
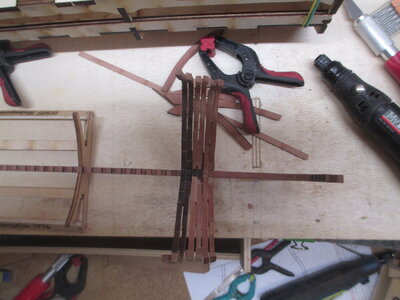
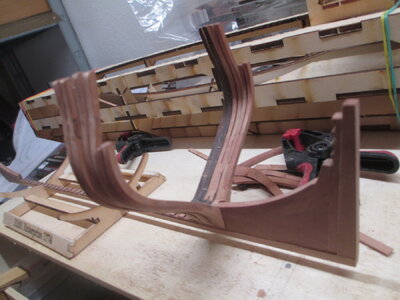
Hier gibt es ein sehr kleines Update. Ich bin gerade dabei, die Rahmen zu bauen. Leider war ein Rahmen auf den Schildern nicht korrekt markiert. Nach einer kurzen Rücksprache mit Victor, dem Erbauer des Prototyps, konnte ich die gesuchten Teile zuordnen.
Aus beruflichen Gründen komme ich nur langsam voran, was den Spaß am Bauen aber in keiner Weise beeinträchtigt.
Die Spanten sind nur lose am Kiel befestigt und ich habe ihn für die Bilder aus der Helling geholt.

Liebe Grüße Mario

Good evening,

There is a very small update here. I'm currently in the process of building the frames. Unfortunately, a frame on the signs was not marked correctly. After a short consultation with Victor, the builder of the prototype, I was able to assign the parts I was looking for.
For professional reasons, my progress is slow, but that doesn't affect the fun of building in any way.
The frames are only loosely attached to the keel and I took it out of the slipway for the pictures.

Kind regards, Mario

IMG_1198.JPG

IMG_1199.JPG

IMG_1200.JPG
 
Last edited by a moderator:
Now the fun is starting - 50 or 70 frames to build and afterwards - sanding ,,,,,, a lot of sanding
But be sure, when you have the finished hull structure in hand - glatt wie ein Kinderpopo - you are proud
Have fun
 
Now the fun is starting - 50 or 70 frames to build and afterwards - sanding ,,,,,, a lot of sanding
But be sure, when you have the finished hull structure in hand - glatt wie ein Kinderpopo - you are proud
Have fun
I love to sanding
I hope, i can Show a little more at Augsburg
 
Dear Friends,

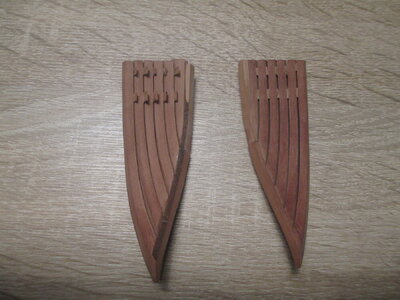
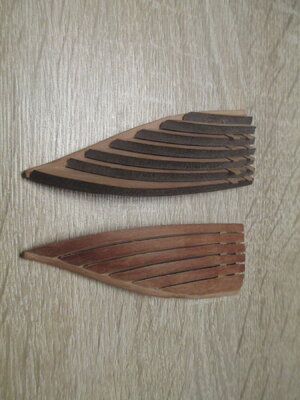
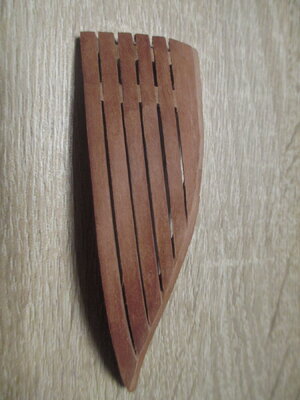
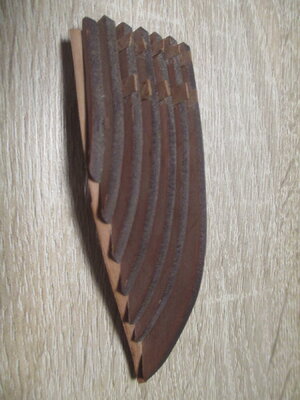
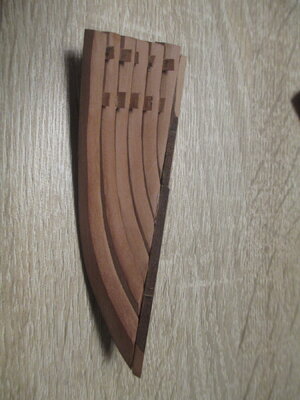
I got a little bit further. I think the Howse pieces is a particular challenge. The template helps a lot with assembly or gluing together. The videos in which Victor, the kit designer, explains all the important steps are also very helpful.

In the pictures you can see both sides, one is almost completely sanded and the other is still in the "shell". It took me an evening to build the shell. Despite small electrical helpers, sanding takes more than an evening (approx. 3-4 hours). Thanks to the lasered lines, the inside is sanded before assembly, which makes the final sanding easier.

Greetings Mario
IMG_1221.JPG

IMG_1222.JPG

IMG_1223.JPG

IMG_1225.JPG

IMG_1226.JPG
 
Very good result - the numbers of hours are not surprising me
Ja Ja - with a POF kit not much is prepared and you have still hundreds of hours work to produce a ship model
 
Sehr gutes Ergebnis – die Stundenzahlen überraschen mich nicht
Ja Ja – mit einem POF-Bausatz ist nicht viel vorbereitet und man hat immer noch Hunderte von Stunden Arbeit, um ein Schiffsmodell herzustellen
Hallo Uwe,
ja, wer nicht zum Schleifen bereit ist, sollte Kunststoff einbauen
 
Hallo Uwe,
ja, wer nicht zum Schleifen bereit ist, sollte Kunststoff einbauen
Yes - but when we see sometimes how much our collegues from plastic modeling are sanding - much finer grid, but they sand also hours - so stay with wood....
 
I am very happy to see a POF Enterprise being built. I have had a good look at this model of late and was keen to see someone starting it. You are doing a very good job so far - the sanding and char removal are just some of those things that are part and parcel of a POF build.
 
Back
Top