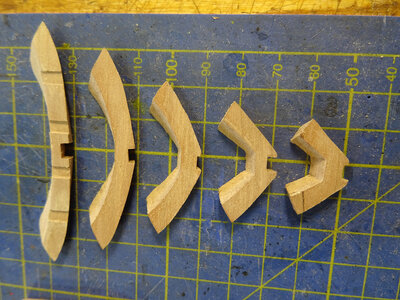
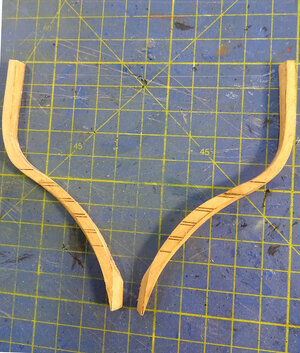
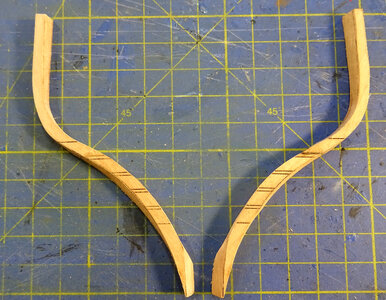
HMS GRANADO 1:48 scale PoF CAF Model by Keith

Joined
Jan 10, 2022
Messages
459
Points
323

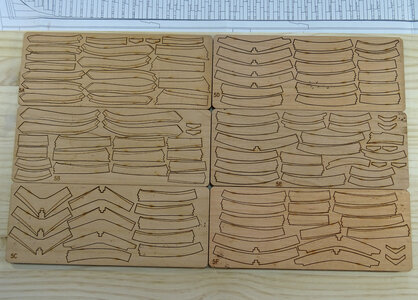
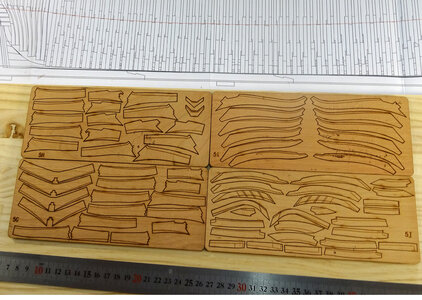
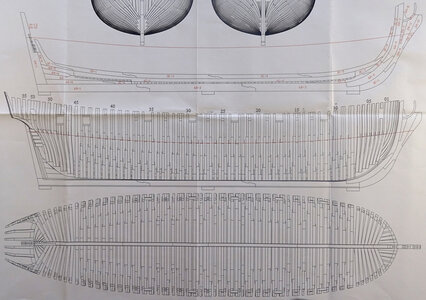
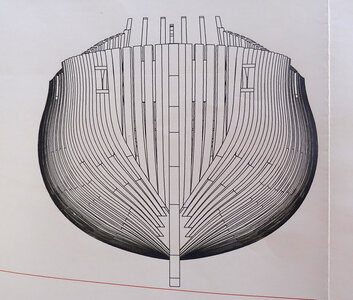
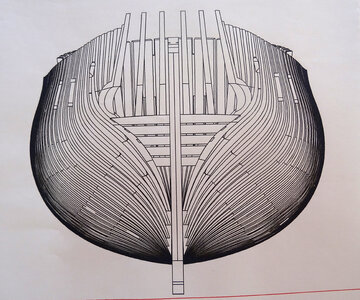
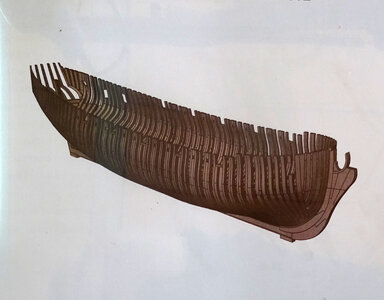
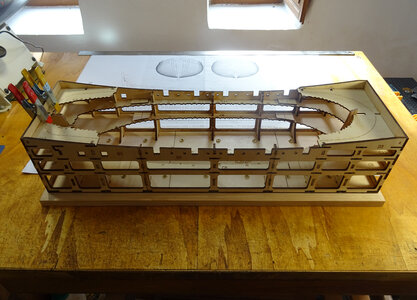
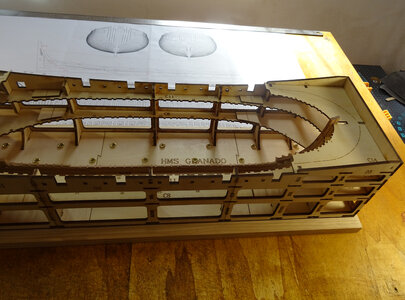
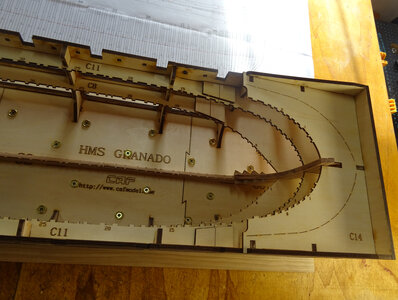
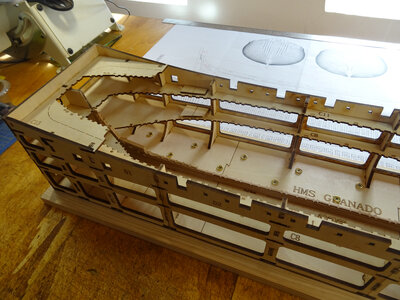
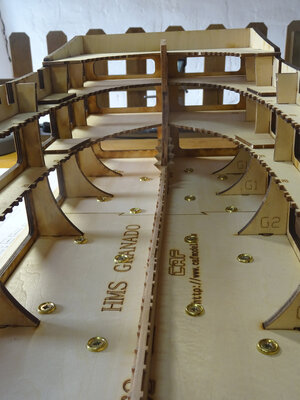
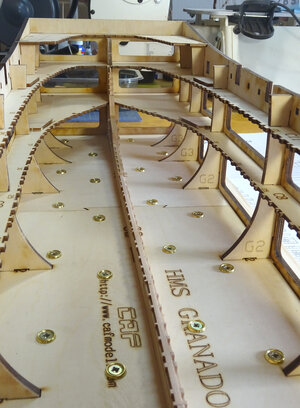
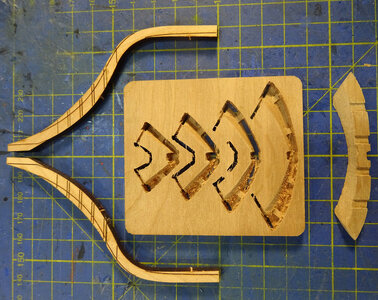
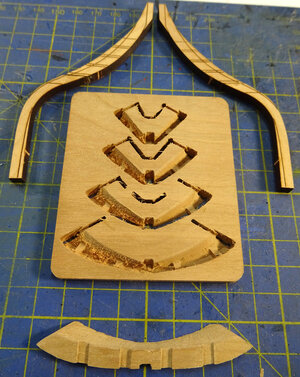
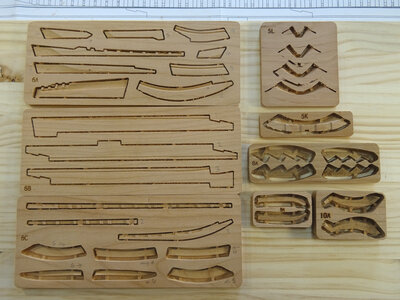
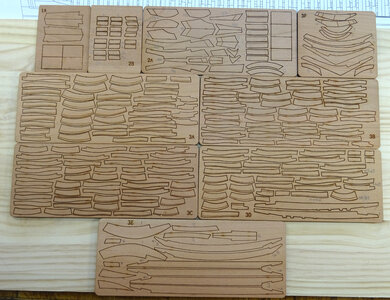
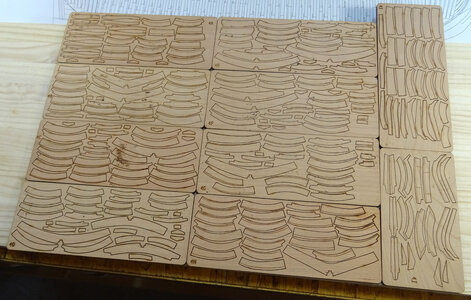
Hi All. A new year, a new project, CAF Model's 1:48 scale HMS GRANADO, full hull PoF kit. Just about everyone is now familiar with this kit due to the great reviews and build logs already existing on the S.o.S. site, but for those not, before l get into the build proper, l would like to do a quick introduction to myself and this amazing kit. Up to now this would be my third plank on frame kit. Modelship Dockyard's HMS Blandford being the first, followed by HMS Alert produced by Trident Model, which l have recently completed. Both kits were superb and great fun to build and have firmly set me on the POF path, which is why l'm so excited about this project. The kit comes in 3 separate parts or sessions, which are all available to be purchased individually. l have all 3 and can say that this looks to be, probably, the most amazing kit l have or will ever attempt to build. l have always liked to study the plans/drawings, instructions and the parts themselves of a kit before starting to make sure all is complete and l understand the instructions and method of construction. Looking through the contents of part 1, the quality of the wood (cherry) is excellent. Mostly laser cut, with a few CNC milled sheets which go to make up the keel and frames structure of the hull of this ship. The instructions come in the form of a beautifully produced booklet, in understandable English with detailed colour 3D drawings of each step of construction. Very impressive. A cleverly designed high quality 4 mm plywood building jig is also included in this first session. A small project in itself, it is essential to keep the frames square to the keel and accurately place each individual frame to make up the hull. Talking of which, this kit is designed in such a way that you have the option of making the hull a split structure, separating the top from the bottom, enabling the highly detailed interior to be viewed in all it's glory. A great idea, but l have already decided to make my kit as a standard, one-part construction. This is just the first step of what promises to be a long and rewarding project. l can't wait to get started and look forward your company. Any tips and ideas would be greatly appreciated
DSC07424.JPG

DSC07425.JPG

DSC07429.JPG

DSC07431.JPG

DSC07433.JPG

DSC07450.JPG

DSC07453.JPG

DSC07454.JPG

DSC07457.JPG
 
Hi All. A new year, a new project, CAF Model's 1:48 scale HMS GRANADO, full hull PoF kit. Just about everyone is now familiar with this kit due to the great reviews and build logs already existing on the S.o.S. site, but for those not, before l get into the build proper, l would like to do a quick introduction to myself and this amazing kit. Up to now this would be my third plank on frame kit. Modelship Dockyard's HMS Blandford being the first, followed by HMS Alert produced by Trident Model, which l have recently completed. Both kits were superb and great fun to build and have firmly set me on the POF path, which is why l'm so excited about this project. The kit comes in 3 separate parts or sessions, which are all available to be purchased individually. l have all 3 and can say that this looks to be, probably, the most amazing kit l have or will ever attempt to build. l have always liked to study the plans/drawings, instructions and the parts themselves of a kit before starting to make sure all is complete and l understand the instructions and method of construction. Looking through the contents of part 1, the quality of the wood (cherry) is excellent. Mostly laser cut, with a few CNC milled sheets which go to make up the keel and frames structure of the hull of this ship. The instructions come in the form of a beautifully produced booklet, in understandable English with detailed colour 3D drawings of each step of construction. Very impressive. A cleverly designed high quality 4 mm plywood building jig is also included in this first session. A small project in itself, it is essential to keep the frames square to the keel and accurately place each individual frame to make up the hull. Talking of which, this kit is designed in such a way that you have the option of making the hull a split structure, separating the top from the bottom, enabling the highly detailed interior to be viewed in all it's glory. A great idea, but l have already decided to make my kit as a standard, one-part construction. This is just the first step of what promises to be a long and rewarding project. l can't wait to get started and look forward your company. Any tips and ideas would be greatly appreciated
View attachment 418305

View attachment 418306

View attachment 418307

View attachment 418308

View attachment 418309

View attachment 418310

View attachment 418311

View attachment 418312

View attachment 418313
Way to go Keith. I hope the instructions are a bit better than they are for Blandford, in any case you’ve plenty of excellent builds for guidance, I’ll be keeping an eye open and will happily follow your progress. Ken
 
Thanks Ken. Will be good to have you aboard mate. The instructions are indeed better than Blandford and Alert. In fact there is no comparison, although all 3 kits are great quality, this one is way out in front
 
Dear Keith
good luck with your new project! :) Thumbsup
I'm sure that you will do great work, I will keep following with great curiosity
 
Dear Keith
good luck with your new project! :) Thumbsup
I'm sure that you will do great work, I will keep following with great curiosity
Thank you Shota . Glad to have you along. l can always rely on your support and encouragement :)
 
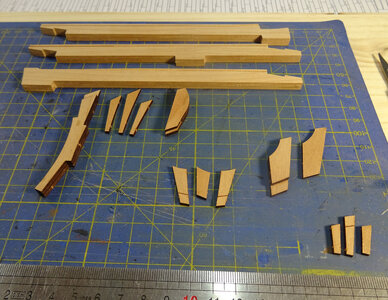
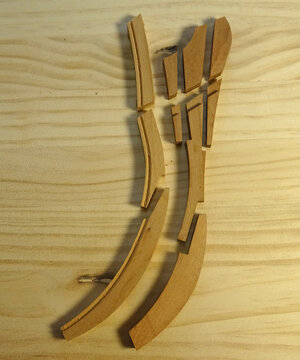
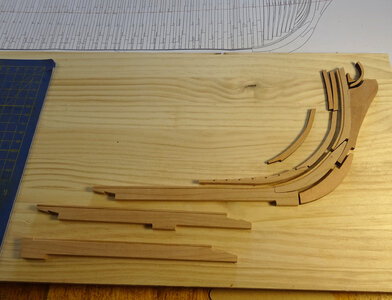
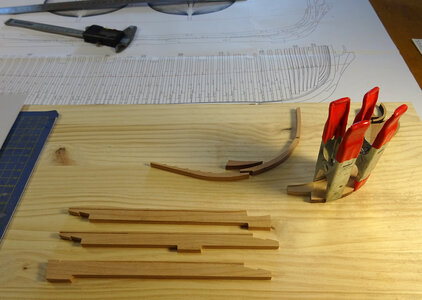
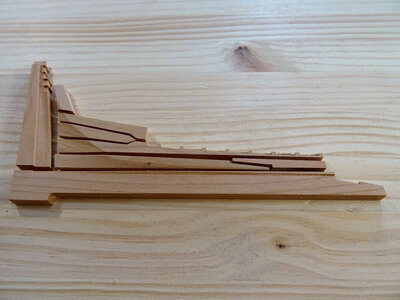
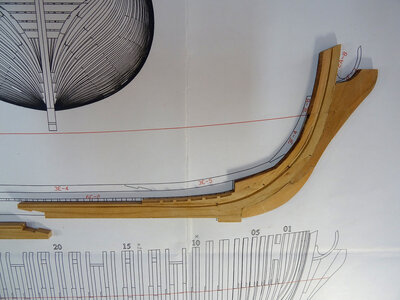
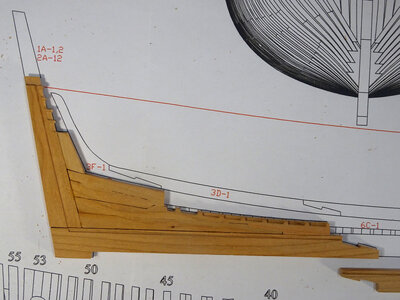
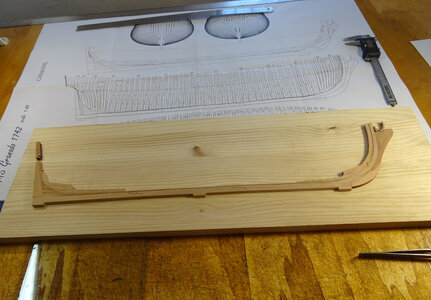
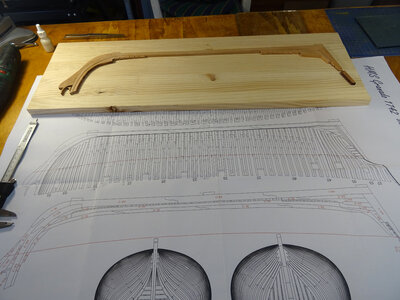
After a wait of 7 months l have now decided to make a start on this mammoth project, commencing with the keel. Because this kit is designed with the option of building the hull as a split structure, top and bottom, there are 49 individual pieces which make up the keel, including some that are made of 3 layers of 2 mm sections laminated together to form one element. As previously mentioned though, l am building this as a conventional hull, not split so everything will be glued together forming a single, solid hull. The keel is a combination of CNC milled parts at 6 mm thickness and laser cut parts at 2 mm and 3 mm thicknesses. With a small amount of cleaning off the laser char and some tidying of the milled parts, the whole thing comes together very accurately and fits the drawings perfectly, but it looks like there may be need of some very slight alteration to the scarf joints of 3 longer pieces forming the base of the keel as there is an error of about 1 mm in the length between the first and last of the 3 tabs when the 3 parts are put together. This can be done when fitting it into the jig, which, after the keel, is the next part of the build. Most of the front end section is complete, so next on to the bow . . .

DSC07462.JPG

DSC07463.JPG

DSC07464.JPG

DSC07465.JPG

DSC07470.JPG

DSC07475.JPG

DSC07474.JPG
 
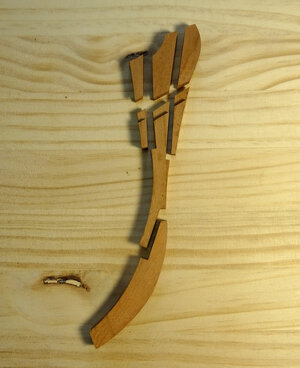
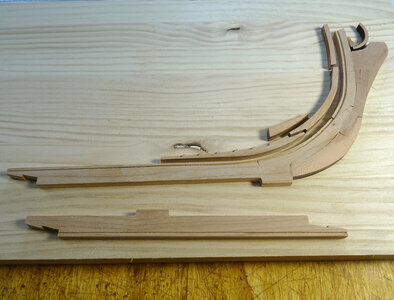
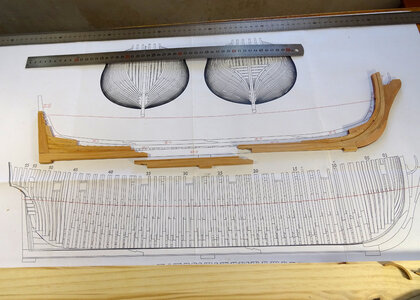
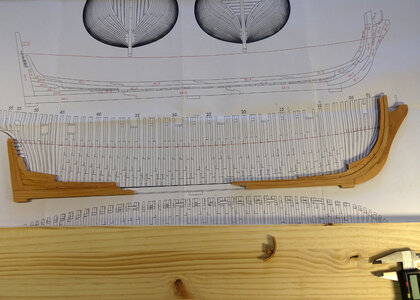
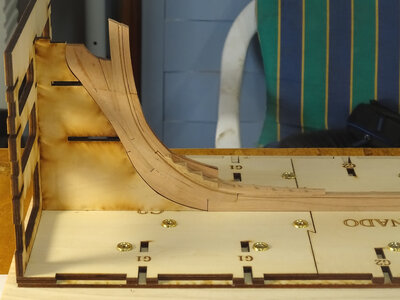
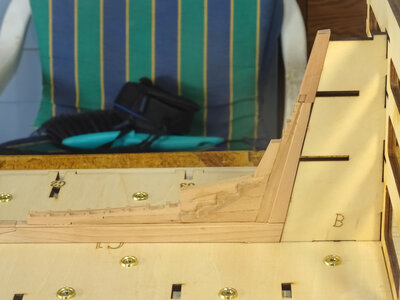
Bow and stern sections constructed. A check against the drawing shows the fit is just about spot on, so hopefully there shouldn't be any problems when it is installed in the jig and the frames are fitted into the card slots. The last pics show the 2 keel sections dry fitted together. A little cleaning up of the CNC milled slots and scarf joints is still to be undertaken before the parts of the keel can be joined together and installed into the jig, construction of which is next on the agenda. It is a small project in itself and is probably the most important single element of the whole build.
DSC07478.JPG

DSC07480.JPG

DSC07477.JPG

DSC07496.JPG

DSC07498.JPG

DSC07491.JPG
 
Excellent start, I will be following this build closely and am already enjoying your photography and detailed documentation of the plans and drawings.

Brad
Thank you Brad. Really pleased you are enjoying and following along with this log
 
I am very happy to see another Granado under construction - you will see, that this will be a great and interesting project.
You made a good start with the keel elements - now step by step you will have the fun to make the frame segments.
Maybe you mentioned it already - did you decide already to make a split version with upper and lower part?
For everybody not knowing this kit - CAF prepared it in one way this possibility
Hi Uwe. Thanks for your comments. l am following your excellent build of this great kit with much interest and love the skill and ingenuity you are putting into it. l am only into the first week but share your enthusiasm on working on this interesting and well designed kit CAF have produced. I have already stated that l shall not be building this as a split frame project. l probably stand alone, but l'm not particularly keen on this concept but can see the allure of such an idea and you have had a great result with yours. l am looking forward to many months (possibly up to 2 years) of enjoyment working on this, my 3rd POF kit. l have waited quite a while to start this and, as l knew would be the case, am most definitely not disappointed
 
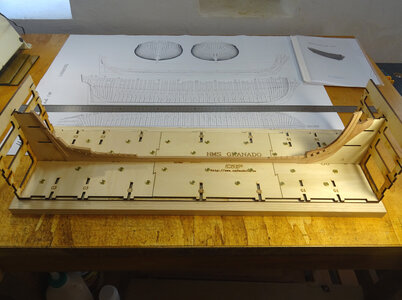
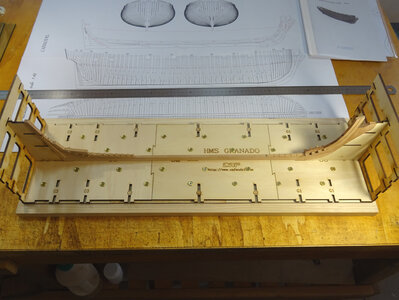
With the keel now all but finished apart from CA-1 and 2 (the card slots for the midship frames) and a little cleaning and fine tuning, it's time l turned to the cradle in which the keel is held in order to accurately align each of the frames once they are constructed. The first job is to mount the base of the cradle onto a thicker piece of pine to give the structure more rigidity and add a bit of weight to stop it sliding about all over the workbench when trying to work on the model. This done, the keel is placed into its centre position to check all is correct. l'm really happy to say that it fits perfectly. So now l can continue with the construction of the cradle, which like the rest of the kit so far seems to go together very accurately.

DSC07499.JPG

DSC07500.JPG

DSC07501.JPG

DSC07503.JPG

DSC07504.JPG

DSC07505.JPG
 
Memories are coming up when I see your photo -
the only small difference is, that I like the base-board slightly bigger, so I can leave there some small tools (like the ruler) and parts

IMG_0093.jpg IMG_0097.jpg

Now the fun will start - frames - and more frames - and still some more frames

ENJOY
 
Memories are coming up when I see your photo -
the only small difference is, that I like the base-board slightly bigger, so I can leave there some small tools (like the ruler) and parts

View attachment 420462 View attachment 420463

Now the fun will start - frames - and more frames - and still some more frames

ENJOY
Thank you my friend. What a great kit this is. Looking forward to the ride.
 
With the keel now all but finished apart from CA-1 and 2 (the card slots for the midship frames) and a little cleaning and fine tuning, it's time l turned to the cradle in which the keel is held in order to accurately align each of the frames once they are constructed. The first job is to mount the base of the cradle onto a thicker piece of pine to give the structure more rigidity and add a bit of weight to stop it sliding about all over the workbench when trying to work on the model. This done, the keel is placed into its centre position to check all is correct. l'm really happy to say that it fits perfectly. So now l can continue with the construction of the cradle, which like the rest of the kit so far seems to go together very accurately.

View attachment 420300

View attachment 420301

View attachment 420302

View attachment 420303

View attachment 420304

View attachment 420305
Good evening Keith. I have pull up a chair here. I have followed your previous build and there is quality in what you do. Looking forward to this . Cheers Grant
 
Good evening Keith. I have pull up a chair here. I have followed your previous build and there is quality in what you do. Looking forward to this . Cheers Grant
Thank you very much Grant. It's an honour to have you along. Welcome
 
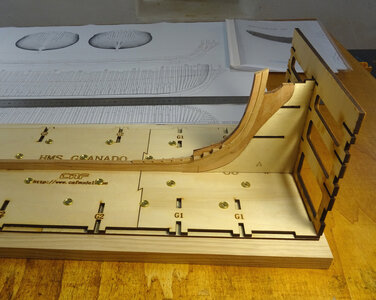
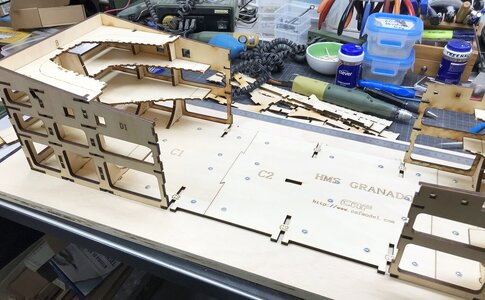
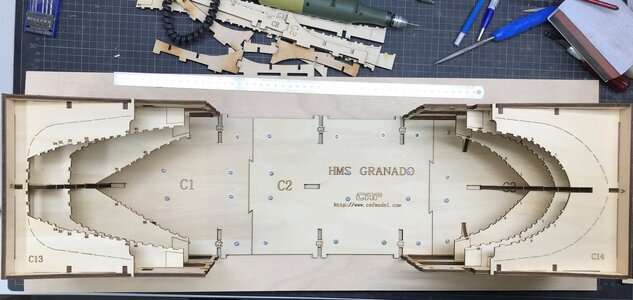
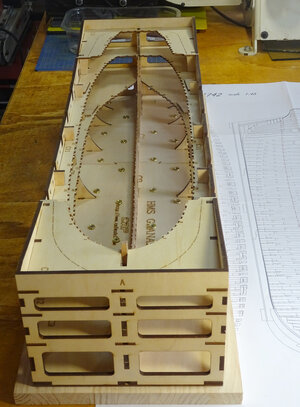
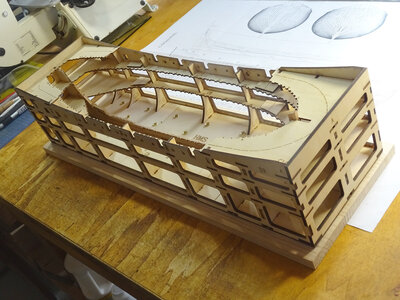
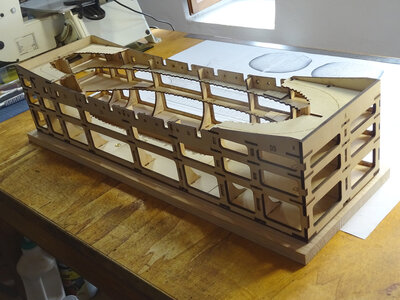
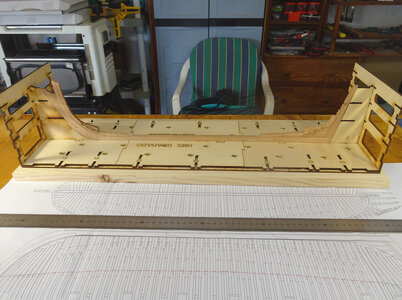
The building cradle, dock, jig or whatever you want to call it is now constructed and l must say, it all went together very well. All the laser cut 4 mm plywood components fitted perfectly and you end up with a very rigid construction in which to build the hull. Well done CAF Models on this excellent (l think from now on l'll refer to it as a cradle). The keel fits into it nice and tightly as it should, so it looks like the way is clear now to build the rest of the hull which is part 1 of this 3 part project.

DSC07510.JPG

DSC07511.JPG

DSC07512.JPG

DSC07513.JPG

DSC07523.JPG

DSC07524.JPG

DSC07525.JPG

DSC07526.JPG

DSC07527.JPG

DSC07528.JPG
 
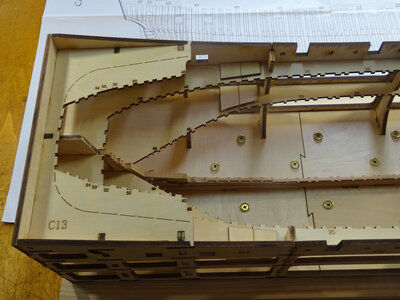
Work on the hull is now underway. The kit's instructions suggest to begin with the transom pieces attaching to frame 53, the last of the stern cant frames. The 5 transom pieces have been cleaned up and the first sanding to fair the frames is done, so all is ready to test assemble the pieces and dry fit in place in the cradle

DSC07530.JPG

DSC07531.JPG

DSC07536.JPG

DSC07537.JPG

DSC07538.JPG
 
Last edited:
Work on the hull is now underway. The kit's instructions suggest to begin with the transom pieces attaching to frame 53, the last of the stern cant frames. The 5 transom pieces have been cleaned up and the first sanding to fair the frames is done, so all is ready to test assemble the pieces and dry fit in place in the cradle

View attachment 421881

View attachment 421889

View attachment 421890

View attachment 421891

View attachment 421926
Hi Keith, That’s a rapid start, blink and I’ll miss something, it’s looking good so far, really looking forward to this one. Ken
 
Back
Top