HMS Grimsby-Constructo 1:65

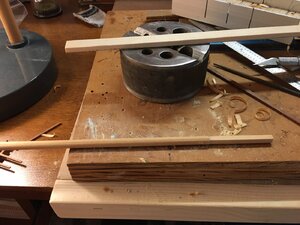
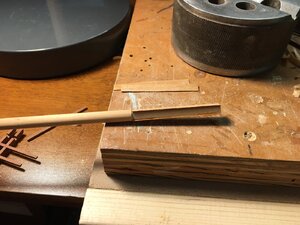
this time I made 2 holes w/ brad point Drills, you get a clean hole and a good center that doesn’t veer off when you drill, years ago I bought this nice Austrian set before all the China suff started to come over. I drilled a 1/4” and a 3/16 hole then I filed the 3/16 hole square with a small Xacto square file, it gets a cover anyway You won’t see the square hole. Last mast I went round, to square then back to round, this was a lot easier.


View attachment 152344View attachment 152345View attachment 152346
Do you have a good brand name or source for these drills, the center pointed set are hard to find, but work well!
 
I used to get their catalog, wood workers supply of NM. They have the brad pout set also, some sets do t have turned down shanks, like the 1/2” would have to go in a large chuck. First link have turned down shanks

 
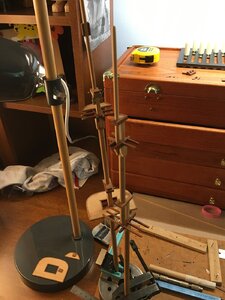
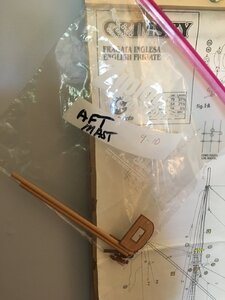
Fore and Main mast done, fore mast just needs to be glued up and bottom cut to legnth, now on to the aft mast, I saved the little one for last. Lol


165981EB-D624-4D41-8D75-81B4B46CFD60.jpeg
 
Last edited:
I was looking at the Endeavor build, theres a stiffener and the rope wraps on the masts, I take it I want to do both now while the masts are still not installed. ??
 
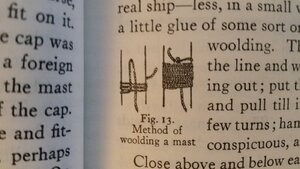
Every time I think the mast is done, I see a detail I missed. Anyone have a close up pic how to wrap and tie off the rope?
prob use some glue to make it stay ?
 
Every time I think the mast is done, I see a detail I missed. Anyone have a close up pic how to wrap and tie off the rope?
prob use some glue to make it stay ?

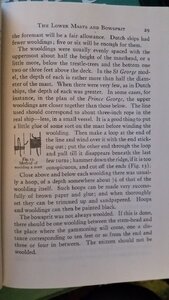
From R.C. Anderson's The Rigging of Ships in the Days of the Spritsail Topmast. 1600-1720. Add a bit of glue to the area at the backside of the mast where the ends of the line are seized and trimmed. Refer to your drawings or photos as to the number, location, and spacing of the wooldings. Happy rigging!

20200601_110146.jpg
20200601_110153.jpg
 
that’s good info thanks. Woolding. Never knew what it was called.
 
Last edited:
Using that pic to do the wollding, would you put the tie detail on the back side of the mast or the front just to try to hide it, or do you want to see it?
im really dreading when the building stops, I don’t know ship rigging at all, I feel I’m really going to struggle with this.
 
Last edited:
AS DO I, BUT MAIN REASON THAT I DO NOT RIG MY MODELS ONLY STUB MASTS IS LACK OF ROOM TOTALLY AS WELL AS ALL MY FAMILY AT CHRISTMAS TIME THIS IS WHY I LIKE THE SMALL BUILDS. GOD BLESS STAY SAFE Don
 
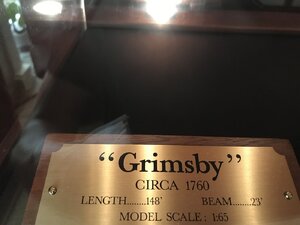
Thursday my new landscaping is coming, I hope to get back to work on Grimsby soon, We haven’t had many rainy days either, Ill take a few pics of my case I made for her, it was a project in itself, I used black matte laminate for the finish, using Sapele for the mounding around the outside, I put loop Velcro on the base, so it wouldn’t scratch the plexi case and be tight, but still easy to remove the ship to work on it. I seem to go long time between working on her, the case keeps it clean and un-harmed. I had a brass plaque silk screened with the Name & dimensions I had to come up with On a angle block of sapele.
I took the warped masts and cut them off, but in a tall case she needs her sails. Looking forward to getting into that. image.jpg
 
Last edited:
My huge project is finally done on my house, so today I had some time to get building the last mast. when I bought glue, I picked up the thick and the thin. I tried the thin today, it just runs out and made a mess of things.
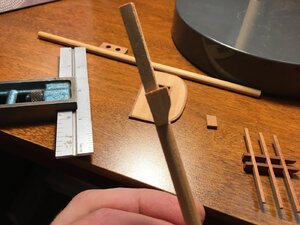
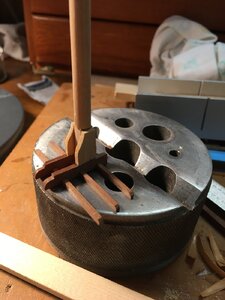
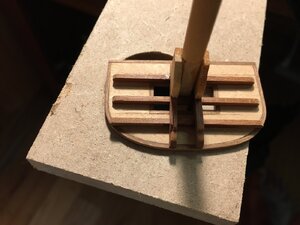
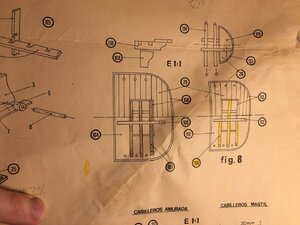
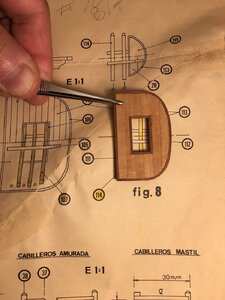
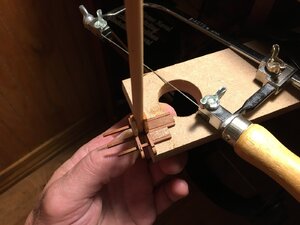
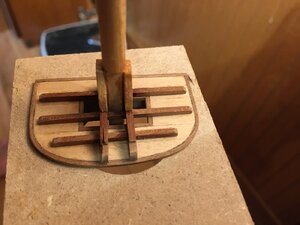
after squaring up the top part of the bottom mast, I noticed the trestle parts seem to be too long, I’m not sure where I got the dimension from, but I think all 3 need to be shorter. The front pc goes past the radius, you can see in the last pic.


8525685E-122C-48F9-BA99-4486B44D17D4.jpeg0C038A2A-1AB9-4CEA-A19E-0FDFD8E8CD17.jpeg3BB4FBD7-26F3-4F4A-99AF-347CEA4DD8D0.jpeg3F508486-350F-4A94-ABBC-4442DCBC9767.jpegB11416D9-FEF3-46B9-85DA-9F3EB4DA9144.jpeg
 
One of the big pre cut beams is all splintered at one end I’ll have to fix that with filler. I’ll prob make some from glue and sawdust. Now I can’t seem to find the dark wood glue At the stores. ( on left in pic)
 
Back
Top