• Win a Free Custom Engraved Brass Coin!!!
    As a way to introduce our brass coins to the community, we will raffle off a free coin during the month of August. Follow link ABOVE for instructions for entering.

HMS ONTARIO - A MARISSTELLA WOODEN SHIP KIT

Joined
Apr 9, 2023
Messages
30
Points
78

Location
Lisbon, Portugal
Hi there!
I hope this post finds you all well.
After some struggle with myself on which new model to choose, I finally decided to purchase the HMS ONTARIO.
I wanted a different type of ship from my previous one (Xebec from Amati), at a larger scale and presenting new challenges, and the ONTARIO certainly fits the bill.
The ship is beautiful, and the kit is said to be high quality, not only in what comes to materials supplied, but also to accuracy towards the actual ship, whose well preserved wreck lies at the bottom of Lake Ontario.
But...
This kit seems to be notoriously difficult to build - I couldn't find a complete build log of it, although it has been launched some years ago.
This seems to be reckoned by Marisstella, that improved several aspects of the building method and instruction book to make life easier to builders.
The future will tell if the choice didn't over-stretched my skills...

I order the kit directly from Marisstella. The service was super fast - I received it two days later.

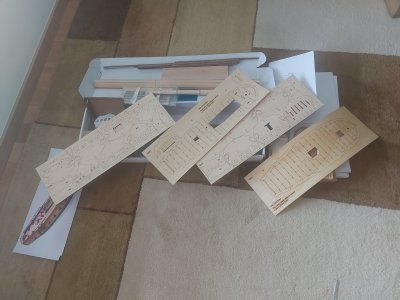
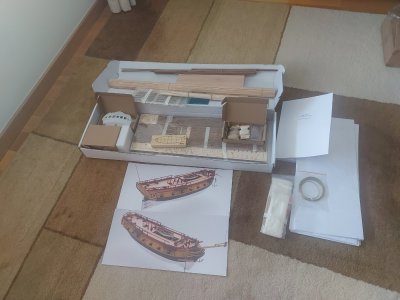
I am now starting to go through the instructions and the content of the box.

A lot of reading before actually start the build.

If there is anyone out there building the same kit, I 'll be glad to exchange issues and solutions.

Best regards

Catela
20250920_121940.jpg

20250920_122913.jpg

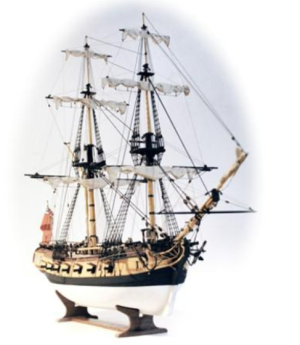
ONTARIO BOW VIEW.png

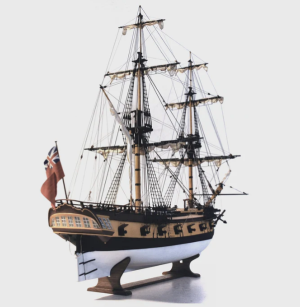
ONTARIO STERN VIEW.png


Hello Jose, I'm also building this kit as well a d finding it a bit difficult. If I can't figure something out from the images or instructions I look the above build on Instagram.

Neil
Hi Neil,
Thanks for you comment. I already took a look at your log and will keep paying attention to your developments.
You are fast!...
It will take me much longer to reach stage you already reached. The Xebec entertained me for almost 3 years....
As I said, I am still in the reading phase.
I try to learn as much as possible before starting to cut, or glue anything and avoid mistakes that may be difficult to correct.

The log in the Instagram is published by Kohei Takeishi. I contacted him on my evaluation of which model to go with. He published a great set of photos (a lot of them...). The model looks very nice, but no issues with the build are discussed. He has the hull almost finished.

Best regards
Catela
 
This kit’s on my to-do list so I will follow your build log with interest. I know that the original version had confusing and frustrating instructions and they have supposedly addressed those issues. I look forward to seeing your progress on the kit.
 
Greetings, everyone,
I finally started construction.
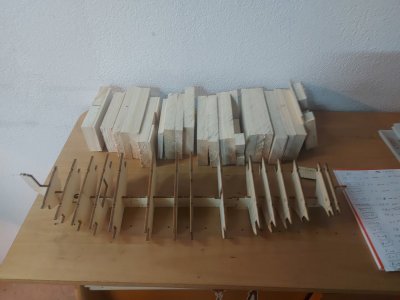
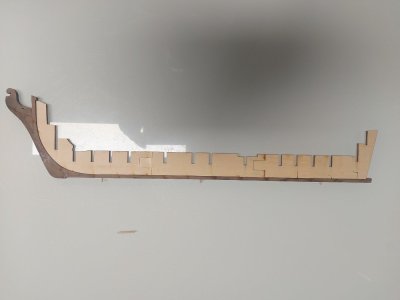
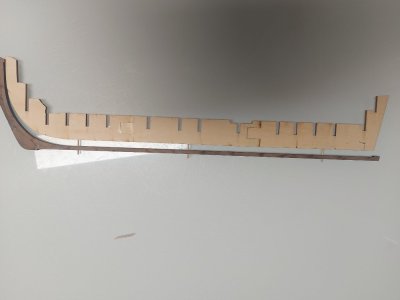
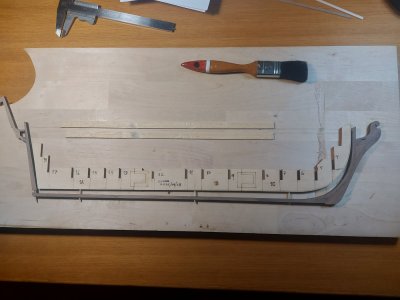
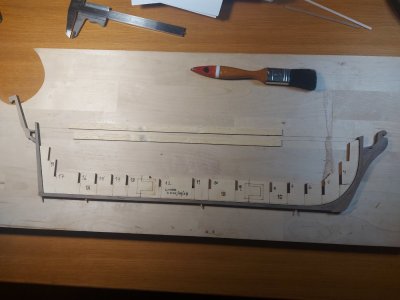
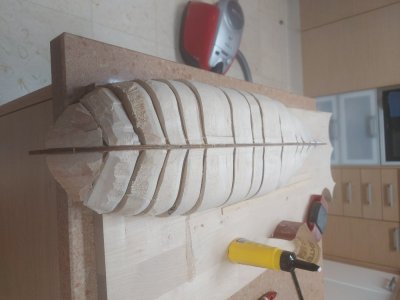
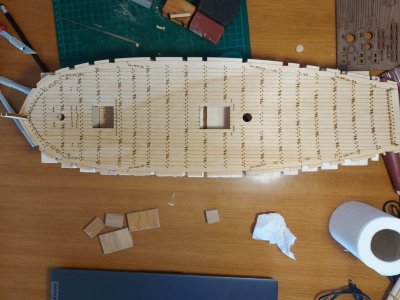
I may confirm that, up to now, the laser cut parts are very precise. Bulkheads required only light sanding to fit in the keel.

In despite of this, I already have some ideas that deviate from MarisStella instructions.

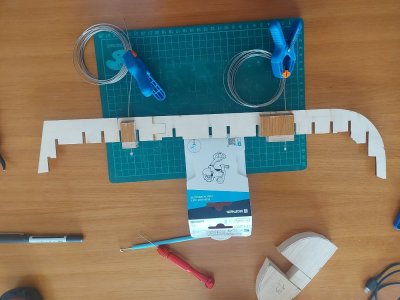
First of all, the keel of the model, made of 4 mm plywood seems a little fragile and too flexible to my liking. It does not provide a sturdy backbone for the model.

Secondly, I would like the model to stand in two brass pods, instead of the plywood stand that comes with the kit.
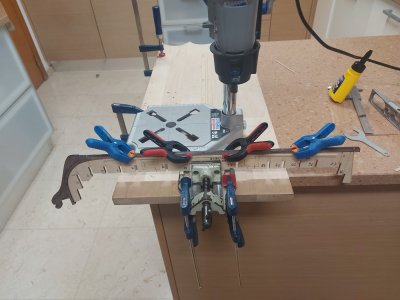
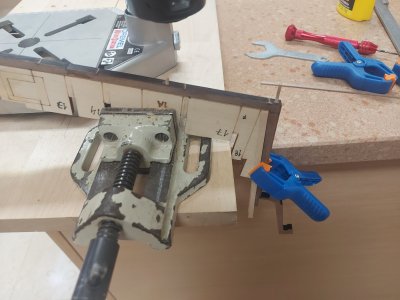
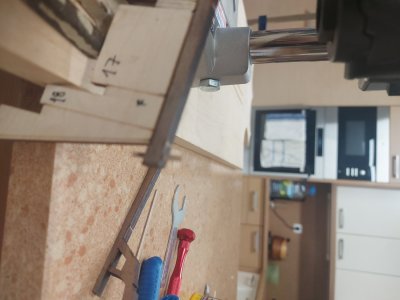
This requires the drilling of two ~3 mm holes, in the keel, to insert the screws that will hold the model, the pods, and the wooden base together. A 4 mm keel, however, seems to narrow to drill the two holes; even if I can drill them perfectly centered, I fear the keel will become to fragile at those points.

Finally this model has one only planking layer. This means it must be come out right at first attempt. I remember from my previous model the first planking layer was mainly the base for the second layer, guaranteeing the shape and flow of the hull, but not to be on display.

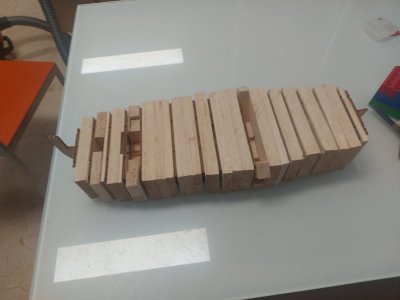
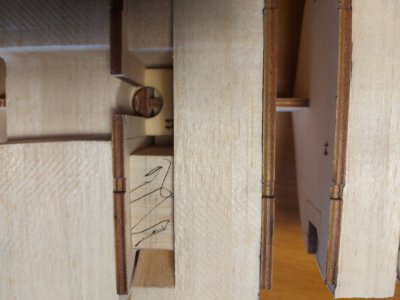
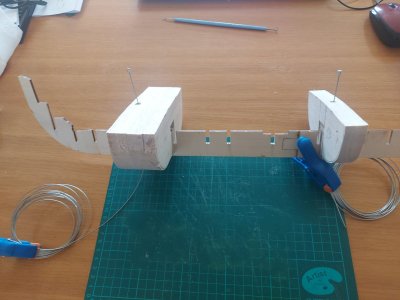
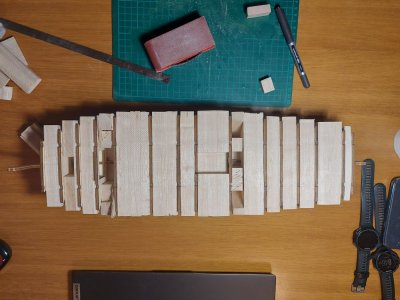
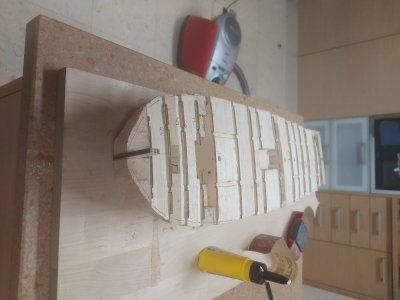
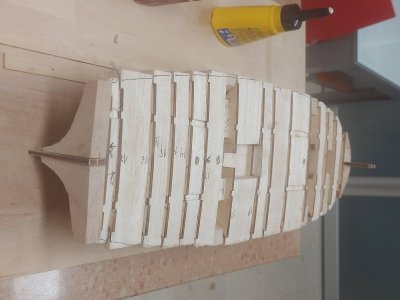
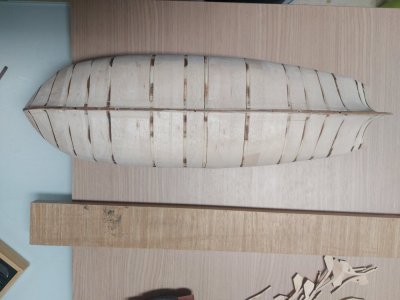
So I decided to fill the spaces between the bulwarks with a soft type wood - balsa, in Portuguese. After sanded to the shape of the bulkheads it will provide integrity to the whole model, and a larger base on which to glue the planks to, making it simpler to plank the hull. MarisStella proposes this method only for the stern and bow sections.

Another change to the construction process is the gluing of the 6 mm walnut keel. Following the instructions this parts should be glued to the plywood keel at the beginning, protruding 1 mm to each side of the 4 mm keel, that will serve as a rabbet. My past experience tells me that it is difficult to guarantee a good finish of the planks against the keel and rabbet (at least it was for me...) at the stern and bow. So I decided not install the walnut keel immediately. I will adjust it, so that it fits in its place, but can be taken out to sand the planking properly and (hopefully...) guarantee a nice finish when done.

All these ideas come from Olha Batchvarov You Tube videos on the construction of HMS Speedy, also from MarisStella. Of course in those videos everything seems to be done smoothly, effortlessly and with no mistakes. They're a great source of solutions and techniques for inexperienced builders like me. Hope I'll be able to copy them properly.

I still don't know if I'll keep the idea of the brass pods. That will be a decision to take after the balsa is in place.
 
Jose, (I’m sorry I can’t figure out how to spell your name properly using my keyboard)

I am looking forward to watching your build. It looks like a nice ship. The kit stand looks good, but I agree with you that brass pedestals would be nicer. I hope you can find some good ones.
 
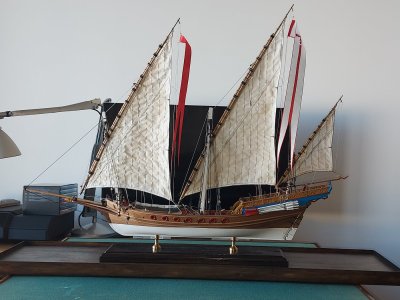
The type of pod I was talking about is the same I used for my previous model, which you may see in the photo.
To use it a modification has to be done at the beginning of the build, to allow the screws to be fixed inside the model and to the base and go through the pods (which are hollow).
20250330_181101.jpg

Catela
 
Back
Top