Just catching up on the latest photos Don. Looking great my friend.
.
.
 |
As a way to introduce our brass coins to the community, we will raffle off a free coin during the month of August. Follow link ABOVE for instructions for entering. |
 |
 |
The beloved Ships in Scale Magazine is back and charting a new course for 2026! Discover new skills, new techniques, and new inspirations in every issue. NOTE THAT OUR FIRST ISSUE WILL BE JAN/FEB 2026 |
 |

Hi Don, I’ve just picked up on your build, finding it very interesting and one which I’ll be eagerly awaiting updates on your progres. I’m aboard for the full voyage.Hey everyone, Thanks to all of you who left comments, likes and just simply stopped in this is all so good.
The update today is rather small but at least it's going forward.
View attachment 196618
So here pay attention to piece 7.1, take note of the planking that needs to be added to the top of it. I did not take note of this and had to plank it when it was glued into position.
View attachment 196619
And here it is planked and looking not too bad, right? NOT. It needs to be taken out and moved ahead one bulkhead further forward. Had I noticed this beforehand the planking would have been much easier!!!
View attachment 196620
Here it is in the proper place, at least now the future ladder will have a place to rest.
View attachment 196621
Next is the false floor, this is a sheet of solid wood that is pre-cut. I am not sure what the slits are for but I'm thinking it is to help with the bending required to get them into place.
View attachment 196622View attachment 196623View attachment 196624
These last pictures are showing the dry fitting. The pieces need to be slid in from the rear, under all the bulkhead tops. A little fine tuning was required but nothing serious.
View attachment 196625
Port side installed
View attachment 196626
Floor completed, there were just a couple of very small high spots that needed a little sanding. That's the homemade sanding tool I used to reach under the bulkhead tops
View attachment 196627
Finally I wanted to show how I braced the floor. There were a couple of spots were the slits in the floor were just barely resting on the tops of the bulkheads so I reinforced these spots with some scrap pieces of planking. Not a big deal, I just thought it maybe worthy of showing.
Until next time Thanks Again for stopping in!

Hi Don, Thank you for that kind compliment though I feel that it’s not completely justified. I think that your building is easily as good as mine and in some ways better, I’m not as methodical as you and tend to rush into things only having to correct them, I probably have more filler in my stash than most, you don’t get to see those bits. I think that many modellers on this site think that others are better but they belittle their efforts and it is in fact only the few that really excel. I think that I will learn as much from you as you do from me. Nice workshop you have there, a real mans den. Keep up your good post.@Ken , Hello Ken, I am a big fan of your work so to have you here is just fantastic! Not so sure it will be the same quality as your workmanship but I guarantee I will have fun trying.
Hello Don,Hey everyone, Thanks to all of you who left comments, likes and just simply stopped in this is all so good.
The update today is rather small but at least it's going forward.
View attachment 196618
So here pay attention to piece 7.1, take note of the planking that needs to be added to the top of it. I did not take note of this and had to plank it when it was glued into position.
View attachment 196619
And here it is planked and looking not too bad, right? NOT. It needs to be taken out and moved ahead one bulkhead further forward. Had I noticed this beforehand the planking would have been much easier!!!
View attachment 196620
Here it is in the proper place, at least now the future ladder will have a place to rest.
View attachment 196621
Next is the false floor, this is a sheet of solid wood that is pre-cut. I am not sure what the slits are for but I'm thinking it is to help with the bending required to get them into place.
View attachment 196622View attachment 196623View attachment 196624
These last pictures are showing the dry fitting. The pieces need to be slid in from the rear, under all the bulkhead tops. A little fine tuning was required but nothing serious.
View attachment 196625
Port side installed
View attachment 196626
Floor completed, there were just a couple of very small high spots that needed a little sanding. That's the homemade sanding tool I used to reach under the bulkhead tops.
View attachment 196627
Finally I wanted to show how I braced the floor. There were a couple of spots were the slits in the floor were just barely resting on the tops of the bulkheads so I reinforced these spots with some scrap pieces of planking. Not a big deal, I just thought it maybe worthy of showing.
Until next time Thanks Again for stopping in!
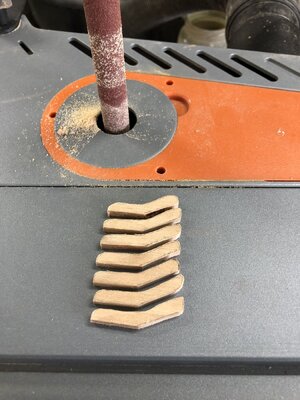
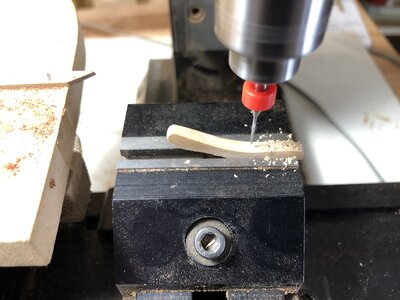
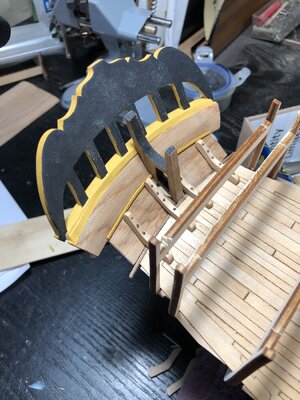
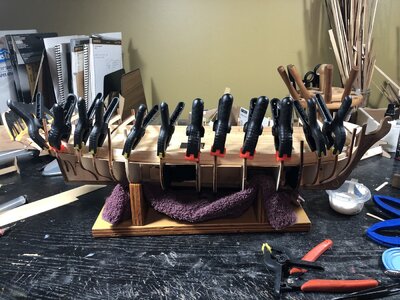
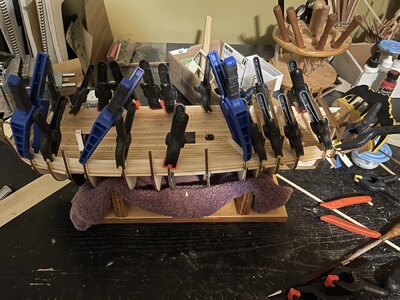
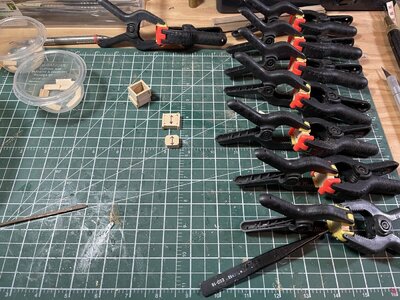
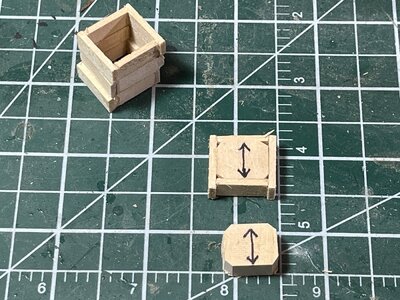
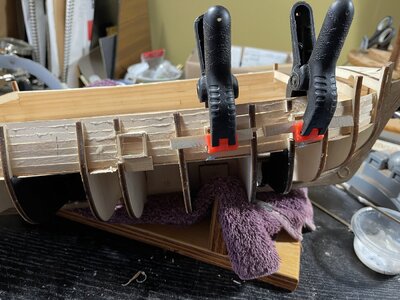
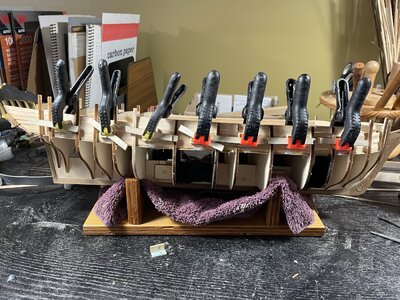
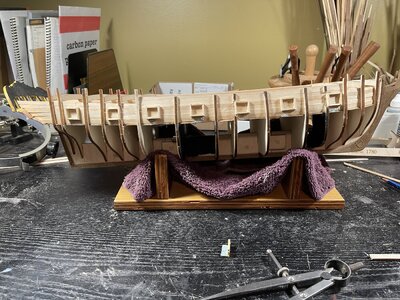
I’m with Heinrich...great idea for the gun ports! She’s coming along nicely, Don.Ingenious idea of the gunport frames - I love that! The transom looks nice and secure - anxious to see what "solution" or plan you will show us next time.
