HMS Pegasus, 1/64 VM/Amati

Joined
Mar 22, 2012
Messages
130
Points
38

Location
Laguna, Philippines
Hi to all :D

I just finished my HM Brig Badger and was really looking forward to building a frigate, particularly Jotika's HMS Surprise but I don't know when they will ever release it so I got HMS Pegasus instead... she's not a frigate but her lines and ornaments are just as beautiful, plus from afar, she has the look of a little frigate ;-)

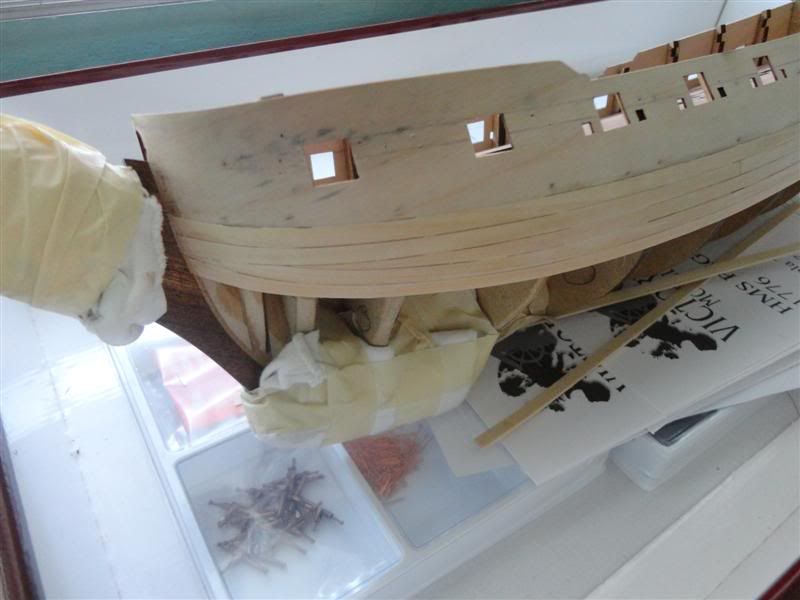
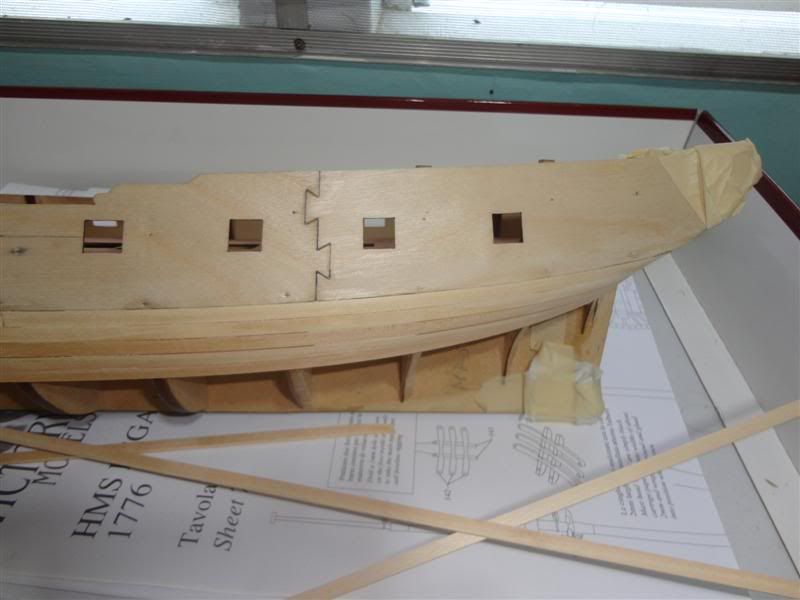
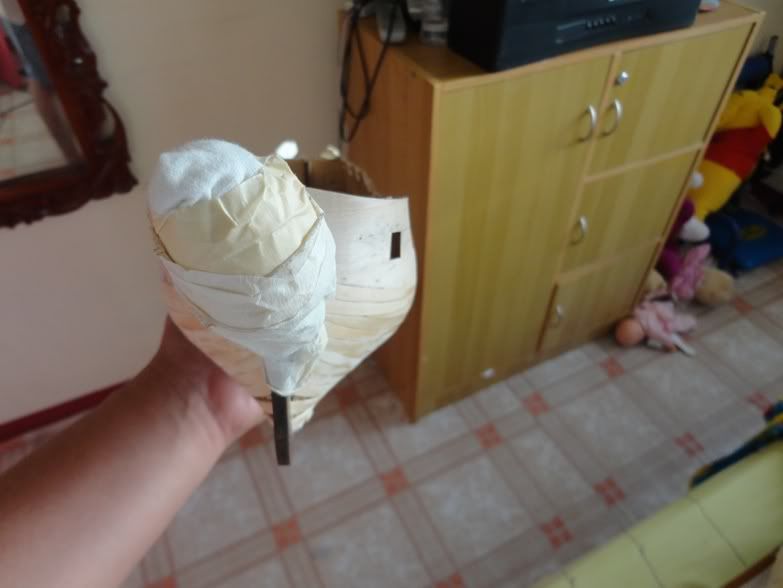
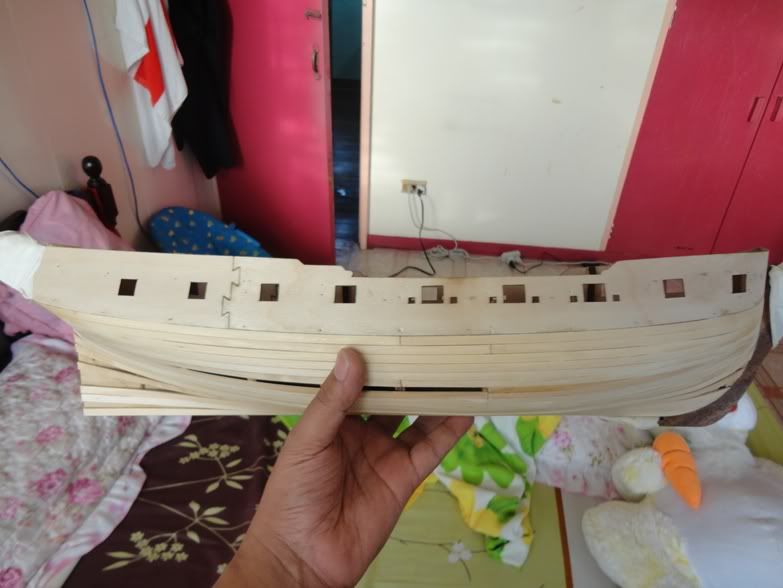
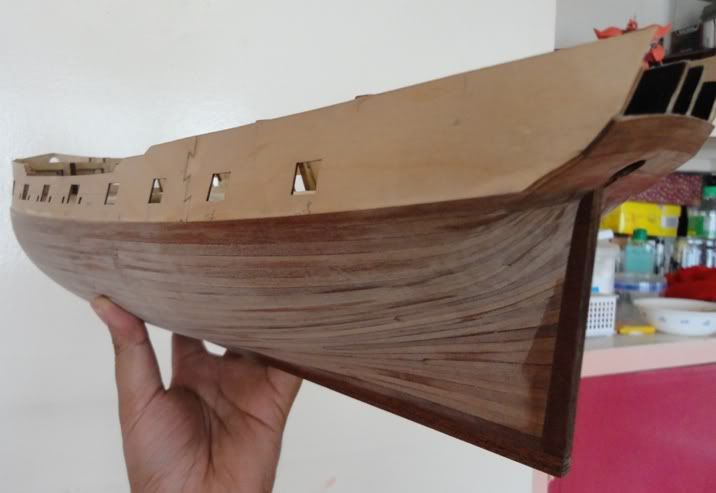
OK, enough talk, time to build my "Peggy Sue"...

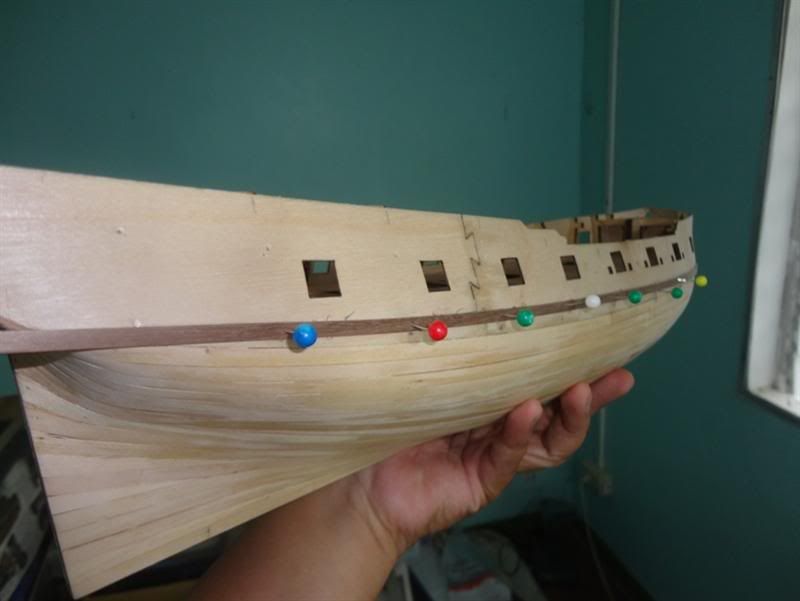
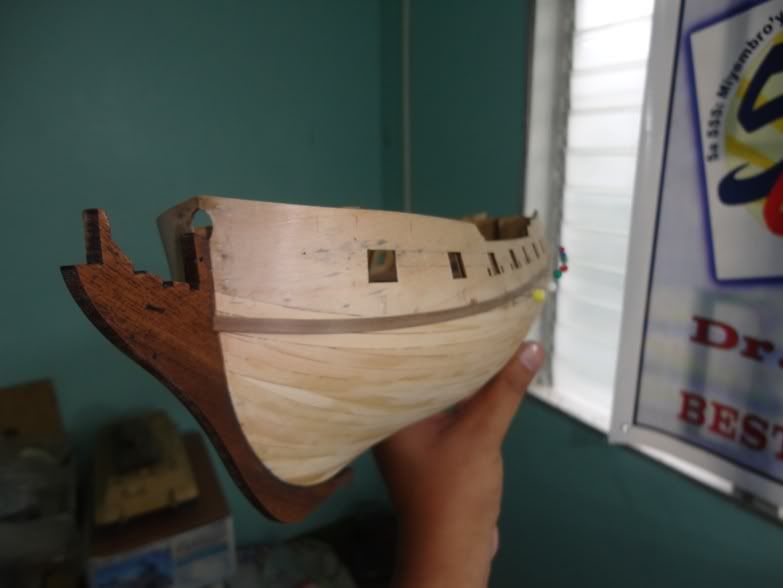
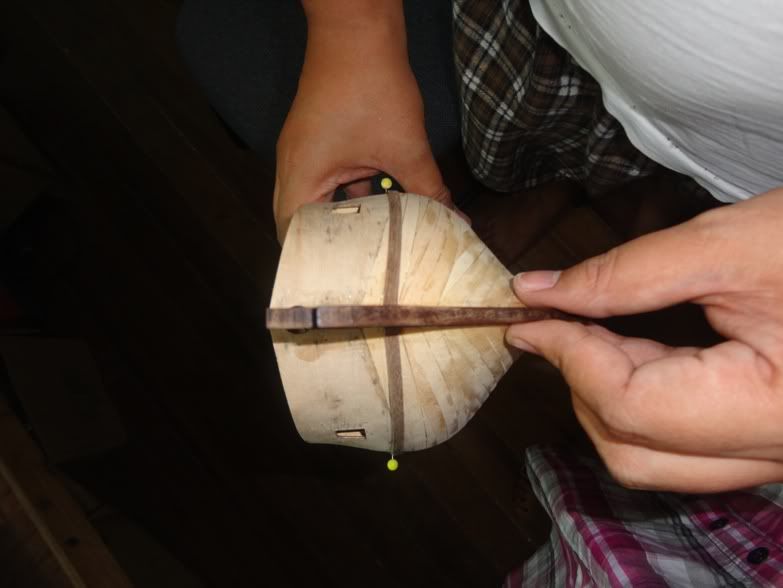
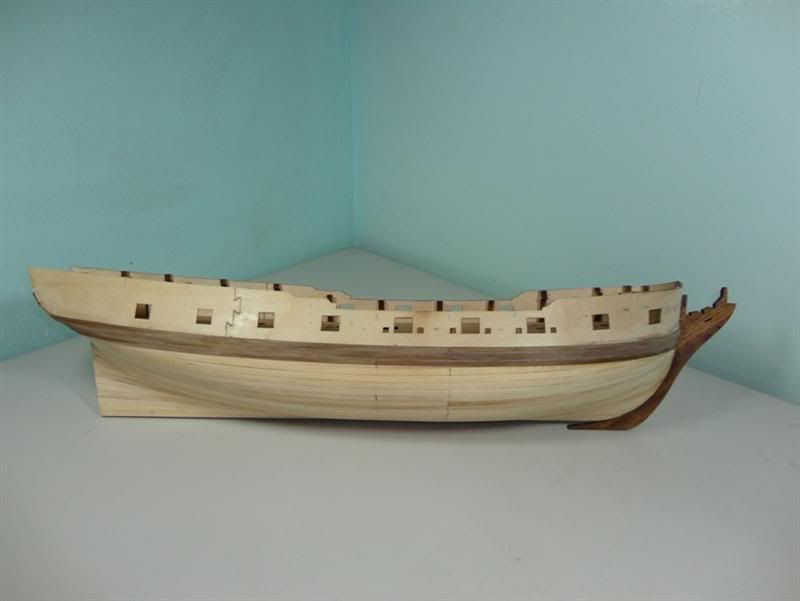
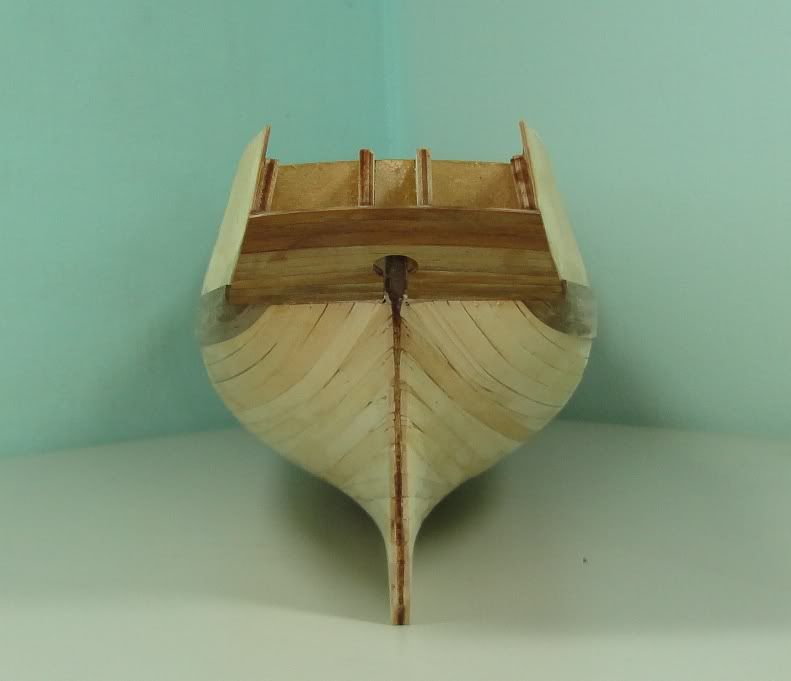
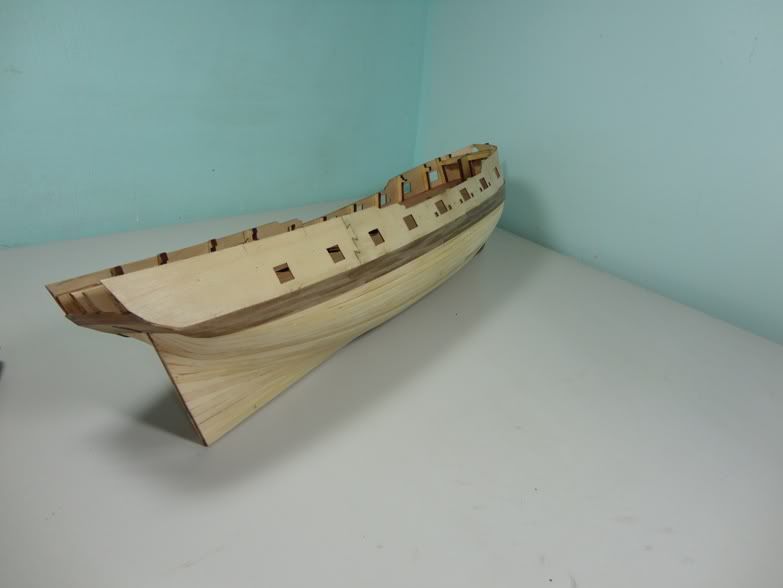
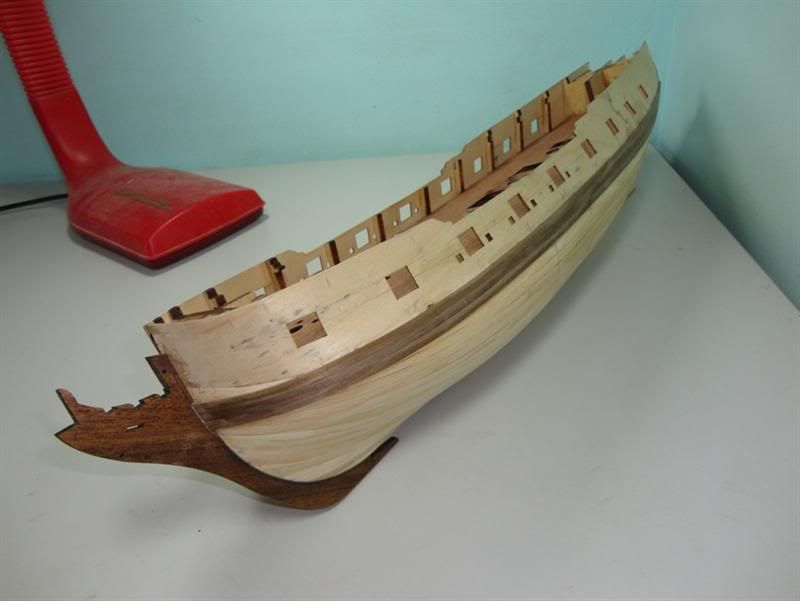
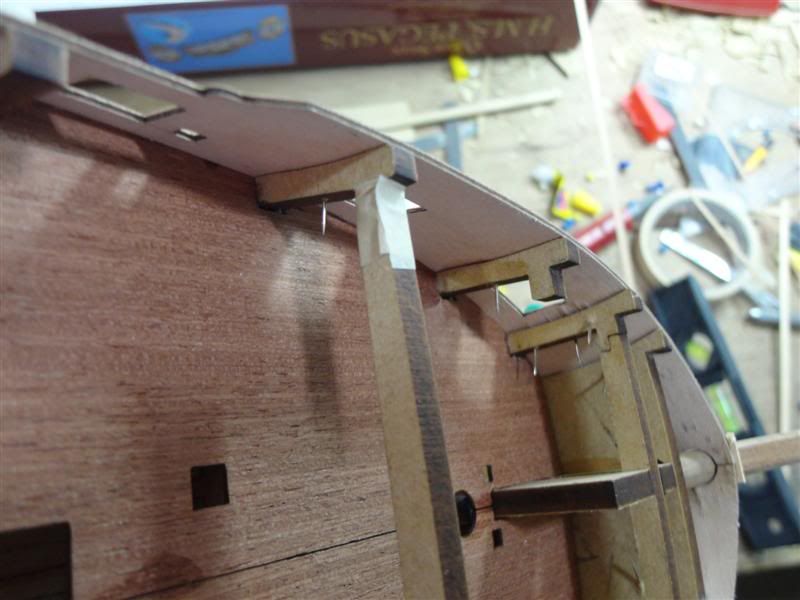
Bulkheads fitted quite nicely and the kit had a 5mm lower deck which when fitted, kept everything straight and true... kudos to the designer Chris Watton for that :8)

Being made of MDF, these were also relatively easier to fair with my trusty craftknife and some sanding sticks.

msw015Medium.jpg


msw003.jpg


msw002.jpg


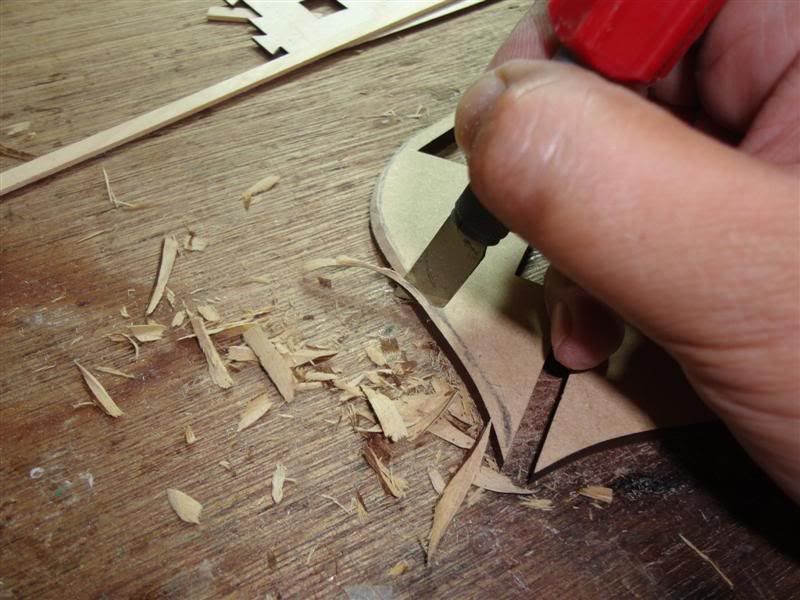
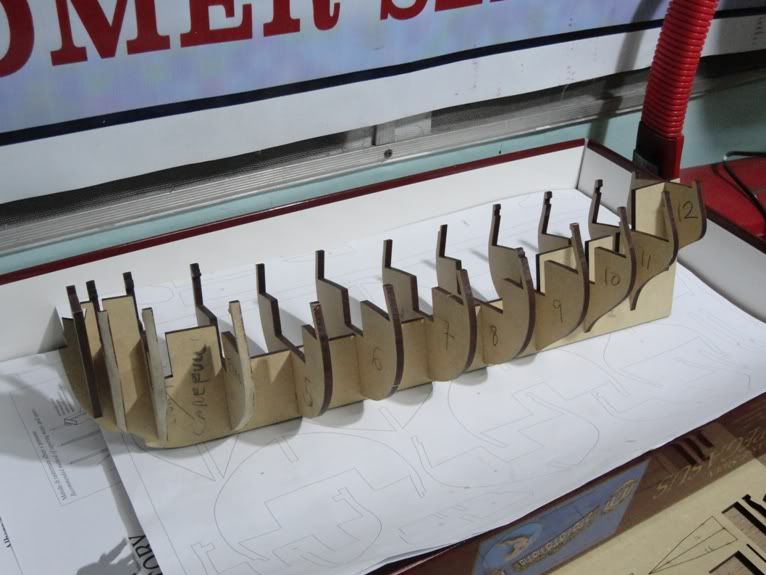
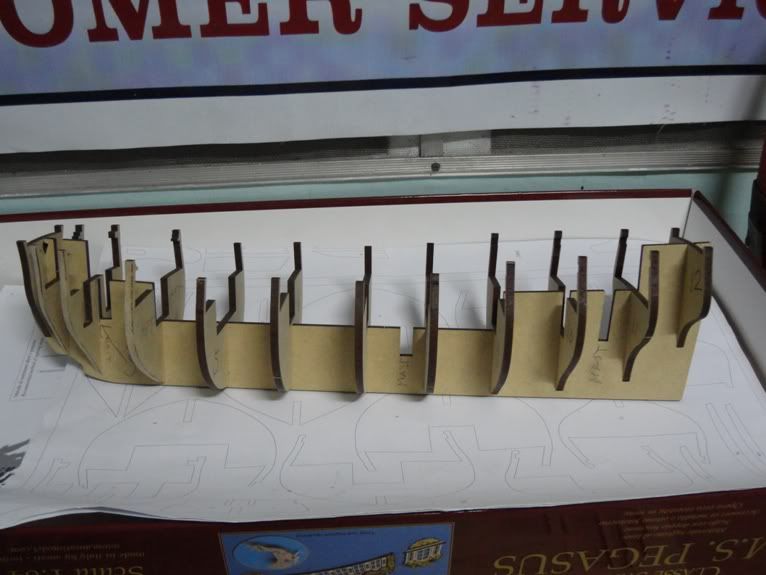
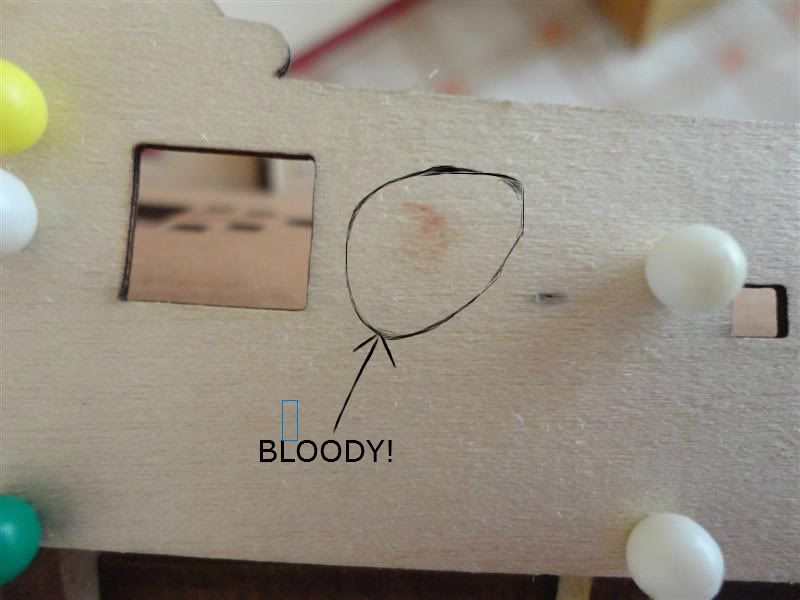
They were however more fragile compared to regular ply.. being a heavy handed clutz, I have to be extra careful :shock:
 
  • Like
Reactions: SOS
The build continues...

Before first planking, the instructions would first have you attach the false deck, plank it and attach the capstan and some bitts. I decided to just attach the false deck first then went on to attach the gunports and do the 1st planking ;-) I will plank the deck and attach the fragile fittings once I'm done with the heavy handed planking work.


The gunports were quite wide so I was apprehensive of using them but after some soaking in boiling water, they turned out to be obedient little darlings :lol: either that or they gave in to my "brute force" :twisted: Yep, I guess the pins showed them who's boss as they quietly followed the bulkhead shapes, especially the tumble home after all the pinning :twisted:

msw019Medium.jpg


msw018Medium.jpg


Pinning the gunports to the bulkheads however resulted to 2 main problems:

First, they produced holes on the bulkheads that have to be filled...
msw031Medium.jpg


More importantly, the protruding pins caused the modeller some occasional blood loss...OUCH! :shock:
Untitled-1.jpg

Good thing it was just first planking, that red stain would have looked awful on the 2nd planking :lol:

Oh by the way, hard learned lessons from past builds thought me that some parts just LOVE to break during planking so I protected them to make sure they stay intact, the Admiral thinks it's overkill, but I say better safe than sorry ;)
msw038Medium.jpg

msw041Medium.jpg


Notwithstanding the giant pack of dressing on the stem, the tumblehome turned out OK so I guess all that pinning and blood loss was worth it :lol:
msw055.jpg
 
  • Like
Reactions: SOS
One last batch of updates...

First planking proceeded without much problem, other than me breaking all the proper planking rules on spiling :oops:
I'll try to be more correct on the second layer, in saying "more correct", I mean only 95% of the planks will have pointy ends :lol:

msw017.jpg


Time to attach the stern counter, of course pre-shaped using my hi-tech shaping jig, namely whatever rounded object I could find :lol:

msw065.jpg


msw066Medium.jpg


msw069Medium.jpg


First planking and stern counter done, time to start second planking.... I started it at the level of the wales, needless to say, I had a "whale of a time" attaching it :lol:

First walnut plank temporarily pinned (no biggie as it will be covered by the wale anyway),then finalized using superglue.

msw077.jpg


msw074Medium.jpg


msw072.jpg


Symmetry check at the bows, again I'm happy with the tumblehome curve, though not happy with the "belly curve" of the builder, someone should tell that guy to go on a diet! :lol:
msw070.jpg


And finally, here are the last few pictures showing my current stage of build.... all 3 walnut planks attached, corresponding to level of the wale. I also used 0.5mm thick walnut to plank over the stern counter prior to 2nd planking.

msw090Medium.jpg


msw081.jpg


msw089.jpg


msw079Medium.jpg


That's it for now, will post new updates once I get some significant work done :D
 
Very nice start. The first palnking does not matter and makes for a stronger hull if it does not match the second planking. Like Anna says, smoothness is what is important.
 
Hello Anja, Popeye, Gary and Sjors, thanks very much for the kind comments, much appreciated :grin: Oh, and thanks for the reminder Anja, this builder will go on a diet :handgestures-thumbup:

A little bit of progress. So far I have completed second planking from the wale down to the keel. This is my first attempt at planking in a "shipwright" manner so there is room for improvement. Hopefully, it will look better when I get to my 10th ship :lol:

DSC02446.jpg


DSC02445.jpg


DSC02447.jpg


DSC02448.jpg


DSC02441.jpg


DSC02431.jpg
 
Hi Aldo

Catching up on your Pegasus. :handgestures-salute:

You have done a very good job so far.
The sec planking looks supernice.
Will you paint the hull, or keep it natural.

Børge
 
Hi Gary and Borge,

Thanks very much for the kind words guys, much appreciated :D Borge, I was planning to leave her in natural wood despite the provided copper plating, however, the walnut planks provided had huge differences in shade so I might copper her below the waterline, I'll weigh the options as I go along :D
 
That is most perfectly done (planking) - Wow - it took me almost over a year to get to this point on my ship.
Incredible work on planking - :greetings-clapyellow: :greetings-clapyellow:
 
Thanks very much for the kind words Popeye, Sjors and Donnie, they are much appreciated :D I'm very sorry for the extremely late reply, a busy new work schedule has gotten in the way of ship modelling :oops:
 
Well, I am slow, but my tools are very impatient - that also includes the Admiral :laughing-rolling:
 
Back
Top