-

Win a Free Custom Engraved Brass Coin!!!
As a way to introduce our brass coins to the community, we will raffle off a free coin during the month of August. Follow link ABOVE for instructions for entering.
-

PRE-ORDER SHIPS IN SCALE TODAY!
The beloved Ships in Scale Magazine is back and charting a new course for 2026!
Discover new skills, new techniques, and new inspirations in every issue.
NOTE THAT OUR FIRST ISSUE WILL BE JAN/FEB 2026
You are using an out of date browser. It may not display this or other websites correctly.
You should upgrade or use an alternative browser.
You should upgrade or use an alternative browser.
Kurt Konrath
Kurt Konrath
Looks like a good start to the build.
Keep photos coming.
Keep photos coming.
Many Thanks for starting your building log - Thanks for sharing with us
A good start, your model and also the log !!!
A good start, your model and also the log !!!
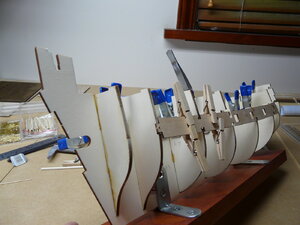
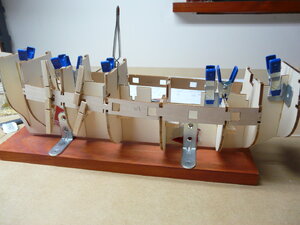
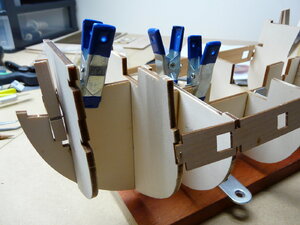
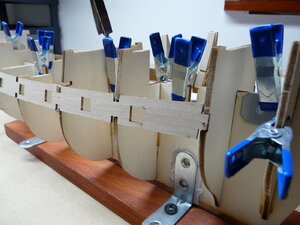
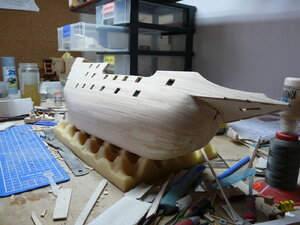
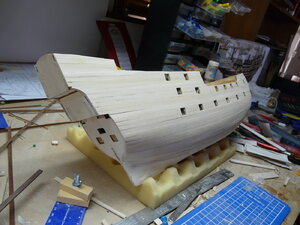
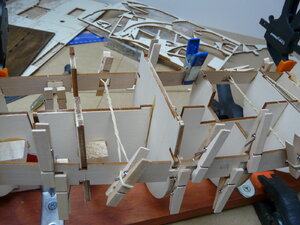
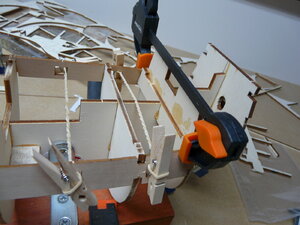
So, I've started this build log of Occre's Revenge. I've only built one other ship, Le Renard. I didn't want to spend too much whilst learning this new trade, so I opted for the Revenge , as well as the interest in one of the most famous ships of the Elizabethan era, captained by Sir Frances Drake during the Spanish Armada period and Sir Richard Grenville on her famous last voyage. I'm fairly particular and not afraid of a bit of scratch building/replacing pieces I don't like. The kit is quite ok , good value. The above pics were easily assembled, everything was straight. The gunport templates were handy, although they came back to bite me. More on that later.
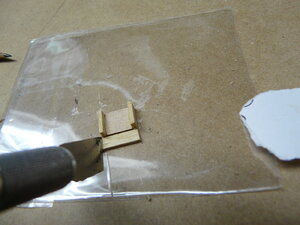
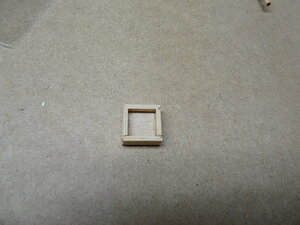
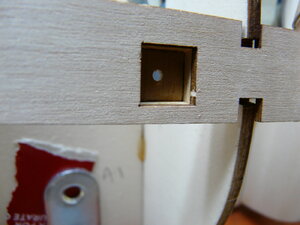
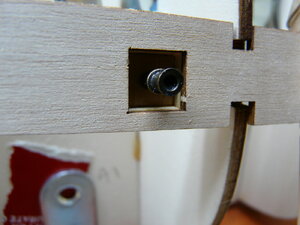
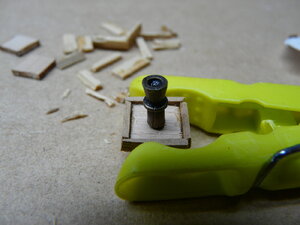
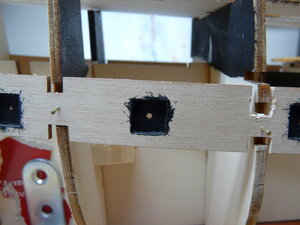
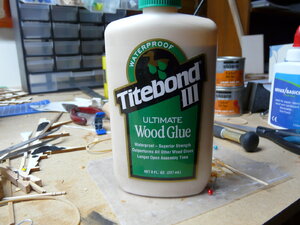
The gunport boxes were non-existent in the kit, just a square piece of wood glued to the back of the template. I created edges for these pieces , so I had some depth to the boxes. Painted black and then getting other templates fitted and glued up. If my images are too big, please let me know. My glue of choice.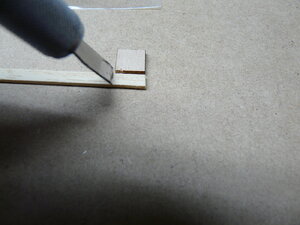


Awesome...fascinating to see a model of the Revenge by another kit manufacturer and the differences in materials and techniques for assembly. I am starting the Revenge kit by Victory Models. Great start!
Kurt Konrath
Kurt Konrath
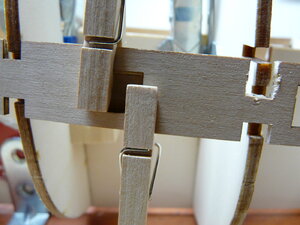
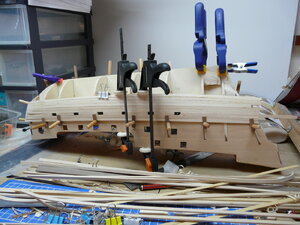
Clever use of rubber bands and clothes pins to hold pressure on strips as they dry.
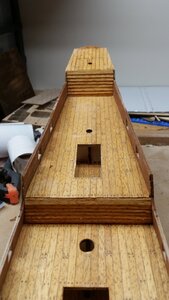
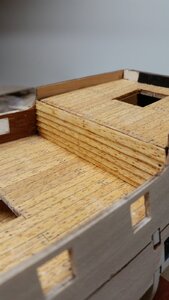
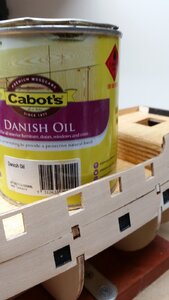
The deck planking quality was quite good, used pencil for caulking and very sharp pencil for fake nails. The upright between decks wasn't on the plans , so I just made horizontal planks. Pictures of stain and oil used for finish. Also lined the bulwarks, which also not in the plans.View attachment 154375View attachment 154376View attachment 154377View attachment 154378View attachment 154379View attachment 154375View attachment 154376View attachment 154377View attachment 154378View attachment 154379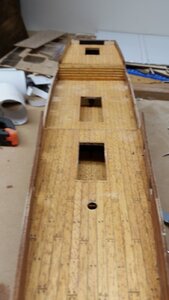




Last edited:
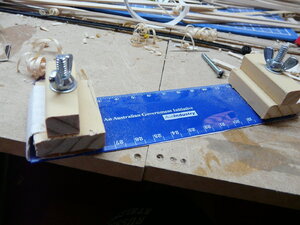
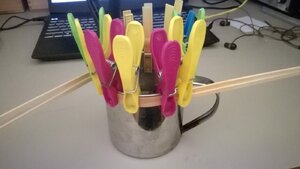
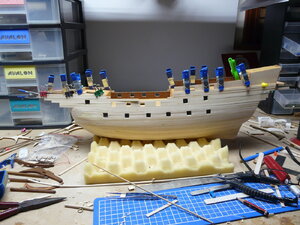
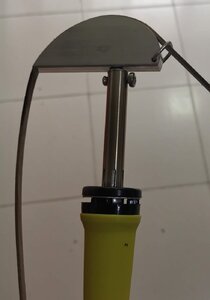
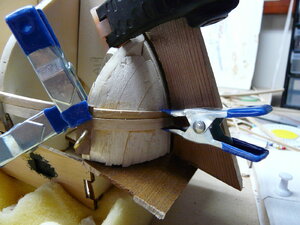
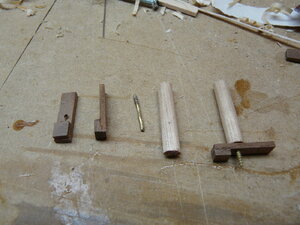
Faired the bulkheads, checking position of false keel pieces. I ended up making a template for the bow to hold/insert the bow planking.The timber is ramin. I soak planks in warm water and bend with a soldering iron. Not 100% happy with that but I will continue. The pic at the end are clamps I made up with some small brass hooks bent into place, some strips of walnut and finally dowels. They work well at times, although with the bulkheads being only 4mm thick, you have to be careful.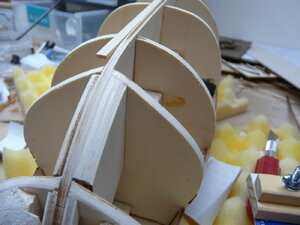
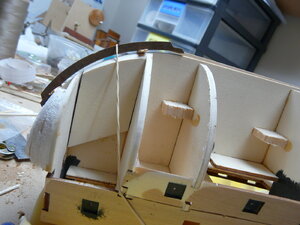
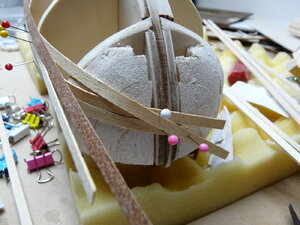


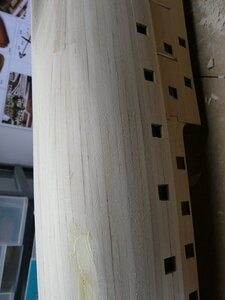
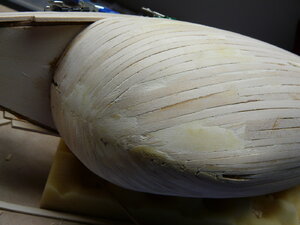
Continuing on with first planking. Not as neat as I would like. Inconsistencies around the bow end, due to bending technique with soldering iron. It's difficult to get the correct bend for each plank to fit around bulkheads. This kit doesn't have all that many bulkheads, I'm guessing more would make it easier to follow curves around bow. Still, filling/sanding should bring it all back.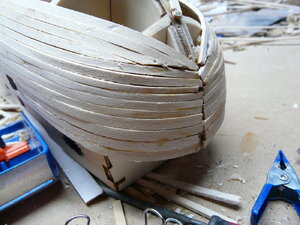
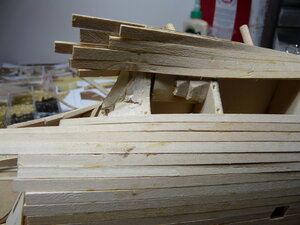
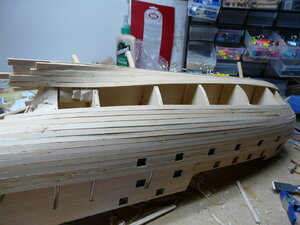
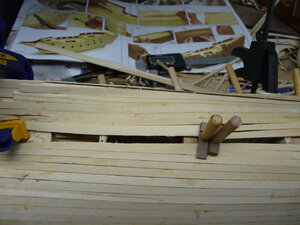
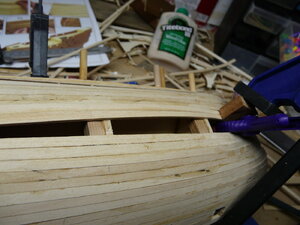

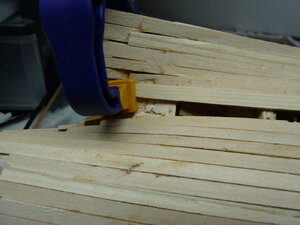


Keep in mind that the wood only wants to bend in its thin direction, bend it in its oposite direct can only be done very limited if you really put it on boiling water and bend it afterwards over a soldering iron. If this has reached its limit you have to change the planking system by using a stealer at the stern or skip a plank at the bow.
Work with the flow of the plank and you will get a good end result.
Work with the flow of the plank and you will get a good end result.
Thank you all for advice. I also tried the wet and pin method until the wood dries, which also has good results. I also found that planks vary in thickness, which doesn't help. It's all a learning experience.
Cheers
Cheers
looking good
- Joined
- Jan 9, 2020
- Messages
- 10,566
- Points
- 938

Thank you , Heinrich, so far i've used hot water only on just the 4 planks at gunport level on the Batavia, with great results, more on that when I start my Batavia log.
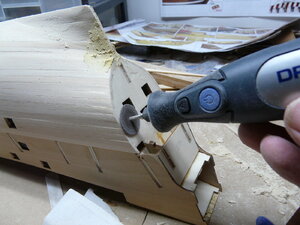
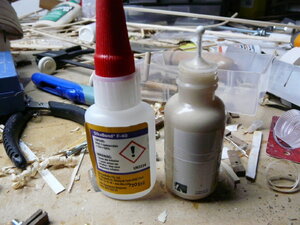
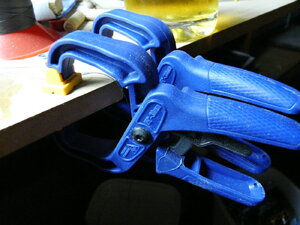
Some of my tools of choice, a fine toothed set of files, a small bottle to put your wood glue in, great set of clamps, homemade sand disc, miniature planer great for trimming planking etc and finally my Dremel cordless drill, such a convenient tool. Also, for sanding, I grab a piece of 4mm wide, or whatever, piece of leftover timber and glue various coarseness sandpaper to it, perfect for getting to 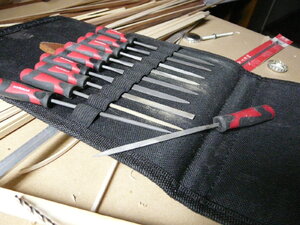
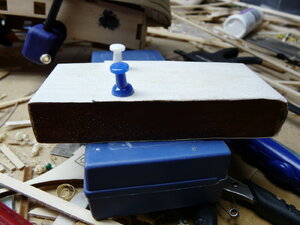
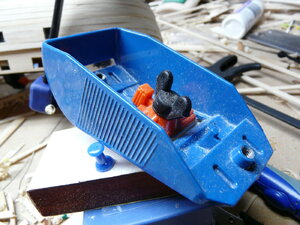
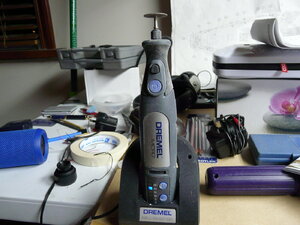 all sorts of areas.


 all sorts of areas.

