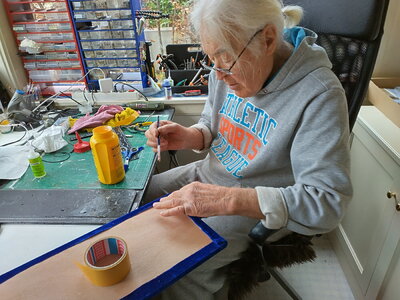
And we are from Severodonetsk, UkraineI was born in USSR, Ukraine, Vinnitsa City.
-

Win a Free Custom Engraved Brass Coin!!!
As a way to introduce our brass coins to the community, we will raffle off a free coin during the month of August. Follow link ABOVE for instructions for entering.
-

PRE-ORDER SHIPS IN SCALE TODAY!
The beloved Ships in Scale Magazine is back and charting a new course for 2026!
Discover new skills, new techniques, and new inspirations in every issue.
NOTE THAT OUR FIRST ISSUE WILL BE JAN/FEB 2026
You are using an out of date browser. It may not display this or other websites correctly.
You should upgrade or use an alternative browser.
You should upgrade or use an alternative browser.
HMS Royal Caroline kit ZHL 1/30 (Following the Maarten's RC)
- Thread starter Alex T
- Start date
- Watchers 25
-
- Tags
- royal caroline zhl
Hi Alex, good to see you and your father back online. Looking forward to your progress.
I will be restarting my Royal Caroline project somewhere in the comings weeks to.
I will be restarting my Royal Caroline project somewhere in the comings weeks to.
I am re-reading my whole blog just to get into the game again. It is not easy. And, while reading it all, I felt so grateful to @Maarten , @neptune and other collegues! WIthout you it would be painful. Information is the most precious thing in this world. Thank you, guys! We will see how it goes.Hi Alex, good to see you and your father back online. Looking forward to your progress.
I will be restarting my Royal Caroline project somewhere in the comings weeks to.
G'day Alex, its great to see you and your Dad back at the work bench, I've missed your build log, be great to see you both working again,
best regards john,
best regards john,
Hi Alex, if you have any questions please let me know.
I am happy for you
and we are happy, that you are able to continue with the work on the model
and we are happy, that you are able to continue with the work on the model
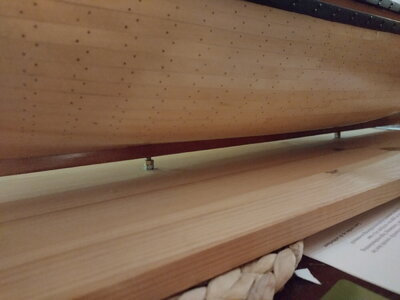
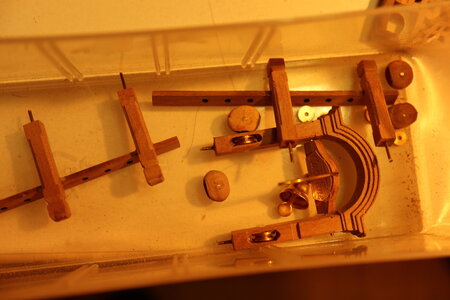
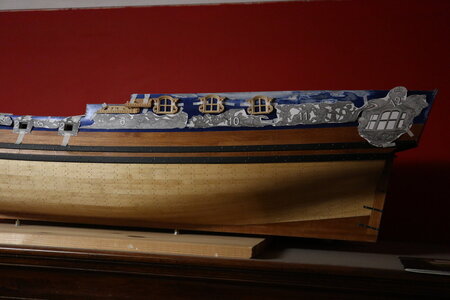
we had a little discussion on whether to put metal nails into this frame vs wooden nails, used by Maarten. Maarten won as usual. You can see wooden nails on the left (2 of them). Do not worry, we experimented on a fake model. In order to make it more contrast, we will oil the frame without nails, and when it gets dark, we will insert white nails. Just like Maarten did. As usual, his work inspires us. 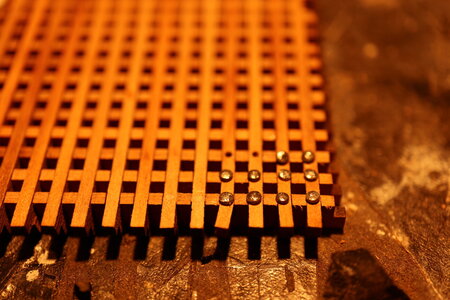

Hi Alex,
See you had a question about the black railing on my model.
It is made of pearwood strip which is bundeled in the kit. I blackened it with black Ecoline.
The profiled parts of the strip are in the sealed foam packages, these are lasered parts you need to double by glueing two on top of each other.
Hope it helps.
yes, I did ask, thank you! it really helped.Hi Alex,
See you had a question about the black railing on my model.
It is made of pearwood strip which is bundeled in the kit. I blackened it with black Ecoline.
The profiled parts of the strip are in the sealed foam packages, these are lasered parts you need to double by glueing two on top of each other.
Hope it helps.
OK, if you are so kind, let me ask further:
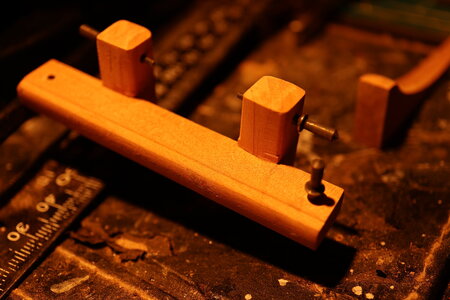
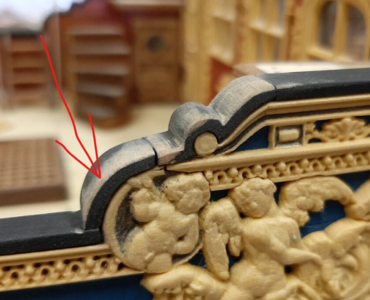
I cannot find the part which I indicated with the red arrow. Sorry, I know that it is a shame I cannot find it myself.
And those pearwood strips, what is their size? Still canot find them... 3 years, you know.
Hi Alex,
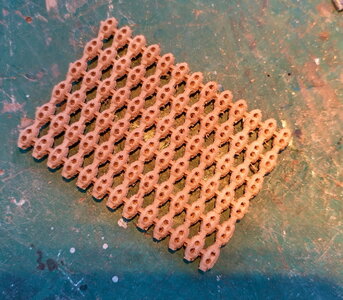
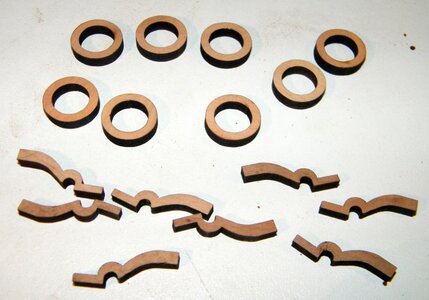
I will measure the pear strip. The rounded edges are sawn from laser cut wooden circles.
These are in the sealed boards.
I will measure the pear strip. The rounded edges are sawn from laser cut wooden circles.
These are in the sealed boards.
Thank you very much! it is SO hard to get back into the business. Many things are forgotten, and it is quite a pain. So, I will ask silly things from time to time.
ahaha,
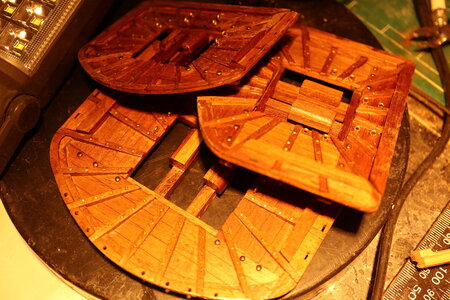
dear John, I have just made the same picture of rings and wanted to ask Maarten, just to be certain. and, imagine, I have opened this chat and I see your pics. Isn't it amazing to see this kind of support from you, guys.
I am smiling and this smile will stay with me all the day.
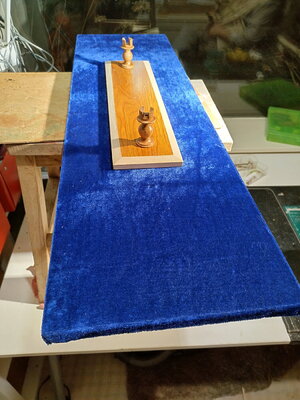
OK, we start the works on the front deck. After considering different options and other Caroline projects, we – as usual – follow Maarten's style.
The only difference will be that Maarten keeps the part of the deck open and therefore he builds high-quality interior under the deck. In our case it will be closed, so we do not have to be so perfect inside. but in general it will follow the Master Maarten.
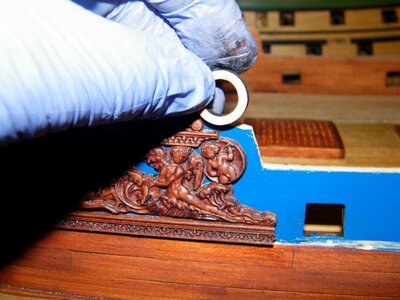
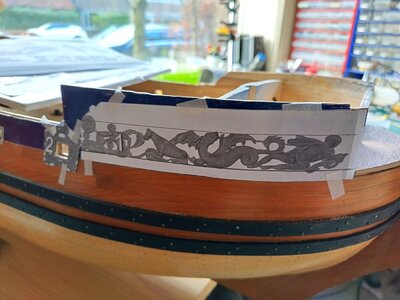
On the picture the borders of the white sheet designate the future cut. BTW these pictures of the carvings help a lot!
The width of the strip is 39mm=6.5 (lower strip) + 20 mm (carvings) + 12.5mm (upper strip).
There will be only two places at the bottom of the carvings, which will protrude a little bit to the strip below.
The whole white sheet is based on the 3 planks above the whale.
So, let's start

Hi Alex,
I measured the strip and it is 8x2 mm.
There should be 2 in the bundle of pear wood strips.
I measured the strip and it is 8x2 mm.
There should be 2 in the bundle of pear wood strips.


