HMS Royal Caroline kit ZHL 1/30 (Following the Maarten's RC)

Ah... I see.
Dear @Maarten , thank you! Your comments helped me to understand the environment. As usual, I admire your level of expertise. I mean it. It's a real pleasure to have your support!
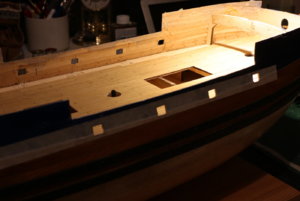
Hi Alex, see here my deck. It seems to be quite OK except for the mast which is set off to the rear, but I didnt change that.
20200311_145306.jpg
 
It seems to be quite OK
Oh, no!
Does this deck corresponds with the mast hole in the main deck?
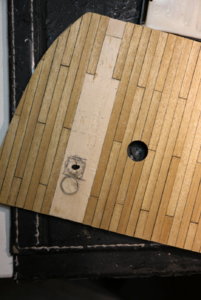
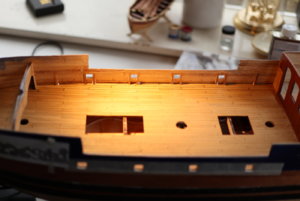
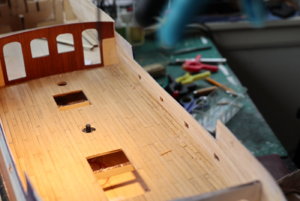
In any way, your deck is cut from the beginning (comparing to mine). Therefore your mast moved ahead and the flue returned to the right position! Both my and your decks have the same (wrong) distance between the mast and the flue.
These guys are very creative and they definitely try to improve it, but in a very specific way, ahahaha!
Thank you for the picture. It's fun, indeed
 
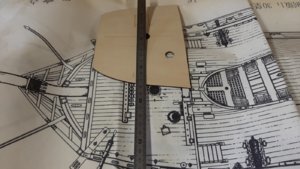
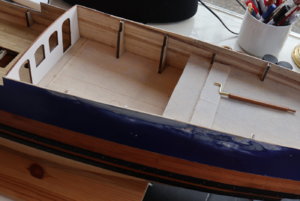
Re: the front upper deck geometry.
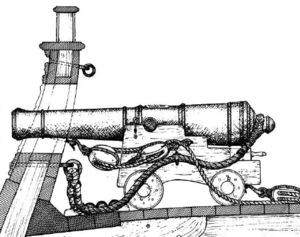
Because the side stairs are too close to the cannons, and because cannons are much closer to the front because of the carvings, I will:
- cut the deck 10mm
- move the flue to its right position towards the front (according to the drawings)
Pity, because it means removal of 3 lines of planking, which is a painful process.

And, it will go down, as discussed above. But I may need to see the Maarten's ship to make the final decision.

Many thanks to @Maarten & @neptune for support!
IMG_1093.JPG
 
Last edited:
Very good progress and very well executed - looking very good.
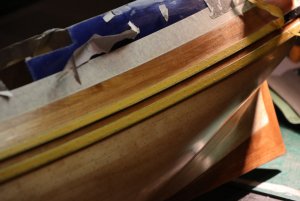
One question: you prepared already the holes for the nailing / bolting of the wales, will you use copper / brass "bolts" for the wales?
and.....which type of color / paint did you use for them
 
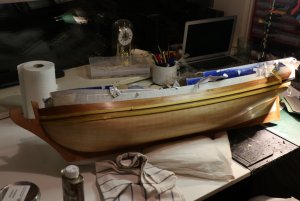
OK, its time to make the holes for the cannon ports.
The issue was to define the X and Y coordinates of the ports.
Finally I figured out the solution:
X coordinate:
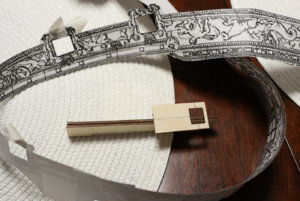
Dealing with separate pictures of carvings did not help. So, I took a picture of the carvings from the original drawings, printed them out (power point turned out to be the best tool) to find the difference of 21 mm in length, adjusted the image in PPT, and printed again. Then I glued this paper ribbon of EXACT size to the hull and this defined the X.
Y coordinate:
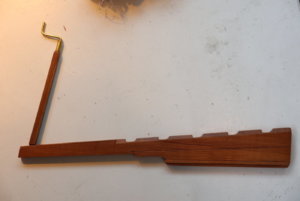
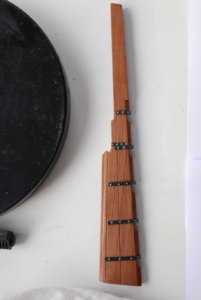
I made a simple wooden tool (I demonstrated it some time ago), which allows to define the Y coordinate on the outer wall of the hull by using the main deck as a baseline. So, I put this wooden tool under the paper ribbon, and together they defined X & Y and allowed to draw the ports easily.
I made only one correction: I raised the first gun port 1 mm up in order to suit the general line of carvings.
IMG_1233.JPGIMG_1234.JPG
 
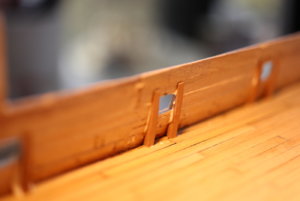
Issue: The bulwarks have different width as you can see from the picture

1584526095213.png
My calculations demonstrated that the width at the top is 4.6mm, and at the deck layer 7.6mm.

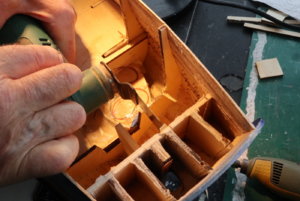
I have to add from inside to the hull the following layers to implement it:
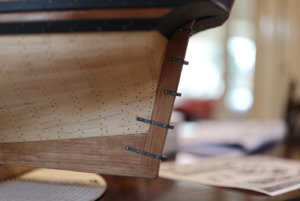
1. triangular parts, 3mm (at the bottom), 24mm high
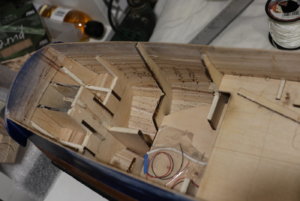
2. 1st planking 2mm
3. 2nd planking 0.5 mm, dark wood.

Here are the triangular parts, which also will frame the cannon ports:
IMG_1239.JPG
IMG_1237.JPG
And here goes the 1st planking:
IMG_1240.JPG
 
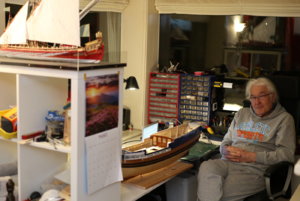
OK, guys, for the next several months this blog will be quiet: the Old Master will fly back to Moscow and have some rest.
During the last three months he has finished the REAL (top left on the photo) and made quite a progress with the Royal Caroline.
Now, I will have time do deal with the knowledge about the RC ship: I will process the manuals, docs, and get ready for the next round. The Chinese manuals, drawings and the kit were quite challenging for me.
I might build something myself, but it will be very, very slow, as my business goes up and it will be a tough time.

Thank you all very much for support!
It was the first time in my life when we assembled a ship in such a supporting company, and it was very, very enjoyable!

I will also give some thoughts to the business of the Open Ship Building Platform, as I believe that this market segment can leverage your support. I just need to build a nice supportive environment.
IMG_1246.JPG
 
Back
Top