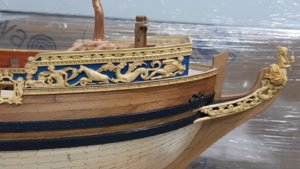
HMS Royal Caroline kit ZHL 1/30 (Following the Maarten's RC)

Joined
Dec 28, 2019
Messages
223
Points
203

Location
the Netherlands
Good day.
This will be a Delta Blog about my version of the RC. "Delta" because:
- I follow the Maarten's blog (see it here). Therefore there is no reason to repeat in my blog detailed description of every step which you can read from Maarten's blog
- I will publish just some pictures from time to time and – most imortant – my comments on what I have done differently
In a way, I would like this blog to be a help for those who think about building RC but still have concerns and would like to see options.
Actually, I write two blogs:
- here, for ship builders who need information on "how to build"
- at Google Photo (see here), for my friends/family, with comments which are just an entertainment for them, a kind of facebook style. As most of them are Russians, I do it in Russian.

The ship option is:
- Box wood
- With masts
- With the room decoration + electric lights

In fact, it is not me who builds it, but my father, I just provide the "engineering supervising". Therefore the building process is very intense when he is in the Netherlands and then it stops for a while. Also, my cat actively co-participates.
 
Last edited:
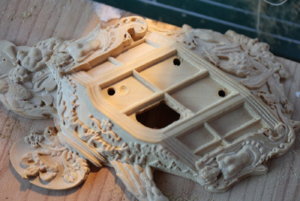
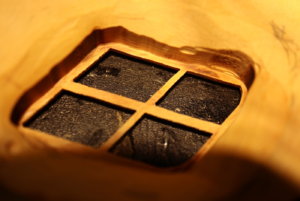
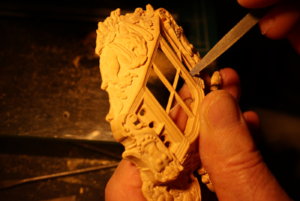
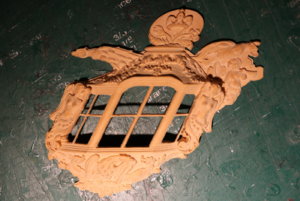
Issue: it's a beautiful ship, and it's a shame to have blind side windows. Even in the brochure from the supplier the windows are open!
Decision: I open windows. It means that just like Maarten, I will build one more room in the aft. I am not sure I will do it at the same quality. Probably I will do it good enough to be seen through the windows, so printed paper will do... TBD later.
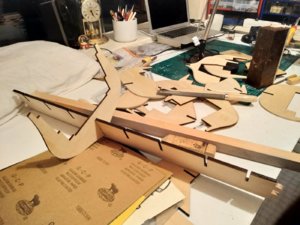
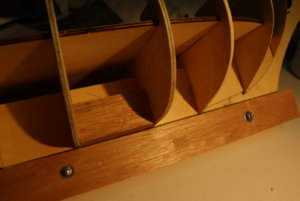
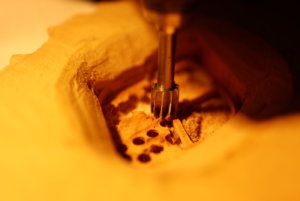
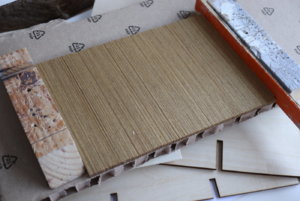
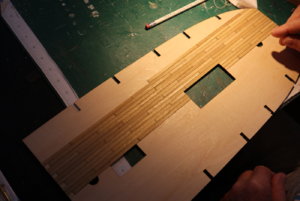
The milling machine was a help with this strong wood.IMG_0380.JPGIMG_0384.JPGIMG_0386.JPGIMG_0387.JPGIMG_0388.JPG
 
Last edited by a moderator:
Issue: the ship has a wrong size. Some carvings will not fit in the future.
Decision: to cut the ship and insert 15-25mm (See the discussion here)
Still investigating...

Update from the 20 Jan 2020 (after a discussion with John and Maarten). I will insert 25 mm in the place indicated by the red line.
Insertion plan 2.JPG
 
Last edited:
neptune said:


Well just for my own satisfaction and for anyone who might build the Royal Caroline, I got out the drawings and measured them against the model I am building,
From the transom to the front of the figure head on the AOTship drawings the distance is 1100, and on the model the distance is 1055, so the model is 45mm shorter than the AOTship drawings. This causes some problems when attaching the carvings along the sides of the ship, I didn'nt know about this till I started attaching the carvings and subsequently I had to trim the carvings to get them to fit.
Dear @neptune, do you have a drawing/scheme of all these discrepancies and indication of all insertions which you suggest to add? I am at the point when I am going to cut the ship and do the changes, but I am very afraid to make a mistake because of some silly misunderstanding.


G'day Alex, sorry the only thing I have are the measurements you quoted from my post, the main area of concern is where the boarding steps are, this is the area that needs approx 15 / 20 mm added, have you looked through my build log,

best regards John,
 
G'day Alex i do not have Skype or Whatsapp installed, I'm not very good computer wise, I think a Byte is something you take out of a sandwhich, so I will try to explain with some pics I took today,


1.jpg
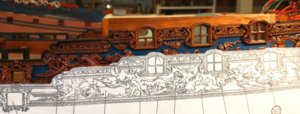
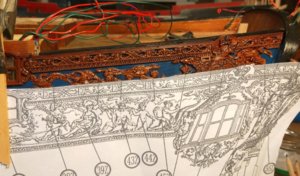
This is the plan laid over the side of my model of the Royal Caroline, and as you can see all the gun ports line
up OK as do the fittings in between the ports,


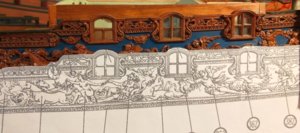
2.jpg
And if you place the plan on the model where the windows are, the windows and the carvings again match up,


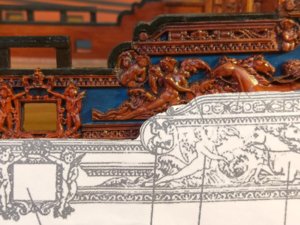
3.jpg
So when we match the plan over the ports it pushes the the part of the plan with the windows backwards,


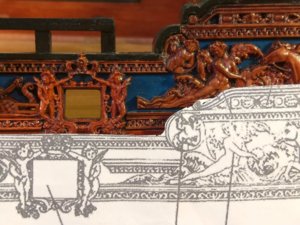
4.jpg
and when we match the plan over the windows it pushes the part of the plan with the gun ports forwards,

so this is the area that needs a piece inserted, I think 10 - 15mm would be enough,

but as I had already started attaching the carving before discovering this mistake all that I can do is trim back
some of the lower piece of carving and also a little bit of the wave above her leg,


5.jpg
a full view of what i mean,


6.jpg
There is also a little bit of squeeze to get in the windows and carvings, but if you can take the windows as far back
as possible you can just make it, again I didn't realize till too late and had to trim part of the Eagles wing,
Oh the joys of hind sight, The only comfort is that both sides are exactly the same,

Well Alex I hope this is clearer than Mud, and you understand what I am trying to explain, wishing
you all the best on your Royal Caroline build,

best regards John,
.
 
Dear John,

It was amazing: I woke up in the morning and I got your report. Yes, this definitely will help. You cannot imagine how happy am I. I will try to assemble all this info (together with previous comments you and Maarten did in his and your blogs) and I will come up with a clear instruction, clear to the extent that all the other who follow us, will bypass this issue easily!
Thank you very much again!
And, please excuse me, if I come again with a humble request to confirm my findings before I cut the model.

Yours,
Alex
 
Dear John (@neptune )
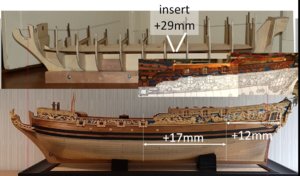
I have processed your images, one by one, and carefully measured them.
The overall picture is attached: The extension from the last port till the aft is... 29mm!
And looking at this picture, one might ask: what about the difference in the first part of the ship, from ports to the bow?
Could you please check it out for me?
Well, if there is no scale issues in the front part of the model, I have indicated the place where I will insert 29mm. Does it corresponds with your ideas?
Dear @Maarten , please have a look as well.

As soon as I get your confirmation, guys, I will issue a final clear instruction for all builders on what exactly should be changed.

Best Regards,
Alex Insertion plan 1.JPG
 
I think you also have to take the position of the masts into account before deciding where to lengthen the hull, before or after the main mast.
I agree.
Therefore, if (if!) John is right and the ship model frame was scaled down in the second part of the ship, then I just insert the 29mm after the main mast and it will be ok. When the hull is planked, I will distribute all objects (ports, windows) along the ship according to the patterns of carved art pieces. Am I right?
But if John will reply that the first part also should be extended, then I will need another insertion BEFORE the main mast.
My cat is furious. He says he hates to have a handicapped ship!
 
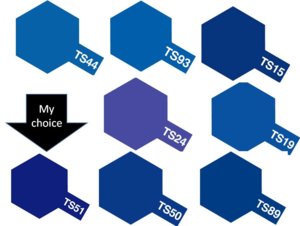
Issue: Color scheme.
Decision: I have noticed that 15% of the ship cost were in plating the gold over the carvings. Well, I decided to follow it. It's a funny story of all these financial troubles they had. The gold is bright, so I decided to make the blue darker and probably make the whole ship darker.
There will be no white at the bottom.

my choice.JPGWhatsApp Image 2020-01-18 at 12.23.07(3).jpeg
 
Hi Alex,

Historically Blue was one of the most expensive colors and therefore used in small quantaties. The old blue paints were made with Lapis Lazulli gem stones or with smalt, a blue colored glas pigment used in a lot of 17th century paintings for the blue sky.
Since 1723 a new blue color came to the market, Berlin or Prussian blue.
See the pigment below and tjis is close to your color of choice.
Pigment_Berliner_Blau.JPG
 
Historically Blue was one of the most expensive colors and therefore used in small quantaties.
I love stories, Maarten, thank you. I think it is a god idea to collect with every ship its stories, as well as stories of the epoch.

And, yes, it is funny that my color is close to the original.
What is probably more funny, is that probably me and the architect of the ship had the same task: to find the match between gold and blue. So, it was a probability, that if we started form the same inputs we ended up with the similar decisions... haha
 
1.jpg
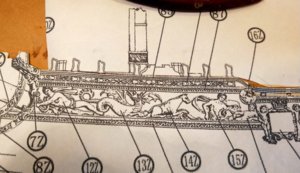
I will start with the Fore decorations, this is the AOTS plan,

2.jpg
and these are the carvings on the model, not a lot of difference length wise, so I would not change anything here,
the main difference is in the height, I did not have the Royal Caroline book at the time and I just went with what the
kit showed, Maarten on the other hand did some alterations and closed the gap between the height of the carvings,
which make it look a lot better, I'm not sure what he did now, it could be in his build log, see pic below, hope you do
not mind me using your photo Maarten,


20190709_205834.jpg
.
 
Back
Top