HMS Royal Caroline kit ZHL 1/30

G'day Maarten,there are several area's that are not correct in the kit, if I could go back and start again I would have put a piece into the keel to make it approx 25mm One inch longer, you will probably find when working out where the carvings go, that when you come to where the boarding rails come up the side of the ship that there is not enough room to place them properly, also with the way they have the carvings in the book, the carved lower rail comes through the ports up higher than in the kit, so I suppose it is how different modelers will interpret the information and build accordingly, it would be boring if we all built the same way, enjoy,

best regards John.
 
Hi John,

Yes thats what makes it more fun as long as we can solve it. I try to make it like the drawings and am not using the chineese guidelines. In this way every model will be different. Are you still working on her or focussing at your other projects.

You have some impressive ongoing projects. Lots of fun with those.

Regs Maarten
 
Hello Maarten, I'm trying to catch up on some of my builds, before I get back to the Royal Caroline, but the Royal William is taking up a lot of my time, the cannon are taking most of the time, but I'm enjoying it, and to me thats all that matters, I'm a devil for starting something and then starting something else, but it gives a bit of a variety.
I thought I had made a lot of progress with the Royal Caroline, but I still have sheets and sheets of parts and fittings, like you said its a beautiful well made kit, I'm not going to deviate from the kit, just build her out of the box, having said that I did double plank the insides of the bulwarks and the Cabin for extra strength, I'm not sure whether I will fully mast and rig her or just have stump masts, time will tell, any way enjoy your building and I will catch ya soon.

Best regards John.
 
G'day Maarten
I have been reading your very interesting approach to the kit. I must say you are doing an incredible job. I have just ordered like you this kit directly from ZHL and Max has been a great help. I am also thinking of putting in the king's cabin with stairs going to the roof and down to the galley. I will be watching and absorbing every detail of your progress. PLEASE KEEP POSTING any information and plenty of photos, I for one, would be very great full. John has been very helpful and I have spoken to him a couple of times already and he has given me a lot of tips. He is a very pleasant person and all he wants is to help other modelers. When I start my RC and do my log I would dearly love your and everyone's input.

Sorry that I haven't posted to your log earlier, my wife and I have just moved into a new home and time has been against me.
Havagooday from Australia.
Greg
 
Hi all

That is what a great forum is about. Friends helping friends.

I have also spoken to John on the phone and he has a lot of experience to share and does not mind sharing and teaching.

This is the latest comment from Donnie of where were are at in a post

http://www.shipsofscale.com/sosforums/viewtopic.php?f=37&t=1590#p24621

Cheers
Geoff
 
Hi Greg,

Good to hear we have another rc in coming in. Hope you share your build too. Currently I am finishing the tree nailing on the hull and will post some pics when finished. Hope towards the holidays I do have some more time to spend on the model and can make some real progress. In between the treenailing I have been screening the internet for suitable Georgian parquetery flooring and wallpaper for decorating the cabins which I will share asap. My idea is to print these in high quality on the color laser printer, glue it on wood and finish it with clear varnish.
I have also been working on the finishing of the box wood carvings to give them some more 3d effect.
Hope after coming weekend I can post some more pictures on the current progress.

Hope you have finalized your new house before the kit comes in.

Regs Maarten
 
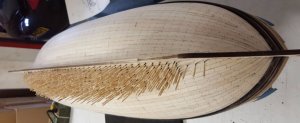
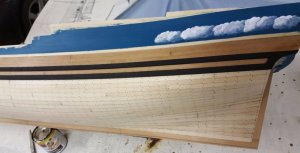
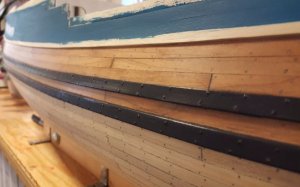
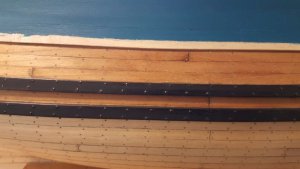
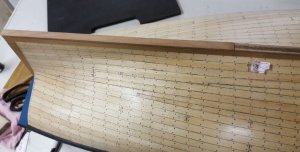
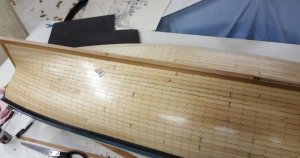
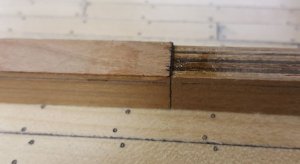
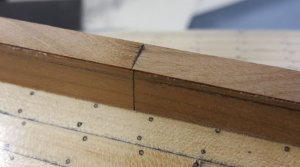
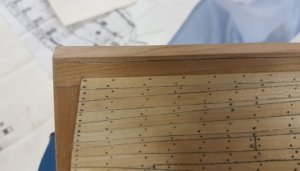
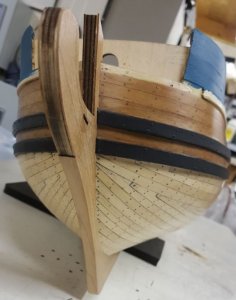
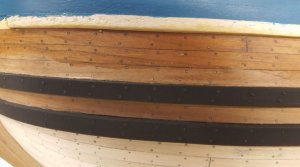
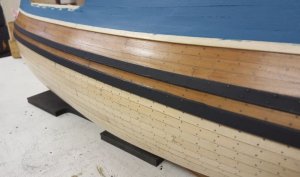
Yes finally finished the tree nailing on my RC, 6.000 wooden cocktail pins have been added to the hull and the last can be seen in the picture below. Now it is time for some progress and I have started the addition of the cherry wood layer to the keel. The caulking between the keel parts is simulated in the model by adding additional laser burned lines in the cherry feneer. These laser lines I have additionaly coloured with a common black pencil. The caulking between the edges of the keel parts has been simulated by colouring the edges with a black marker. To finish the hull I have decided not to use any varnish but to rub the hull with bee wax and polish to a nice vinish. The effect of the wax is realy beautiful putting the focus on the grain of the wood with a satin gloss. After bee waxing the hull I have to repaint the whales as the turpentine in the bee wax is dissolving the black paint on the nails of the whales.
In the coming weeks I hope to start with the cabins as I plan some days of around the Christmas days.

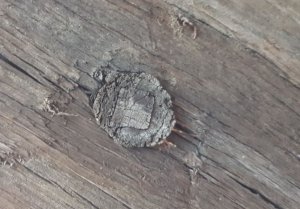
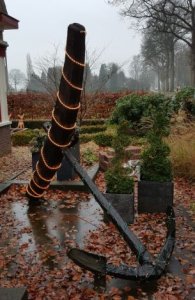
Above a real tree nails from an anchor from the 17th or 18th century. The anchor is in our garden and was fished from the bottom of the North Sea 18 years ago, it is in perfect condition and shows the treenailing used to attach the achor stock. The tree nail is a wooden pen with a smaller tapered wooden pen in the middle. This anchor is about 2,5 mtrs and is 650 kg weight. It could be the size of Royal Carolines anchors. Sorry it is litted for Christmas at the moment.

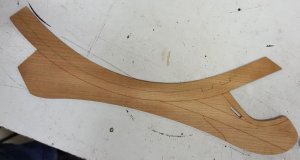
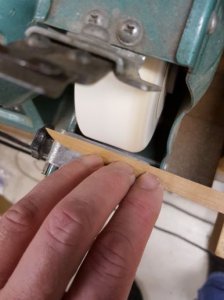
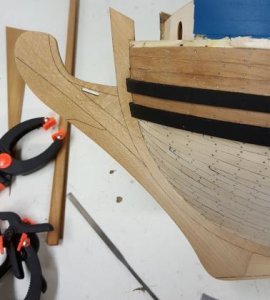
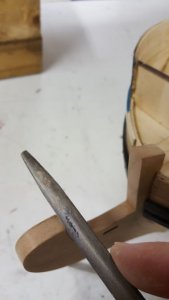
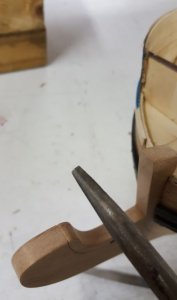
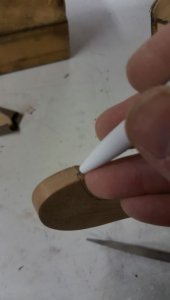
A large part has to be removed from the keel veneer, I do this by first rougly cut of the major part and then using my grinder stone.

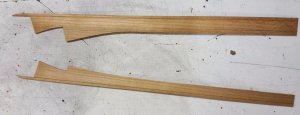
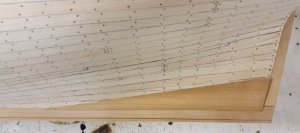
The aft part of the keel veneer has to be cut in less then half as I have changed the stern of the vessel.

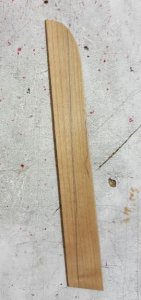
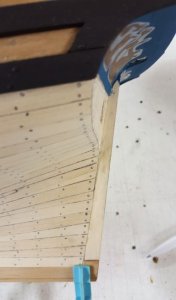
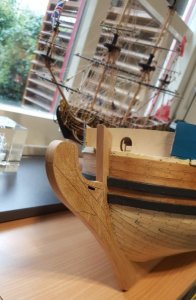
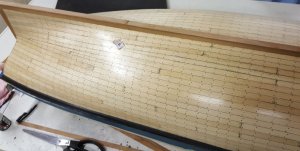
In the model kit the lower part of the keel on the aft is also covered by veneer, this is incorrect and should be covered with planks, so I changed this in the model. There is sufficient of planks available in the kit to do this and gives to my opinion a better look and feel.

Finally the hull is polished with clear bee wax to get a nice finish.

The top whale in the pictures is a temporary one, this will be replaced by the carved whale in the near future.
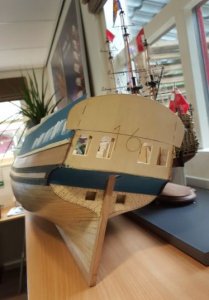
Now I have to polish the rest of the hull with bee wax, repaint the whales and then start with the cabins. See you next time.


Last tree nails.JPGReal tree nail.JPGAnchor.JPGBow stem.JPGGrinding keel.JPGBow stem fitted.JPGKeel fwd.JPGKeel aft.JPGKeel aft fitted.JPGKeel aft 2.JPGKeel not used.JPGMarking edges.JPGBow stem 2.JPGHull in bee wax 2.JPGPlanks in bee wax.JPG
 
Last edited by a moderator:
G'day Maarten
All I can say mate to describe the above progress is BRILLIANT. You have given us an example of what can be done when you put your mind and time (can I also say, some insanity to a wonderful build. You have given me some fantastic ideas for my build.
Havagooday my friend
Greg
 
G'day Maarten, she is looking fabulous, you are really doing a great job on her, just love the Anchor in your garden,

best regards John.
 
hi Maarten,
that looks so much better with the same timber than the way the kit has a two toned keel, and stem arrangement.

excellent work mate.

cheers Brian.
 
Hi gents, thx for the comments. Brian the keel and hull are still two tone, but I removed the triangular piece above the keel in the stern, to my opinion this is incorrect. normally the lowest plank is fitted for 50% on the keel and the other 50% on the frames, I simulated this also in my veneer of the keel which you see in the pictures below. John the anchor I was lucky to buy from a local fisherman. Here at the North Sea the Dutch fish with 35 mtr beam trawlers and they catch from time to time historical items. I have seen Mammoth bones, anchors and seldom even iron and bronze cannons. Unfortunately bronze cannons are very rare and very expensive so no bronze cannon in my garden. The anchor I have now for 18 years and it is stil very original, around the anchor ring there is stil 300 year old sail cloth and rope, very well preserved.

ok back to the build of the RC, I am not following the Chinese instructions or their building order. Just building what I think is a logical order and as said I am using the drawings included in the kit which are the anatomy of the ship drawings. I have been working on the veneer on then keel. The sides of the keel are very clear and part of the kit, you realy have to cut, grind and file these to a proper fit. But to cover the outer edges of the keel there is nothing mentioned in the manual or parts list (most probably because of my excellent understanding of the Manderin language ).

But in the kit there is a set of 5 planks with number 79 which is a perfect fit to the diameter of the keel and I couldn't image where these otherwise should be fitted so I used these.

After fitting the side pieces of the veneer as seen in the previous post I have to sand these down to the level of the multiplex to fit the veneer to the outer edges of the
When the whole outer edge of the keel is sanded back to the multiplex keel the veneering can start. I started at the rear end of the keel and I am veneering in sections of the same size as the veneer on the sides. The outer edges where the veneer is touching the next part I blacken to get the idea of individual pieces of solid wood in the keel.
For the glueing of the veneer I use a slightly viscous super glue which is easy to work with.
You can still see the outer edge sticking over the sides but these will be sanded.

Now the keel is sanded, the lasered lines in the keel side veneer I have blackened with a regular pencil, as you can see when sanding the edged is is nearly looking as one piece of wood.

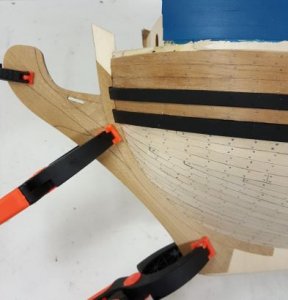
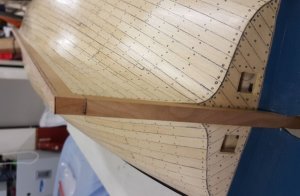
On the bow the same process, first you see here the partly veneered bow.

After veneering I file the lasered lines on the sides also on the outer edges to give the idea again of solid pieces of wood, followed by the pencil simulating the caulking.

The end result can be seen below, after this the waxing with bee wax is the next step.

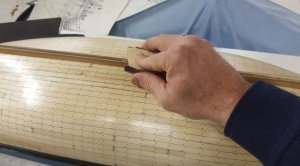
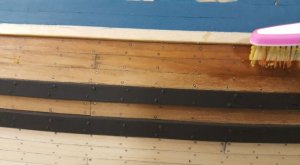
On the hull I already have waxed the planks, this gives a realy nice satin gloss with a deep detail of the wood grain. See here the partly waxed planks, for the waxing I use a turpentine softened clear bee wax which I apply with a tooth brush. After applying I leave it to dry and finally polish it to a satin gloss with a cotton rag.

Hope you enjoyed it and hopefully I will make some more progress in the coming weeks.

sanding the keel.JPGKeel aft3.JPGkeel aft4.JPGKeel aft5.JPGKeel aft6.JPGKeel stern.JPGKeel stern 2.JPGKeel bow.JPGkeel bow 2.JPGkeel bow 3.JPGKeel bow 4.JPGKeel bow 5.JPGKeel stern 3.JPGBee wax.JPGBee wax contrast.JPGBee wax gloss.JPGBee wax gloss lower hull.JPG
 
Last edited by a moderator:
G'day Maarten
Brilliant work!
You have shown us all an step by step process of you splendid work. Thank you for showing us all.
With yours and John's logs, I'll should have enough support for my own RC. Knowing I'm a phone call away from John and an email away from you, if I have any questions, has eased my mind considerably.
Havagooday my friend.
Greg
 
G'day Maarten, she is looking great, and the two tone effect on your model looks right, you are making me think about second planking the hull, but I dont think I could get it as good as yours, will have to think about it some more, I have the parts list in English if you want it, if you do, PM me your email and I will send it,

best regards John.
 
Hi John,

You already have a nice surfaces of the hull so it should be possible to do it I guess. As the second layer is very thin you can't sand away any discripancies. I had this in one part of the bow, I sanded through the second planking and had to cut it out and replace. Fortunately it is now nearly invisible.

I will drop you an email would be great to have the translation of the parts list.

Thx Maarten
 
High gents,

Many thx for your comments, hopefully in the coming days I can make some progress again.

Regs Maarten.
 
Please allow me to congratulate you for this beautiful build so far. I'll be eager to follow your progress.

A little question: I saw a (scratch built?) model of the Royal Caroline a (huge) time ago at a Model Engineer Exhibition at Alexandra Palace London, and this model had its inside railings (I'm very poor at marine terms) completely painted (sceneries). I don't know if the builder invented that detail or where he got that information from, but of course the result looked great and matched the royal style of the ship. Have you got information on this detail?

Happy building.

JP
 
Hi Jean Pierre,

This model will be fitted with carvings in this area, in Dutch they call this area " de vertuining".
On some historical models you see these carvings replaced by paintings.

See a picture on one of the previous showing this.

Regs Maarten
 
Back
Top