HMS Royal Caroline kit ZHL 1/30

Hallo again,
Realy good work you are showing us here in your log. The cannon is realy looking good, after final installation of the rings and hooks it will look great. One question here: are the brass hoops also included in the kit?
The small boat from Master Korabel is looking realy realy good, especially in this scale. Do you know kind of boats (cutter, longboat etc.) they are offering and in which scales?
 
Hi Greg,

The wax is just plain beewax no color in it. The boxwood itself is showing yellowish gold by the color of the wood itself.

You can try to use real gold leaf for yours. With the scale of your project it would be a nice addition.

Regs Maarten
 
Hi,

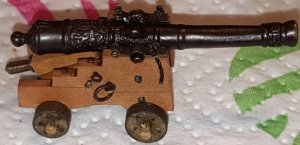
I finally finished my first gun carriage, herewith some pictures.
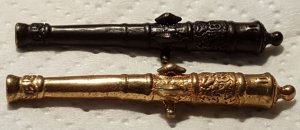
I decided to burnish the the cannon to give it a darkened ages bronze look. The fluid I used for this is a burnishing fluid from Kriek, a German supplier. In this I burnished the cannon for 1,5 hours to get still a bronze look. All other brass parts I burnished in a different brand fluid, from Stuart Models from the UK, which is burnishing very quick for a black appearence.
Cannon burnished vs non burnished.JPG
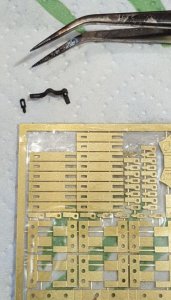
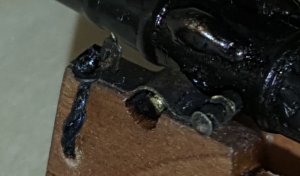
The etched parts are great on this kit, see below the parts used to make the gun carriage hinges and the final result.
Etched parts.JPG
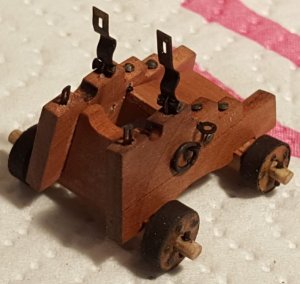
And fitted on the carriage
Gun carriage.JPG
Cannon 2.JPG
The hinges are even fitted with a locking pin attached to the carriage with a rope.
Cannon finished.JPG
Cannon locking pin.JPG
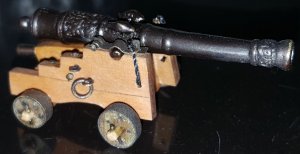
Finally the fully finished cannon.
Cannon finished.JPG
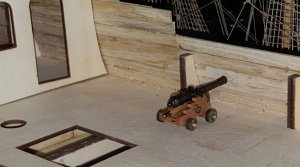
Now 7 more to go, but that is for a later stage. First fitting it on the deck to mark the height of the gun ports.
Cannon on deck.JPG
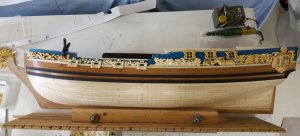
Now it is time to continue on the hull.

Regards, Maarten
 
G'day Maarten
The details in this kit even goes to the canon and it's carriages. I have never seen a kit that shows the locking pin for the hinges before!
Your eye and your great workman, helps to emphasize the true beauty of this kit.
Well done memattie!
Happymodeling
Greg
 
Hi greg,

Thx for the comments.

I was thinking maybe we can start a new topic about the new kits comming out or the development of new kits. It seems a lot of people visiting this site read topics on other forums releasing or discussing new kit development, and so we can share the latest news on new kit releases.

Maybe an idea to be in the front row with the latest information.

Regs Maarten

Very good idea Maarten,how do you navigate on that 4hmodel website?horrible design

Zoltan
 
Hi Zoltan,

I use google site translation. Then there is a topic new releases. For the rest it is indeed a dog of a site to search in. Issue is searching is, I think, only working in Chinese.

I will start a new topic on new releases and news.

Regs Maarten
 
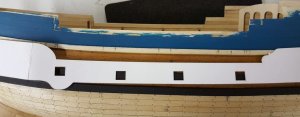
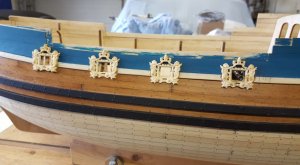
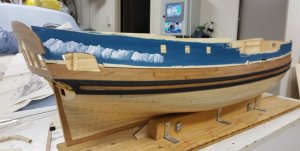
Time to cut some holes. After building the first cannon I can start to set out the gun ports, followed by the windows. To set these out correctly I have to dry fit all ornaments to be sure everything is in the correct place. The template supplied with the model is incorrect, the gun ports and windows are then in the incorrect place to fit the ornaments correctly. Some of the ornaments have to be trimmed anyway to get a nice clean fit.
PS side ornaments.JPG The gun ports are marked and then the height checked with the template and the AotS drawings.
PS side gun ports marked.JPG
PS side gun ports marked 2.JPG
When everything is checked and double check time to cut out the gun ports. Final finishing wil be done in a later stage.
PS side gun ports cut.JPG
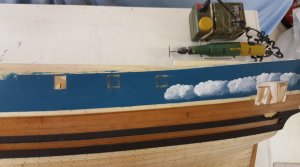
The gun ports are followed by the windows.
PS side windows.JPG
Below you can see the mismatch in the template and the actual position of the windows and gun ports by dry fitting all ornaments in the optimal position. You also directly see that when you put the template on the AotS drawings supplied with the kit. On the template I have drawn the difference in the distnace between gun port and windows compared to the template.
PS side windows and gun ports.JPG
 
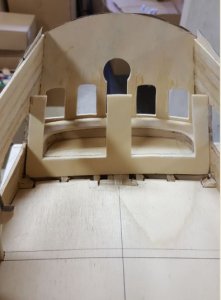
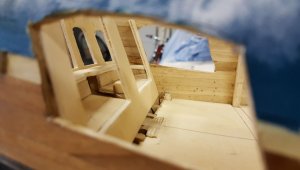
Now I can start on the inside, as mentioned I will create the kings living room in the rear cabin. All excisting ribs will be removed and replaced by beams which I will cut from pear wood.
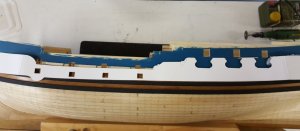
Below the SB side with the gun ports and windows preliminary holes.
SB side with windows and gun ports.JPG
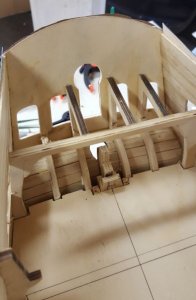
On the inside the first ribs removed.
Stern cabin.JPG
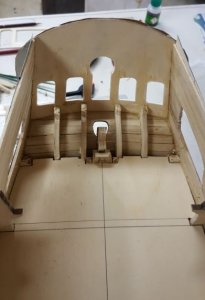
Followed by the rest.
Stern cabin 2.JPG
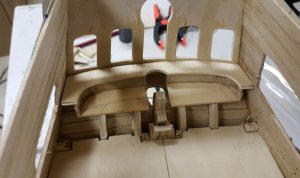
On top of the remaining ribs the rear cabin bench will be build.
Stern cabin 3.JPG
For the rudder post a kind of cupboard will be created. On the sides in the gallery the toilet will be fitted.
Stern cabin 4.JPG
All the ply wood will be covered with wallnut veneer to get the proper finish.
Stern cabin 5.JPG
 
G'day Maarten
Very interesting approached of this particular stage.
re: post 72
I must say also, very ingenious and I'll be using this method when I'm up to this stage.
The first and third gun port seem very close to the bulkheads. Do you have to cut them at all or are they ok?
Thanks for posting this method.
Havagooday
Greg
 
Hi Greg,

All the bulkheads will be removed except the most forward one, the rest is just temporary.

Regs Maarten
 
Hi Greg,

All the bulkheads will be removed except the most forward one, the rest is just temporary.

Regs Maarten

G'day again Maarten
Thanks for your answer, but I'm going to use all the bulkheads to make the sides a bit thicker. I'll be trimming down the tips of the bulkheads for the railing sides. I'm planning to do double planking on the inside around the bulkhead above the top deckings, as well . At this scale, I worked out the thickness of sides should be 8.5mm. (20 inches at 1:1) The side will a wedge shape, being thicker at the decking to the thickness of the top railing timber from the kit. This way, I wouldn't have to make these railing.
;):(:D
So I would like to know, did the gun ports interfere with the ply bulkheads? If it did, I'll have to add a bit on the side edge of the bulkheads to compensate.
Thanks mate

Greg

G'day Maarten
Don't bother about answering this question. I've worked out a better and stronger way to do it.
I'm gong to make and carved pieces of hardwood that will go between all the bulkheads from the top rails, down to the top wale. These pieces will to make a stronger and stiffer upper hull and will provide a stronger 'anchor' point for the chain plates and chains.
All I have to do, then is to cut out the hardwood and or bulkheads for the gun ports.
Havagooday mate
Greg
 
Hi Greg,

I will be thickening the sides by using the remainder of the first layer plancking of which I still have more then plenty available.
 
Back
Top