Back from a week of wintersports so the tough life starts again

.
I am working on the inside of the kings day cabin selecting the proper look and feel for the interior.
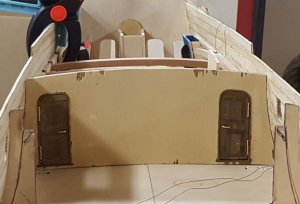
First I have closed the rudder post space, the rear side of the cabin will be covered with walnut veneer planks and varnished or waxed to simulate a mahogany look, same like the bedroom bulkhead and doors.
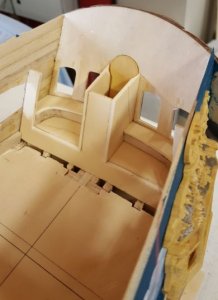
After this the bedroom structure has to be build, I first build this all from plywood which will be covered with wall paper or walnut veneer.
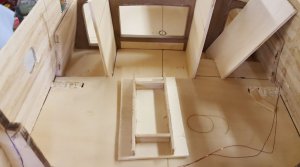
As this is not part of the kit everything has to be build from scratch. The bottom and side walls of the bed, as well as the wall between the stairs and the cabin spaces.
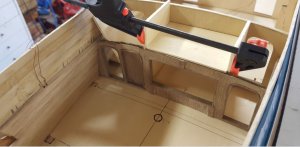
Check the fitting of the bedroom floor, walls and roof.
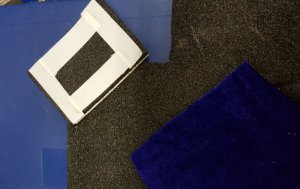
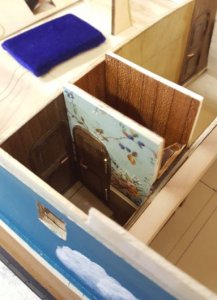
For the bed I have created a mattress of a piece of foam covered with the blue velvet which was added by the kit for the stand. I am not using this for the stand as I don't like this, so I am using this for the bed cover and curtains.
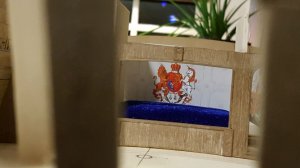
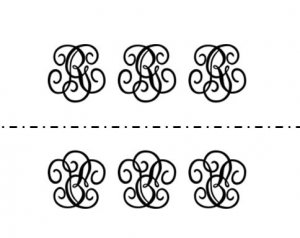
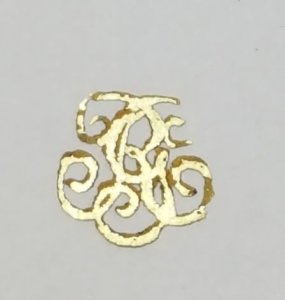
Checking the fit of the mattress, for the walls I selected a Georgian wall paneling, on the paneling I put a GIF image of the coat of arms of King George II. Fitting and finishing still needs to be done.
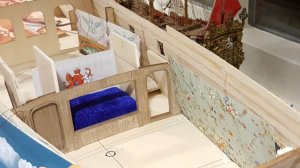
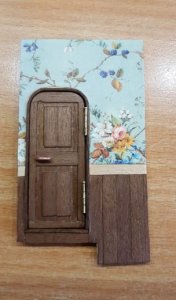
On the hull side a georgian flour pattern wall painting, which I think is a better fit with the blue velvet then the previous choice. I think the other one I am using for the meeting room.
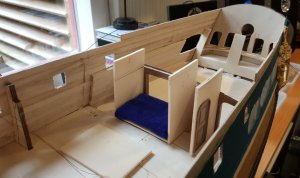
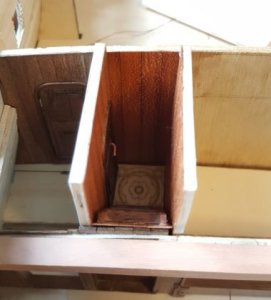
The setup of the walls incl the door to the staircase.
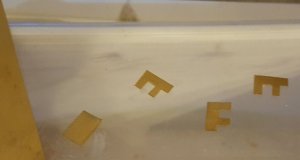
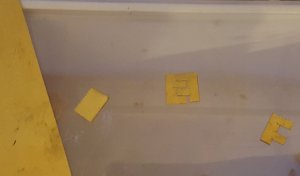
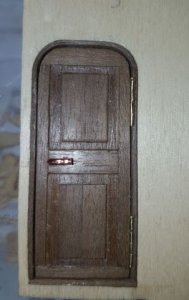
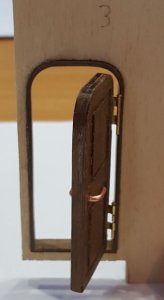
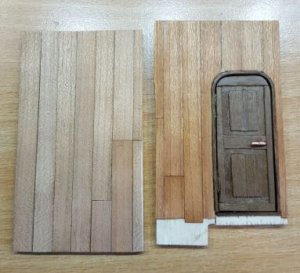
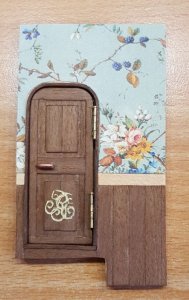
The doors I make from strips of wallnut which are glued on top of each other, see below.
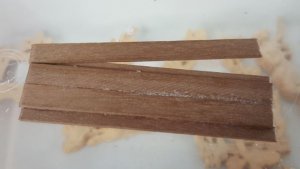
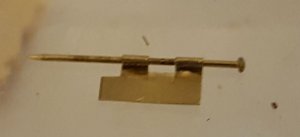
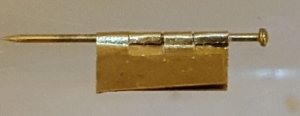
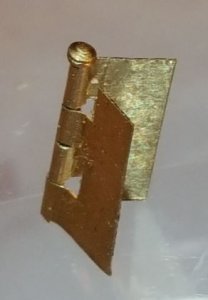
The finall result finished looks like this, only the hinges (yes Greg hinges) will still be made and fitted.
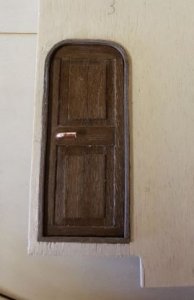
Still 3 doors to go.
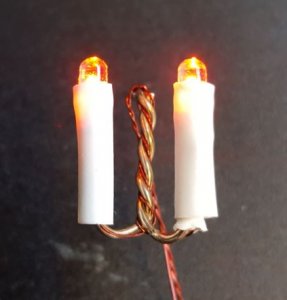
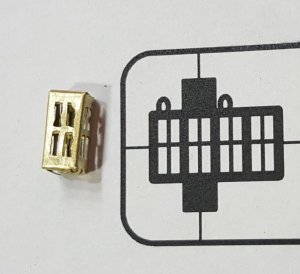
To light up the inside of the cabin next to the indirect light of micro leds on a deckbeam I will ad three chandeliers to the cabin.
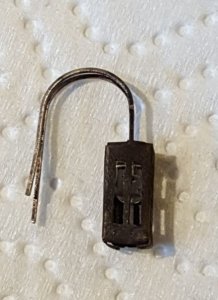
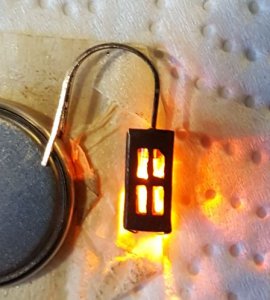
I habe made these from some wire which I twisted, on these I have soldered a candle simulating mini led, the chandelier being the positive wire. Then I soldered a small piece of copper insulated wire to the negative part of both leds which I twisted along the chandelier. Finally I sealed it with white heat shrink sealing and simulating a candle. See the burning candles above, these are 10 mm high.
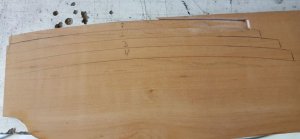
The next step is the deck beams, as I have removed all original ribs I have to create new deck beams. For these I am using solid pearwood. I have decided to create a admirality type of deck structure, meaning I am building the whole deck beam structure and leave a part of the deck planking open. I will not use the plywood decks supplied with the kit but fit basswood planks of 2 x 7 mm. I will use basswood planks for all decks. For all top decks I will create new deckbeam construction with admirality style deck planking of 2 x 7 mm basswood. The main deck will be covered with 1 x 7 mm basswood planks on top of the plywood deck.
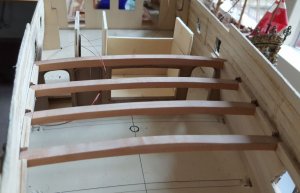
First deck beams fitted in place, the rest of the deck beam construction has to be build. I have to sort out a proper contruction as this is not mentioned in the AotS plans. Challenges enough for the coming time.
See you next time.


