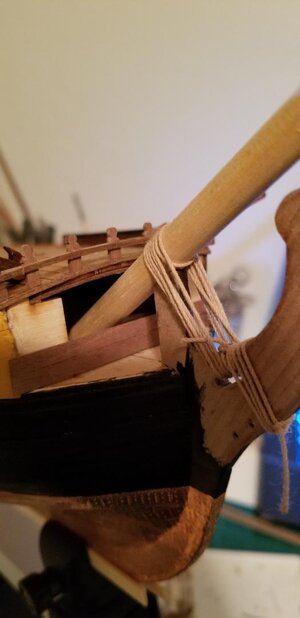
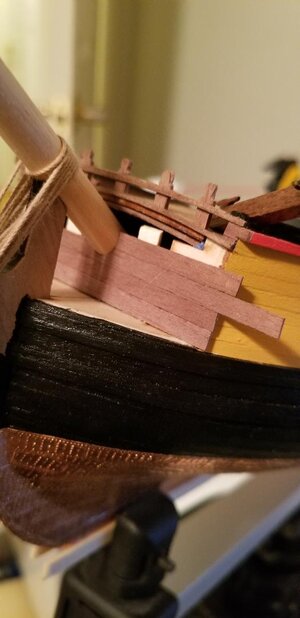
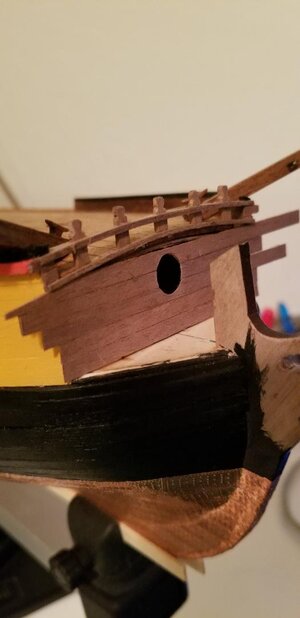
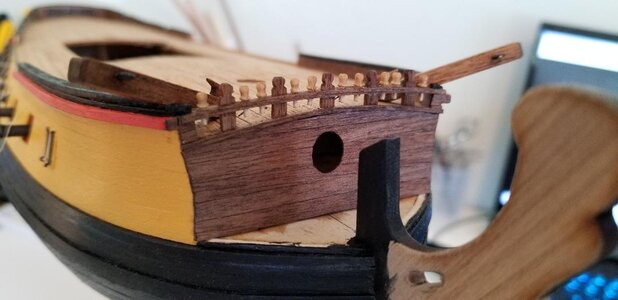
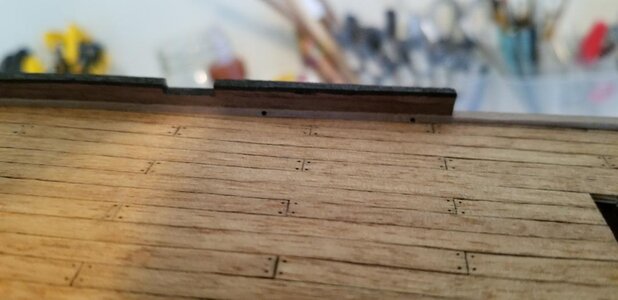
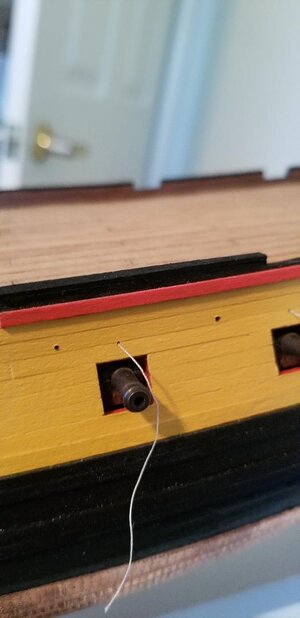
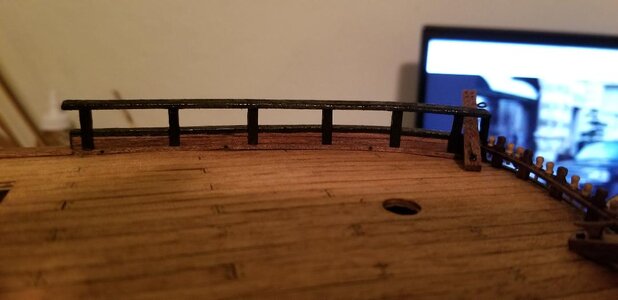
very much en angle-Lower rail for the quarterdeck and upper poop. An upper rail will be installed that will go above each of the cutouts for the cannon. Same goes for the forecastle carronade bow chasers.
View attachment 201968
-

Win a Free Custom Engraved Brass Coin!!!
As a way to introduce our brass coins to the community, we will raffle off a free coin during the month of August. Follow link ABOVE for instructions for entering.
-

PRE-ORDER SHIPS IN SCALE TODAY!
The beloved Ships in Scale Magazine is back and charting a new course for 2026!
Discover new skills, new techniques, and new inspirations in every issue.
NOTE THAT OUR FIRST ISSUE WILL BE JAN/FEB 2026
You are using an out of date browser. It may not display this or other websites correctly.
You should upgrade or use an alternative browser.
You should upgrade or use an alternative browser.
quarterdeck SUPERLower rail for the quarterdeck and upper poop. An upper rail will be installed that will go above each of the cutouts for the cannon. Same goes for the forecastle carronade bow chasers.
View attachment 201968
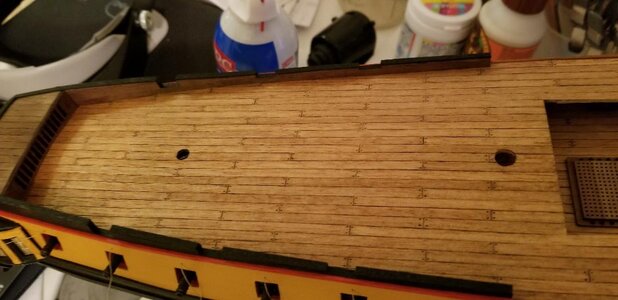
Weather deck planking complete. One coat of stain and then a quick wash of acetone to tone it down a bit. I might scrub with some more acetone tomorrow after it dries completely. I like the gray-ish look better than an in your face wood look of a weather deck.
Next will be the upper rails and waterway/scuppers. That'll take a couple of days to do it right.
View attachment 201969
THE ONLY comment i CAN MKE, IS THE COLOR--sorry for the capital letters.- to me it should be some lighter in color. The Decks was washed with sand, soap and Pomace stone and tgi together with the salted water, would general gives a lighter color, but as it is said: EACH MOTHER LIKES THERE BABIES A THE BEST so my opinion has no value. you are the one on the stirring wheel. all in all a magnificent build.
P.S. I have taken a copy of the build into my Database
El CAPi9
P.S. I have taken a copy of the build into my Database
El CAPi9
Very nice, I personally like the wood stain look. I did this on my Bluenose and love the colour.
- Joined
- Mar 27, 2019
- Messages
- 823
- Points
- 403

a good beginning, Mate. one question: What are these cut in the false deck for?
I couldn't see any realistic way to sand down the first planking (hull upside down) with the cannon installed. And the false deck is installed prior to hull planking, at least according to the directions. So I cut holes for all the cannon to be placed AFTER hull planking and painting and coppering. Worked out OK.
- Joined
- Mar 27, 2019
- Messages
- 823
- Points
- 403

Very nice, I personally like the wood stain look. I did this on my Bluenose and love the colour.
I think it might be too late to wash the deck with acetone as I indicated. I used the process on my Bounty and what came out was a gray-ish washed out color just as you might find on a deck regularly holystoned. I thought myself brilliant for stumbling on the process. Bounty was a few years ago and now that I think about it I washed with acetone immediately after applying the stain. It's too late now so I'm stuck with the current color.
- Joined
- Mar 27, 2019
- Messages
- 823
- Points
- 403

Finished the lower rail for the quarterdeck. As the lower rail for the forecastle has already been finished I got a wild hair up my arse and started in on the fore pin rack and ended up finishing and installing the cat heads. All of these incidentals need to be completed prior to starting the upper rails so which order I do them doesn't matter. I just sort of throw a dart and whatever I feel like doing I launch into.
I'm happy with the cat heads. The fore pin rack is extremely complex but so far, so good.
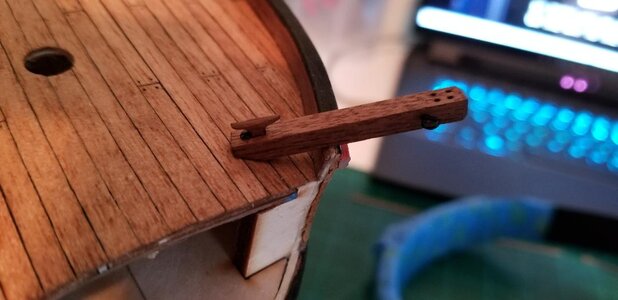
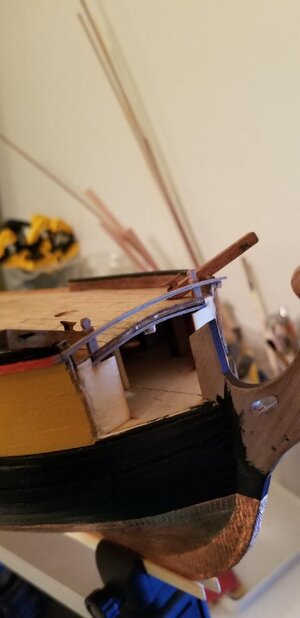
I'm happy with the cat heads. The fore pin rack is extremely complex but so far, so good.


- Joined
- Mar 27, 2019
- Messages
- 823
- Points
- 403

- Joined
- Mar 27, 2019
- Messages
- 823
- Points
- 403

Finished with the forward pin rack and that leads directly to the timbers to close up the bow. Temporary gammoning in order to lay the timbers around an 8mm sized dowel that will eventually become the bowsprit. One more little curved timber at the top will finish it. View attachment 202497View attachment 202498View attachment 202499
happy 2021. well, build. only a few will do the bow pin rail curved the same way as the deck-WELL DONE.Bow closed up and ready to accept the bowsprit when it's finished. Forward pin rack with belaying pins.
View attachment 202752
Forward upper rail on the port side. Quite tedious sticking to the plans rather than simplifying the rail supports but the end result is worth it. I spent about 4 hours on this rail alone. As I have the process down I'm certain the fore larboard rail will go quicker.
View attachment 202755
As I have already commented on your Deck planking, no further comment. What is new is to see the gunports rigged correctly. Few are doing it this correct way.happy 2021. well, build. only a few will do the bow pin rail curved the same way as the deck-WELL DONE.
- Joined
- Mar 27, 2019
- Messages
- 823
- Points
- 403

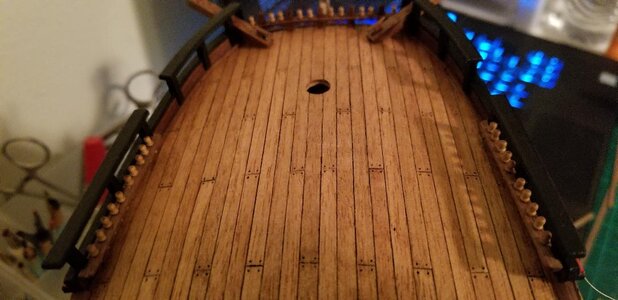
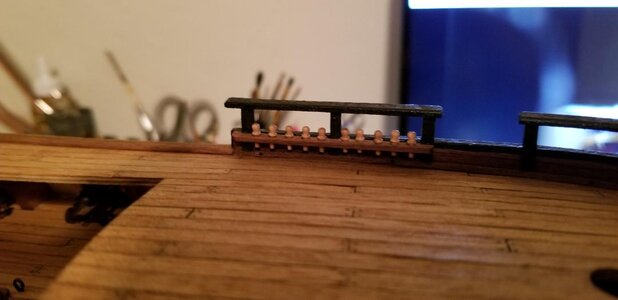
Both port and starboard upper rails finished and outboard pin racks completed. I'm finding I need much more patience when working with these tiny pieces of walnut. They split so easily I've lost count of pieces I've just tossed into the bin. Drilling out holes is the worst, I've slowed my drilling way way down and that's why it took me the better part of today just to finish one side's upper rail plus the pin racks.
I also put together one of the Caldercraft carronade kits I purchased, these will go on the forecastle as bow chasers. The detail is really fantastic. The elevation screw is an actual screw that screws right up into the end of the carronade.
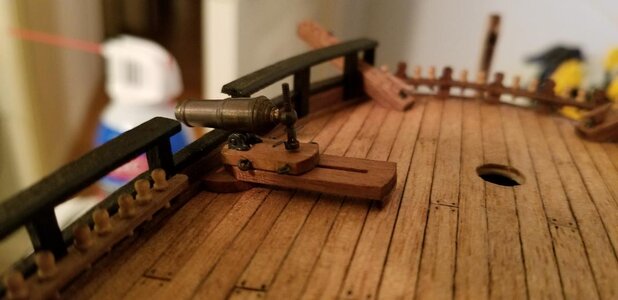
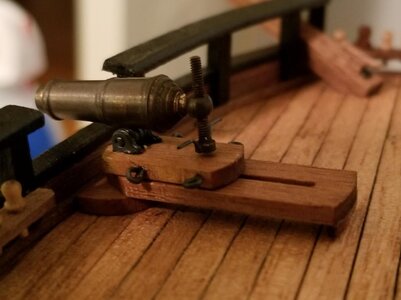
I also put together one of the Caldercraft carronade kits I purchased, these will go on the forecastle as bow chasers. The detail is really fantastic. The elevation screw is an actual screw that screws right up into the end of the carronade.


Did that threaded rod come with the kit or was that your own purchase? Very nicely done.
- Joined
- Mar 27, 2019
- Messages
- 823
- Points
- 403

Did that threaded rod come with the kit or was that your own purchase? Very nicely done.
Caldercraft sells mini kits, cannon/carriage and caronade/sled kits. The threaded rod was in that mini kit. Two complete caronades for about $12.
So a nice add on to the kit. Did your kit not come with the caronades or were they just not very good?Caldercraft sells mini kits, cannon/carriage and caronade/sled kits. The threaded rod was in that mini kit. Two complete caronades for about $12.
- Joined
- Mar 27, 2019
- Messages
- 823
- Points
- 403

The caronades were ordinary white metal, the Caldercraft are brass and once blackened the finish is much more believable than simple black paint.
The sleds in the Mamoli kit were meant to be scratch built and lack any detail at all. As you can see the Caldercraft sleds are highly detailed and actually pivot back and forth.
The sleds in the Mamoli kit were meant to be scratch built and lack any detail at all. As you can see the Caldercraft sleds are highly detailed and actually pivot back and forth.
- Joined
- Mar 27, 2019
- Messages
- 823
- Points
- 403

Did that threaded rod come with the kit or was that your own purchase? Very nicely done.
Yep the threaded Rod came with the Caldercraft mini kit. Very nice


