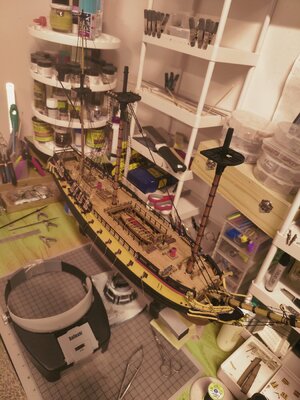
HMS Surprise by Mamoli

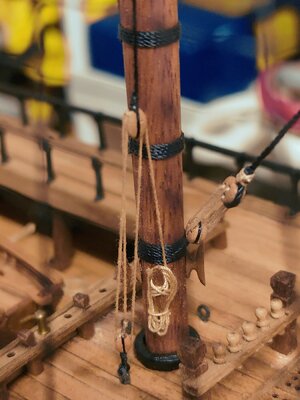
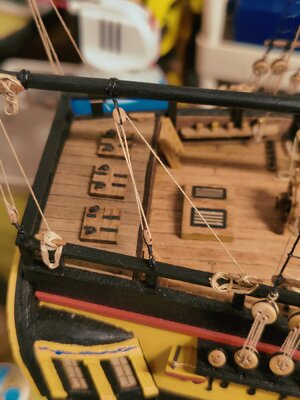
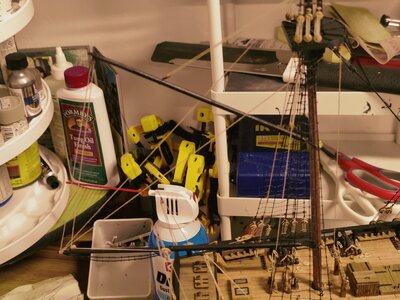
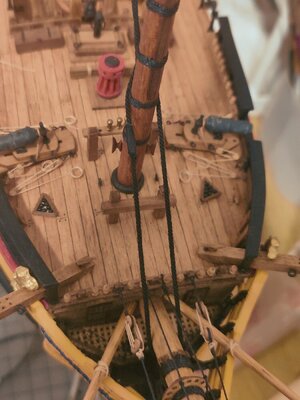
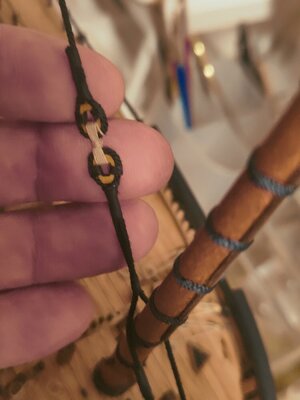
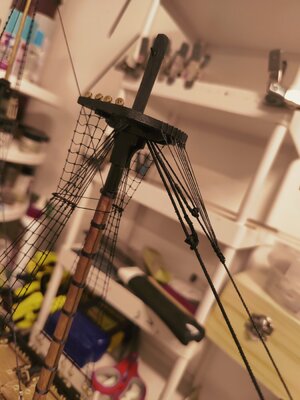
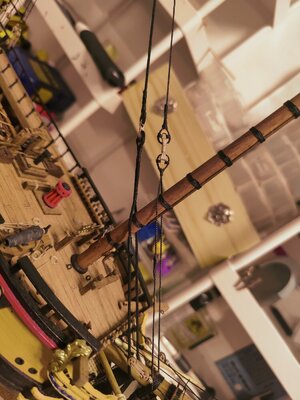
Is a nice build generally. I do not like myself the way you have faster the shroud to the mast. first one on each side, then the rest in pairs. each not around the mast will take a step backword. not to criticise but to have in mind for next time- I know that I am to old -both in age 80 and of building 50 years.

View attachment 359214

View attachment 359215

View attachment 359216

Yes, in pairs on the same side alternating port and starboard, then singly for the last shroud on each side. My first build was Syren by Chuck Passaro and that's how he explained in his practicum it was to be done.
 
Yes, in pairs on the same side alternating port and starboard, then singly for the last shroud on each side. My first build was Syren by Chuck Passaro and that's how he explained in his practicum it was to be done.
correction: the single one is the very first- touching from time to the lower sail, therefore it is seized totally from top to bottom.
 
I finished up the three gratings that go on the gun deck underneath the longboat as well at the longboat cradle. All these pieces are made from Walnut so even with a neutral clear stain they are of a very dark hue. When placed on top of the gun deck the starkness in colors between the deck planking and the gratings was extreme and I didn't like it one bit. So I "watered down" some Minwax Golden Oak and applied another coat on the deck planking. I sure Forrest Gumped my way through this part of the project, the end result I really like. I also added some shot racks along the side of each large grating, this feature is not on the plans. I'll install the cannon balls after planking the hull and Surprise is right side up again.

The second picture is the kit provided cast longboat which I won't use. I just ordered another Falconet longboat that I just finished for my Rattlesnake build, this is picture three. It's 5mm longer than the kit provided boat but it'll fit just perfect in the longboat cradle.

The last picture is an example of the supports for the deck immediately above the gundeck, forecastle up front and quarterdeck in the rear, notice the camber that the false deck and then deck planks will follow. The plans call for the center pillar being 21.5mm long. I found the camber to be very pronounced and so I shaved a bit off that central pillar, it's more like 20mm long now.

View attachment 170088View attachment 170089View attachment 170091View attachment 170092
I have the 1:75 Mamoli HMS Surprise and Surprised by the cast longboat. Who did you order your falconet longboat from because I need one myself.
Going to follow this build for sure.
 
I have the 1:75 Mamoli HMS Surprise and Surprised by the cast longboat. Who did you order your falconet longboat from because I need one myself.
Going to follow this build for sure.
Model shipways has the Falkonet longboat. Or a Google search will bring you the results of all the vendors that do.
 
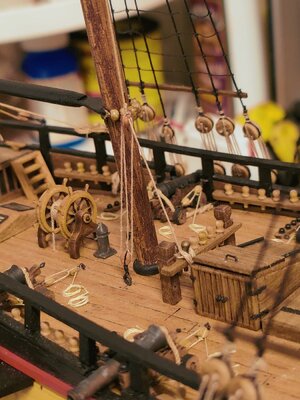
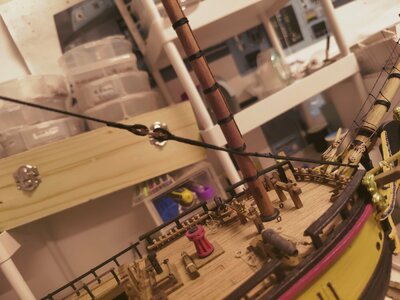
Very nice model. I found this thread on wooldings useful. You might also want to check the placement of the upper aft starboard deadeye. It appears to be upside down. I know, the camera brings out so many things that the eye would never notice. Can't see the forest for the trees. By the way, what are you using the tung oil for? I've used it on some of my previous models and on some furniture.
 
Very nice model. I found this thread on wooldings useful. You might also want to check the placement of the upper aft starboard deadeye. It appears to be upside down. I know, the camera brings out so many things that the eye would never notice. Can't see the forest for the trees. By the way, what are you using the tung oil for? I've used it on some of my previous models and on some furniture.

Oh boy you had me panicking....but it's correct. The crummy camera I use doesn't help matters. ;)
 
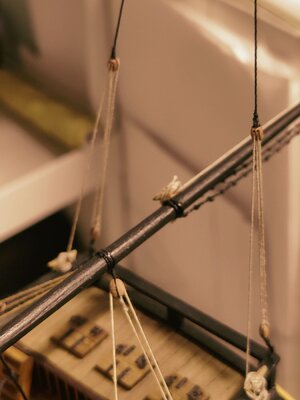
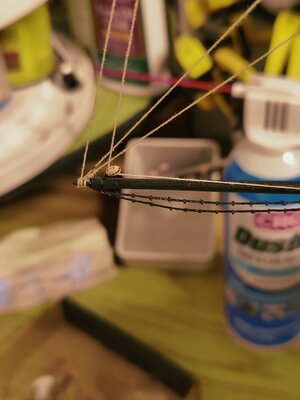
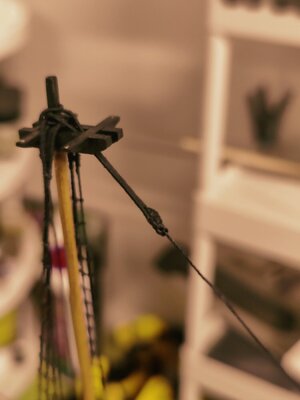
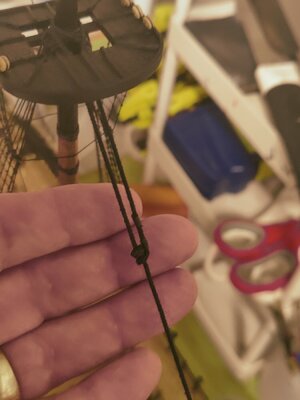
Doing the mouse thing. As the cartoon cat said, "I hate meeces to pieces."

I also hate meeces to pieces! I can never get it just right using rigging line although I cover it up with lots of brush on crazy glue and black paint. To keep this ship consistant I use the same method with the foremast, but my next ship I'm going back to carving the mouse out of a wooden dowel. More time-consuming but it definitely looks better.
 
Starting with the coppering. I still have 2 1/2 rolls of pre-stamped copper tape I ordered from China which translates to almost four ship's worth of copper bottoms. It's the standard roughly 1/4" copper tape that comes standard in kits like Syren and Flying Cloud but it's already been stamped with a credible pattern of nail/spike impressions. I can remember fashioning a jig per the Syren practicum for stamping the impressions and I was indeed proud of myself for doing everything essentially from scratch, but once is enough for me. It's enough to spend the time cutting each copper plate out then adhering them to the hull. I'm enjoying this part because it really is starting to look like a ship now. Once I finish with the coppering the hull will remain upright for the remainder of the build.

View attachment 192790 Haven't been able to find the copper sheathing. It's supposed to be 6 x 18 mm for 1:75th. Do you have a link or a website for where I can get some ? Thanks
 
I've gotten the pre-stamped copper tape from Ebay. I think it's from this seller https://www.ebay.com/str/newportcrown.

If it's not that seller just keep poking around Ebay and I'm sure you'll find it. It ships from China and the quality is very good.
 
Hallo @TKAM
we wish you all the BEST and a HAPPY BIRTHDAY
Birthday-Cake
Enjoy your special day
 
Most of the gun deck planking is complete. I must confess that deck planking is one of my favorite parts of building a model ship. Of course there is effort involved but the payoff in the finished product is huge compared to the effort expended. There is of course huge satisfaction on fabricating something difficult that takes much time and effort that pays off, that's not what I'm talking about. This is at the other end of the spectrum of time consuming fabrication and as important it isn't something that just requires days and weeks on end of repetition (like rat lining - yuch!).

I went ahead and planked the entire gun deck despite only about 1/3 will ever be seen. An additional tiny peek might, and I stress the word "might", be seen by someone peeking into the gun port, especially if I choose not to install electric lighting. But just the knowledge of the decking being from stem to stern is warm and fuzzy. I did not however go overboard and space out planks and blacken the edges and simulate tree nails of all those planks under deck. I will of course have to obtain more of the lathes from either Mamoli or MS because I've used almost half the provided supply to plank all that decking that will never be viewed.

View attachment 169552View attachment 169553View attachment 169554View attachment 169555
Shouldn't each plank be nailed to the cross member underneath? The pattern looks great but the planks are only secured at the ends. What about the middle? I want to do this on another ship that I'm planning but haven't had any experience with this procedure. Pete
 
Back
Top